TRENDING
Find what you're looking for:
Appetizers That Wow
View All →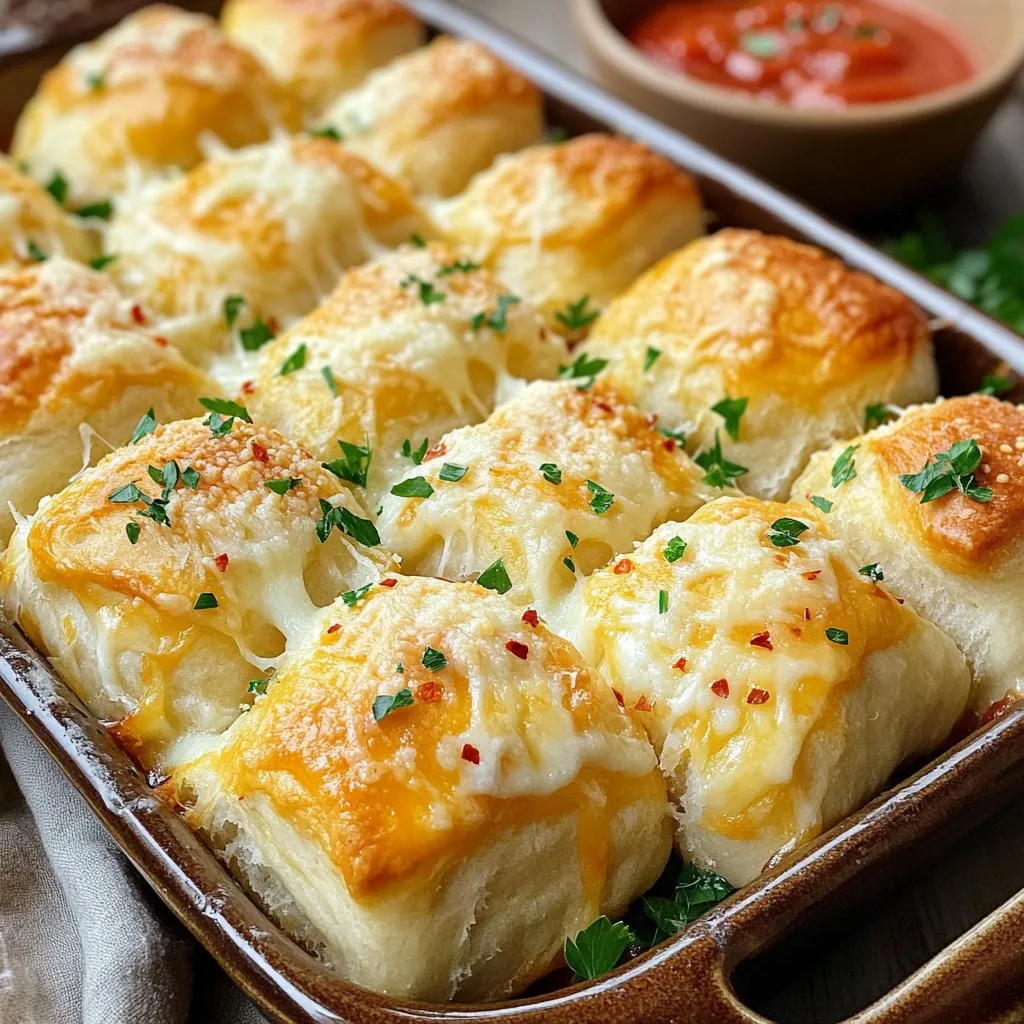

Dinner Done Right
View All →
Most Recent Recipes

Lemon Herb Air Fryer Salmon Bites Flavorful Delight
Are you ready for a tasty treat that’s quick and easy? Lemon Herb Air Fryer Salmon Bites are bursting with flavor! With fresh herbs, zesty...
READ MORE →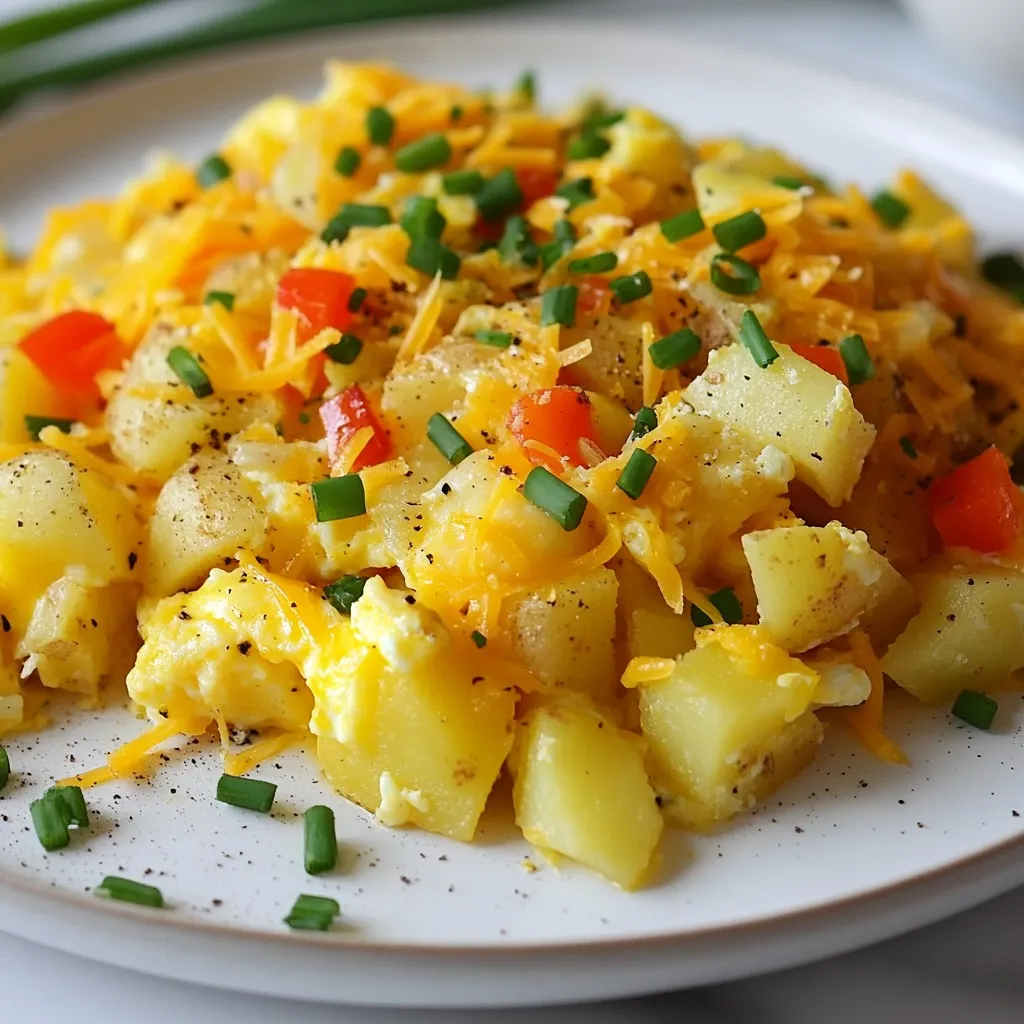
Cheesy Potato Egg Scramble Flavorful Breakfast Idea
Are you searching for a breakfast that bursts with flavor and warms your soul? Look no further! My Cheesy Potato Egg Scramble is the perfect...
READ MORE →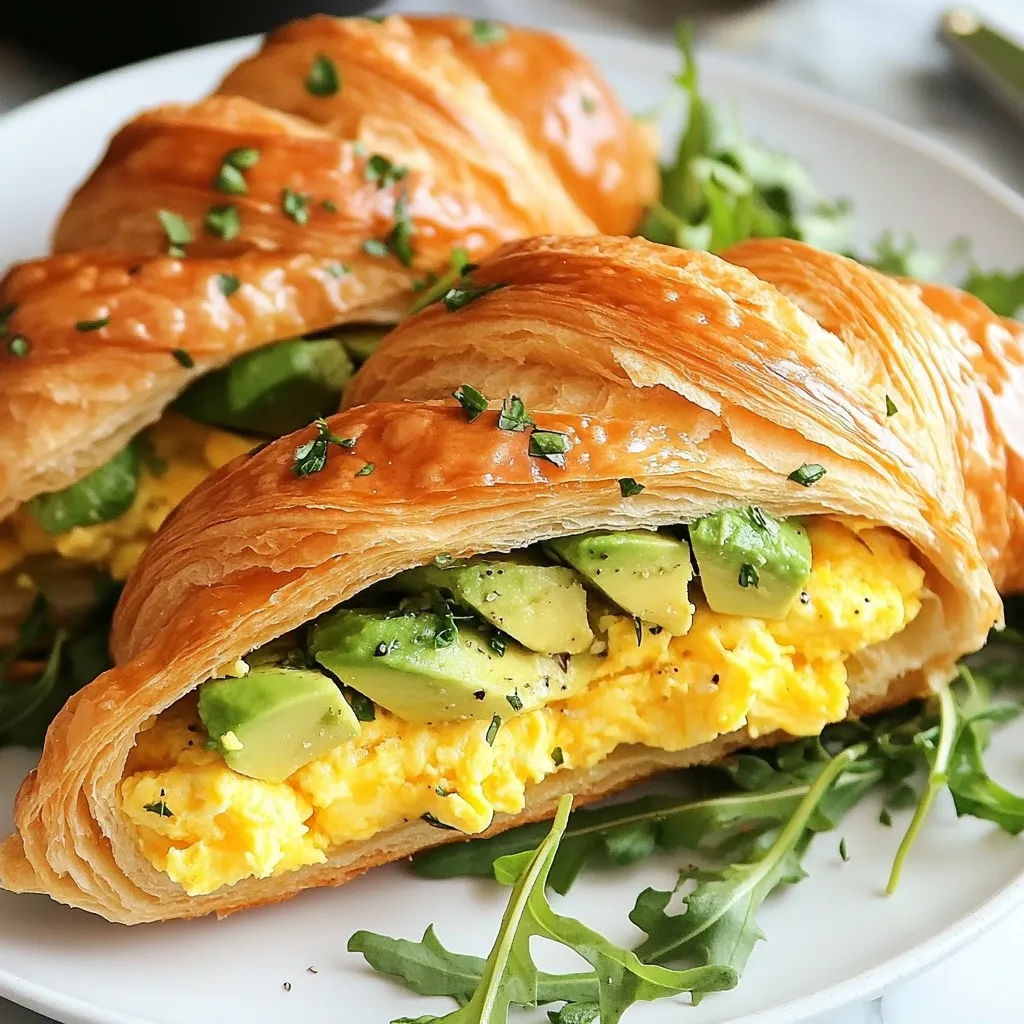
Savory Breakfast Croissant Sandwich Easy to Make Recipe
Are you ready to elevate your mornings? This Savory Breakfast Croissant Sandwich recipe is packed with flavor and can be made in just minutes. Picture...
READ MORE →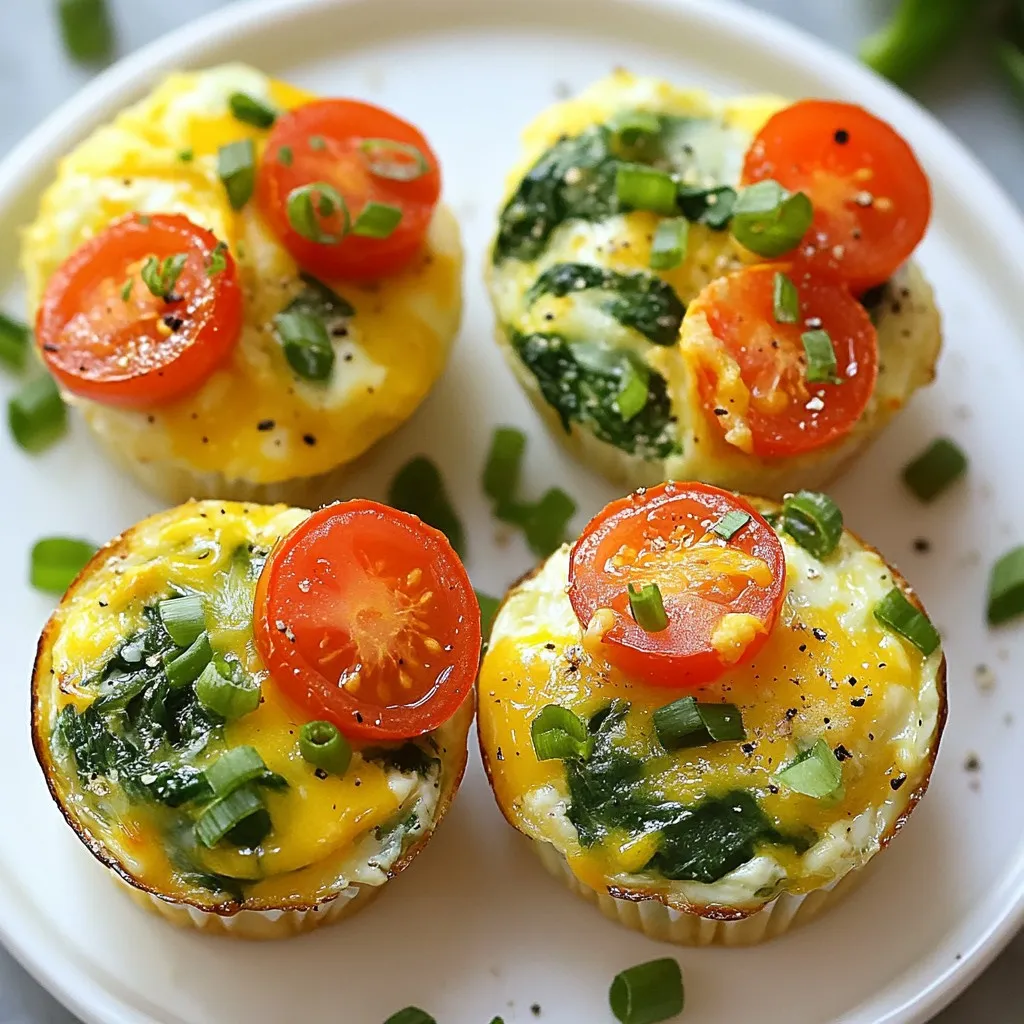
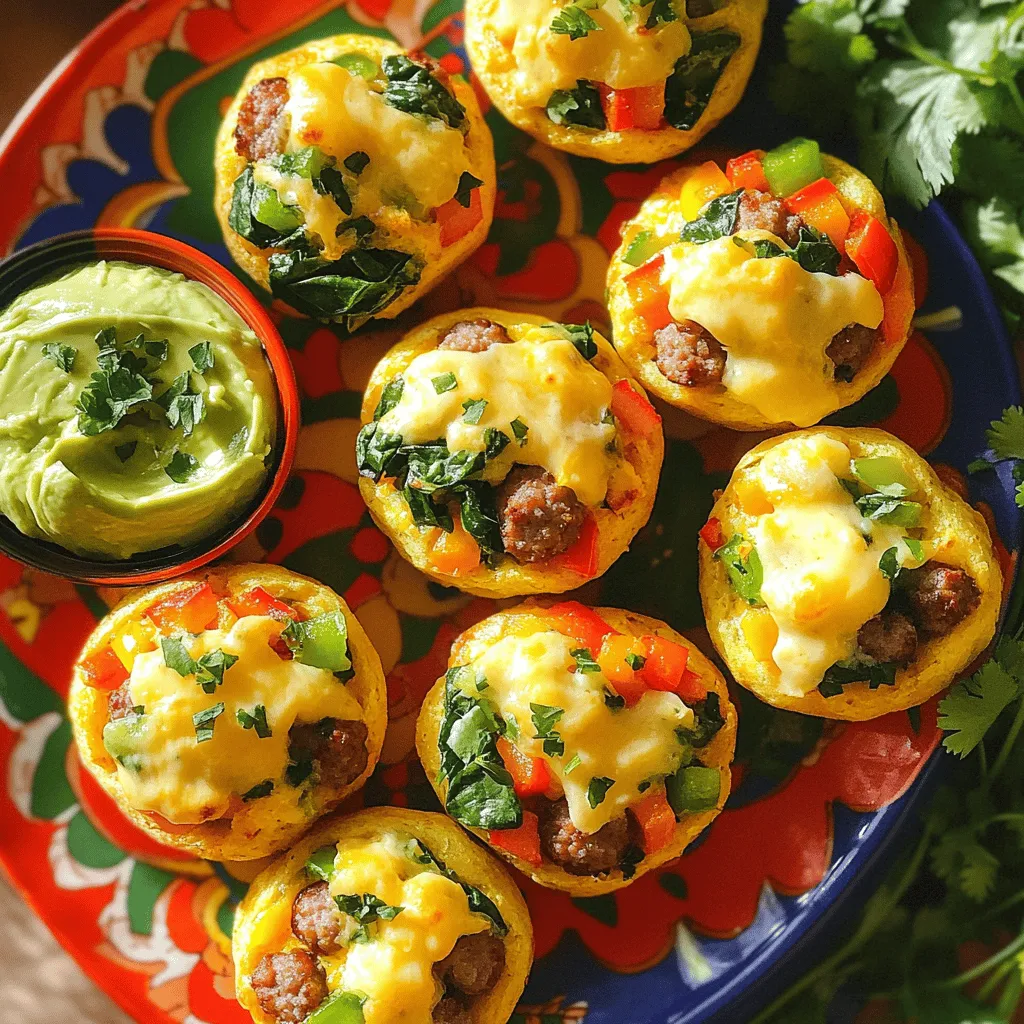
Breakfast Egg Muffins Delightful and Easy Recipe
Are you searching for a quick, tasty breakfast? Look no further! In this post, I’ll share my simple and delightful Breakfast Egg Muffins recipe. These...
READ MORE →
Cheesy Garlic Rolls Fluffy and Flavorful Delight
Are you ready to indulge in warm, cheesy garlic rolls that burst with flavor? In this blog post, I’ll show you how to make fluffy...
READ MORE →
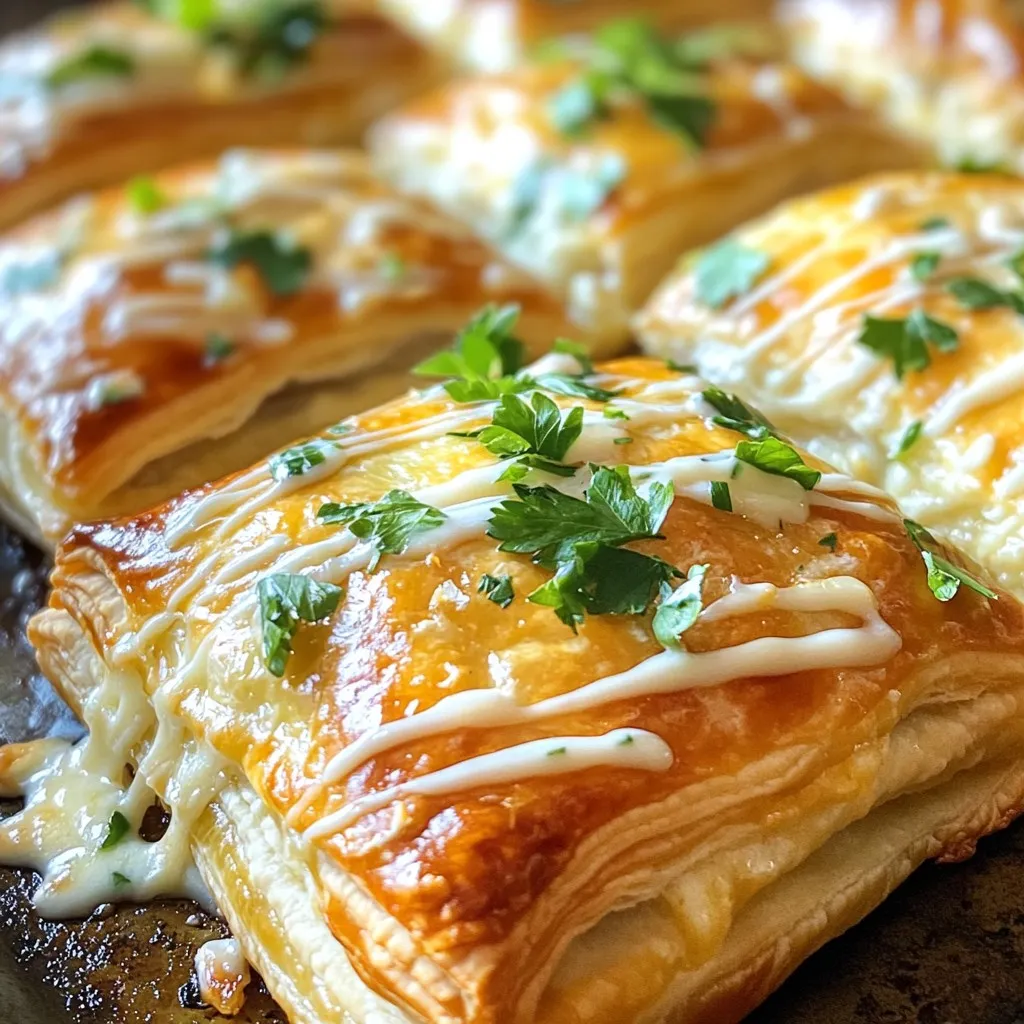
Savory Chicken Pillows with Parmesan Cream Sauce
Craving an easy and tasty dinner? Let’s dive into making savory Chicken Pillows with Parmesan Cream Sauce! This dish wraps tender chicken and creamy cheese...
READ MORE →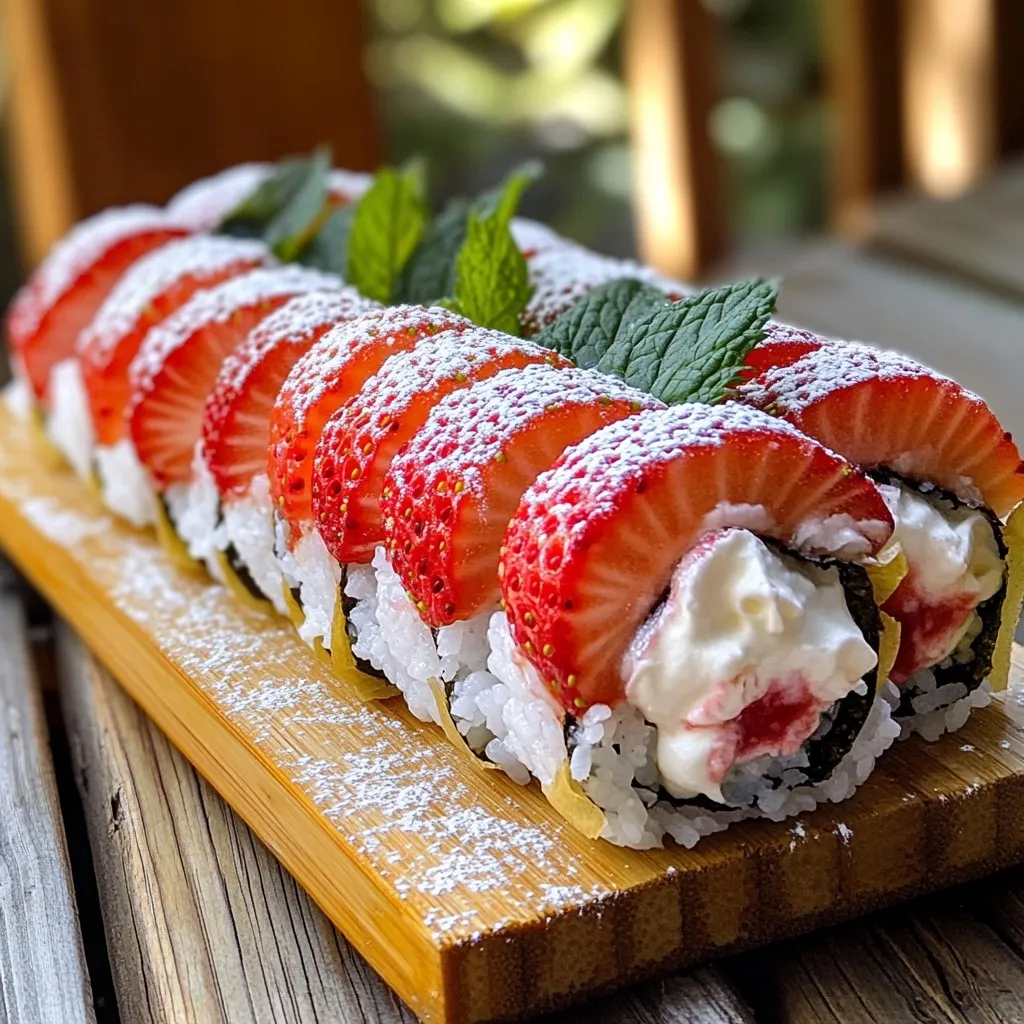
Strawberry Shortcake Sushi Rolls Perfect for Summer
Looking for a fun summer treat? Strawberry Shortcake Sushi Rolls are the perfect blend of fresh flavors and creative presentation. You can impress your friends...
READ MORE →
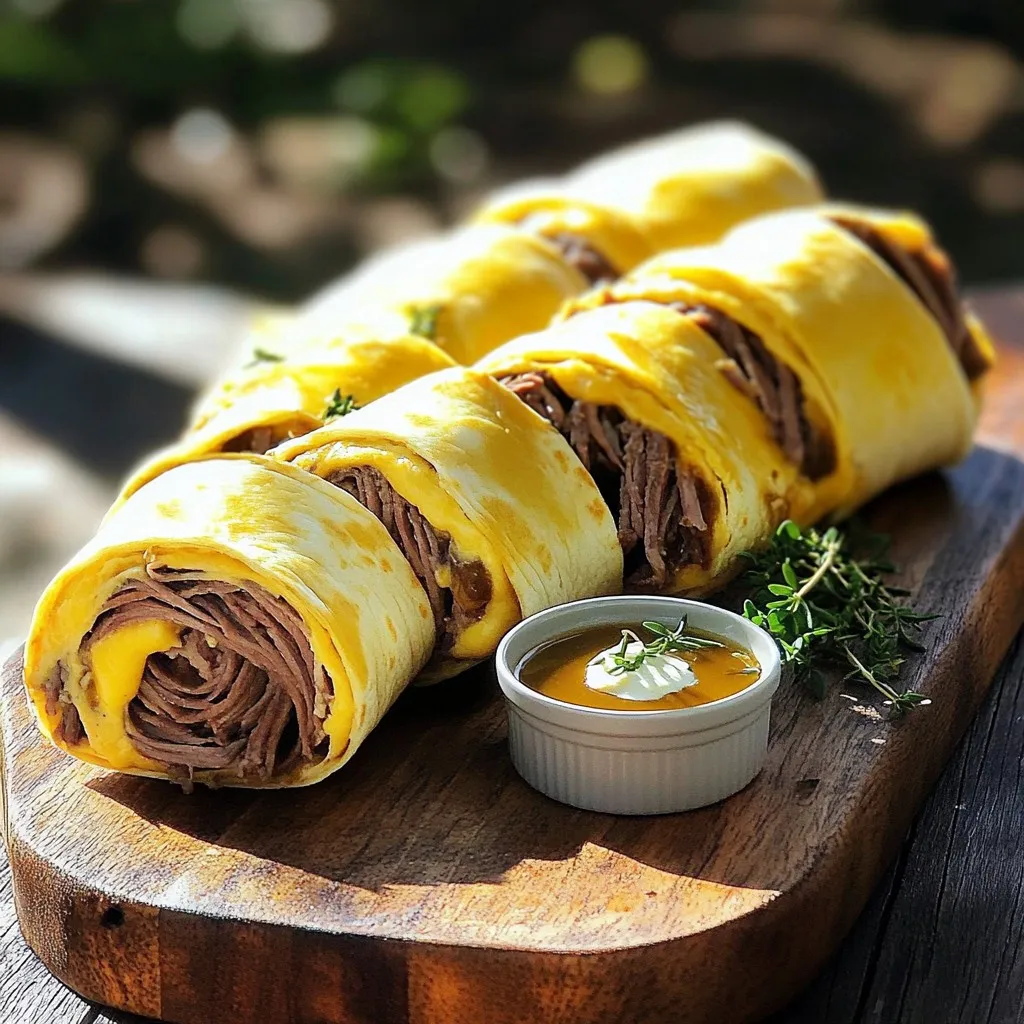
French Dip Tortilla Roll Ups Tasty Snack Idea
Looking for a fun and tasty snack? Try French Dip Tortilla Roll Ups! They’re quick to make and bursting with flavor. With just a few...
READ MORE →
HI I'M ELLIOT
I'm your laid-back kitchen wingman with a serious love for bold flavors and easy cooking. I'm here to help you ditch the stress and stir up some joy—one tossed-together recipe at a time. Think of me as your flavor coach: part guide, part cheerleader, always down for a second helping.

Mango Coconut Chia Pudding
This Mango Coconut Chia Pudding is a perfect mix of flavors and textures.