
Are you ready to whip up a delicious meal that everyone will love? My Crispy Baked Chicken Tenders are fun to make and packed with flavor. You’ll learn how to marinate the chicken, create a perfect breadcrumb coating, and bake them to golden perfection. With my tips and tricks, you’ll impress family and friends—and no frying is involved! Let’s dive into this simple recipe that’s sure to be a hit!
Ingredients
List of Ingredients
To make crispy baked chicken tenders, gather these ingredients:
– 1 pound chicken tenderloins
– 1 cup buttermilk
– 1 teaspoon garlic powder
– 1 teaspoon smoked paprika
– 1/2 teaspoon freshly cracked black pepper
– 1/2 teaspoon sea salt
– 1 cup panko breadcrumbs
– 1/2 cup finely grated Parmesan cheese
– 1 teaspoon Italian seasoning blend
– Cooking spray
Alternative Ingredients
You can substitute or adjust some ingredients for different tastes or diets:
– Use almond milk or coconut milk instead of buttermilk for a dairy-free option.
– Swap chicken tenderloins for chicken breasts or thighs if you prefer.
– Replace panko breadcrumbs with regular breadcrumbs if needed.
– Try using nutritional yeast instead of Parmesan cheese for a vegan option.
Nutritional Information
Here’s a quick look at the nutrition per serving (1/4 of the recipe):
– Calories: 300
– Protein: 27g
– Carbohydrates: 18g
– Fat: 15g
– Fiber: 1g
– Sodium: 600mg
This dish is not only delicious but also offers a good balance of protein and carbs. It pairs well with fresh veggies or a light salad for a complete meal.
Step-by-Step Instructions
Marinating the Chicken
To start, you need to marinate the chicken. In a large bowl, whisk together:
– 1 cup buttermilk
– 1 teaspoon garlic powder
– 1 teaspoon smoked paprika
– 1/2 teaspoon black pepper
– 1/2 teaspoon sea salt
This mix adds flavor and keeps the chicken juicy. Add the chicken tenderloins and coat them well. Cover the bowl with plastic wrap and place it in the fridge. Let it marinate for at least 1 hour, or overnight if you can wait. This step makes a big difference in taste!
Preparing the Oven and Baking Sheet
Next, preheat your oven to 425°F (220°C). Line a baking sheet with parchment paper. This helps the chicken not stick. Lightly spray the parchment with cooking spray. This small step ensures a nice crisp on the outside.
Creating the Breadcrumb Coating
Now, let’s make the breading. In a medium-sized bowl, mix together:
– 1 cup panko breadcrumbs
– 1/2 cup grated Parmesan cheese
– 1 teaspoon Italian seasoning
Stir until all the ingredients are well combined. Panko gives a great crunch, and Parmesan adds flavor.
Coating the Chicken Tenders
After marinating, take each chicken tenderloin out of the buttermilk. Let the excess drip off. Dip each piece into the breadcrumb mix, pressing gently. This helps the coating stick. Make sure each tender is covered well for the best crunch.
Baking Process
Place the breaded chicken tenders on the baking sheet in a single layer. Lightly spray the tops with cooking spray. This helps them get golden and crispy while baking. Bake in the preheated oven for 20-25 minutes. Flip the tenders halfway through. They are done when golden brown and reach 165°F (75°C) inside.
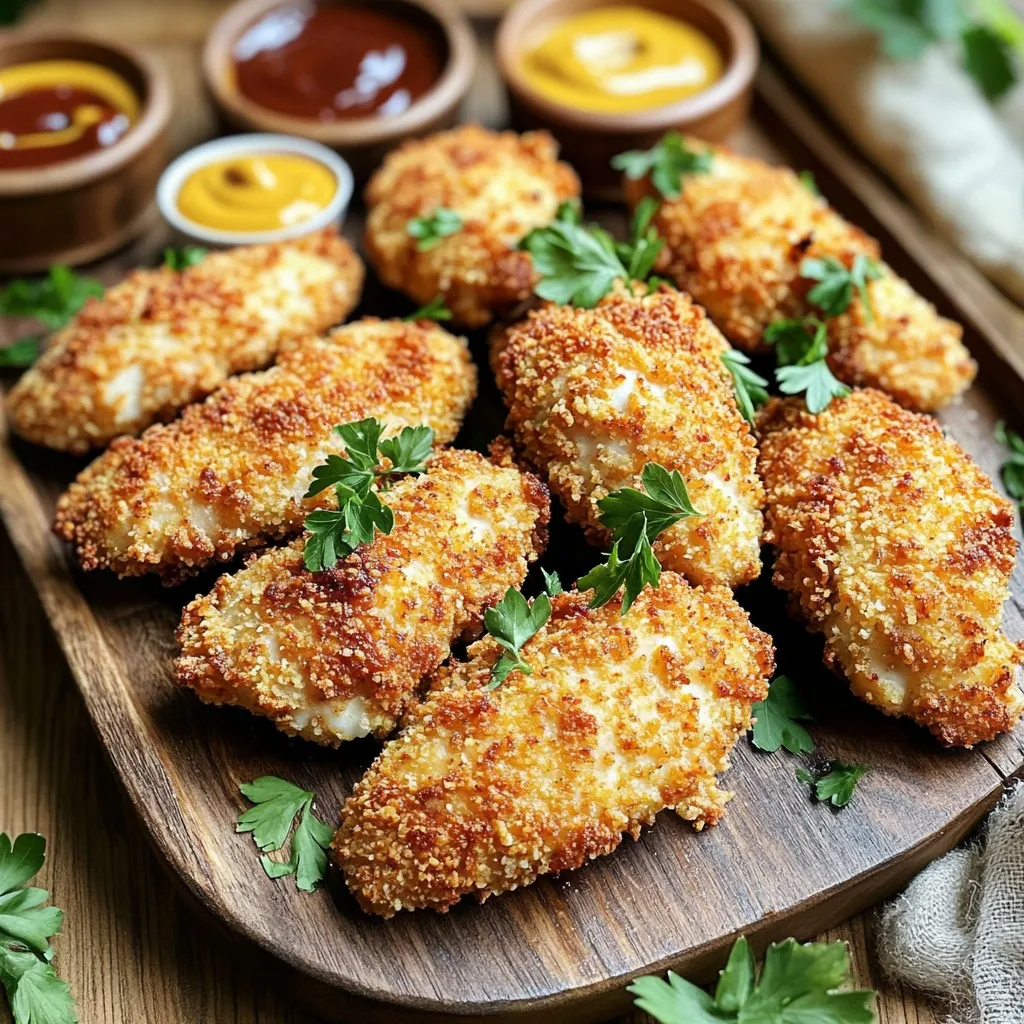
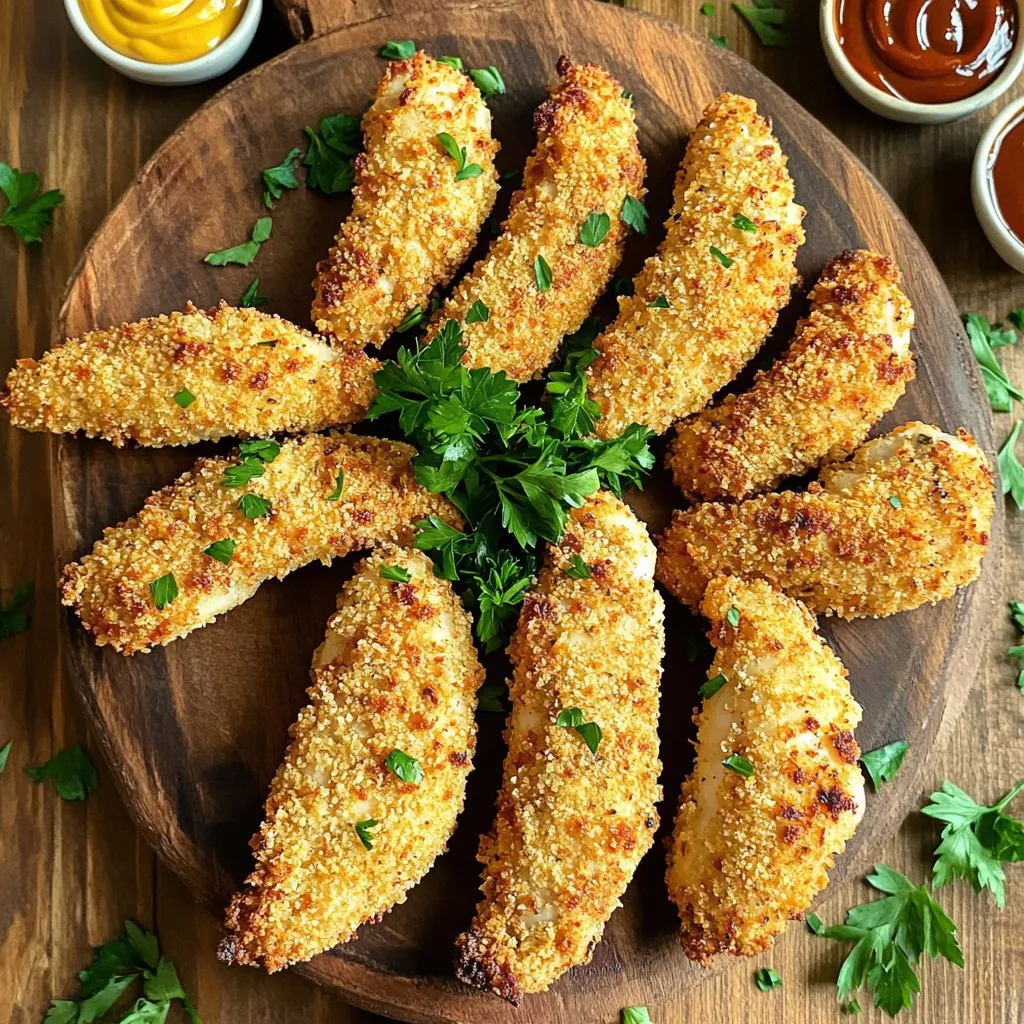
Serving Suggestions
Once cooked, let the chicken cool for a few minutes. Transfer them to a serving platter. For a fun look, serve with dipping sauces like honey mustard or BBQ sauce. Add fresh parsley or lemon wedges for color and extra flavor!
Tips & Tricks
Best Practices for Marinating
Marinating chicken is key for flavor and tenderness. Use buttermilk for a rich taste. It helps to break down the meat fibers. My favorite tip is to marinate overnight. This gives the chicken time to soak up all the spices. If you’re short on time, marinate for at least one hour. Remember to cover the bowl tightly to keep the flavor in.
Ensuring Maximum Crispiness
Crispiness comes from great breading and proper baking. Use panko breadcrumbs for the best crunch. They are lighter and airier than regular breadcrumbs. Lightly spray the tops of the breaded chicken with cooking spray. This helps achieve that golden, crispy finish. Bake at a high temperature, around 425°F (220°C), and flip halfway through. This ensures even browning on both sides.
Common Mistakes to Avoid
Avoid marinating for too long. Over-marinating can make the chicken mushy. Also, do not skip the cooking spray on the baking sheet. This prevents sticking and helps with crispiness. Finally, don’t overcrowd the baking sheet. Give each tender space to breathe. If they touch, they will steam instead of crisp up.
Variations
Flavor Variations (Spicy, Herb-Infused)
You can make your chicken tenders even more fun by adding spices. For a spicy kick, mix cayenne pepper into the breadcrumb coating. A teaspoon should do the trick. If you prefer herb-infused flavors, try adding dried oregano or thyme to your breadcrumb mix. These herbs bring fresh taste and aroma to your chicken. You can also mix in lemon zest for a citrusy twist that brightens the dish. The options are endless!
Alternative Coating Options (Gluten-Free, Whole Wheat)
If you need a gluten-free option, use gluten-free breadcrumbs. They will give you the same crunch without the gluten. Whole wheat breadcrumbs are another great choice if you want a healthier twist. They add a nutty flavor and extra fiber. Both options work well with the buttermilk marinade, ensuring your tenders stay moist and tasty.
Serving Suggestions (Dipping Sauces)
Dipping sauces make your chicken tenders even better. You can serve them with honey mustard for a sweet touch. Barbecue sauce adds a smoky flavor that pairs nicely. For something zesty, try a ranch dip or even a spicy sriracha mayo. To impress your guests, set out a few sauces for a fun tasting experience. Don’t forget to add fresh parsley or lemon wedges for a pop of color!
Storage Info
Refrigeration Tips
After you cook the chicken tenders, let them cool. Then, place them in an airtight container. They can stay fresh in the fridge for up to four days. Make sure to layer parchment paper between tenders if they stack. This helps keep them from getting soggy.
Freezing for Later Use
If you want to save chicken tenders for later, freezing is a great option. First, let them cool completely. Then, wrap each tender in plastic wrap. Place the wrapped tenders in a freezer bag. Label the bag with the date. They can stay frozen for up to three months. When you’re ready to eat, just defrost in the fridge overnight.
Reheating Instructions
To reheat, you can use an oven or an air fryer. Preheat your oven to 400°F (200°C). Place the chicken tenders on a baking sheet. Heat them for about 10-15 minutes, or until they are hot and crispy. If using an air fryer, set it to 375°F (190°C) and cook for about 5-7 minutes. Enjoy them just like fresh!
FAQs
How do I make my chicken tenders even crispier?
To boost crispiness, use panko breadcrumbs. They add great texture. Also, spray the tenders with cooking spray before baking. This helps them brown nicely. You can also bake them on a wire rack to let air circulate. This keeps them from getting soggy.
Can I use chicken breasts instead of tenderloins?
Yes, you can use chicken breasts. Just cut them into strips. Make sure they are about the same size as tenderloins for even cooking. You may need to adjust the cooking time. Check that they reach 165°F to ensure they are safe to eat.
How long do crispy baked chicken tenders last in the fridge?
Crispy baked chicken tenders last about 3 to 4 days in the fridge. Store them in an airtight container. To keep them crisp, place a paper towel at the bottom of the container. This absorbs moisture and helps maintain texture.
What can I serve with crispy baked chicken tenders?
Serve chicken tenders with dipping sauces like honey mustard or barbecue sauce. Fresh veggies and a light salad also pair well. You can add a side of sweet potato fries for a fun twist. Enjoying them with your favorite dipping sauce makes every bite exciting!
In this article, we covered every step to make crispy baked chicken tenders. You learned about the ingredients, marinating techniques, and baking tips to ensure great flavor and texture. We also explored variations and best practices for storage and reheating.
Remember, with a few simple steps, you can enjoy delicious, homemade chicken tenders. Experiment with flavors and serves that suit your taste. These tips will help you create a dish everyone loves. Happy cooking!