WANT TO SAVE THIS RECIPE?
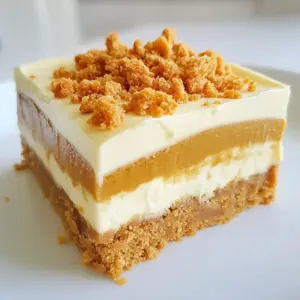
If you’re craving a sweet treat that requires no baking and delivers pure bliss, you’re in for a treat! This No-Bake Biscoff Cheesecake is rich, creamy, and oh-so-delicious. With layers of Biscoff flavor and a dreamy cheesecake filling, it’s perfect for any occasion. Join me as I guide you through simple steps to create this divine dessert delight, all while keeping things easy and fun in your kitchen!
Why I Love This Recipe
- Irresistible Flavor: This cheesecake combines the rich, caramelized flavor of Biscoff with creamy cheesecake, creating a dessert that’s hard to resist.
- No-Bake Convenience: With no baking required, this recipe is perfect for hot days or when you want a quick and easy dessert.
- Simple Ingredients: The recipe uses just a handful of ingredients, making it accessible and easy to whip up any time.
- Customizable Toppings: You can easily adapt the cheesecake with different toppings or mix-ins, allowing for creativity in presentation.
Ingredients
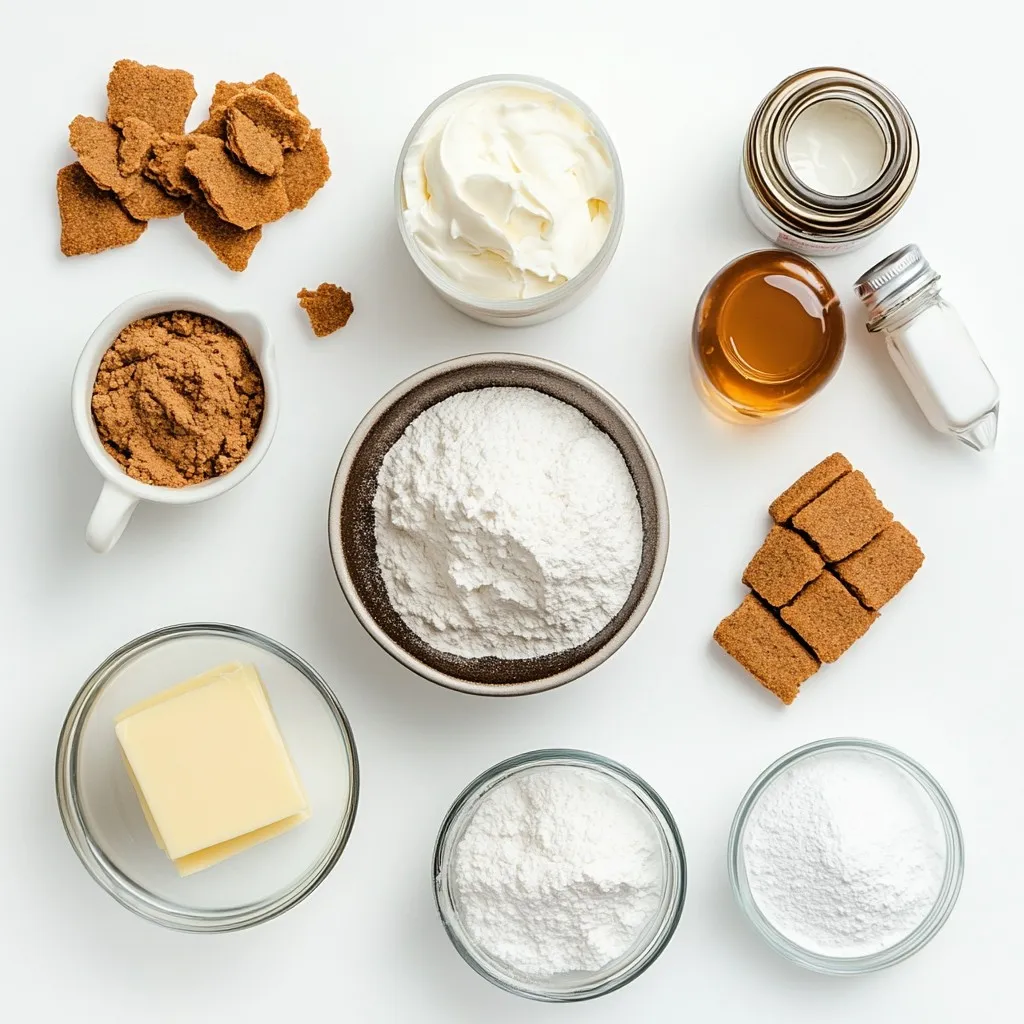
Main Ingredients
– 250g Biscoff biscuits, crushed
– 100g unsalted butter, melted
– 500g cream cheese, softened
– 200ml heavy whipping cream
– 100g powdered sugar
– 120g Biscoff spread
– 1 teaspoon vanilla extract
The main ingredients create a rich taste. Biscoff biscuits give a sweet base. The unsalted butter helps bind the crust. Cream cheese brings creaminess to the cheesecake. Heavy whipping cream adds lightness. Powdered sugar sweetens the mix. Biscoff spread enhances the flavor. Vanilla extract rounds it all out. Each ingredient plays a key role.
Optional Ingredients
– Extra Biscoff biscuits for garnish
Extra Biscoff biscuits make a great garnish. They add crunch on top. You can use them if you want. This step is not a must, but it looks nice. It also adds a bit more flavor. Feel free to get creative with your toppings!
Step-by-Step Instructions
Preparing the Biscuit Base
First, take 250g of crushed Biscoff biscuits. In a medium bowl, mix these crumbs with 100g of melted unsalted butter. Stir until all the crumbs are coated with butter. This mix should feel like wet sand. Next, grab a 9-inch springform pan. Firmly press the biscuit mixture into the bottom. Make sure it is even and compact. Chill in the fridge for about 10 to 15 minutes. This helps the base hold its shape.
Making the Cheesecake Filling
Now, let’s focus on the filling. In a large mixing bowl, beat 500g of softened cream cheese. Keep beating until it is smooth and creamy. This step is very important for a nice texture. Then, add 100g of powdered sugar, 120g of Biscoff spread, and 1 teaspoon of vanilla extract. Mix until everything is well combined. You want a smooth, rich filling that smells amazing.
Combining Whipped Cream and Filling
In a separate bowl, whip 200ml of heavy whipping cream. Keep whipping until you see stiff peaks form. This means the cream holds its shape well. Now, gently fold this whipped cream into the cream cheese mixture. Use a spatula and fold slowly. This keeps the air in the whipped cream, making the cheesecake light and fluffy.
Assembling the Cheesecake
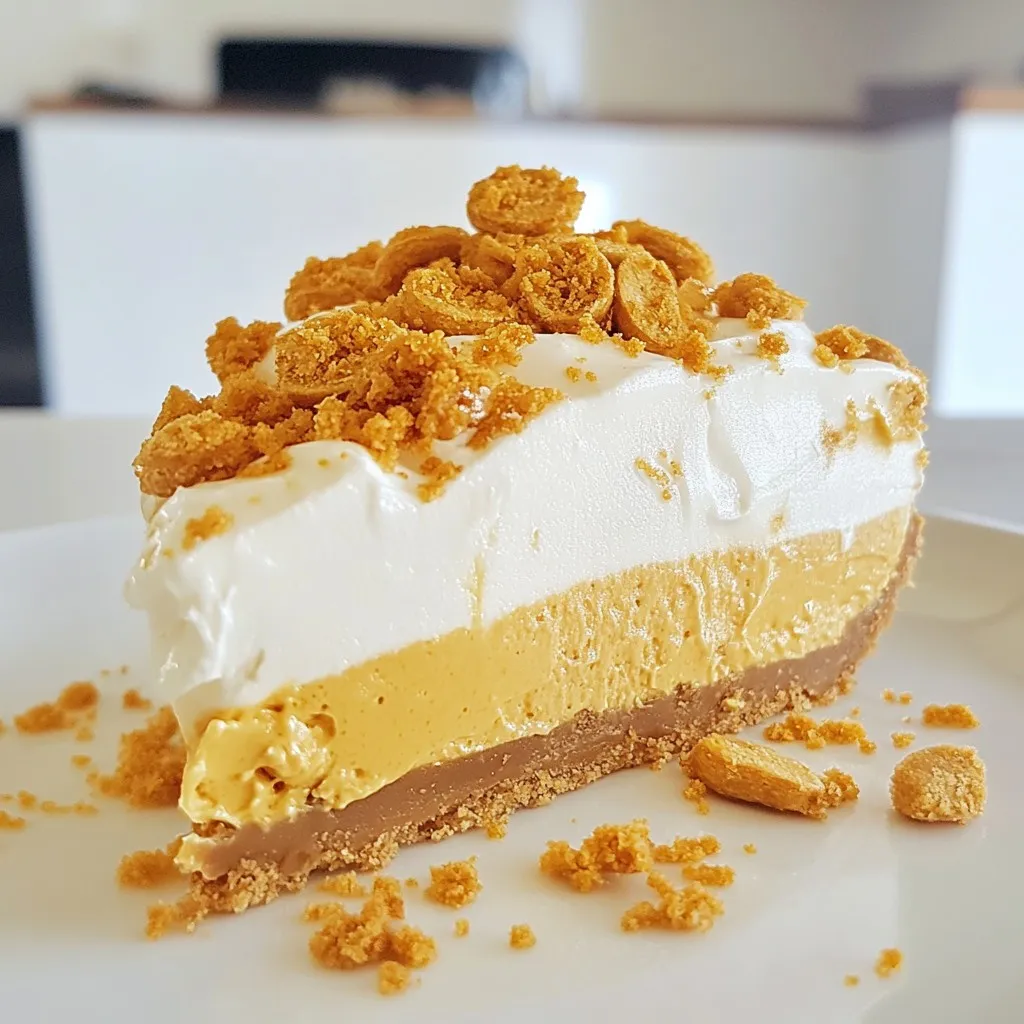
It’s time to assemble! Pour the cheesecake filling onto the chilled biscuit base. Spread it evenly with a spatula. Make sure it looks nice and smooth. Now, cover the pan with plastic wrap. Refrigerate for at least 4 hours, or overnight, for best results. The cheesecake needs this time to set properly. Before serving, you can top it with crushed Biscoff biscuits for a lovely finish. Enjoy this delightful dessert!
Tips & Tricks
Perfecting the Cheesecake Texture
– Use room temperature cream cheese. This helps it mix smoothly.
– Fold the whipped cream gently. This keeps it light and airy.
To get the best texture, make sure your cream cheese is soft. Let it sit out for about 30 minutes before mixing. This helps it blend well with the other ingredients. When you whip the cream, beat it until it forms stiff peaks. Gently fold it into the cream cheese mix. This keeps your cheesecake light. If you mix too hard, you’ll lose that fluffy feel.
Serving Suggestions
– Cut the cheesecake with a warm knife. This helps get neat slices.
– Top with crushed Biscoff biscuits. They add a nice crunch.
When serving, run a knife under hot water, then wipe it dry. This makes slicing easier. For toppings, crushed Biscoff biscuits look great and taste delicious. You can add them right on top or on the side for extra flair.
Common Mistakes to Avoid
– Don’t over-whip the cream. It can turn grainy.
– Chill the cheesecake long enough. It needs time to set.
Over-whipping the cream can ruin the texture. Stop whipping as soon as you see stiff peaks. It’s also key to chill the cheesecake for at least four hours. If you don’t let it chill, it won’t hold its shape. Follow these tips for a perfect no-bake Biscoff cheesecake!
Pro Tips
- Chill Your Ingredients: Make sure your cream cheese is at room temperature to blend smoothly, and chill the whipped cream for better volume when whipping.
- Use a Springform Pan: A springform pan allows for easy removal of the cheesecake. Just run a knife around the edge before releasing the clasp for a clean finish.
- Perfect Whipping Technique: When whipping the cream, start on low speed and gradually increase to high. This helps achieve the desired stiff peaks without overwhipping.
- Garnishing Ideas: Feel free to get creative with garnishes! In addition to crushed Biscoff biscuits, consider drizzling chocolate sauce or adding fresh fruit for a pop of color.
Variations
Flavor Variations
You can make this cheesecake even more fun. Try adding chocolate or peanut butter. Just mix in 100g of melted chocolate or peanut butter into the filling. This small change creates a rich twist.
You can also use different flavored spreads. If you like caramel, use caramel spread instead of Biscoff. It gives a creamy texture and a sweet taste. You could even try Nutella for a chocolate-hazelnut flavor. The options are endless!
Dietary Adaptations
If you need gluten-free options, replace Biscoff biscuits. Use gluten-free cookies or almond flour. Both options work well in the crust. Make sure to check the labels for gluten content.
For dairy-free choices, find cream cheese and whipping cream made from nuts or coconut. They can mimic the texture and taste of regular cream cheese. Look for brands that fit your diet. This way, everyone can enjoy this dessert!
Storage Info
Proper Storage Techniques
To keep your no-bake Biscoff cheesecake fresh, refrigerate it. Place it in an airtight container. This will help maintain its creamy texture. If you don’t have a container, you can cover it tightly with plastic wrap. Make sure it touches the surface of the cheesecake to prevent air exposure. This way, it can last up to five days in the fridge. Remember, the longer it sits, the softer it may become.
Freezing Instructions
If you want to store it longer, freezing is a great option. First, let the cheesecake set completely in the fridge. After that, remove it from the springform pan. Wrap it tightly in plastic wrap. Then, place it in a freezer-safe container or a zip-top bag. This helps prevent freezer burn. The cheesecake can last for up to three months in the freezer.
When you’re ready to enjoy it, thaw it slowly in the fridge overnight. This will help preserve the texture and flavor. Avoid thawing at room temperature, as it can make the cheesecake too soft. Enjoy your cheesecake whenever you like with these simple storage tips!
FAQs
How long does the cheesecake need to set?
The cheesecake needs to set for at least 4 hours. This time helps the filling firm up. If you can, let it chill overnight. This will give you the best texture and flavor.
Can I make this cheesecake ahead of time?
Yes, you can make this cheesecake ahead of time. It is perfect for parties and gatherings. Prepare it one day before you plan to serve. This way, the flavors have time to mix well.
What can I use instead of Biscoff biscuits?
You can use other cookies for the crust. Graham crackers work well and add a nice flavor. Oreos are another great choice if you want a chocolate twist.
This blog post covered the key ingredients and steps for making a Biscoff cheesecake. You learned how to prepare the base, make the creamy filling, and assemble everything for the perfect dessert. Remember to focus on texture by using room temperature ingredients and refrigerating long enough. You can even mix in flavors or modify the recipe to suit your needs. Whether you serve it at a party or enjoy it at home, this cheesecake is sure to impress. Happy bakin
Decadent No-Bake Biscoff Cheesecake
A rich and creamy cheesecake made with Biscoff biscuits and spread, perfect for dessert lovers.
Course Dessert
Cuisine American
Servings 8
Calories 400 kcal
- 250 g Biscoff biscuits, crushed
- 100 g unsalted butter, melted
- 500 g cream cheese, softened
- 200 ml heavy whipping cream
- 100 g powdered sugar
- 120 g Biscoff spread
- 1 teaspoon vanilla extract
- extra Biscoff biscuits for garnish (optional)
In a medium bowl, mix the crushed Biscoff biscuits with the melted butter until well combined.
Press the biscuit mixture firmly into the bottom of a 9-inch springform pan to create an even base. Chill in the fridge for 10-15 minutes.
In a large mixing bowl, beat the cream cheese until smooth and creamy.
Add the powdered sugar, Biscoff spread, and vanilla extract to the cream cheese, mixing until all ingredients are fully combined and smooth.
In another bowl, whip the heavy cream until stiff peaks form.
Gently fold the whipped cream into the cream cheese mixture until perfectly combined, ensuring not to deflate the whipped cream.
Pour the cheesecake filling onto the chilled biscuit base and spread it evenly.
Refrigerate for at least 4 hours, or overnight, to set properly.
Before serving, top the cheesecake with crushed Biscoff biscuits for garnish.
Chill overnight for best results.
Keyword Biscoff, cheesecake, no-bake
WANT TO SAVE THIS RECIPE?