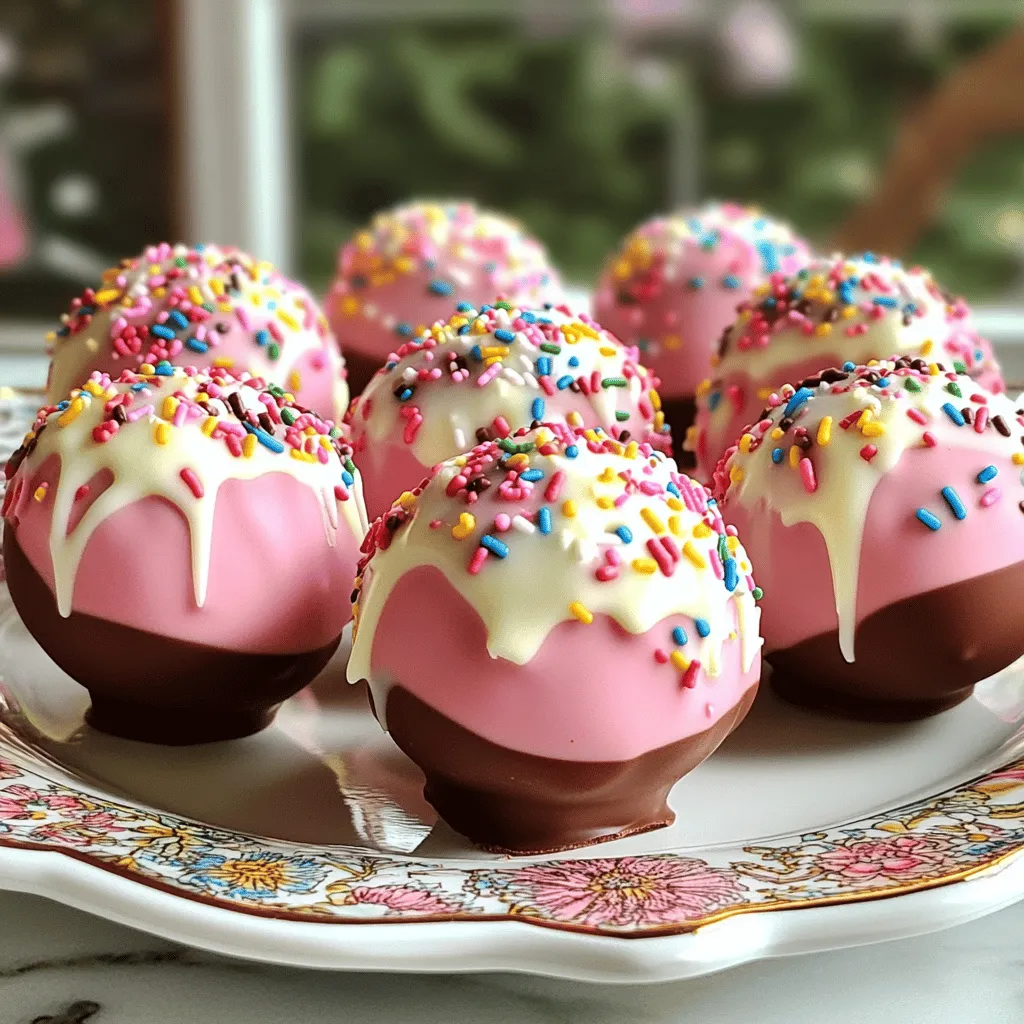
Ready to impress your friends and family? These Rich Neapolitan Cake Pops are not just simple; they pack a delightful flavor punch! With layers of chocolate, strawberry, and vanilla, these treats are a party favorite. I’ll guide you step-by-step to create these tasty bites, share tips for perfect cake pops, and offer fun decorating ideas. Let’s dive into the world of deliciousness together!
Ingredients
Here’s what you need to make Rich Neapolitan Cake Pops:
– 1 ½ cups all-purpose flour
– 1 ½ teaspoons baking powder
– ½ teaspoon salt
– ½ cup unsweetened cocoa powder
– 1 cup granulated sugar
– ½ cup unsalted butter, softened to room temperature
– 2 large eggs
– 1 teaspoon vanilla extract
– 1 cup buttermilk
– ½ cup strawberry puree (freshly made or store-bought)
– 10 oz white chocolate chips
– 1 tablespoon coconut oil
– Rainbow sprinkles for decoration
Using fresh ingredients makes a big difference. When you use good-quality cocoa powder, your cake pops taste richer. I love making my strawberry puree at home. It’s simple and adds a fresh flavor that store-bought just can’t match.
Make sure your butter is at room temperature. This helps it blend well with sugar. Room-temperature eggs also mix better. If you forget to take them out early, you can place them in warm water for a few minutes.
For the white chocolate coating, I suggest using high-quality chocolate chips. They melt smoothly and taste great. The coconut oil helps it stay shiny and makes it easier to dip.
Gather all your ingredients before you start baking. This keeps the process smooth and organized. You can find the full recipe above to see the steps in detail. Enjoy the process!
Step-by-Step Instructions
Preparing the Cake
– Preheat oven and prepare baking pan: Set your oven to 350°F (175°C). Grease a 9×13-inch baking pan with butter or spray, then dust it with flour.
– Mix and combine dry ingredients: In a bowl, whisk together 1 ½ cups of flour, 1 ½ teaspoons of baking powder, ½ teaspoon of salt, and ½ cup of cocoa powder. Set this mix aside for later.
– Cream butter and sugar: In a larger bowl, beat ½ cup of softened butter and 1 cup of sugar with an electric mixer. Do this for about 3-4 minutes until light and fluffy.
Baking the Cake
– Combine wet and dry ingredients: Gradually add the dry mix to the creamed butter and sugar. Alternate this with 1 cup of buttermilk. Start and end with the flour mix and stir until just combined.
– Add strawberry puree to the batter: Gently fold in ½ cup of strawberry puree. This gives the cake a lovely swirl.
– Bake and cool the cake: Pour the batter into the pan and spread evenly. Bake for 25-30 minutes or until a toothpick comes out clean. Let it cool for 15 minutes in the pan, then move it to a wire rack to cool completely.
Forming Cake Pops
– Create cake crumble: Once the cake is cool, crumble it into fine pieces in a bowl. Use your hands or a food processor for a fine texture.
– Roll into cake pop balls: Take small bits of the cake crumble and roll them into 1-inch balls. Place these on a lined baking sheet.
– Freeze to set: Put the cake balls in the freezer for 30 minutes. This helps them hold their shape.
Coating and Decorating
– Prepare the white chocolate coating: In a microwave-safe bowl, mix 10 oz of white chocolate chips with 1 tablespoon of coconut oil. Heat this in the microwave, stirring every 30 seconds until smooth.
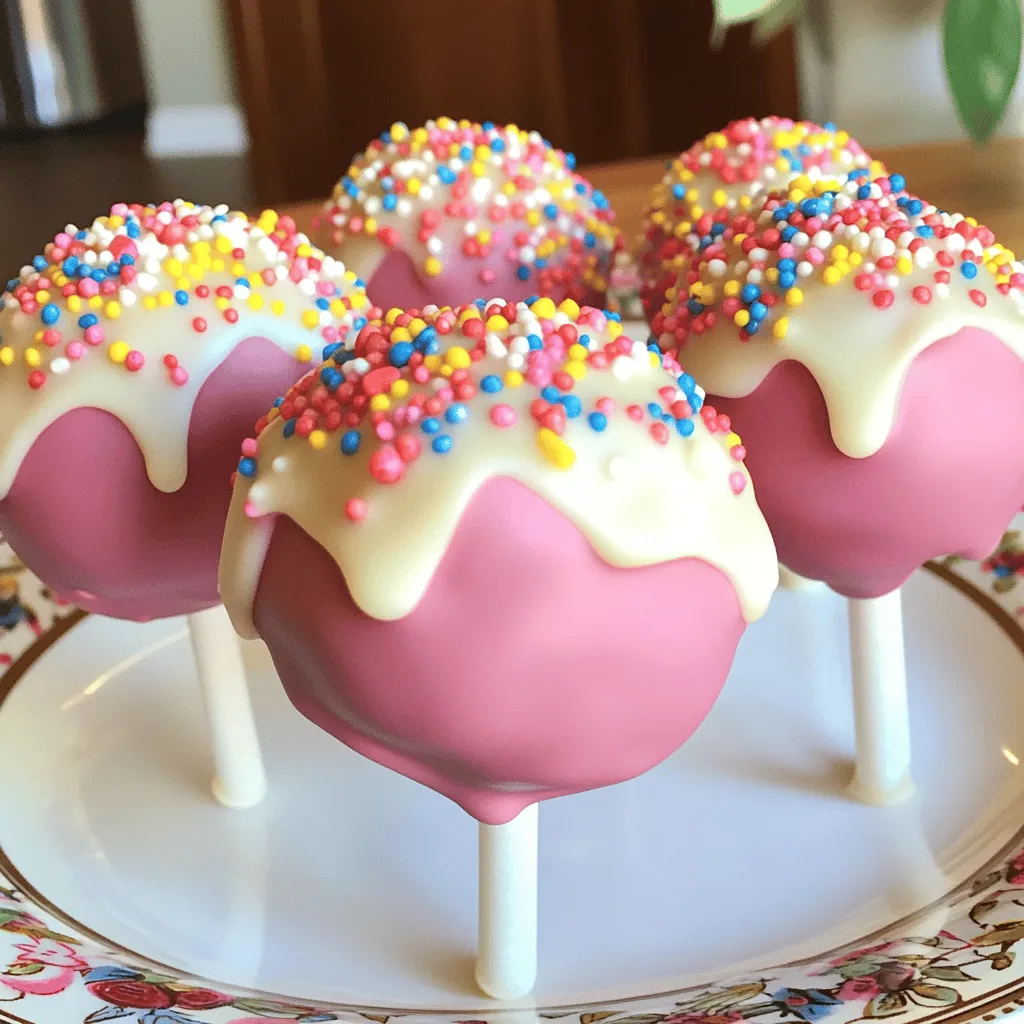
– Dip cake pops and anchor with sticks: Take the chilled cake balls and insert a lollipop stick into each. Dip the stick in the melted chocolate first. Then, coat each pop in the white chocolate, letting any extra drip off.
– Decorate with sprinkles: While the coating is still wet, sprinkle rainbow sprinkles on top. Place the pops upright in a foam block or similar stand to dry completely.
For the full recipe, refer to the ingredients and steps above. Enjoy making these fun treats!
Tips & Tricks
Achieving Perfect Cake Pops
To make great cake pops, cool the cake completely. This step helps the cake set and keeps the pops from falling apart. A rich flavor comes from high-quality ingredients. Use fresh butter and pure vanilla extract for the best taste. For a smooth chocolate coating, melt your white chocolate slowly. Heat it in a microwave in short bursts, stirring in between. This keeps the chocolate from burning and helps it stay silky.
Common Mistakes to Avoid
Watch out for overmixing the batter. Mix until just combined; lumps are okay. This keeps the cake light and fluffy. Always chill the cake pops well before dipping. If they are warm, the coating won’t stick right. Also, don’t use too much chocolate coating. A thin layer works best for taste and looks.
For a full guide on making these tasty treats, check the Full Recipe.
Variations
Flavor Options
You can mix things up with your Rich Neapolitan Cake Pops. Here are some fun ideas:
– Chocolate-dipped Neapolitan cake pops: Dip your cake pops in rich chocolate. This adds a tasty twist to the classic flavors.
– Additional fruit purees or flavors: Try using raspberry, mango, or even lemon puree. This can brighten up the cake pops and give them a fresh taste.
– Alternate coatings (like dark or milk chocolate): If you love chocolate, use dark or milk chocolate instead of white. This can change the flavor and look of your pops.
Decorating Ideas
Decorating your cake pops can be just as fun as making them. Here are some creative ideas:
– Themed decorations for parties: Match your cake pops to any party theme. Use colors or shapes that fit your event for a fun touch.
– Edible glitter versus sprinkles: Add sparkle with edible glitter or stick to classic rainbow sprinkles. Both make your cake pops eye-catching.
– Using molds for different shapes: Try using molds to create fun shapes. Hearts, stars, or holiday-themed molds can make your treats unique and exciting.
Storage Info
Short-term Storage
To keep your cake pops fresh for a few days, store them in a cool place. You can place them in an airtight container. This will help them stay moist and tasty. If you want to keep them in the fridge, make sure they are wrapped in plastic wrap. This prevents them from drying out.
Long-term Storage
For long-term storage, freezing is a great option. Freeze your cake pops on a baking sheet first. Once they are firm, transfer them to a freezer bag. This helps keep their shape and flavor.
When you want to enjoy them again, take them out of the freezer. Let them thaw in the fridge overnight. This keeps the texture nice. Avoid thawing them at room temperature, as it may make them soggy. Enjoy your cake pops later, just as good as before! For the complete guide on making these treats, check out the Full Recipe.
FAQs
How do I make the cake pops more moist?
To make your cake pops more moist, focus on these tips:
– Use room temperature ingredients, especially butter and eggs.
– Avoid overmixing the batter to keep it light.
– Add more buttermilk for a richer texture.
– You can add a little sour cream or yogurt, too.
These steps help lock in moisture and flavor during baking.
Can I make Neapolitan cake pops in advance?
Yes, you can make these cake pops ahead of time.
– Store them in the fridge for up to 5 days.
– For longer storage, freeze them for up to 3 months.
– Just make sure they are sealed in an airtight container.
This way, you can enjoy them whenever you want!
What can I substitute for buttermilk?
If you don’t have buttermilk, try these options:
– Mix 1 cup of milk with 1 tablespoon of lemon juice or vinegar.
– Let it sit for 5-10 minutes to thicken.
– You can also use plain yogurt or sour cream diluted with a bit of water.
These alternatives work well to keep the cake moist.
How do I prevent my coating from cracking?
To avoid cracks in your chocolate coating, follow these tips:
– Make sure the cake pops are chilled before dipping.
– Dip them in warm melted chocolate, not hot.
– Allow excess chocolate to drip off before setting.
– If possible, work in a cool, dry area.
These steps help create a smooth and even coating.
In this blog post, I covered the steps to make delicious cake pops. We discussed the key ingredients, preparation, baking, and decorating. Tips helped you avoid common mistakes and variations offered fun options. Remember, proper cooling and storage are essential for great results. You can be creative with flavors and designs. Enjoy making these treats for any occasion, and remember to share your cake pop creations with friends. Happy baking!