Are you ready to elevate your Rice Krispie treats to a whole new level? In this blog, I’ll guide you through making Brown Butter Dulce de Leche Rice Krispie Treats that will wow your taste buds. With rich flavors and simple steps, these treats are perfect for all occasions. Get ready to create a sweet delight that’s easy to share with friends and family. Let’s dive in!
Ingredients
List of Ingredients
– 4 cups Rice Krispies cereal
– 1 cup marshmallows (mini or regular)
– 1 cup dulce de leche
– 1/2 cup unsalted butter
– 1/2 teaspoon sea salt
– 1 teaspoon vanilla extract
– Optional: Flaky sea salt for garnish
Quantity and Substitutions
You can adjust the recipe for different servings easily. For 6 servings, use half the ingredients. For 24 servings, double everything. If you need swaps for dietary needs, try gluten-free Rice Krispies. You can also use vegan butter and marshmallows for a dairy-free version.
If you can’t find dulce de leche, you can make a quick version by simmering sweetened condensed milk. Just be sure to stir it often to avoid burning. This way, you can still enjoy that rich, sweet flavor in your treats! For added fun, mix in some nuts or chocolate chips if you like. These small changes can make your treats even more special.
Step-by-Step Instructions
Preparation Process
1. Melting the butter: Begin by placing unsalted butter in a medium saucepan. Heat it over medium heat. Stir it often to keep it from burning. Watch closely for a rich golden brown color. A nutty smell will fill the air. That’s when you know it’s ready!
2. Mixing in marshmallows and dulce de leche: Remove the pan from heat once the butter is brown. Add mini or regular marshmallows to the pan. Stir until the marshmallows melt and blend into a smooth mixture. Next, mix in the dulce de leche. Stir until it’s all well combined.
Combining Ingredients
1. Folding in the Rice Krispies: Now, it’s time to add the Rice Krispies. Use a spatula to gently fold them into the mixture. Make sure every piece is coated but be careful not to crush the cereal.
2. Preparing the baking dish: Take a 9×13 inch baking dish and line it with parchment paper. Leave some paper hanging over the edges. This makes it easy to lift out the treats later. Pour the mixture into the dish. Press it down evenly using a spatula or your greased hands.
Cooling and Serving
1. Cooling times: Let the Rice Krispie treats cool at room temperature. This helps them set properly. It takes about 20 minutes for them to firm up.
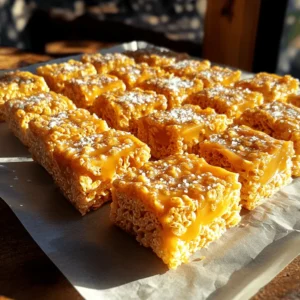
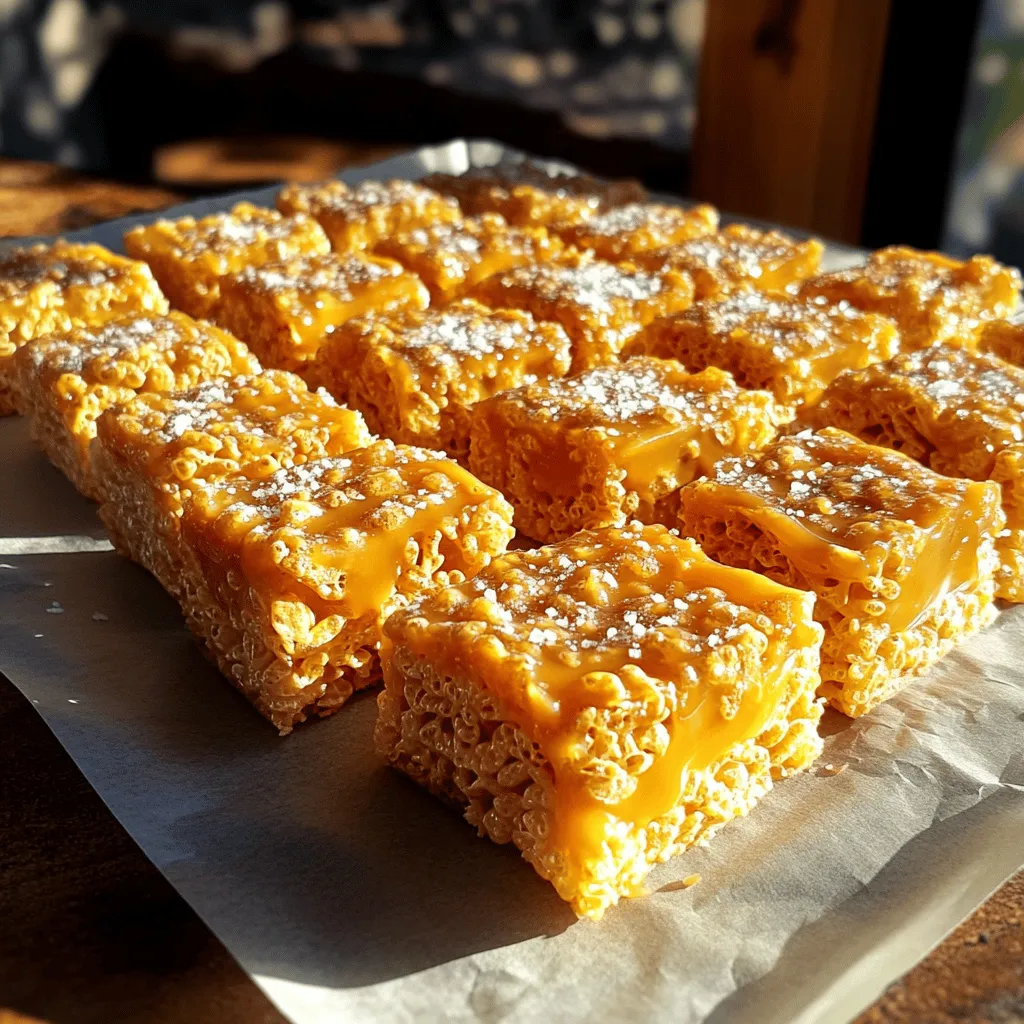
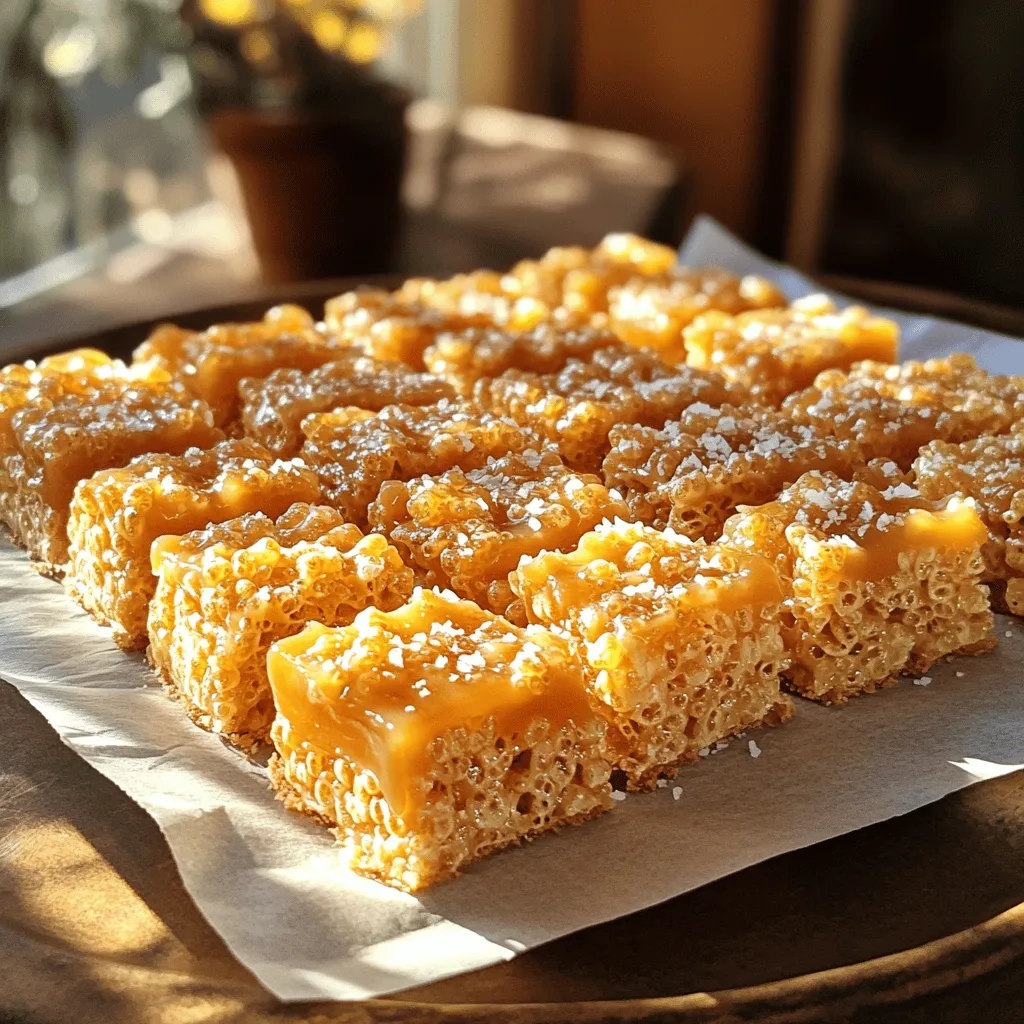
2. Cutting and serving suggestions: Once cooled, take the treats out using the parchment paper. Cut them into squares or rectangles. For a nice touch, sprinkle flaky sea salt on top before serving. Enjoy your delicious Brown Butter Dulce de Leche Rice Krispie Treats! You can find the Full Recipe for more details.
Tips & Tricks
Perfecting the Recipe
To get the right brown butter color, watch the butter closely. Melt it over medium heat. Stir it often. You want it to turn a deep golden brown. This gives a nutty taste that makes your treats special. The smell will guide you. When you smell that rich aroma, it’s ready.
For a smooth marshmallow mixture, use low heat. Add the marshmallows to the brown butter slowly. Stir until they melt completely. If the mixture is lumpy, keep stirring. It should be creamy and smooth before you add the dulce de leche.
Enhancing Flavor
To boost flavor, try adding mix-ins. Chopped nuts or mini chocolate chips work well. You can also add dried fruit for a chewy bite. Each mix-in gives a new twist to your treats.
Different types of dulce de leche can change the taste too. You might use a store-bought version or make your own. Each option has a unique flavor that can surprise you. Choose based on your taste and what you have.
Serving Suggestions
For a fancy touch, present the treats on a colorful platter. Line it with parchment paper. This adds charm and makes cleanup easy. A sprinkle of flaky sea salt on top looks great and adds flavor.
Pair your Rice Krispie treats with cold milk or hot cocoa. They also go well with coffee or tea. You can even serve them with ice cream for a fun dessert. Enjoy experimenting with different pairings!
For the full recipe, check out the details above.
Variations
Flavor Variations
You can switch up these treats easily. Here are two fun ideas:
– Chocolate Brown Butter Dulce de Leche Rice Krispie Treats: Add 1/2 cup of chocolate chips to the melted marshmallow mix. This adds a rich, sweet taste. The chocolate pairs great with the dulce de leche and brown butter.
– Nut Butter Twist Rice Krispie Treats: Swap the dulce de leche for 1 cup of your favorite nut butter, like almond or peanut. It gives a creamy, nutty flavor that kids and adults will love.
Dietary Variations
Making treats for everyone is easy with a few changes:
– Gluten-free options: Use gluten-free Rice Krispies. Check the label on your marshmallows to ensure they are also gluten-free.
– Vegan substitutions: Use a plant-based butter and dairy-free marshmallows. This way, you cater to vegan friends without losing taste.
Seasonal Variations
Get creative with the seasons! Here are a couple of ideas:
– Halloween-themed treats: Add orange and black sprinkles to the top. You can also mix in candy corn for fun flavors and colors.
– Holiday-inspired flavors: Stir in 1/2 teaspoon of peppermint extract during the melting stage. You can also sprinkle crushed candy canes on top for a festive touch.
By using these variations, you can make Brown Butter Dulce de Leche Rice Krispie Treats for any occasion. Check out the full recipe for more details!
Storage Info
How to Store
To keep your Brown Butter Dulce de Leche Rice Krispie Treats fresh, store them in an airtight container. This will help prevent them from getting hard or stale. If you have leftovers, use a container that seals tightly. I recommend a glass or plastic container with a lid. You can also layer the treats with parchment paper to keep them from sticking together.
Shelf Life
These treats can stay fresh for about one week at room temperature. If you see any signs of spoilage, like a bad smell or a dry texture, it’s best to toss them. Freshness is key to enjoying their delicious flavor.
Freezing Tips
Yes, you can freeze Rice Krispie treats! To do this, wrap them tightly in plastic wrap or foil. Then, place them in a freezer-safe bag or container. They can last up to three months in the freezer. When you’re ready to enjoy them, let them thaw in the fridge overnight. After thawing, they should taste just as good as when you made them.
FAQs
Common Questions
Can I use other cereal instead of Rice Krispies?
Yes, you can use other cereals! Try Cornflakes or Fruity Pebbles for fun twists. Each cereal has a unique taste, so pick one you like. Just make sure it’s crispy and light.
What can I use if I don’t have dulce de leche?
If you lack dulce de leche, use caramel sauce instead. It has a similar sweet, creamy texture. You can also make a simple caramel at home using sugar and cream.
Troubleshooting Tips
Why did my Rice Krispie treats get hard?
If your treats are hard, you likely used too much cereal. This can dry them out. Make sure to follow the recipe closely for the best texture. Adding a touch of melted butter might help soften them up.
How to fix a sticky mixture?
If your mixture is too sticky, add a bit more Rice Krispies. You can also coat your hands with cooking spray while pressing them into the pan. This helps prevent sticking.
Cooking Times and Temperature
Ideal cooking temperatures for perfect results
Always melt the butter on medium heat. This ensures even cooking and prevents burning. Watch closely as it turns golden brown.
Adjustments for high-altitude cooking
At high altitudes, you may need to reduce the amount of marshmallows. This keeps the treats from getting too puffy. Increase the cooking time slightly to ensure everything melts well.
In this blog post, we explored how to make delicious Rice Krispie treats. We covered the essential ingredients, step-by-step instructions, and helpful tips. You learned about variations to suit your taste and dietary needs.
With the right techniques, you can create a tasty treat perfect for any occasion. Use fresh ingredients for the best flavor. Follow these steps, and enjoy making your own delightful Rice Krispie treats!