DINNER
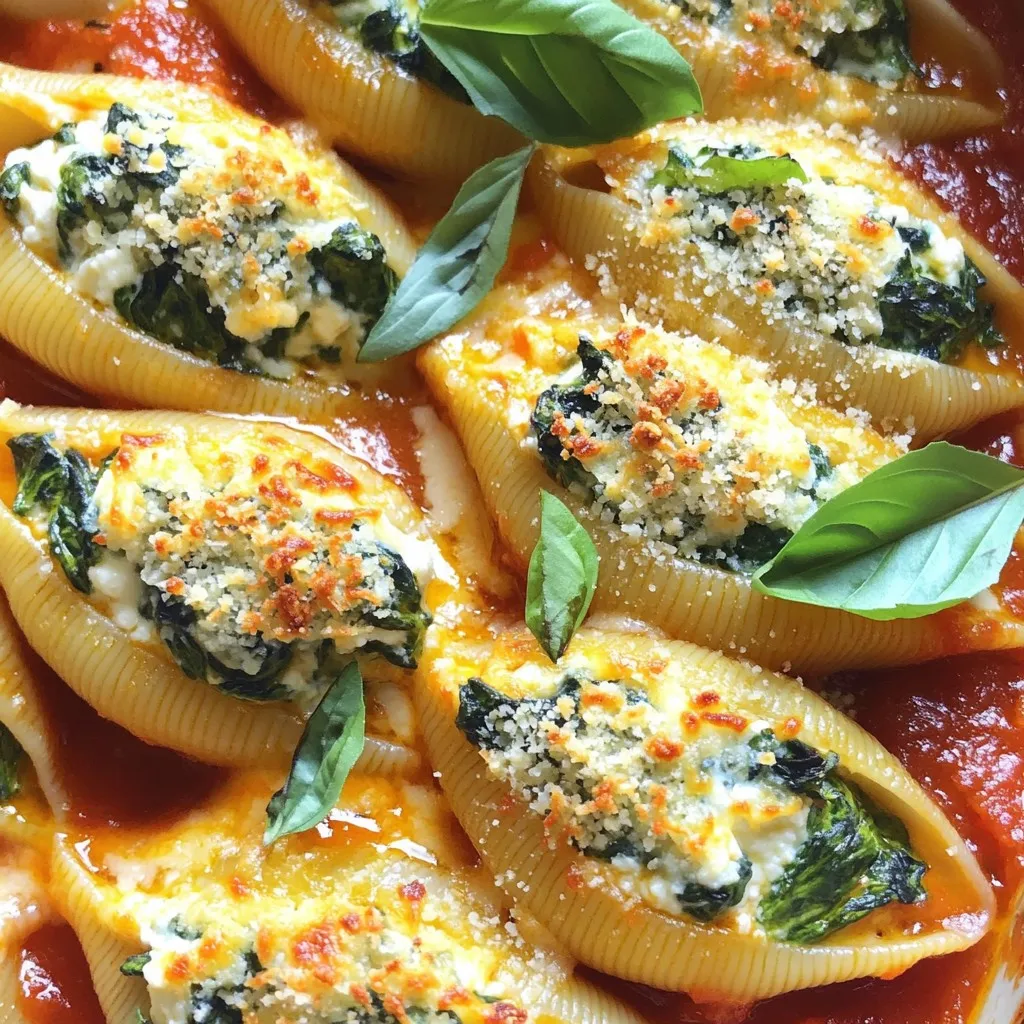
Savory Spinach and Ricotta Stuffed Shells Recipe
Are you ready to make a dish that impresses? These savory spinach and ricotta stuffed shells are a feast for...
READ MORE →Chef Elliot
I’m Chef Elliot, your laid-back kitchen wingman with a serious love for bold flavors and easy cooking. 🥄✨
I believe anyone can cook—no fancy tools, no five-star background required. Just great recipes, a sprinkle of curiosity, and maybe a lemon zest moment to keep things fresh. 🍋💪
Think of me as your flavor coach: part guide, part cheerleader, always down for a second helping. I’m here to help you ditch the stress and stir up some joy—one tossed-together recipe at a time.

Delicious recipes crafted by Chef Elliot
Are you ready to make a dish that impresses? These savory spinach and ricotta stuffed shells are a feast for...
READ MORE →
Are you ready to make a dish your family will love? These Cheesy Ground Beef Enchiladas are quick, easy, and...
READ MORE →
Craving a cozy, mouthwatering soup that practically makes itself? You’re in the right place! My Crockpot Crack Potato Soup is...
READ MORE →
Are you ready to enjoy a delicious snack that’s both healthy and easy? These Crispy Baked Sweet Potato Fries are...
READ MORE →
Imagine biting into a warm, fluffy roll, bursting with the rich flavors of garlic and fresh herbs. These Herb and...
READ MORE →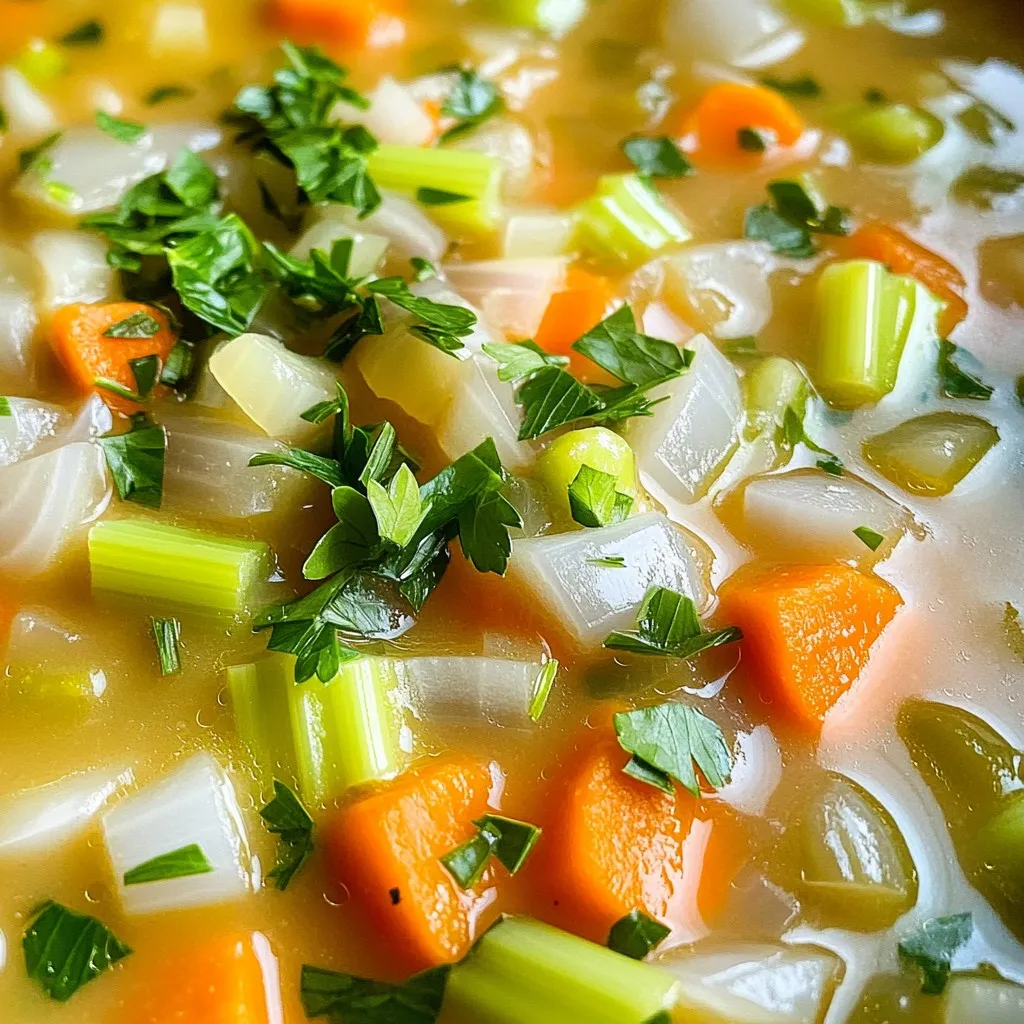
Looking for a warm bowl of comfort? This creamy vegetable soup is simple, tasty, and packed with fresh veggies. In...
READ MORE →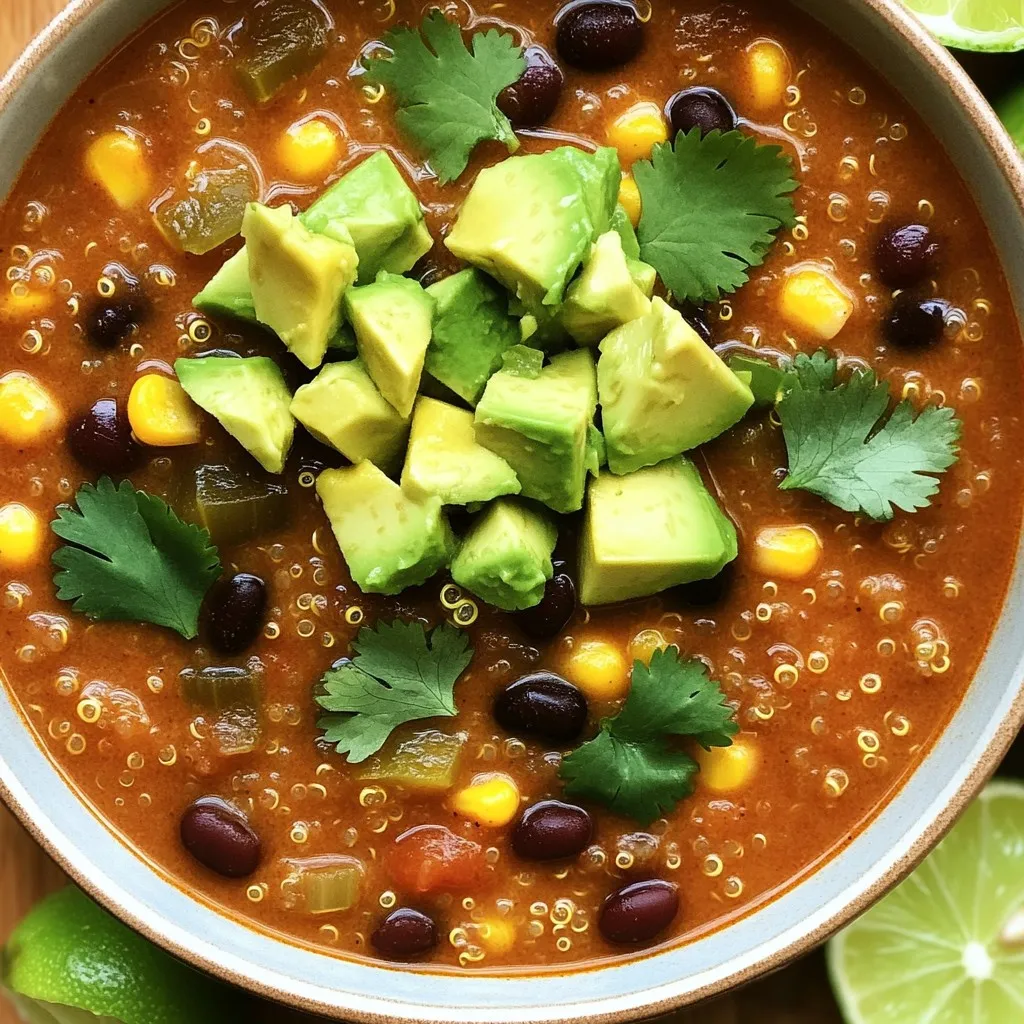
Looking for a warm, tasty dinner? This Savory Slow Cooker Quinoa Enchilada Soup is perfect for you! It combines rich...
READ MORE →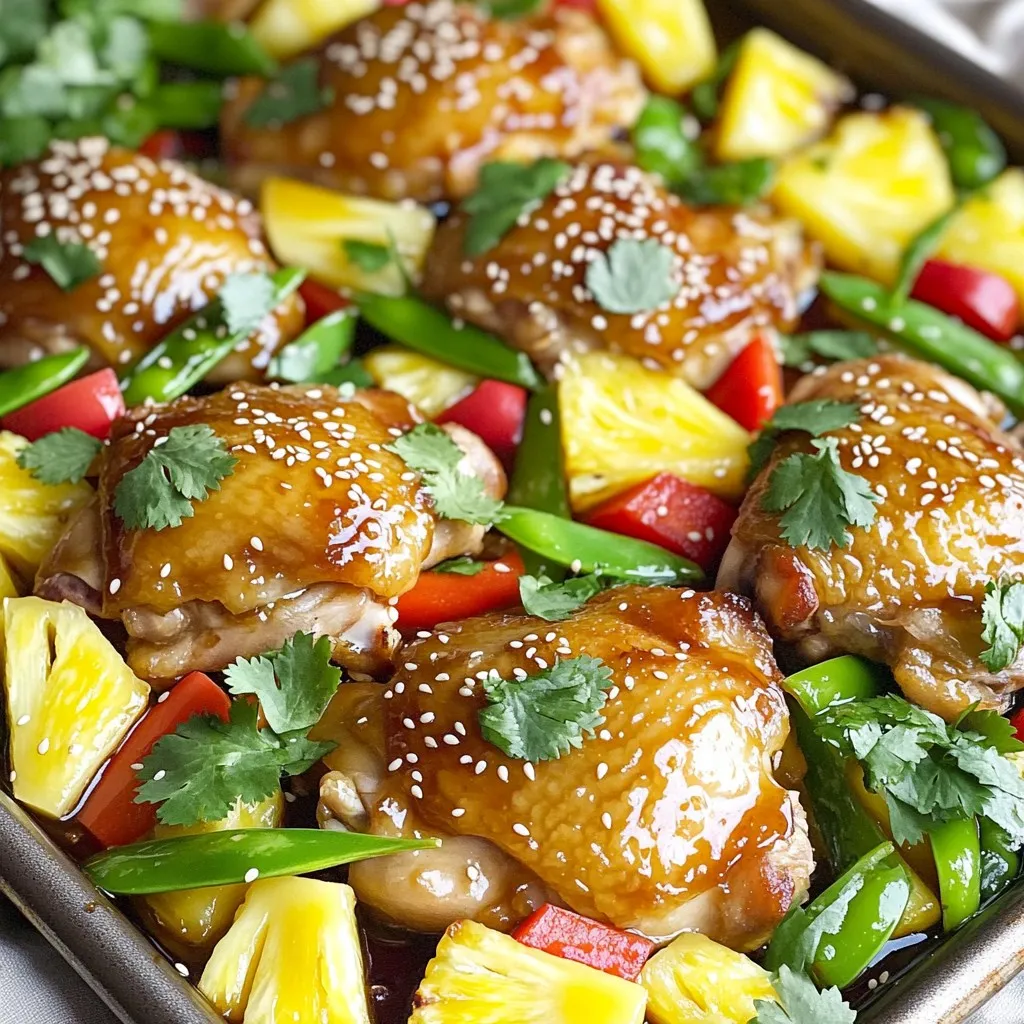
Are you ready for a meal that’s simple, tasty, and full of flavor? This Sheet-Pan Teriyaki Pineapple Chicken recipe combines...
READ MORE →
Are you craving a simple and delicious meal? This One-Pot Thai Coconut Curry Noodles dish is your solution. It’s quick,...
READ MORE →
If you’re craving a quick and tasty meal, you’re in the right place! Today, I’m excited to share my Minute...
READ MORE →