DINNER
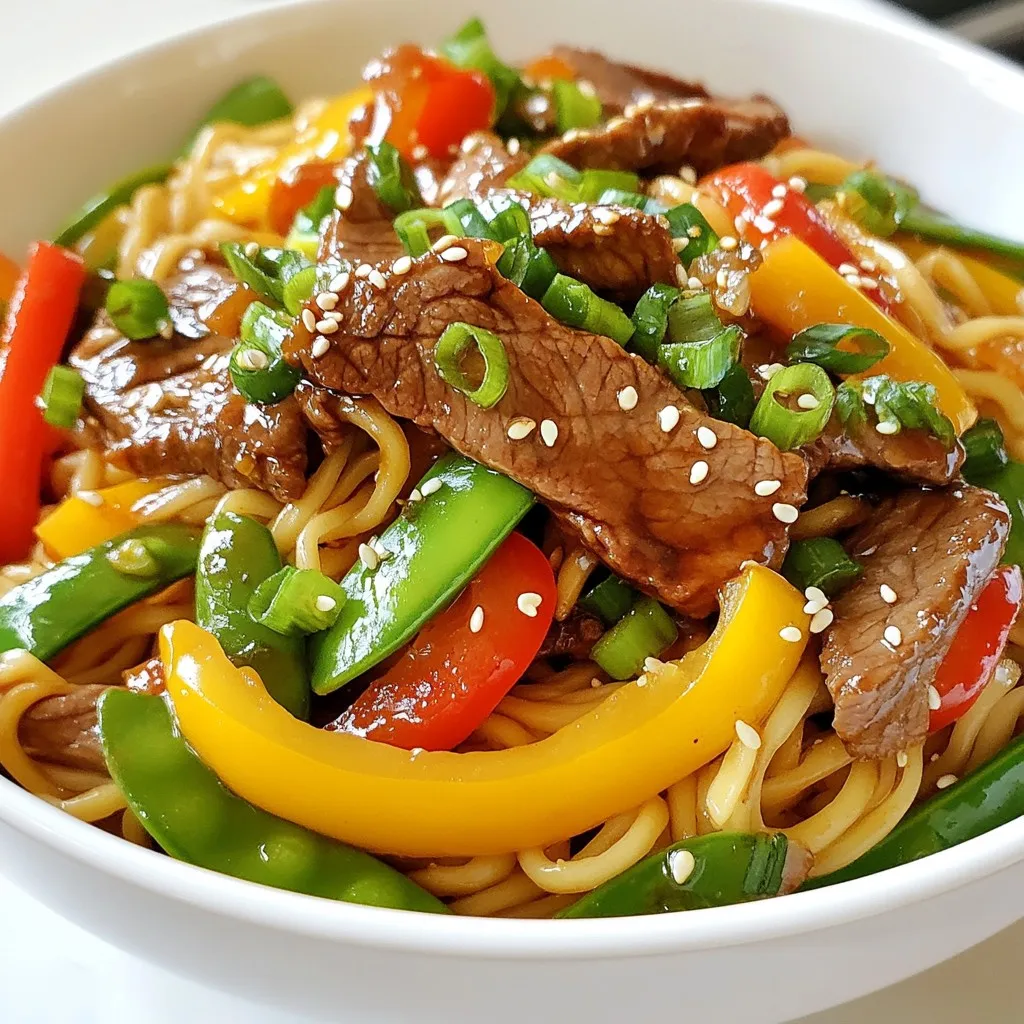
Minute Teriyaki Beef Noodles Quick and Tasty Recipe
Craving a quick and tasty meal? I’ve got you covered with my Minute Teriyaki Beef Noodles recipe. This dish is...
READ MORE →Chef Elliot
I’m Chef Elliot, your laid-back kitchen wingman with a serious love for bold flavors and easy cooking. 🥄✨
I believe anyone can cook—no fancy tools, no five-star background required. Just great recipes, a sprinkle of curiosity, and maybe a lemon zest moment to keep things fresh. 🍋💪
Think of me as your flavor coach: part guide, part cheerleader, always down for a second helping. I’m here to help you ditch the stress and stir up some joy—one tossed-together recipe at a time.

Delicious recipes crafted by Chef Elliot
Craving a quick and tasty meal? I’ve got you covered with my Minute Teriyaki Beef Noodles recipe. This dish is...
READ MORE →
Are you ready to make a delicious Lemon Baked Chicken? This savory dish is simple, quick, and perfect for any...
READ MORE →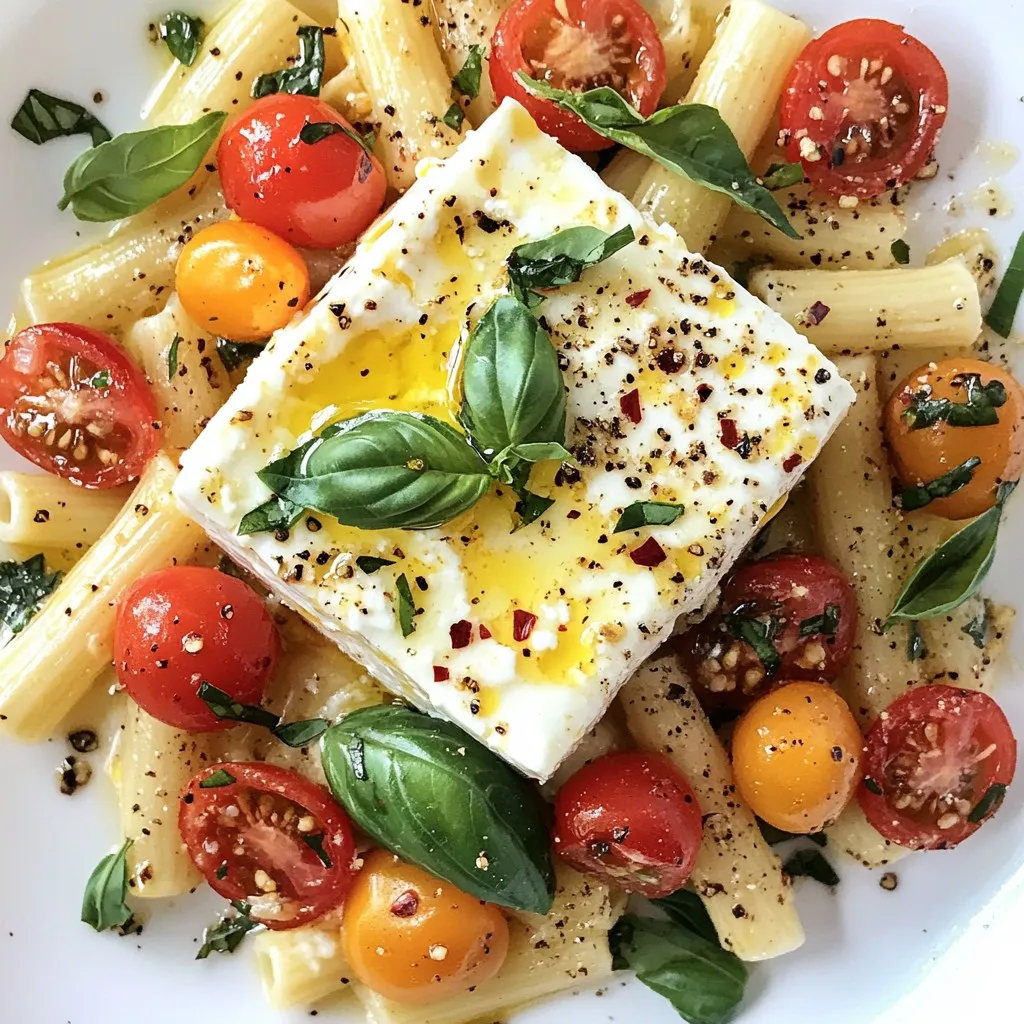
Have you heard of the viral baked feta pasta that took the internet by storm? This simple recipe mixes creamy...
READ MORE →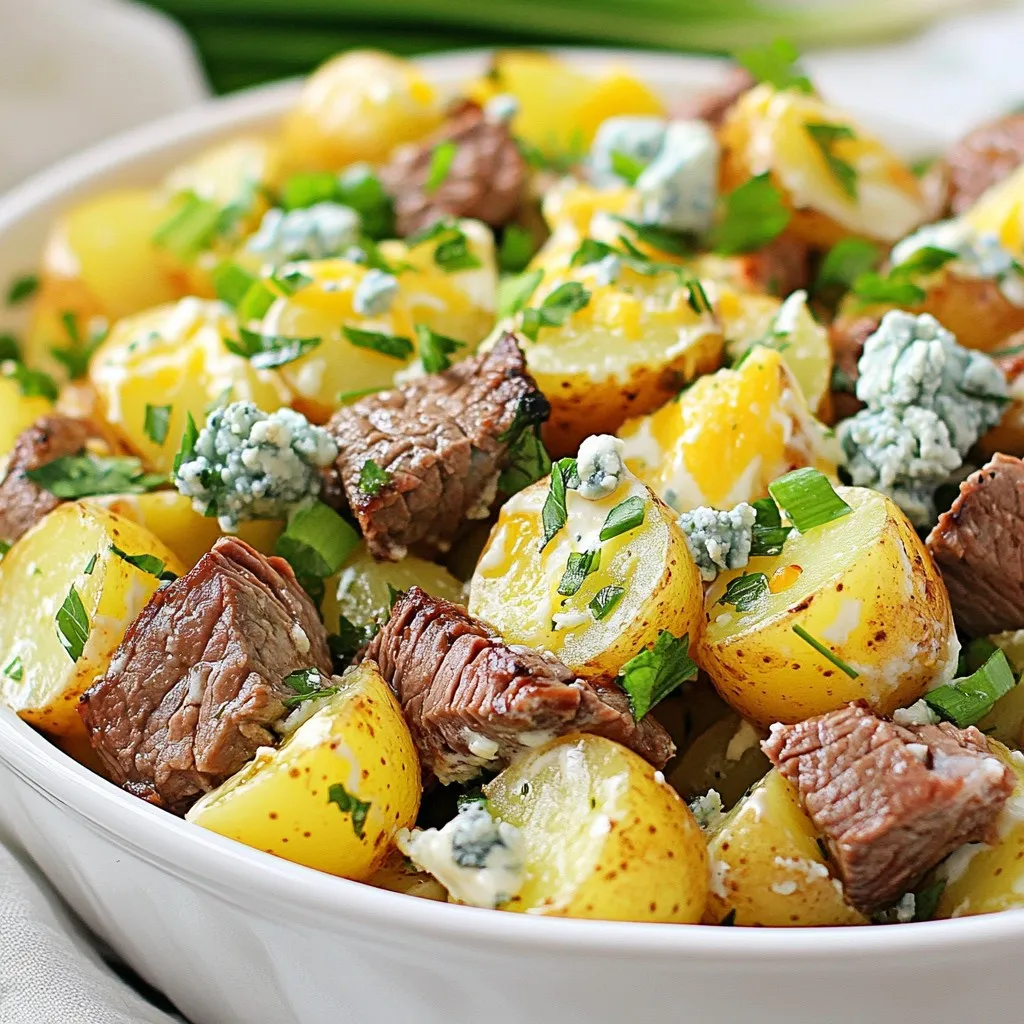
Are you tired of the same old potato salad? Let’s spice things up! This Savory Steakhouse Potato Salad is not...
READ MORE →
Looking for a quick and tasty lunch idea? This Dill Pickle Chicken Salad hits the spot! It blends tender chicken...
READ MORE →
Are you ready to elevate your vegetable game? Garlic Parmesan Roasted Brussels Sprouts are a perfect side dish that will...
READ MORE →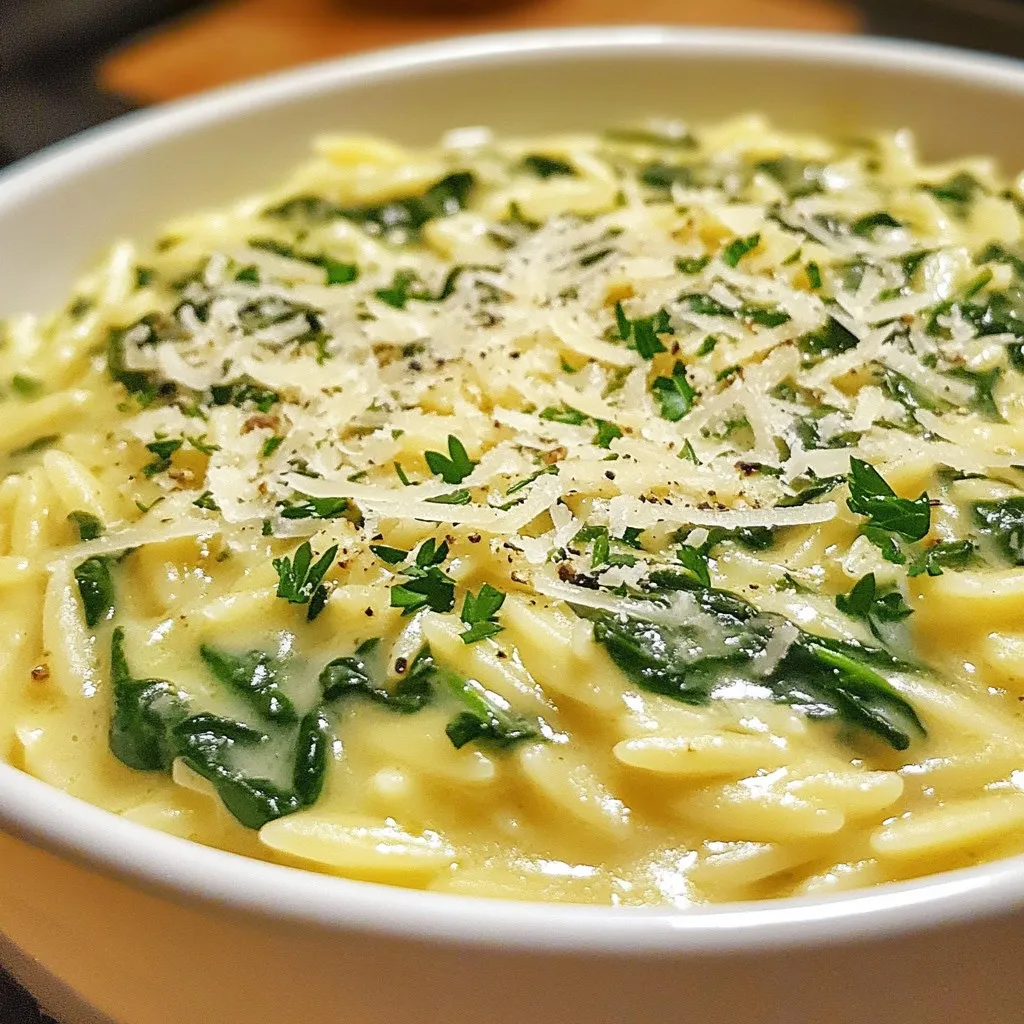
Are you ready to impress your taste buds? In this post, I’ll share a delightful recipe for Creamy Garlic Spinach...
READ MORE →
Want a delicious meal in just 20 minutes? Teriyaki Chicken Stir Fry is your answer! This quick dish is packed...
READ MORE →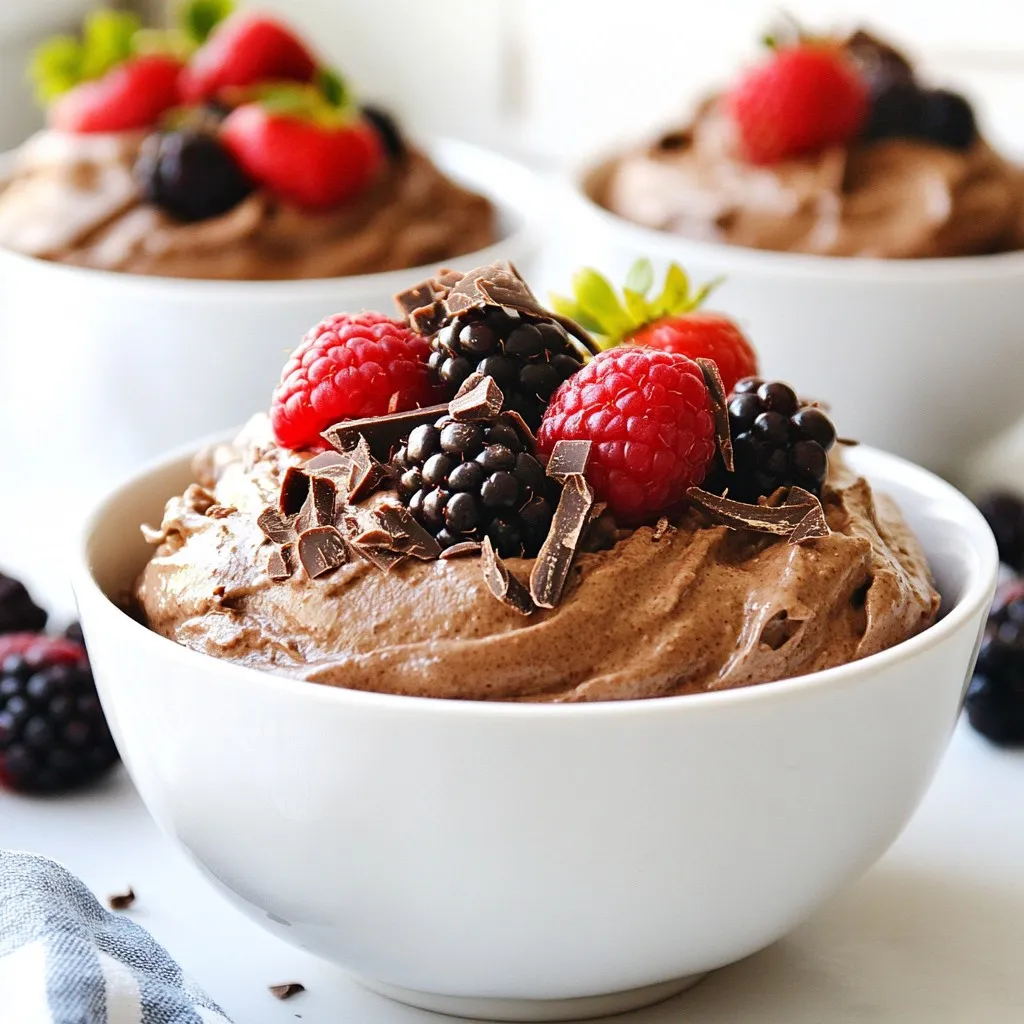
Craving a dessert that’s both fluffy and packed with protein? You’ve come to the right place! My Fluffy Chocolate Protein...
READ MORE →
Are you ready to satisfy your sweet tooth? Strawberry Crunch Cheesecake Tacos are a fun twist on dessert! Imagine creamy...
READ MORE →