DESSERTS
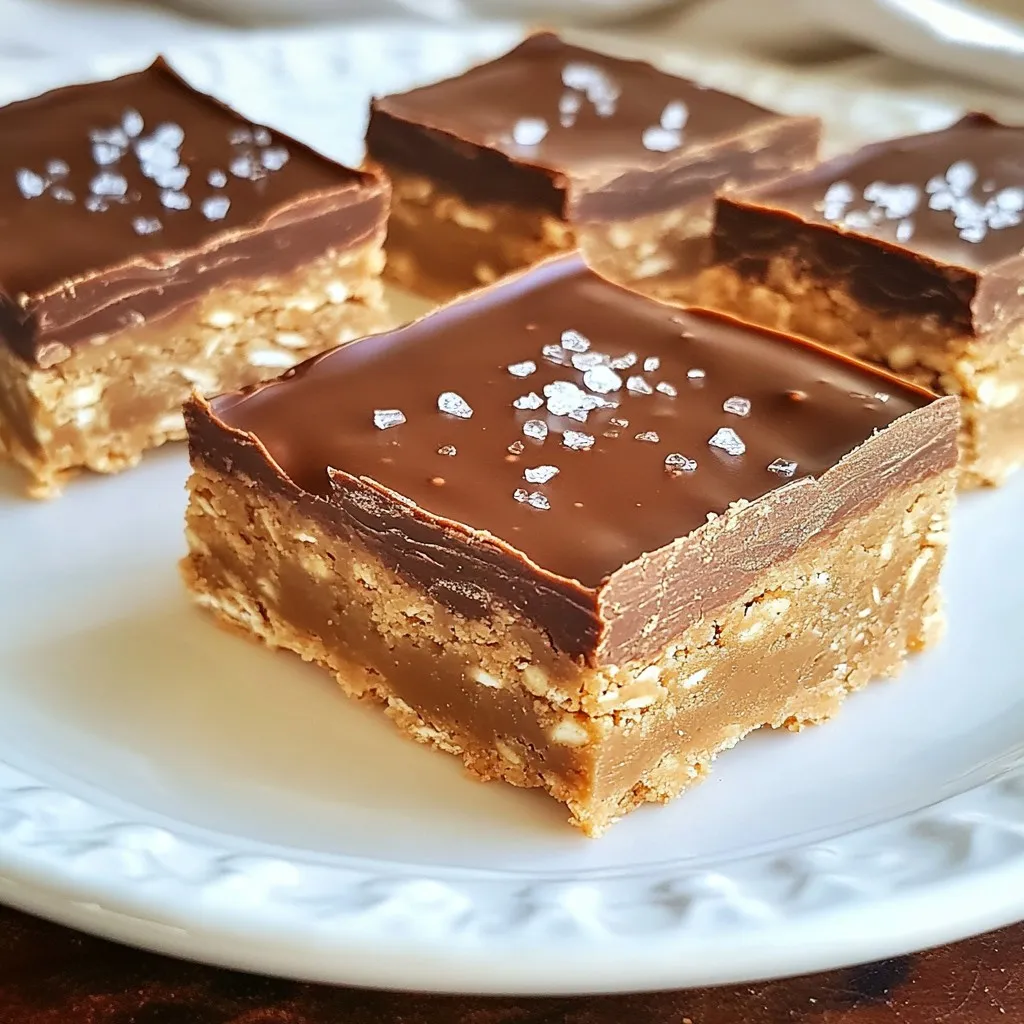
No-Bake Chocolate Peanut Butter Bars Quick Treat Recipe
Craving a sweet treat that’s quick and easy? Look no further! These No-Bake Chocolate Peanut Butter Bars are a game...
READ MORE →Chef Elliot
I’m Chef Elliot, your laid-back kitchen wingman with a serious love for bold flavors and easy cooking. 🥄✨
I believe anyone can cook—no fancy tools, no five-star background required. Just great recipes, a sprinkle of curiosity, and maybe a lemon zest moment to keep things fresh. 🍋💪
Think of me as your flavor coach: part guide, part cheerleader, always down for a second helping. I’m here to help you ditch the stress and stir up some joy—one tossed-together recipe at a time.

Delicious recipes crafted by Chef Elliot
Craving a sweet treat that’s quick and easy? Look no further! These No-Bake Chocolate Peanut Butter Bars are a game...
READ MORE →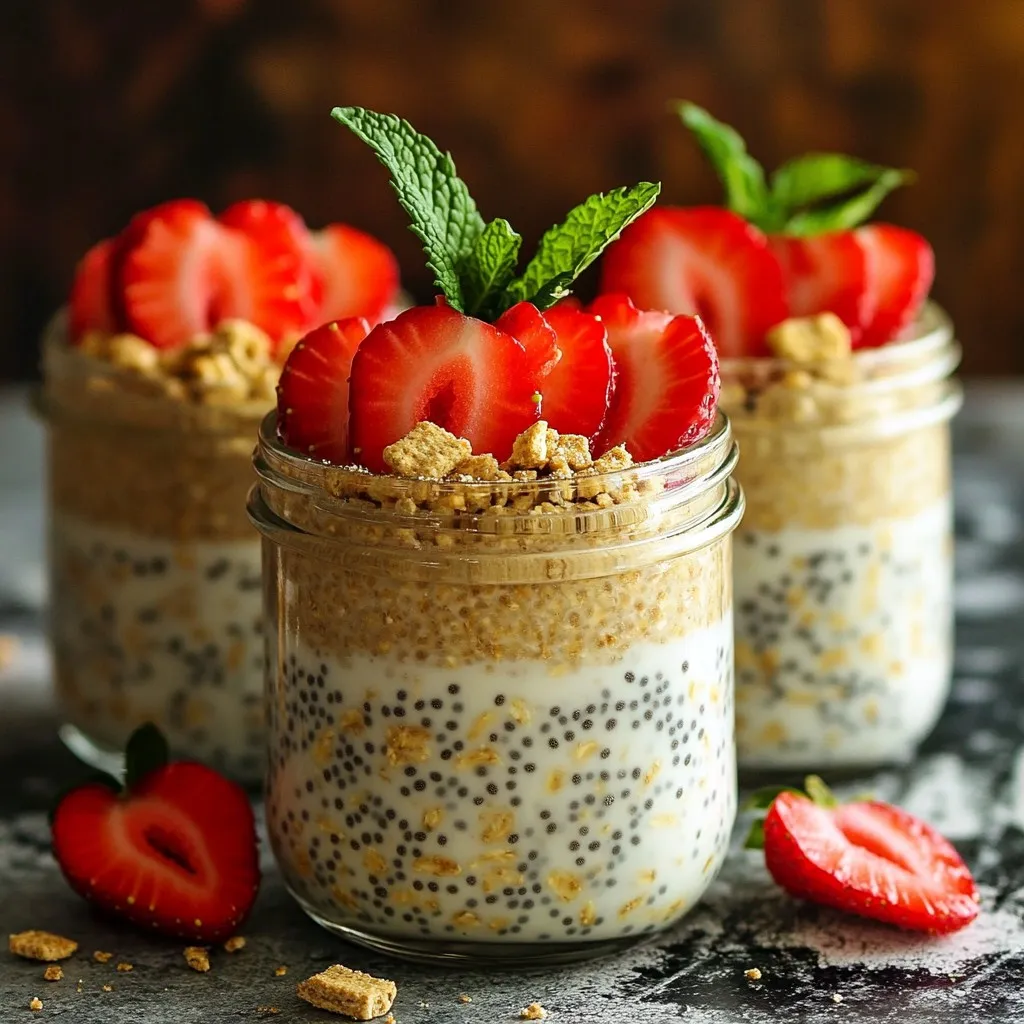
Start your day with a burst of flavor! Strawberry Shortcake Overnight Oats are a fun twist on your morning routine....
READ MORE →
Craving a quick and delicious meal? The TikTok Feta Tomato Pasta Bake is here to save dinner time! This easy...
READ MORE →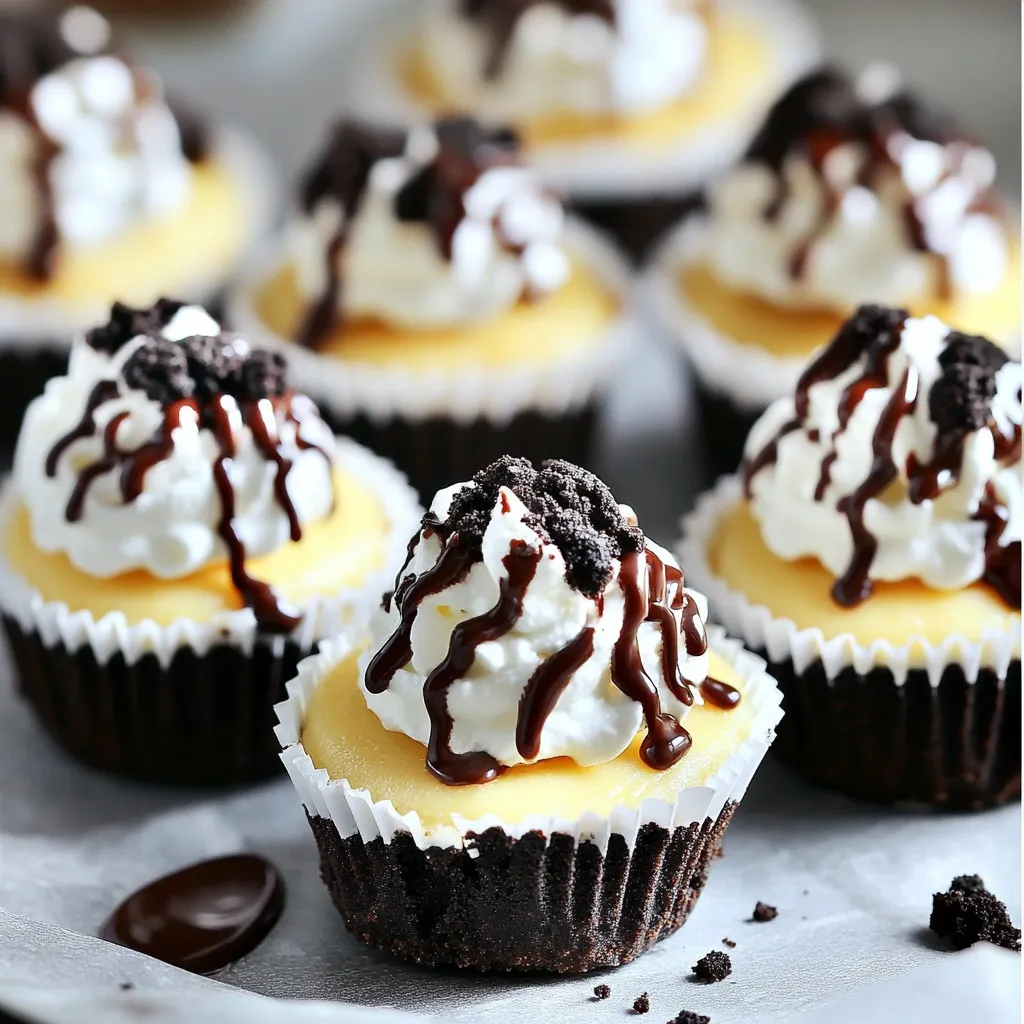
Craving a sweet treat that’s easy to make? You’ll love these Mini Oreo Cheesecake Bites! With just a few simple...
READ MORE →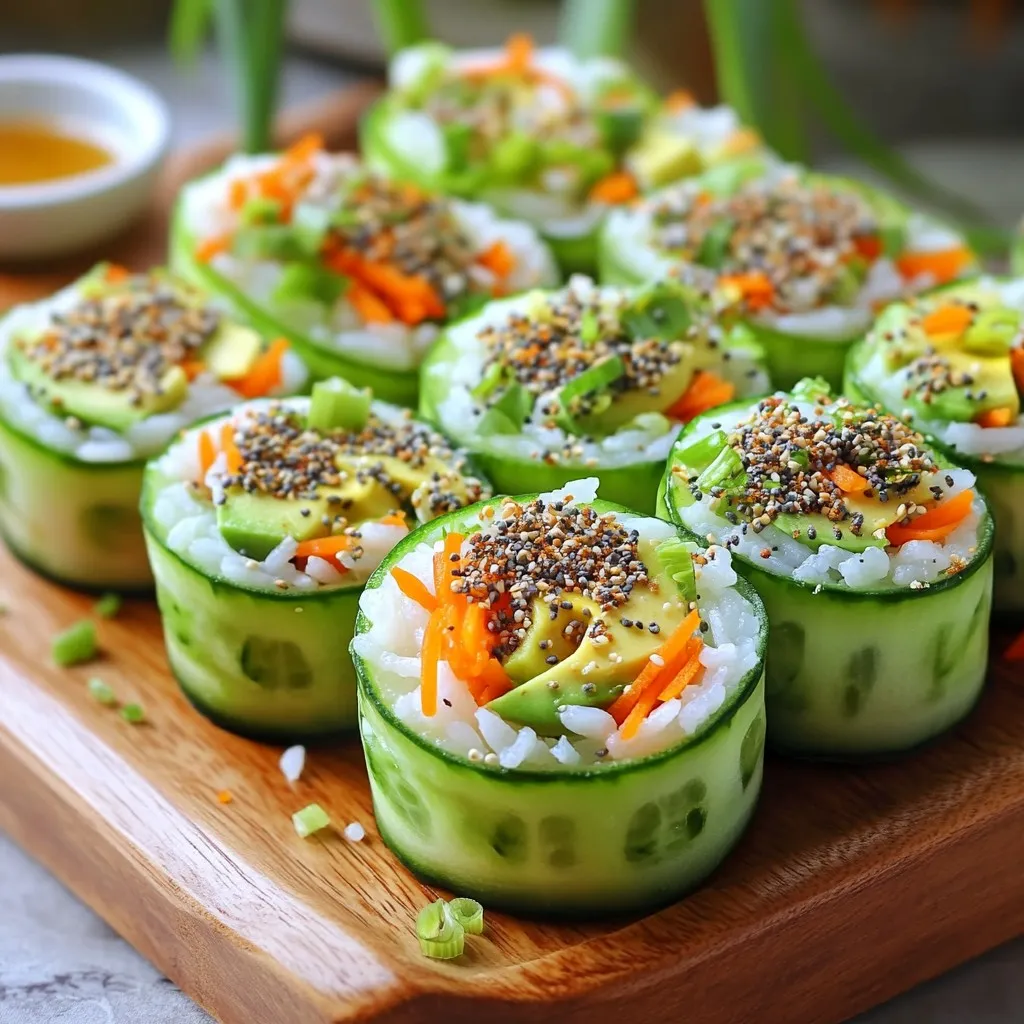
Are you ready to make a fun and tasty treat? These Everything Bagel Cucumber Sushi Rolls are simple to prepare...
READ MORE →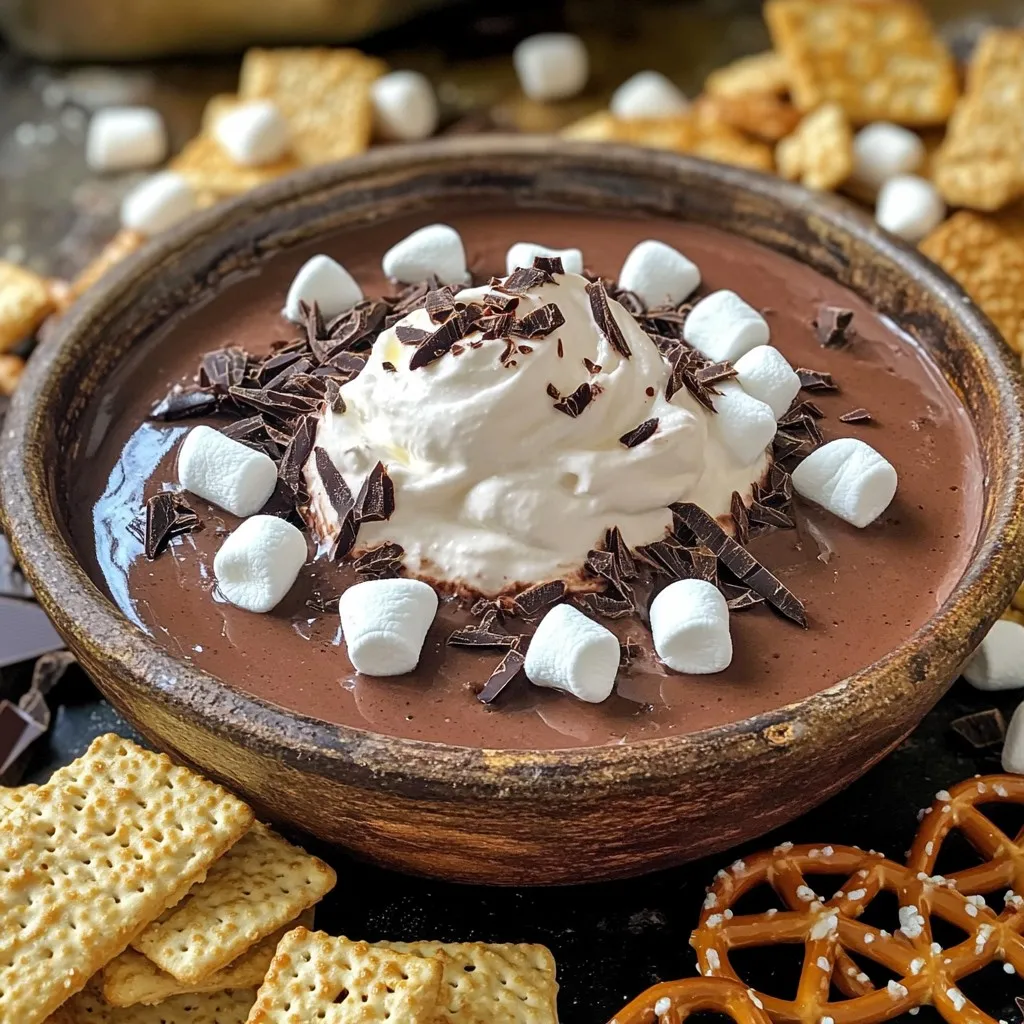
Are you ready to indulge in a sweet treat that combines two favorites: hot chocolate and cheesecake? This Hot Chocolate...
READ MORE →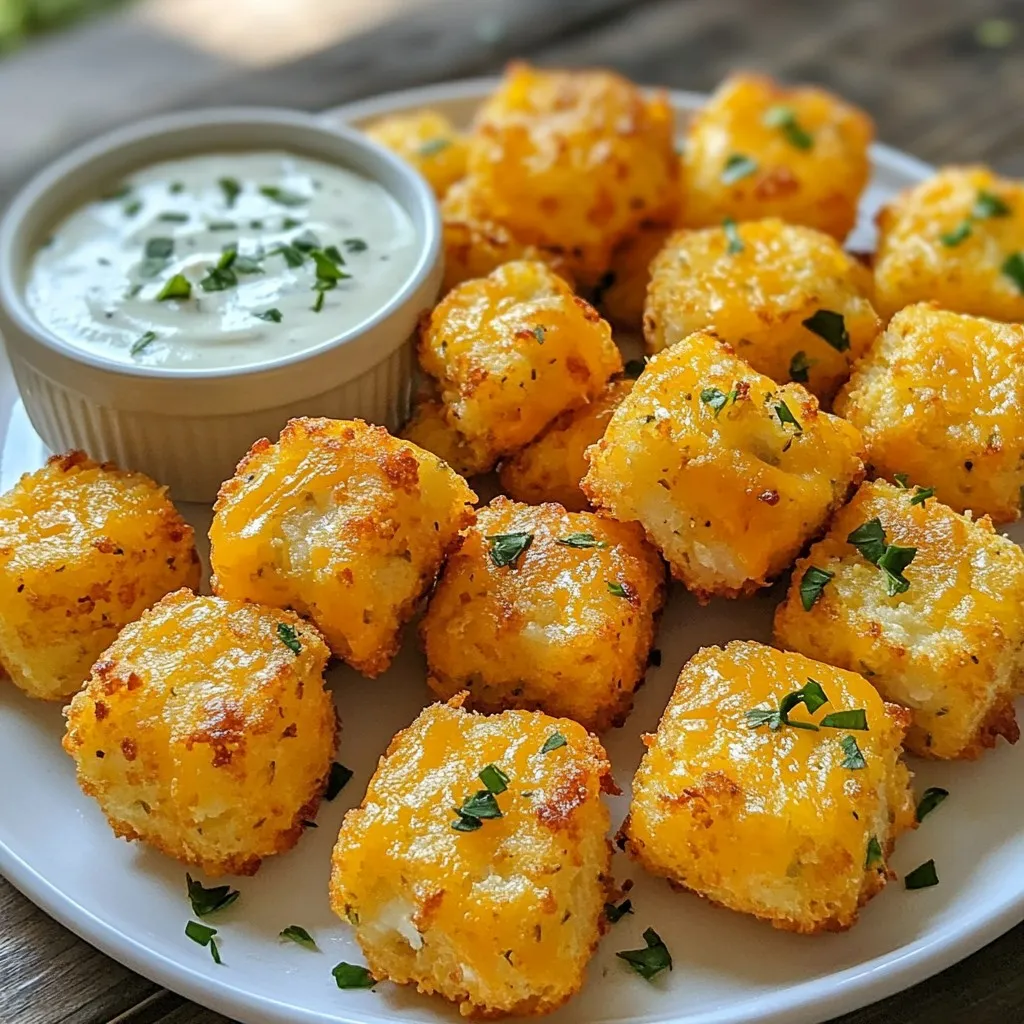
If you’re on the hunt for a guilt-free snack that’s both crispy and delicious, look no further! My Cheesy Cauliflower...
READ MORE →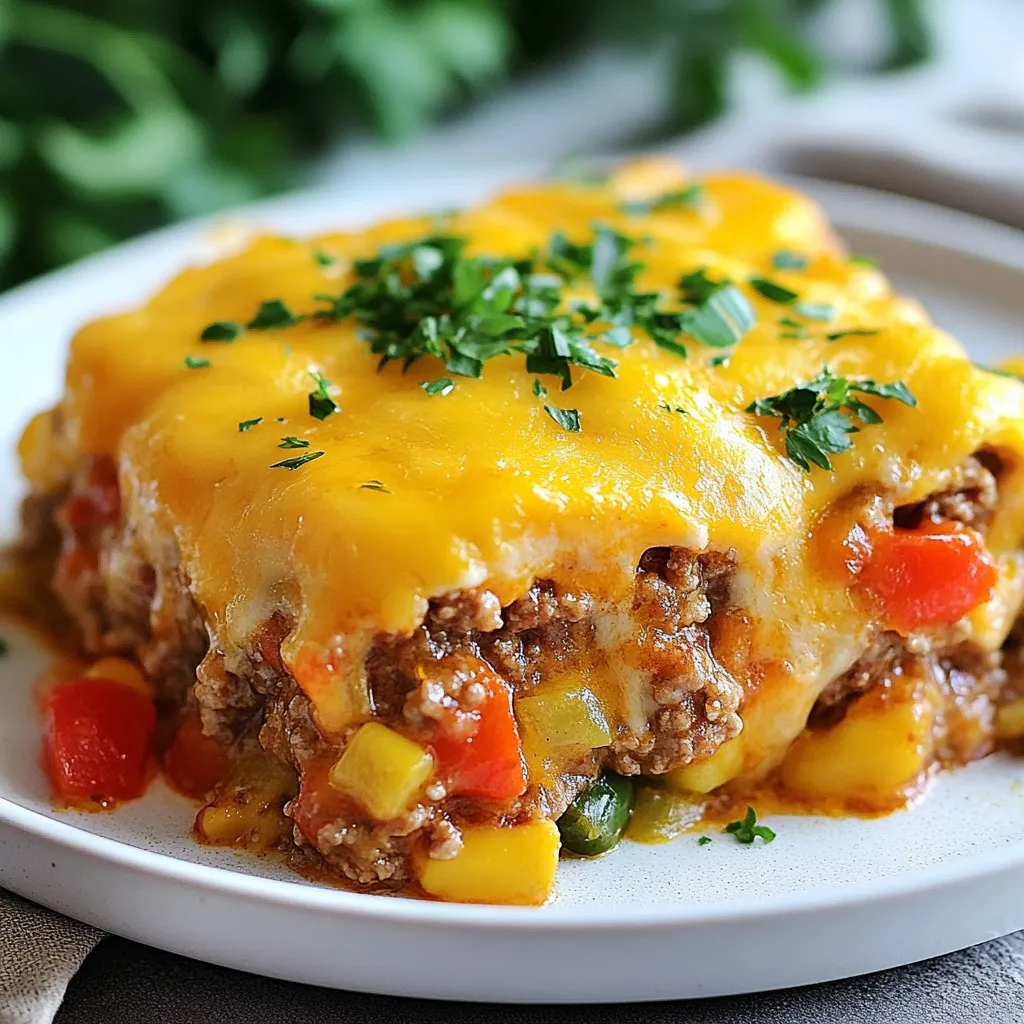
Are you ready for a warm, cheesy hug in casserole form? My Cheesy Meatloaf Casserole is the comfort meal you’ll...
READ MORE →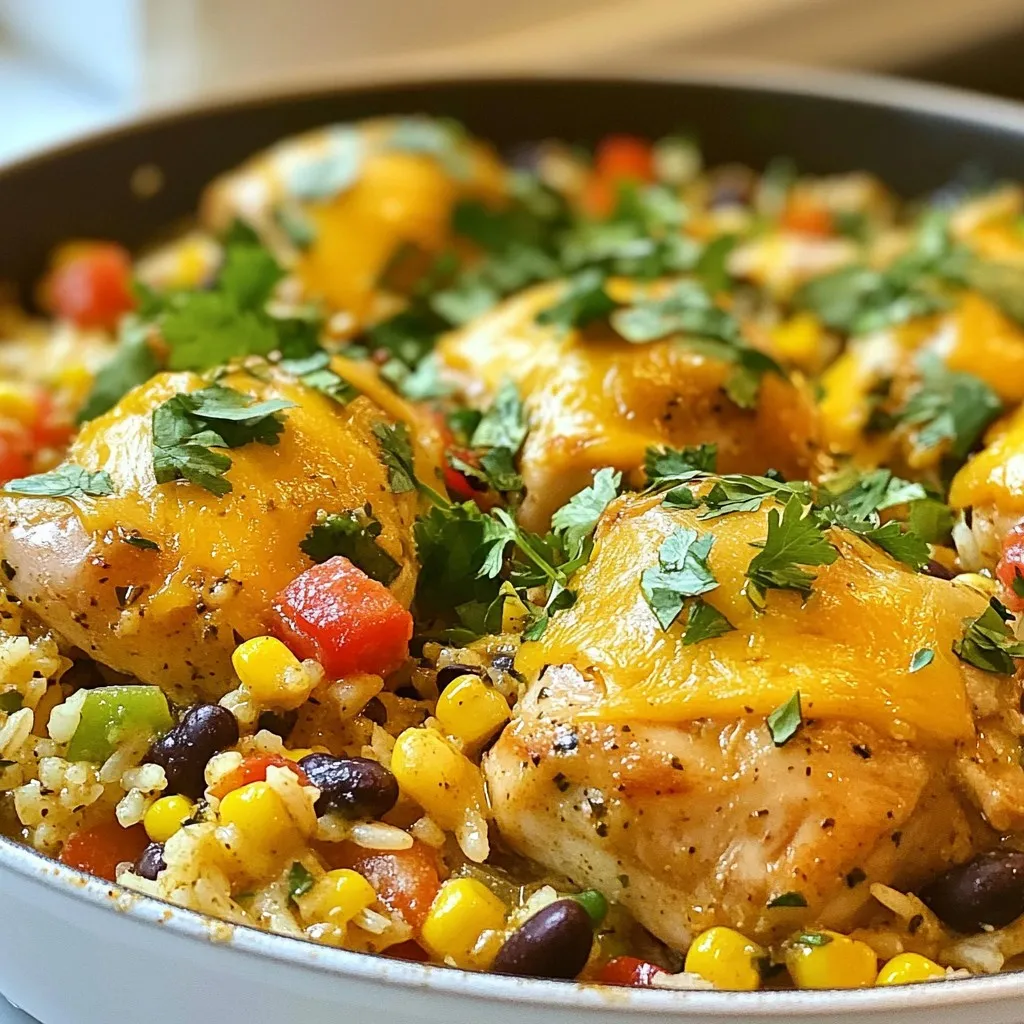
Welcome to your new favorite weeknight meal! This Salsa Verde Chicken and Rice Skillet is packed with bold flavors and...
READ MORE →
Looking for a side dish that packs a punch? My Maple Dijon Roasted Carrots are just what you need! With...
READ MORE →