
BREAKFAST
Pumpkin Spice Latte Energy Bites Simple and Tasty
Are you ready to indulge in a delicious treat that packs a nutritious punch? My Pumpkin Spice Latte Energy Bites...
READ MORE →Chef Elliot
I’m Chef Elliot, your laid-back kitchen wingman with a serious love for bold flavors and easy cooking. 🥄✨
I believe anyone can cook—no fancy tools, no five-star background required. Just great recipes, a sprinkle of curiosity, and maybe a lemon zest moment to keep things fresh. 🍋💪
Think of me as your flavor coach: part guide, part cheerleader, always down for a second helping. I’m here to help you ditch the stress and stir up some joy—one tossed-together recipe at a time.

Delicious recipes crafted by Chef Elliot
Are you ready to indulge in a delicious treat that packs a nutritious punch? My Pumpkin Spice Latte Energy Bites...
READ MORE →
Get ready to indulge in a treat that combines the rich flavors of chocolate and espresso! This Chocolate Espresso Coffee...
READ MORE →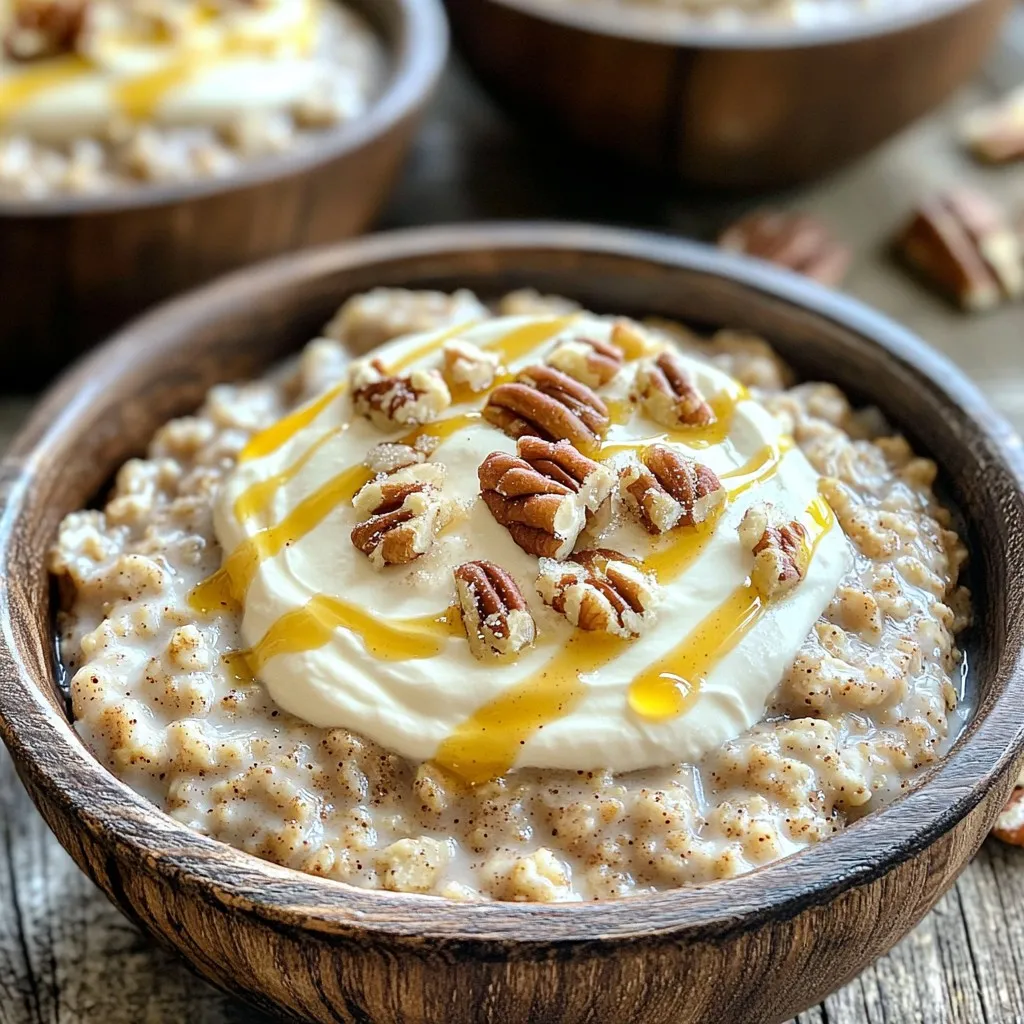
Looking for a warm, comforting breakfast? Try my Slow Cooker Cinnamon Roll Oatmeal. This easy recipe combines the flavors of...
READ MORE →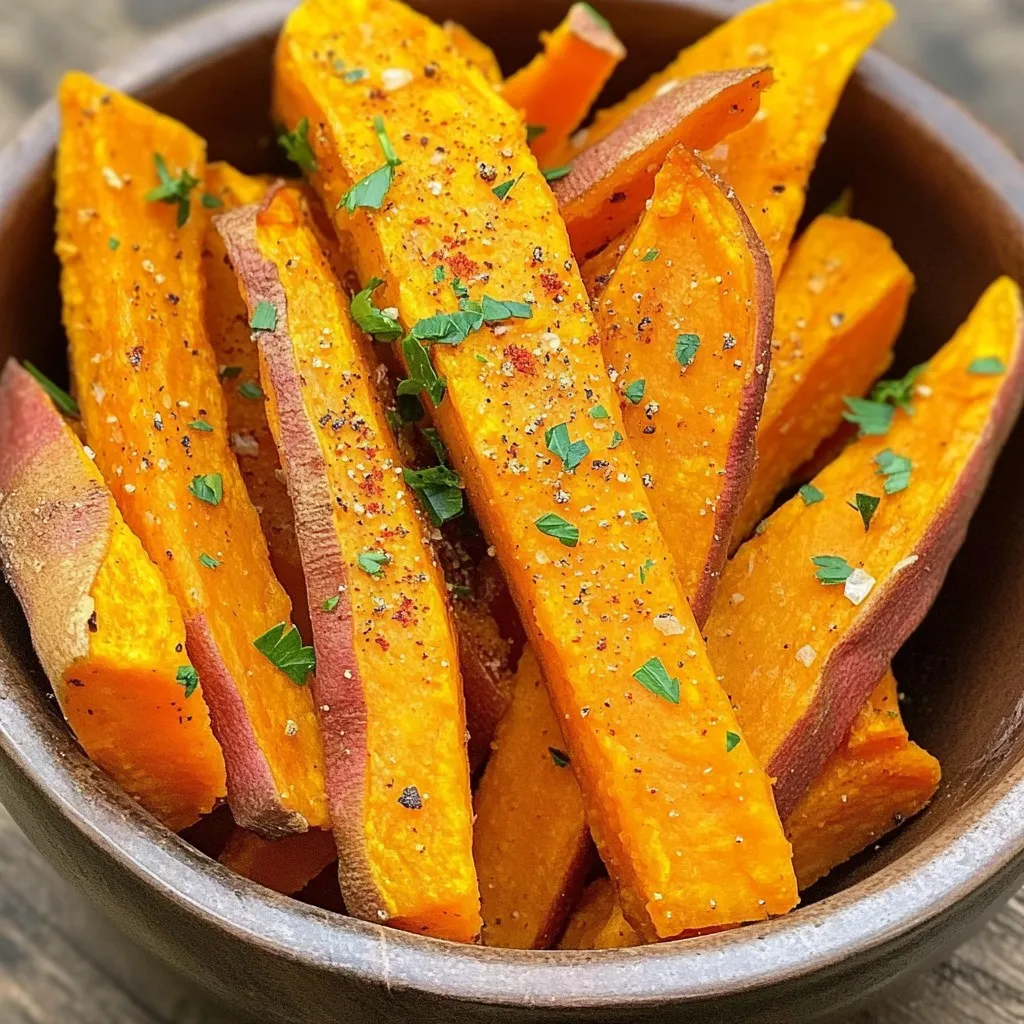
Are you ready to make crispy air fryer sweet potato fries that everyone will love? This easy and tasty recipe...
READ MORE →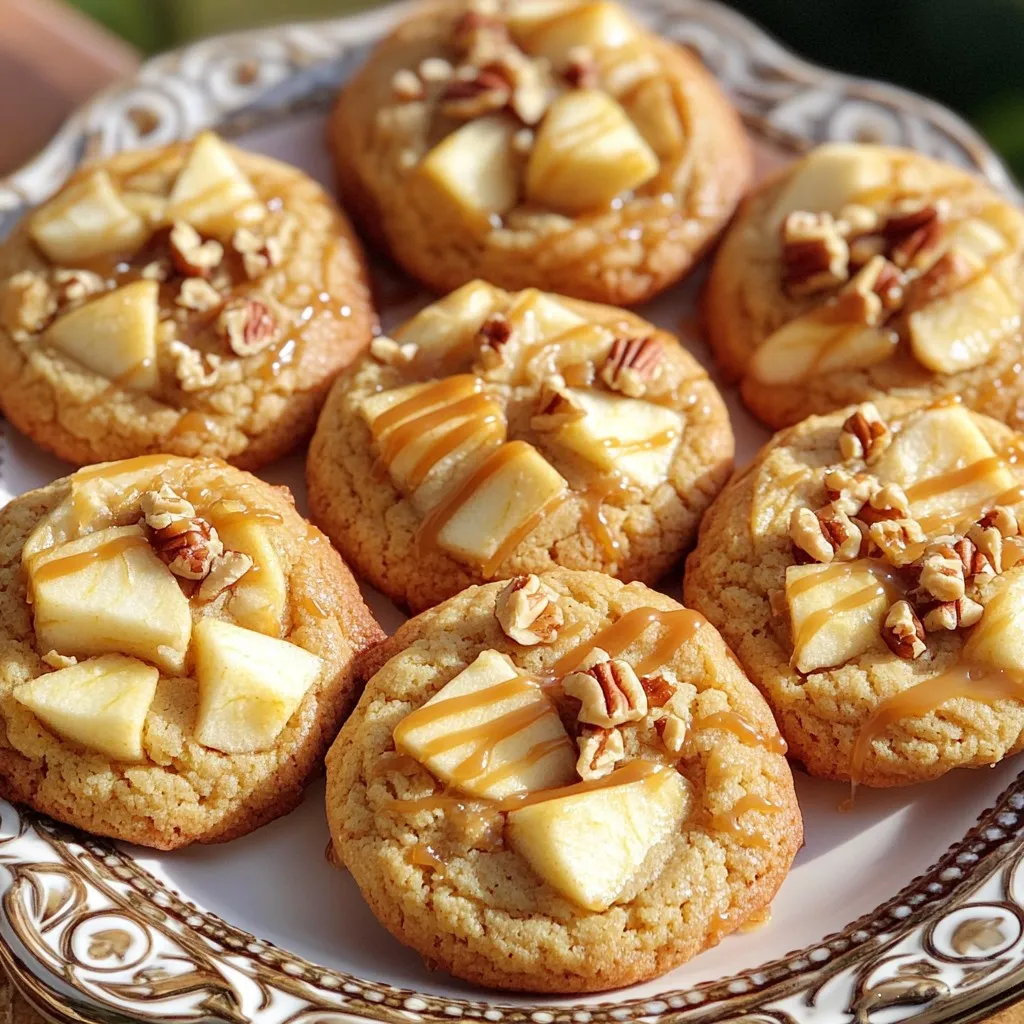
Fall is here, and that means it’s time for cozy treats! Imagine biting into a soft, chewy cookie packed with...
READ MORE →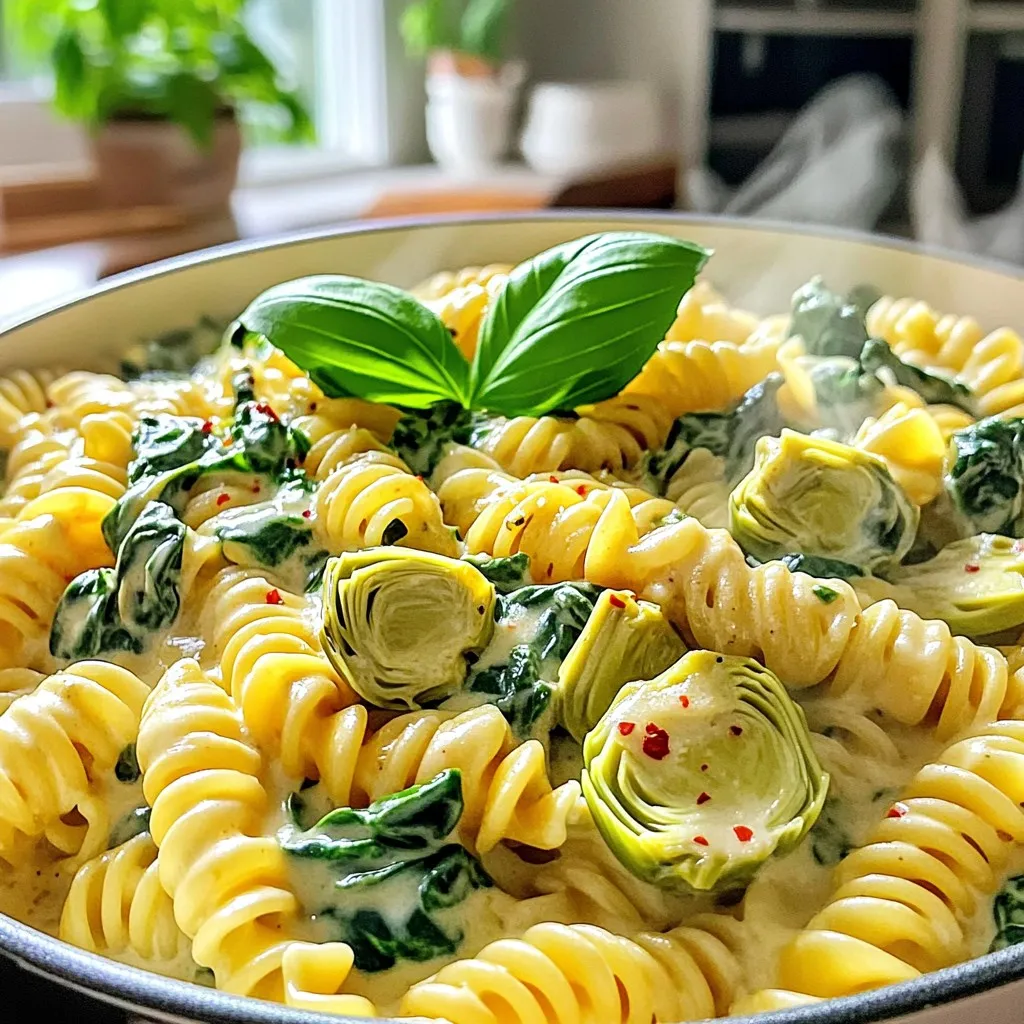
Are you ready for a meal that’s both quick and delicious? This Spinach Artichoke One-Pot Pasta is your new go-to...
READ MORE →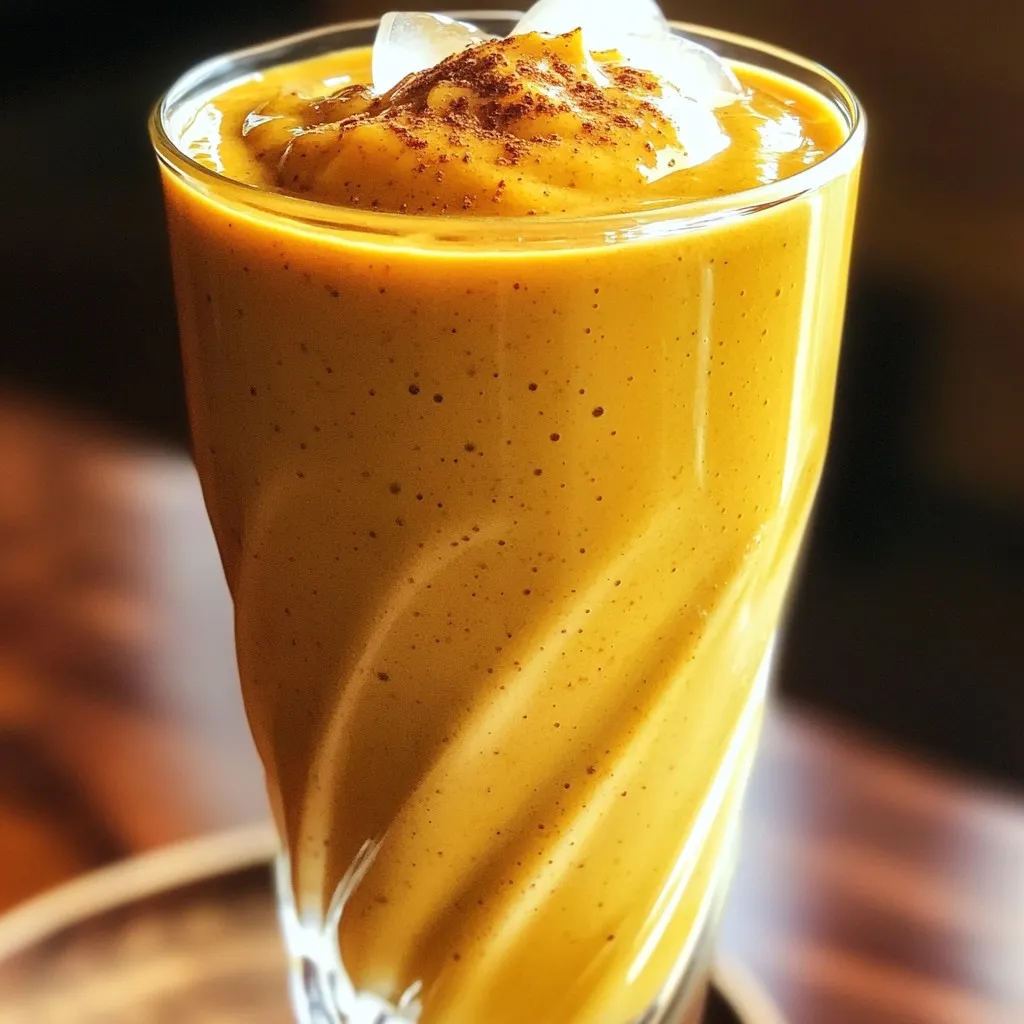
Ready to savor a delightful Pumpkin Chai Smoothie with Oat Milk? This tasty drink offers warming spices and creamy goodness,...
READ MORE →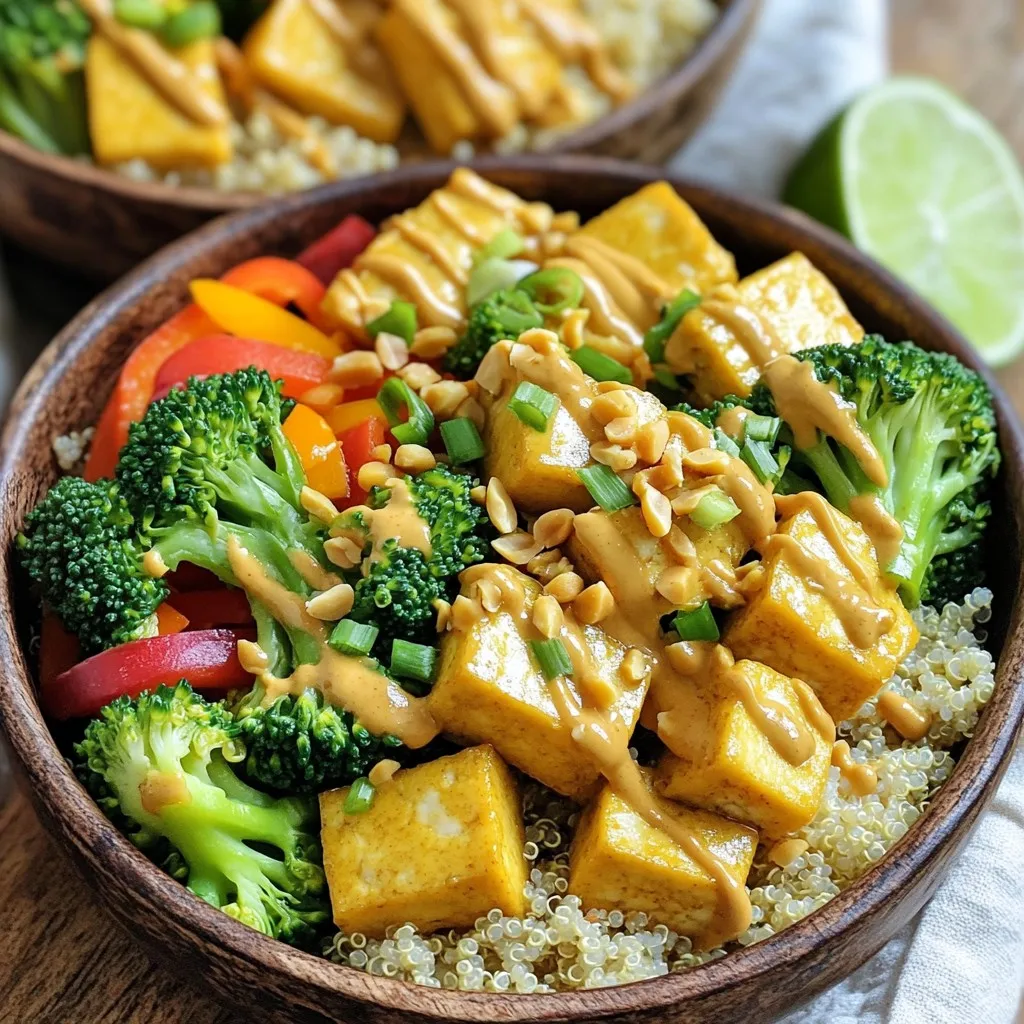
Craving a meal packed with flavor and nutrition? Let me introduce you to Spicy Peanut Tofu Bowls! This dish combines...
READ MORE →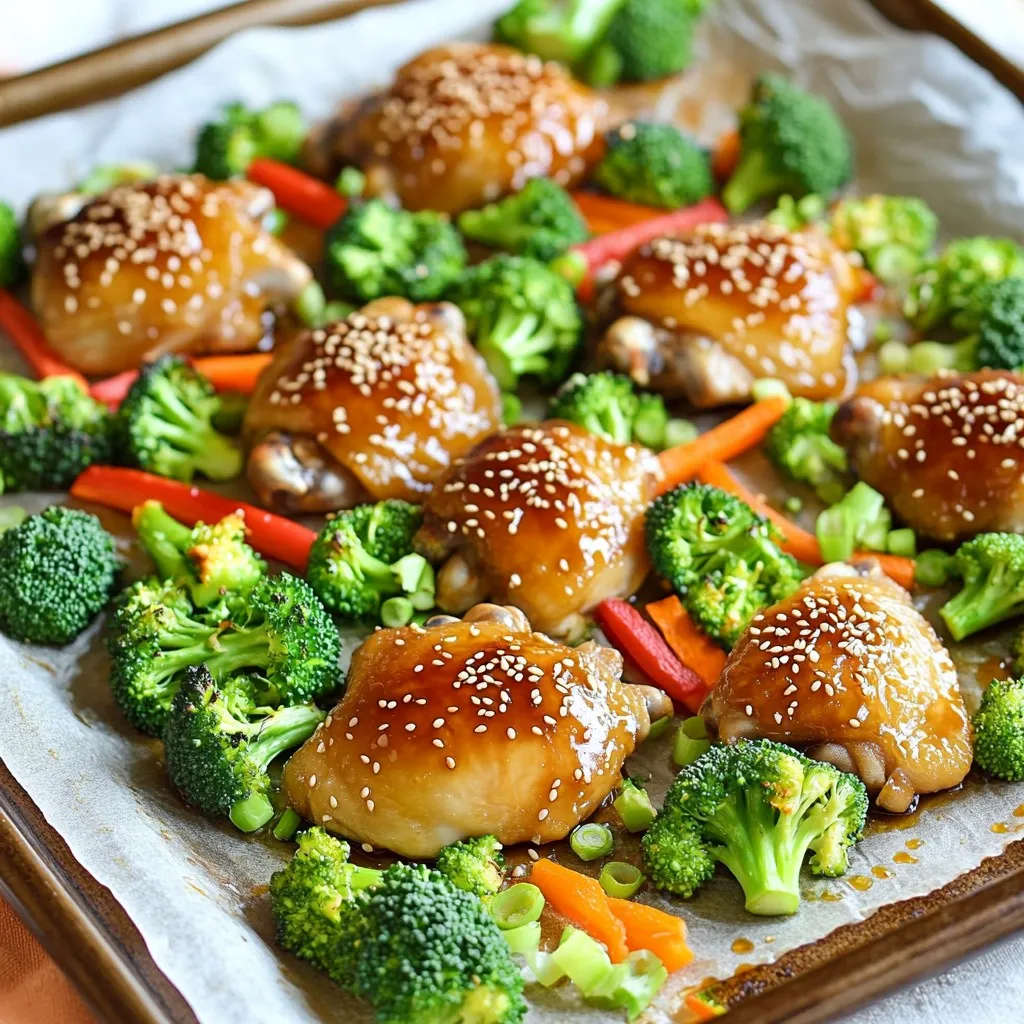
Ready for a meal that ticks all the boxes? My Sheet Pan Teriyaki Chicken & Broccoli Delight is simple, fun,...
READ MORE →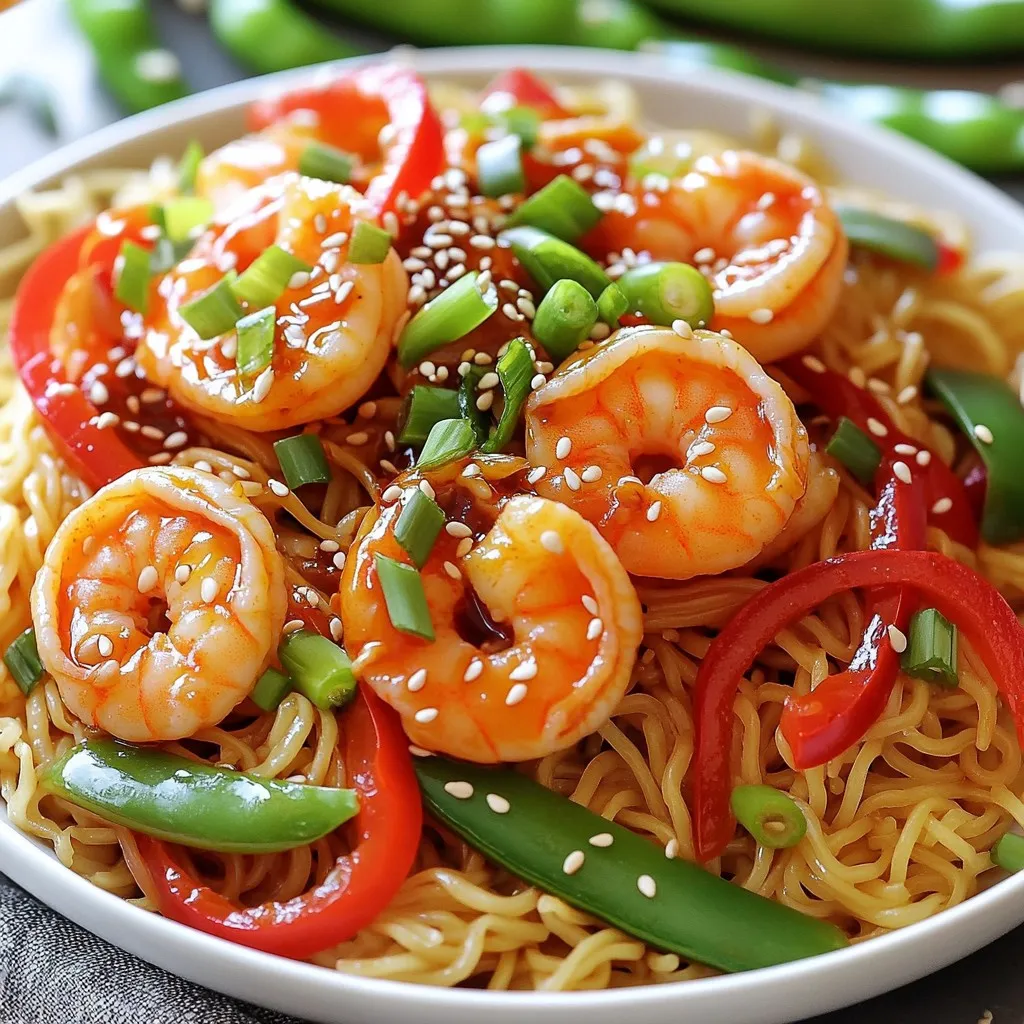
Looking for a quick meal that packs flavor and excitement? Try my Minute Sweet Chili Shrimp Noodles! This dish combines...
READ MORE →