DINNER
Sheet Pan Garlic Butter Gnocchi and Veggies Delight
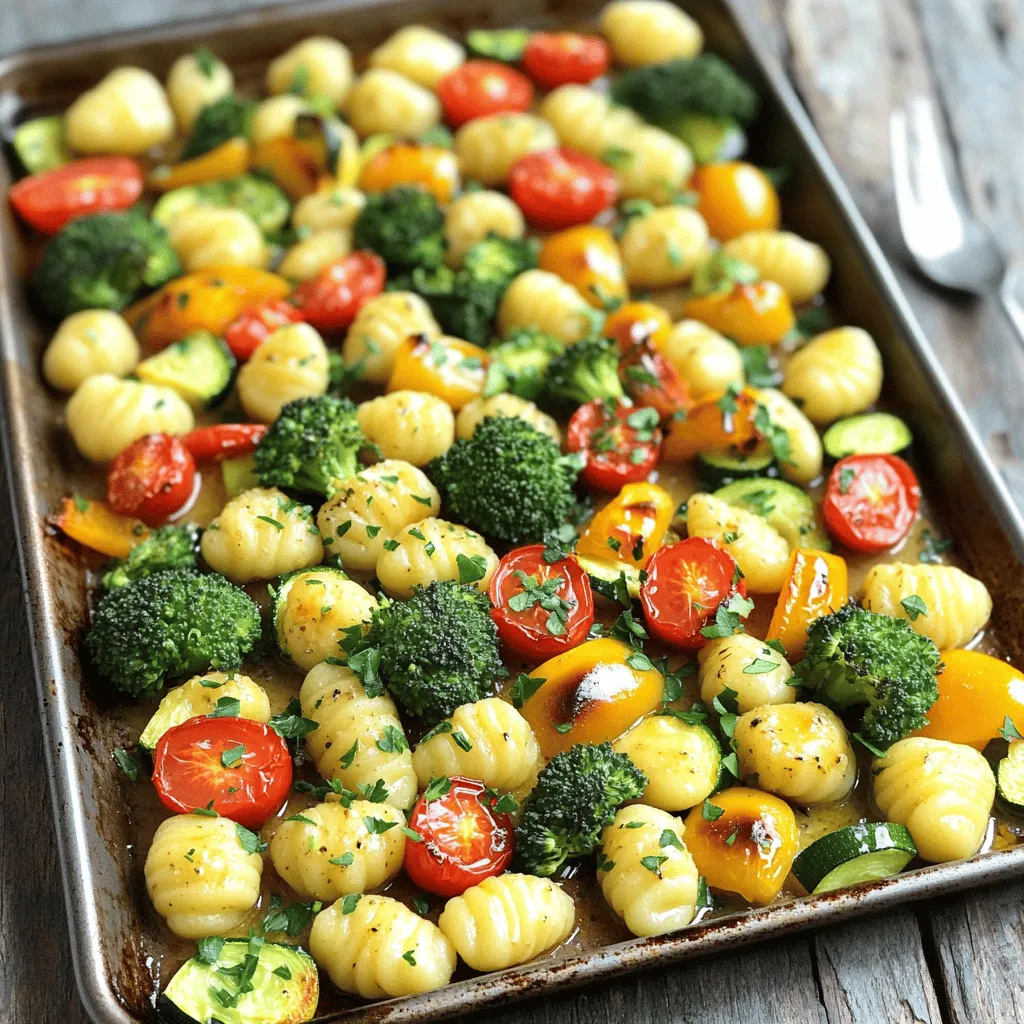
Get ready for a dinner that’s quick, tasty, and easy to make! My Sheet Pan Garlic Butter Gnocchi and Veggies...
READ MORE →Chef Elliot
I’m Chef Elliot, your laid-back kitchen wingman with a serious love for bold flavors and easy cooking. 🥄✨
I believe anyone can cook—no fancy tools, no five-star background required. Just great recipes, a sprinkle of curiosity, and maybe a lemon zest moment to keep things fresh. 🍋💪
Think of me as your flavor coach: part guide, part cheerleader, always down for a second helping. I’m here to help you ditch the stress and stir up some joy—one tossed-together recipe at a time.

Delicious recipes crafted by Chef Elliot
Get ready for a dinner that’s quick, tasty, and easy to make! My Sheet Pan Garlic Butter Gnocchi and Veggies...
READ MORE →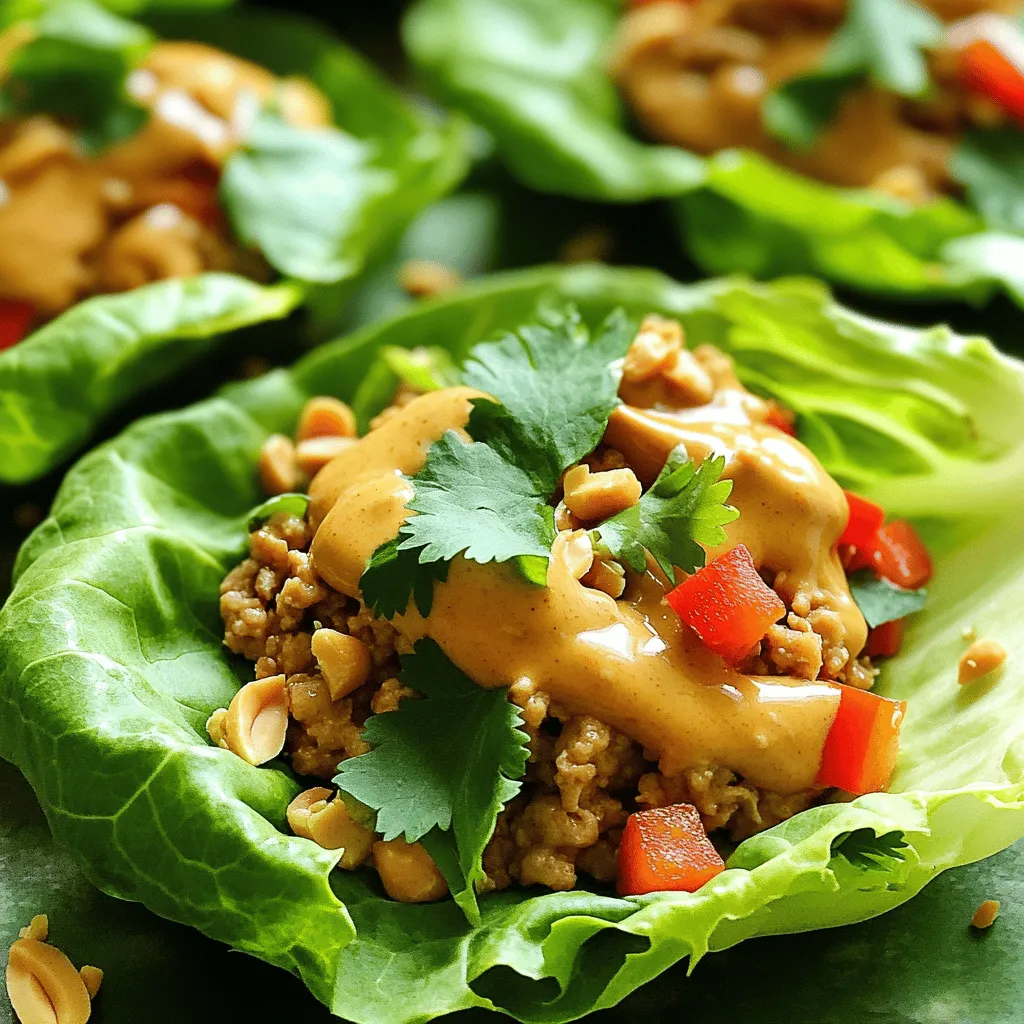
Looking for a quick and tasty meal? You’ll love my Minute Thai Peanut Chicken Lettuce Wraps! These wraps burst with...
READ MORE →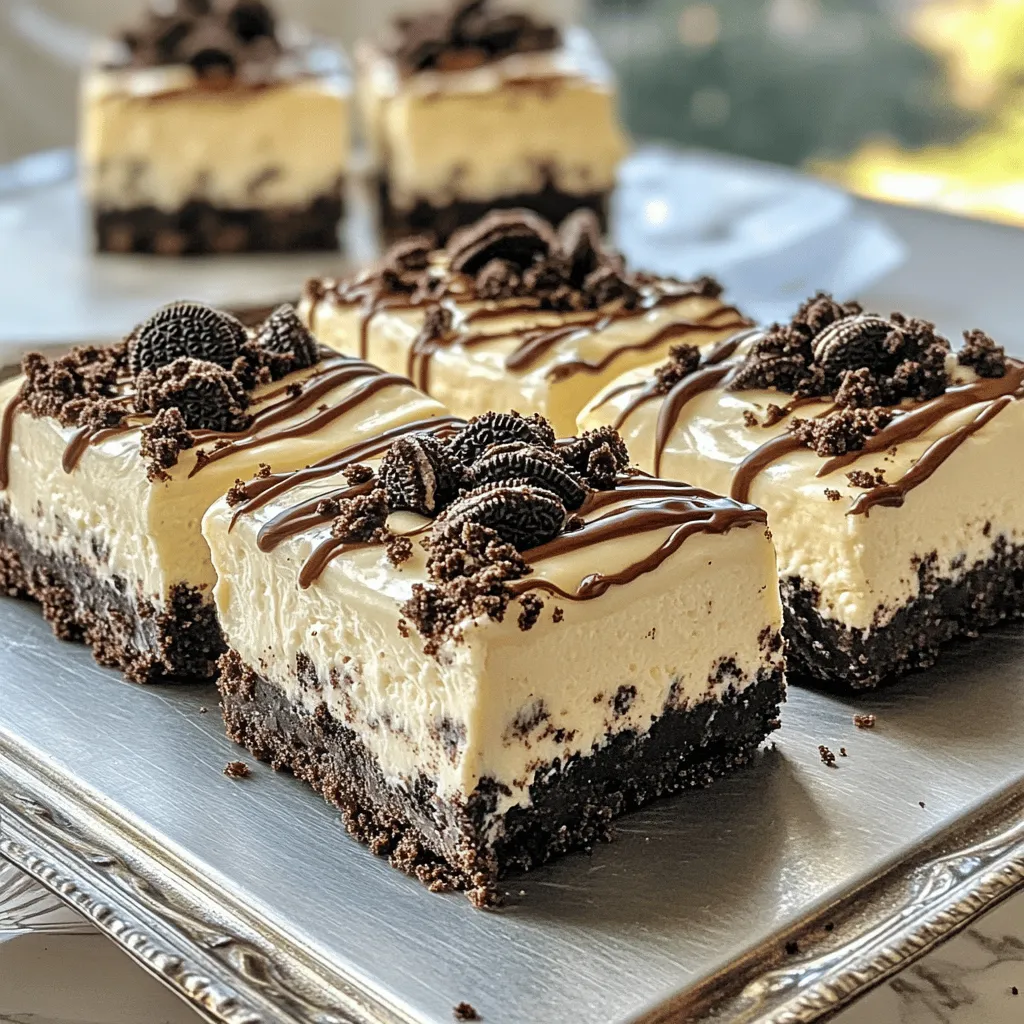
Are you ready to satisfy your sweet tooth with a simple delight? These No Bake Oreo Cheesecake Dream Bars are...
READ MORE →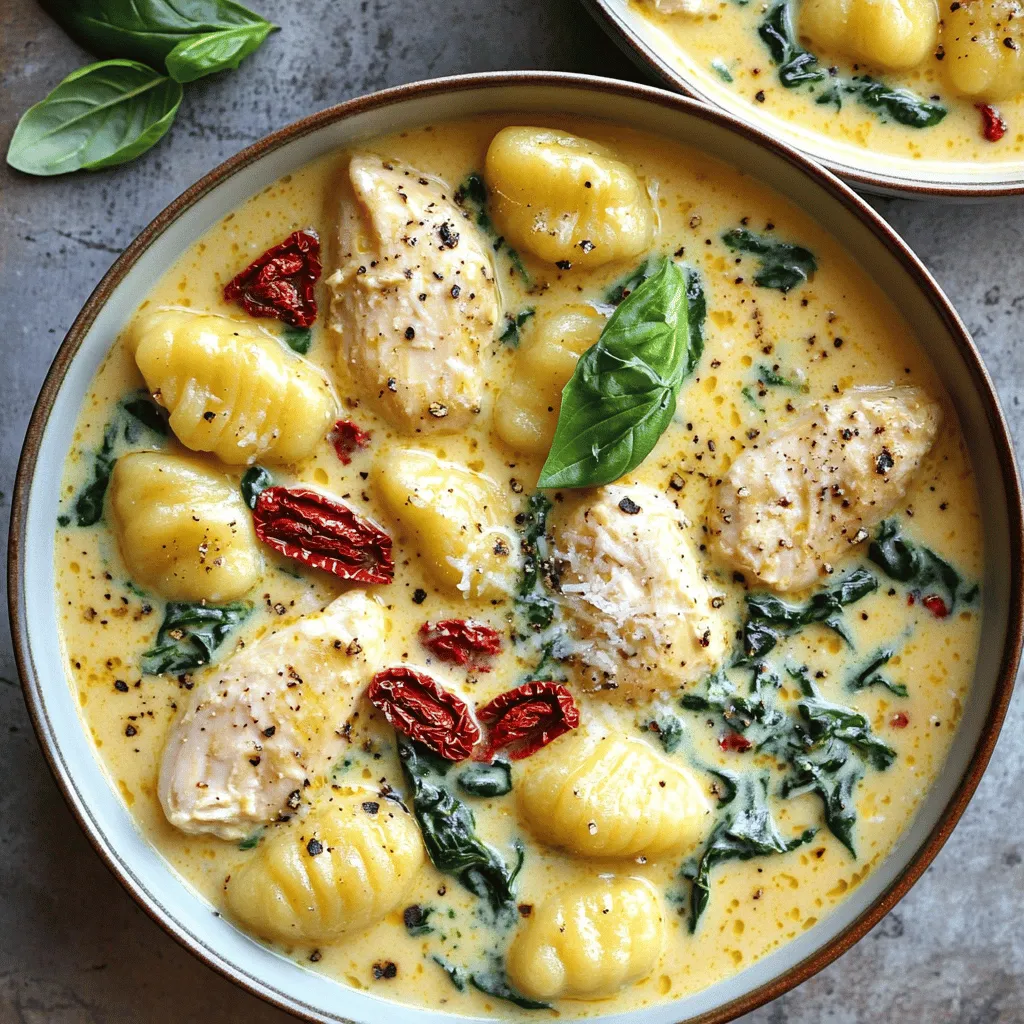
Ready for a meal that’s both creamy and comforting? “One Pot Creamy Tuscan Chicken Gnocchi Delight” will be your new...
READ MORE →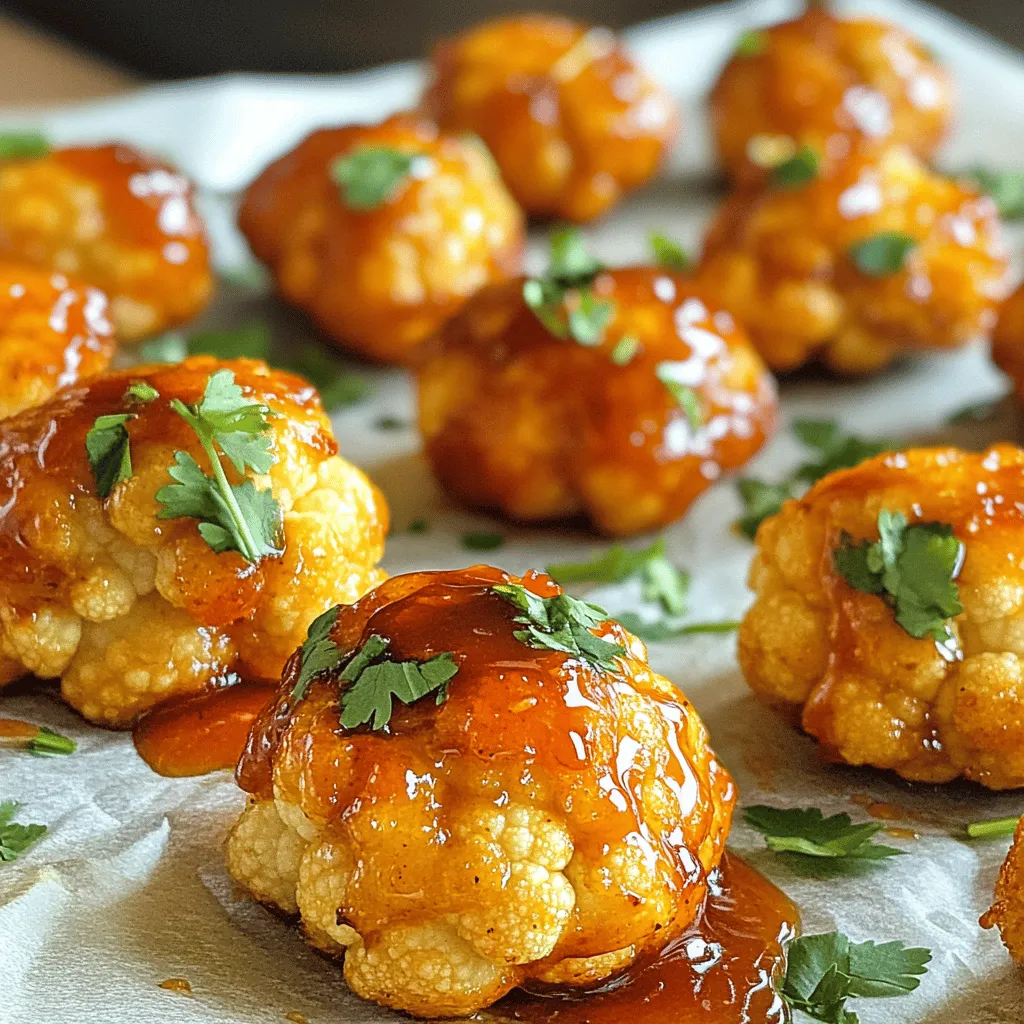
Get ready to transform your snack game with Air Fryer Honey Sriracha Cauliflower Wings! These crispy, sweet, and spicy bites...
READ MORE →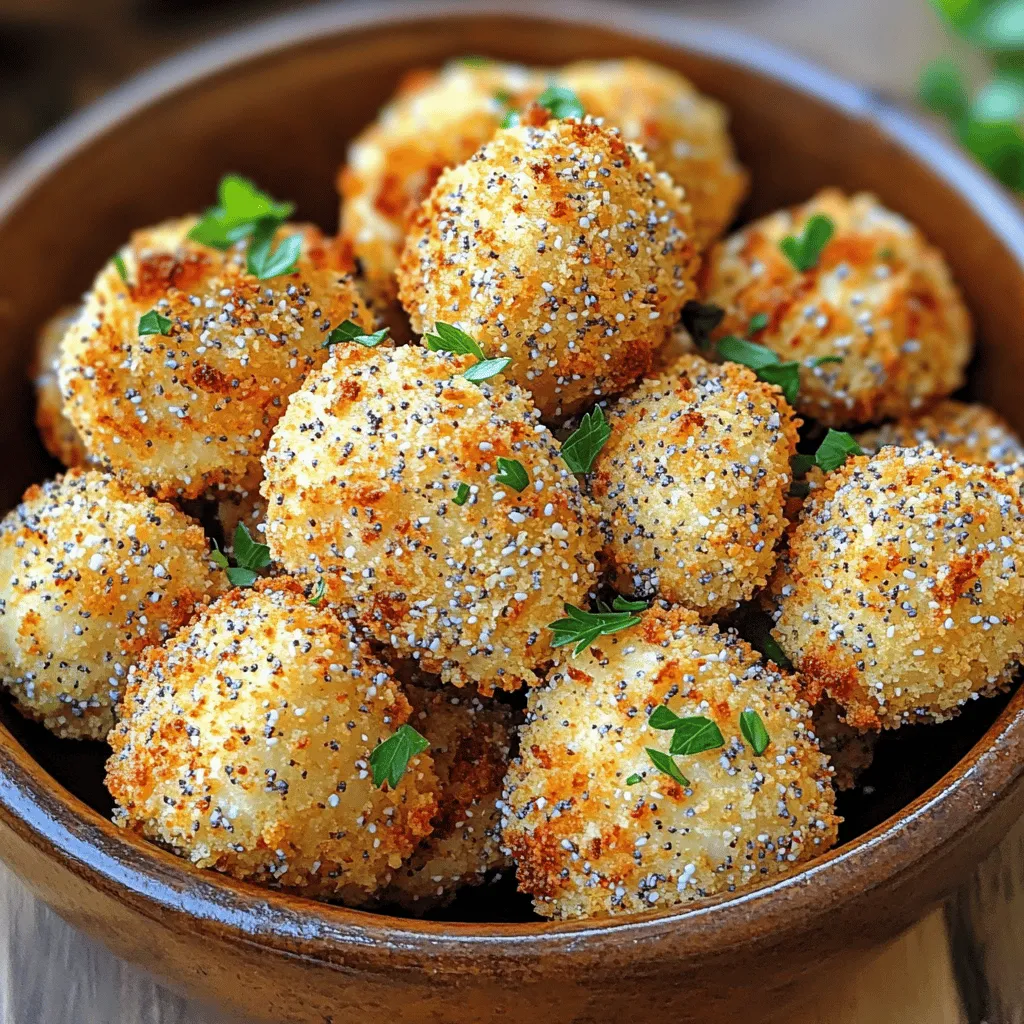
If you’re craving a snack that packs a punch, my Air Fryer Everything Bagel Chicken Bites are a must-try! These...
READ MORE →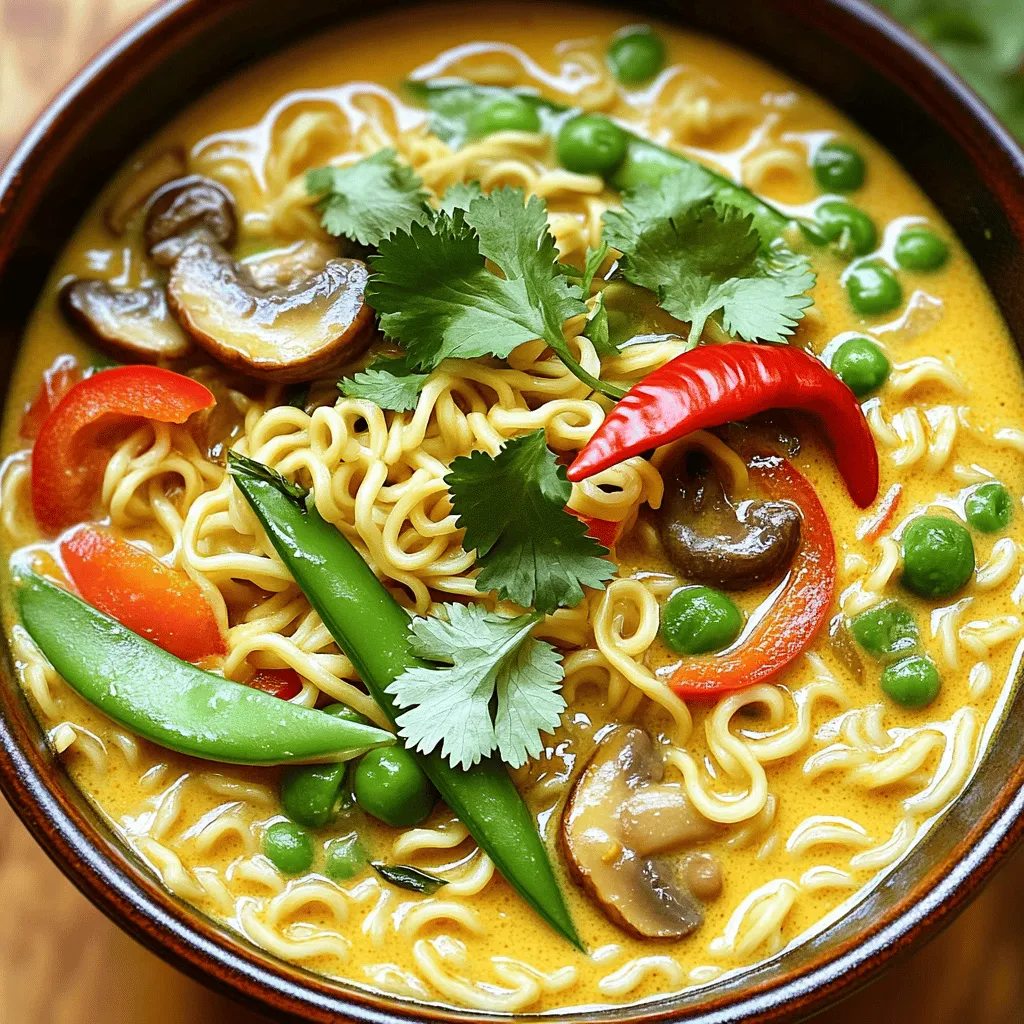
Are you craving a quick, easy meal that packs a punch of flavor? Look no further! My Minute Coconut Curry...
READ MORE →
If you love sweet, fluffy treats, you need to try my Maple Glazed Donuts! This easy homemade recipe combines warm...
READ MORE →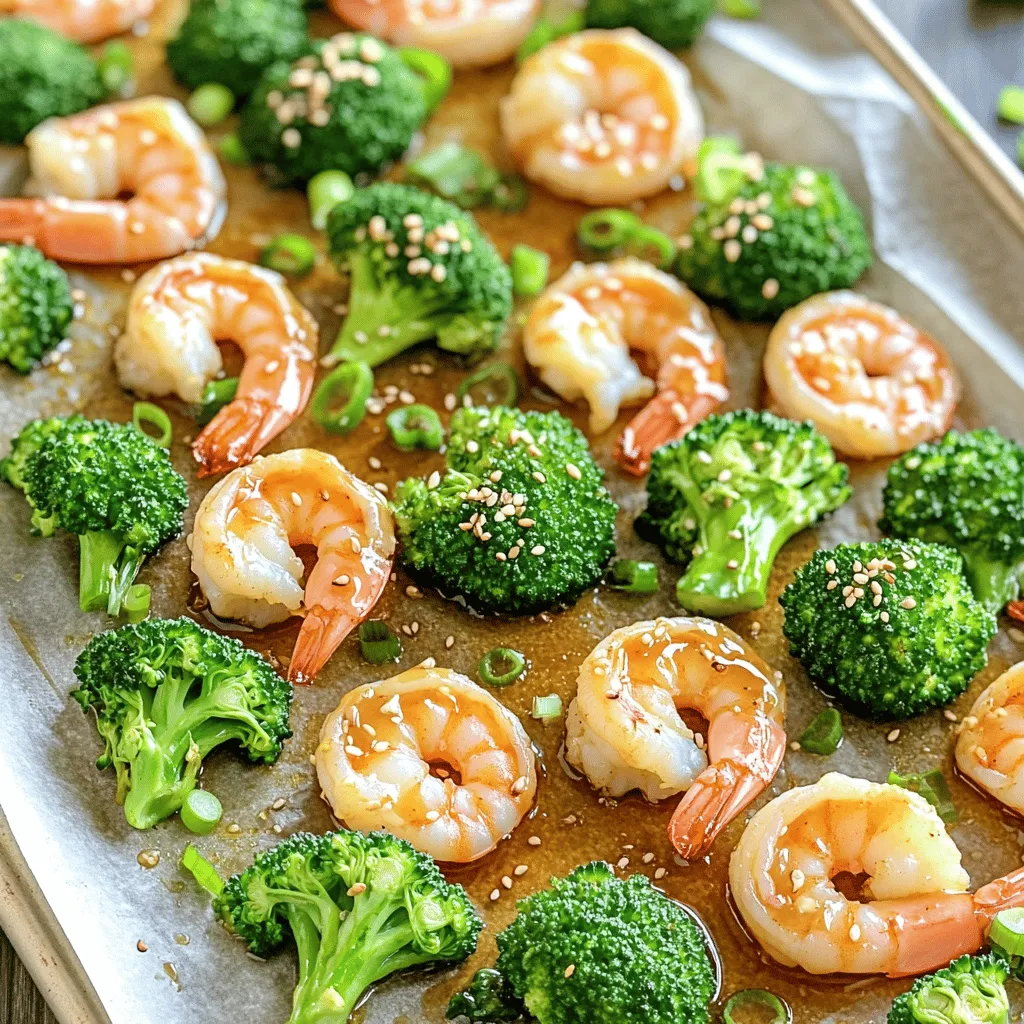
Welcome to Sheet Pan Honey Garlic Shrimp & Broccoli Delight! If you want a quick and tasty meal, this is...
READ MORE →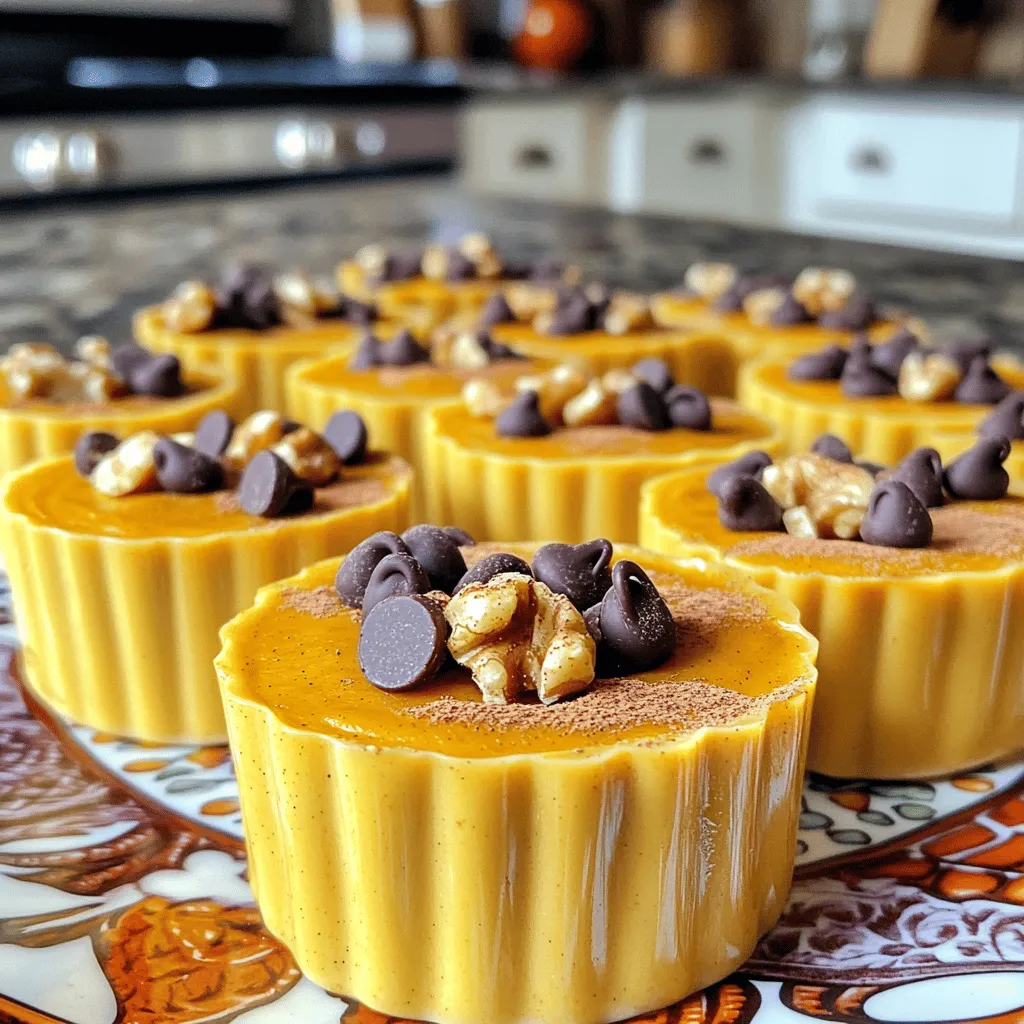
Looking for a quick, healthy snack? Try these No-Bake Pumpkin Spice Protein Cups! Packed with flavor and nutrients, they make...
READ MORE →