
DINNER
Garlic Butter Chicken & Veggies Flavorful One-Pan Meal
Looking for a quick and tasty dinner? You’re in the right place! My Garlic Butter Chicken & Veggies is a...
READ MORE →Chef Elliot
I’m Chef Elliot, your laid-back kitchen wingman with a serious love for bold flavors and easy cooking. 🥄✨
I believe anyone can cook—no fancy tools, no five-star background required. Just great recipes, a sprinkle of curiosity, and maybe a lemon zest moment to keep things fresh. 🍋💪
Think of me as your flavor coach: part guide, part cheerleader, always down for a second helping. I’m here to help you ditch the stress and stir up some joy—one tossed-together recipe at a time.

Delicious recipes crafted by Chef Elliot
Looking for a quick and tasty dinner? You’re in the right place! My Garlic Butter Chicken & Veggies is a...
READ MORE →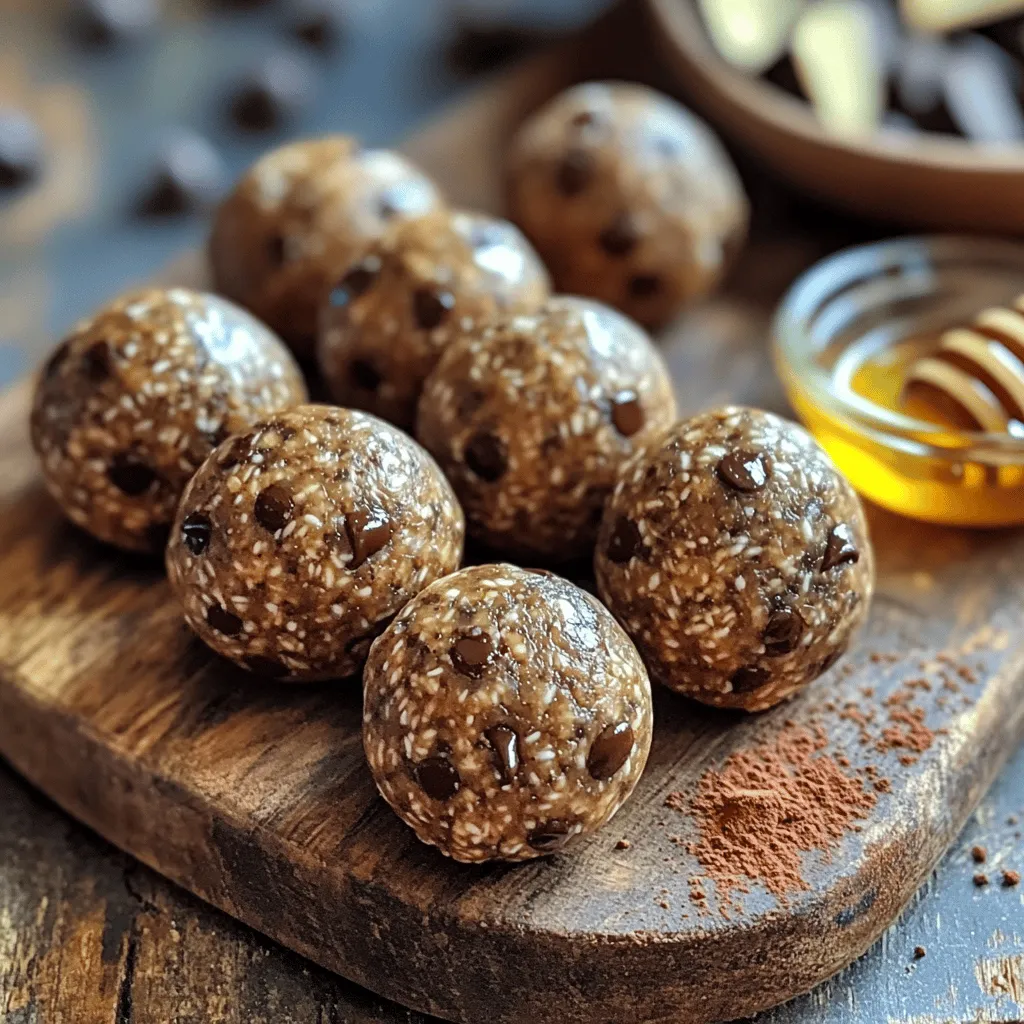
Looking for a quick and easy snack that packs a punch? These Mocha Chocolate Chip Energy Balls are perfect! They...
READ MORE →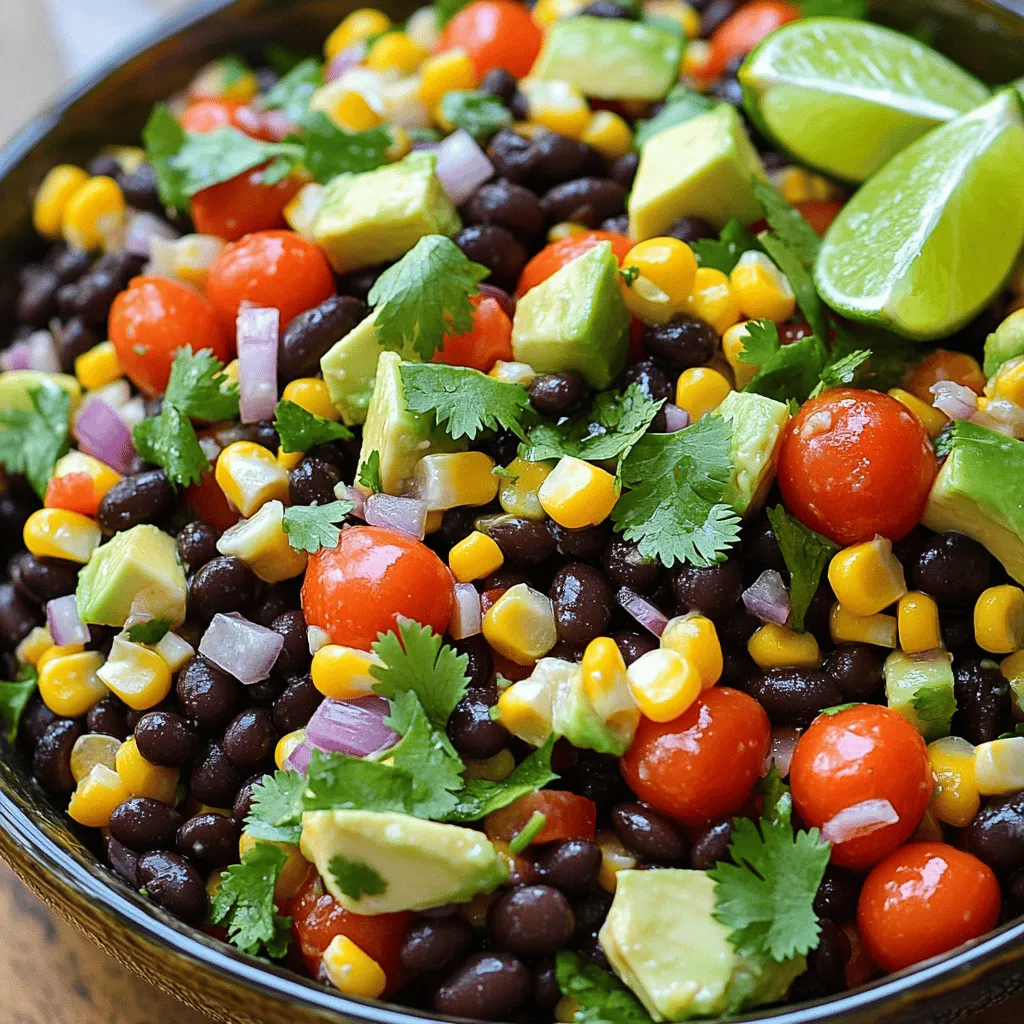
Are you ready to dive into a bowl of vibrant flavors? My Fiesta Black Bean Corn Salad is the perfect...
READ MORE →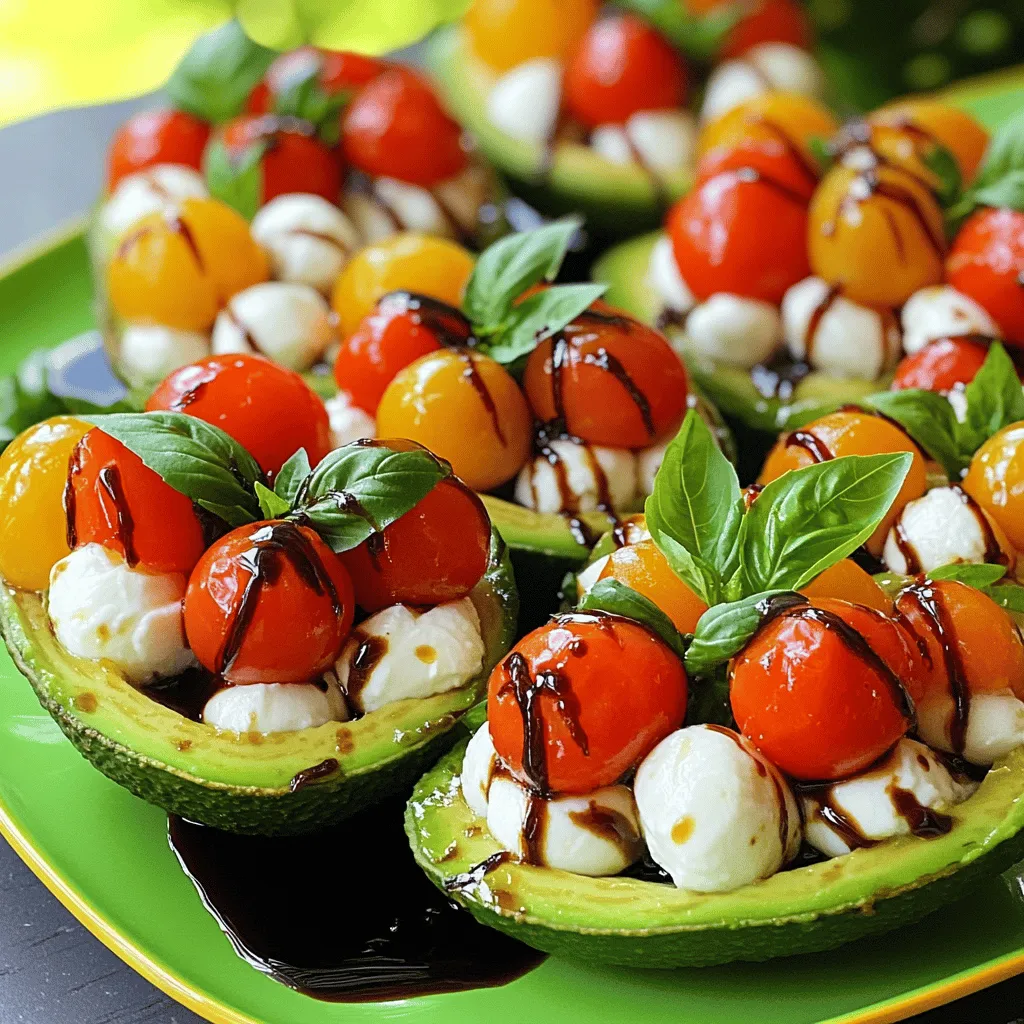
Are you ready to elevate your snack game? Caprese Stuffed Avocados are a vibrant and fresh dish that combines creamy...
READ MORE →
Are you ready to bake a treat that will brighten your day? Cranberry orange scones are a delicious mix of...
READ MORE →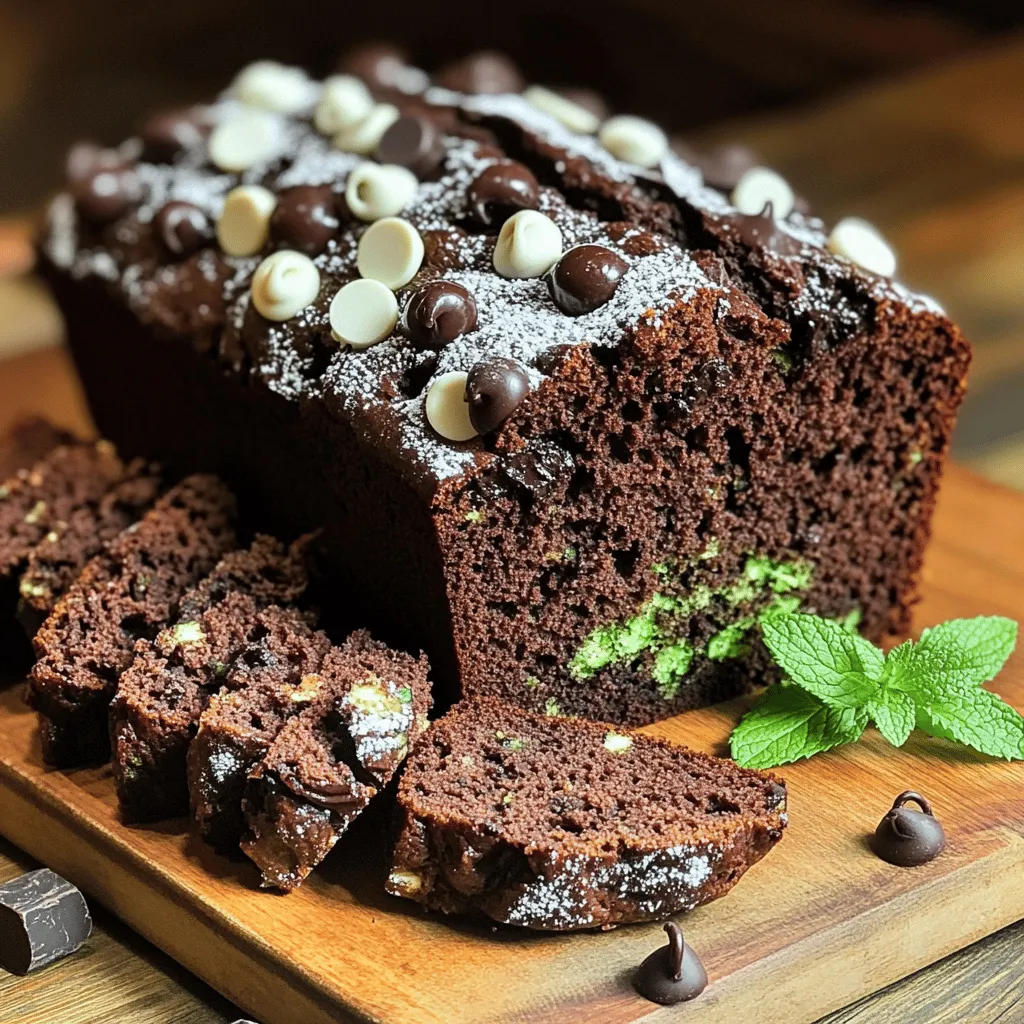
If you love rich, chocolatey treats, get ready to be amazed! My Triple Chocolate Zucchini Bread is a game-changer. Packed...
READ MORE →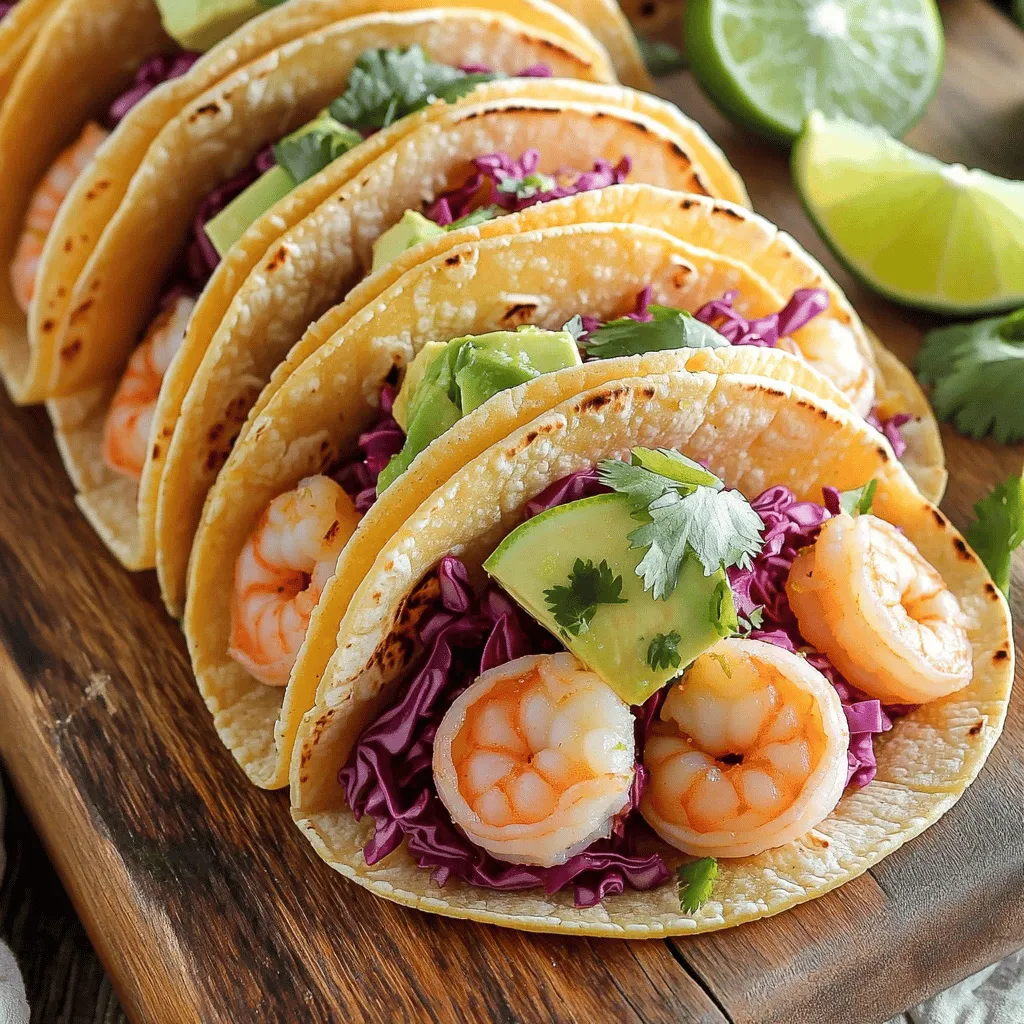
If you crave fresh flavors and quick meals, you’ll love these Zesty Lime Shrimp Tacos! This tasty and simple recipe...
READ MORE →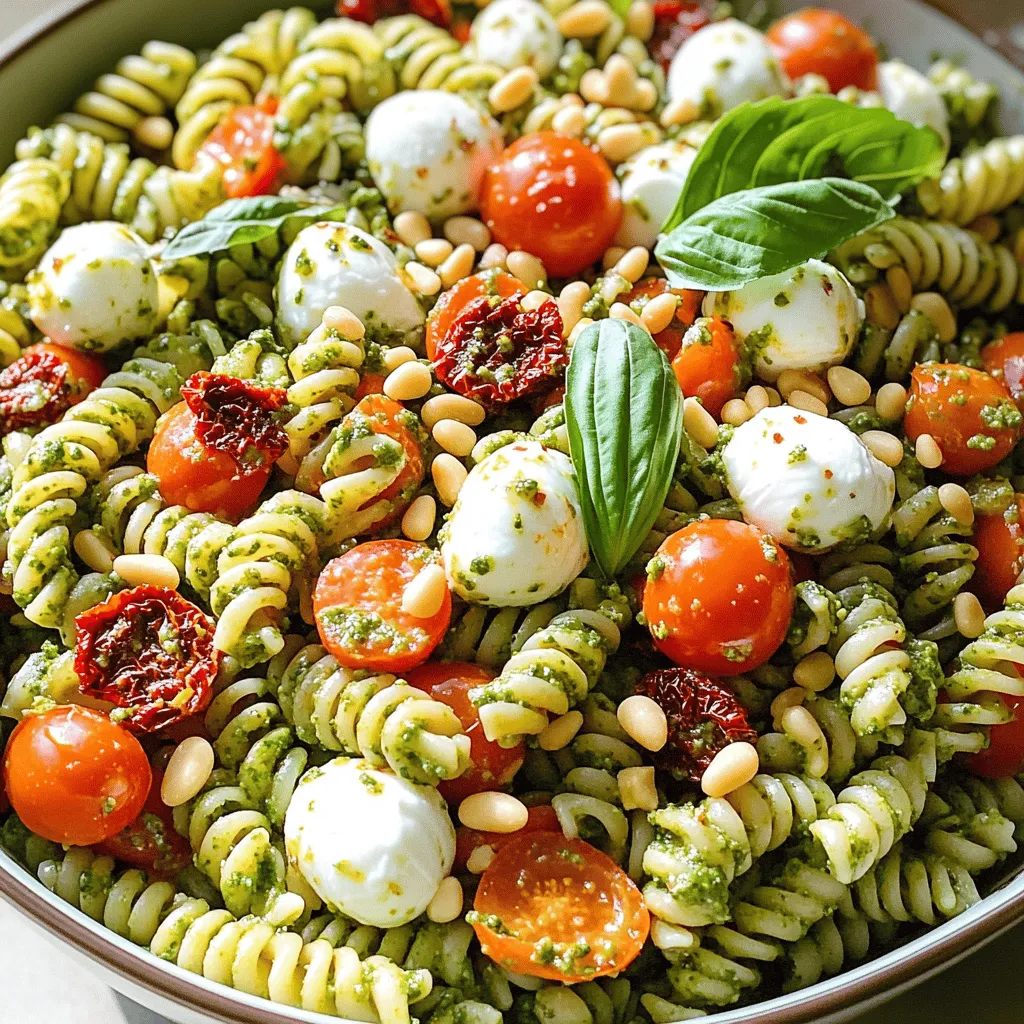
Are you ready to elevate your pasta salad game? My Sun-Dried Tomato Pesto Pasta Salad is a flavor explosion that...
READ MORE →
Are you ready for a delightful dessert that’s simple and delicious? Strawberry Shortcake Icebox Cake combines fresh strawberries, whipped cream,...
READ MORE →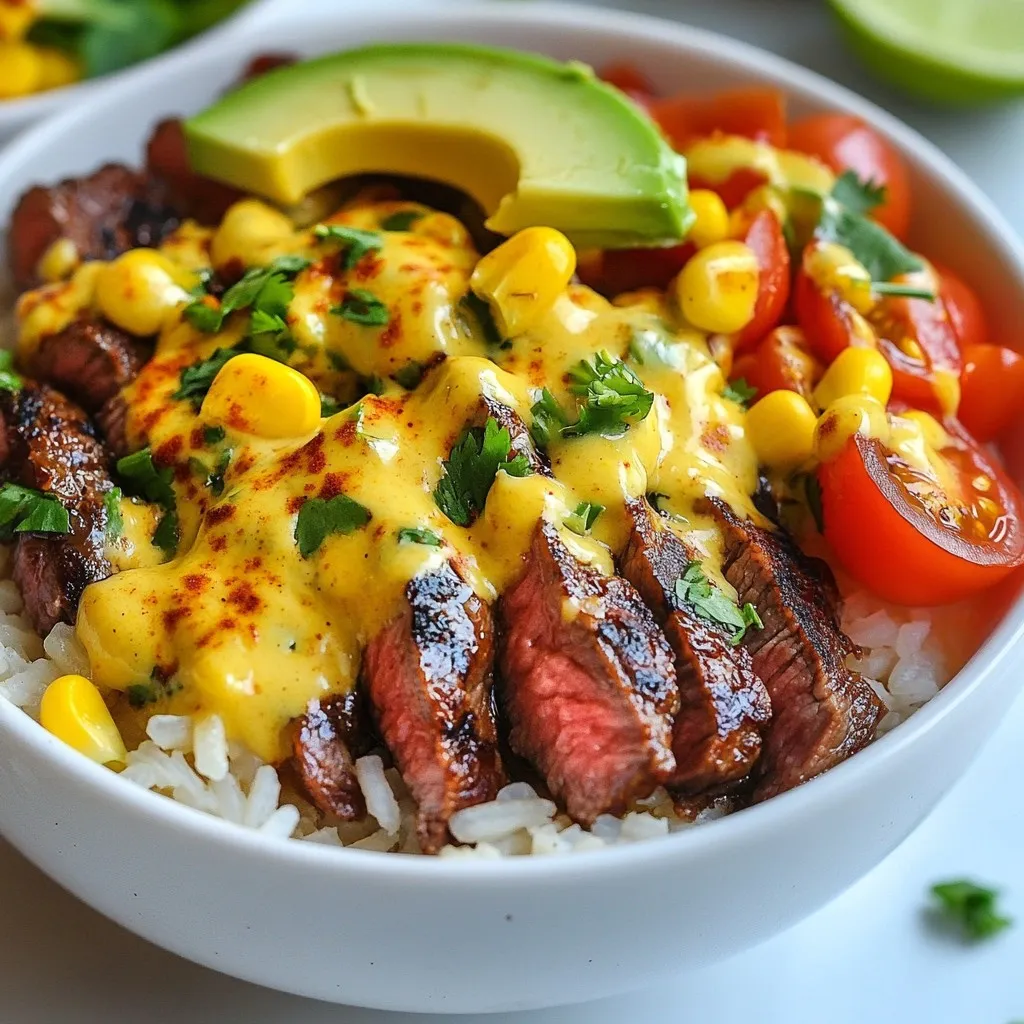
Are you ready to spice up your dinner routine? This Queso Rice with Steak Strips recipe is a flavorful feast...
READ MORE →