SALADS
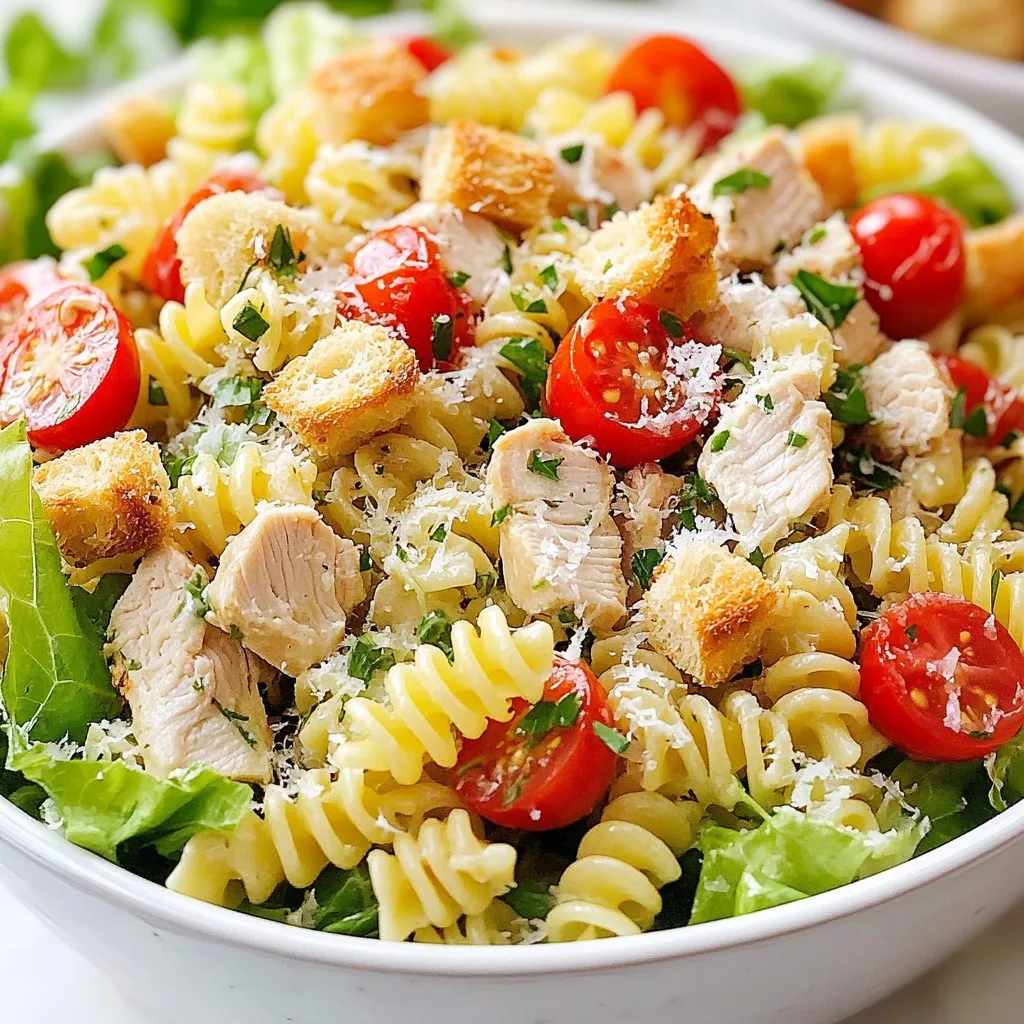
Chicken Caesar Pasta Salad Flavorful and Simple Dish
Craving a dish that’s both tasty and easy to whip up? Look no further than Chicken Caesar Pasta Salad! This...
READ MORE →Chef Elliot
I’m Chef Elliot, your laid-back kitchen wingman with a serious love for bold flavors and easy cooking. 🥄✨
I believe anyone can cook—no fancy tools, no five-star background required. Just great recipes, a sprinkle of curiosity, and maybe a lemon zest moment to keep things fresh. 🍋💪
Think of me as your flavor coach: part guide, part cheerleader, always down for a second helping. I’m here to help you ditch the stress and stir up some joy—one tossed-together recipe at a time.

Delicious recipes crafted by Chef Elliot
Craving a dish that’s both tasty and easy to whip up? Look no further than Chicken Caesar Pasta Salad! This...
READ MORE →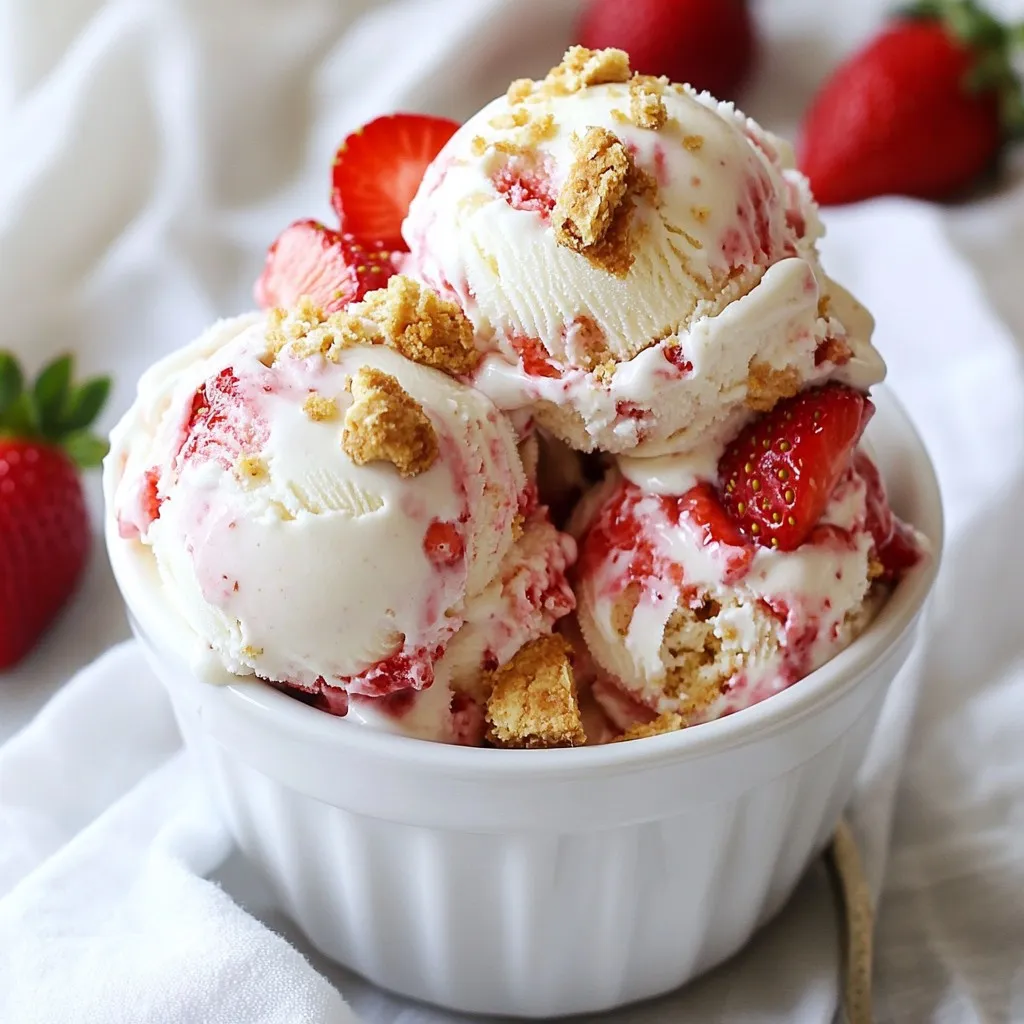
Craving a cool, sweet treat? You’ll love my No-Churn Strawberry Shortcake Ice Cream Delight! This easy recipe blends fresh strawberries,...
READ MORE →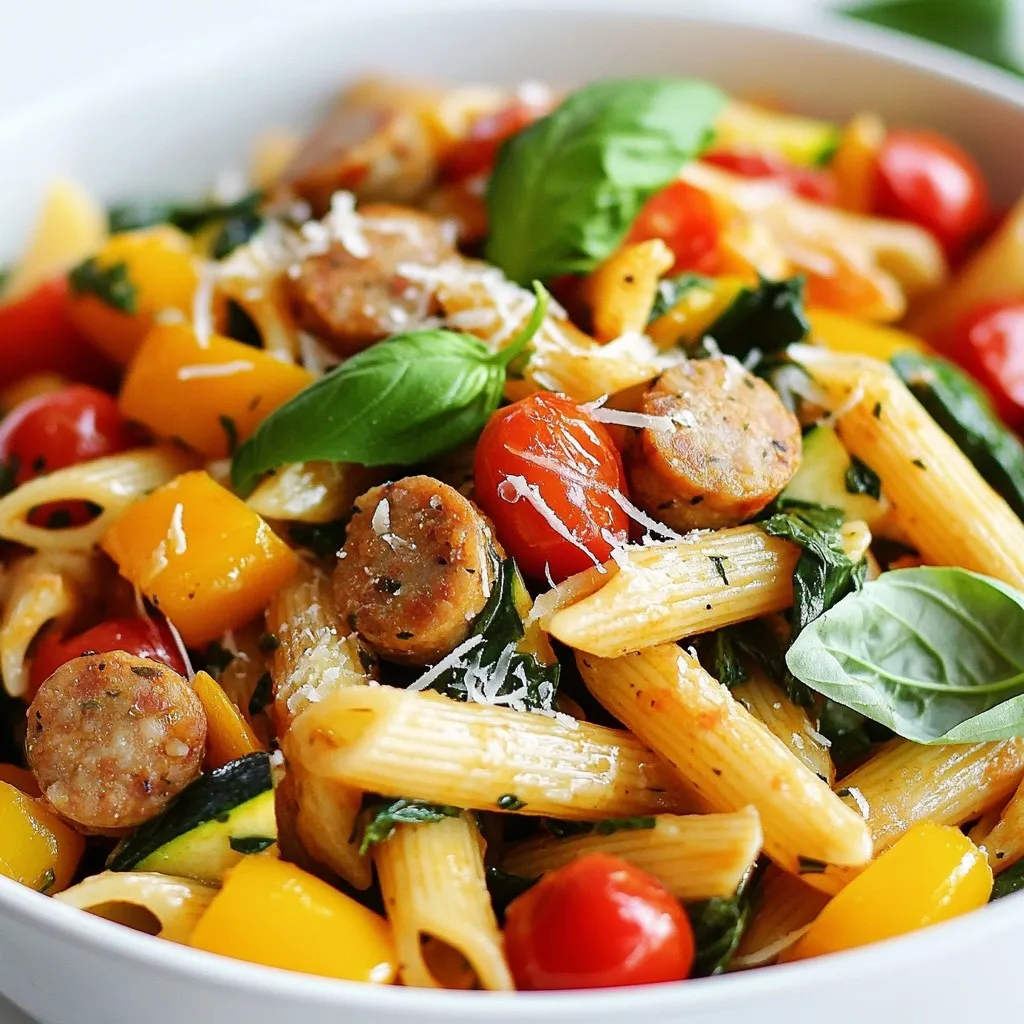
Are you ready for a meal that is both easy and full of flavor? This Satisfying Chicken Sausage Pasta with...
READ MORE →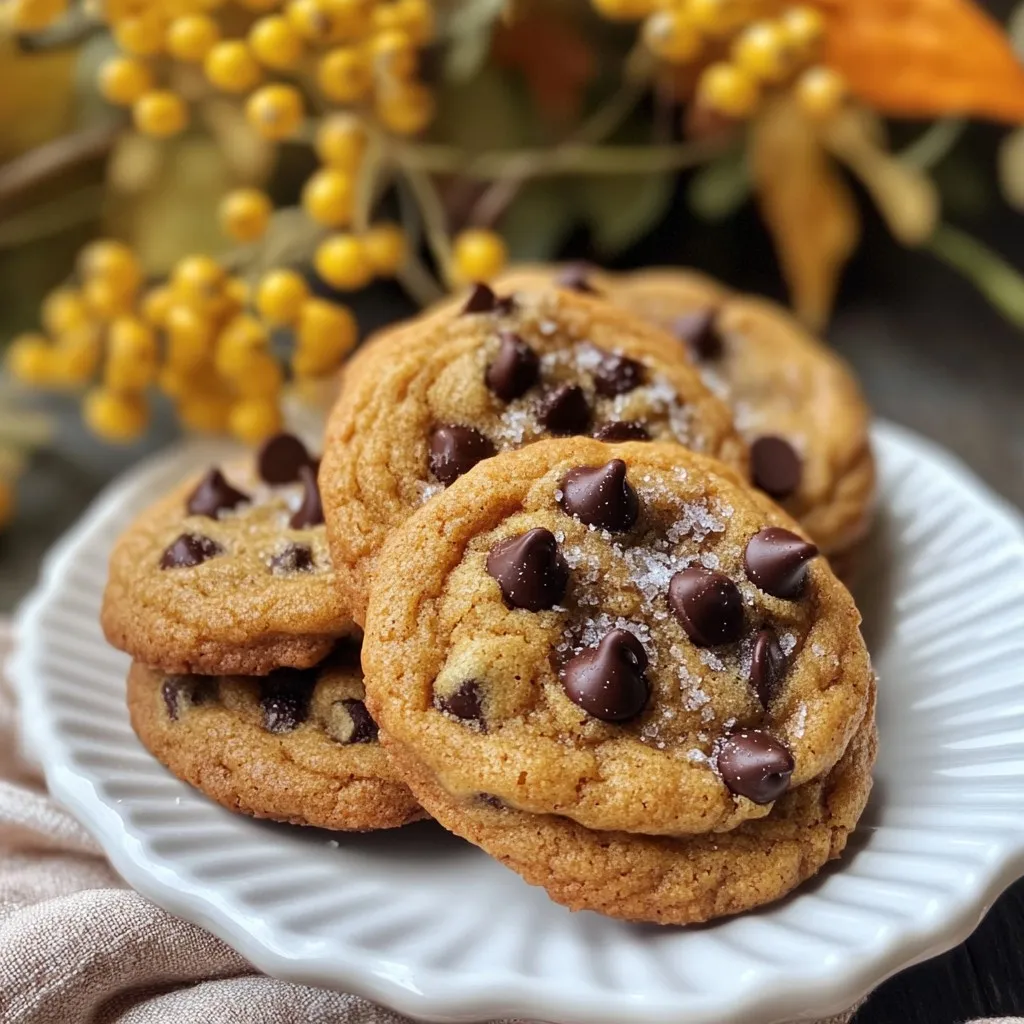
Get ready to fall in love with baking! My Brown Butter Pumpkin Chocolate Chip Cookies combine rich flavors and cozy...
READ MORE →
Craving a sweet and satisfying treat? Try out these Cinnamon Roll Oatmeal Bars! They combine warm, gooey flavors with a...
READ MORE →
Are you ready for a tasty treat that’s quick and easy? Lemon Herb Air Fryer Salmon Bites are bursting with...
READ MORE →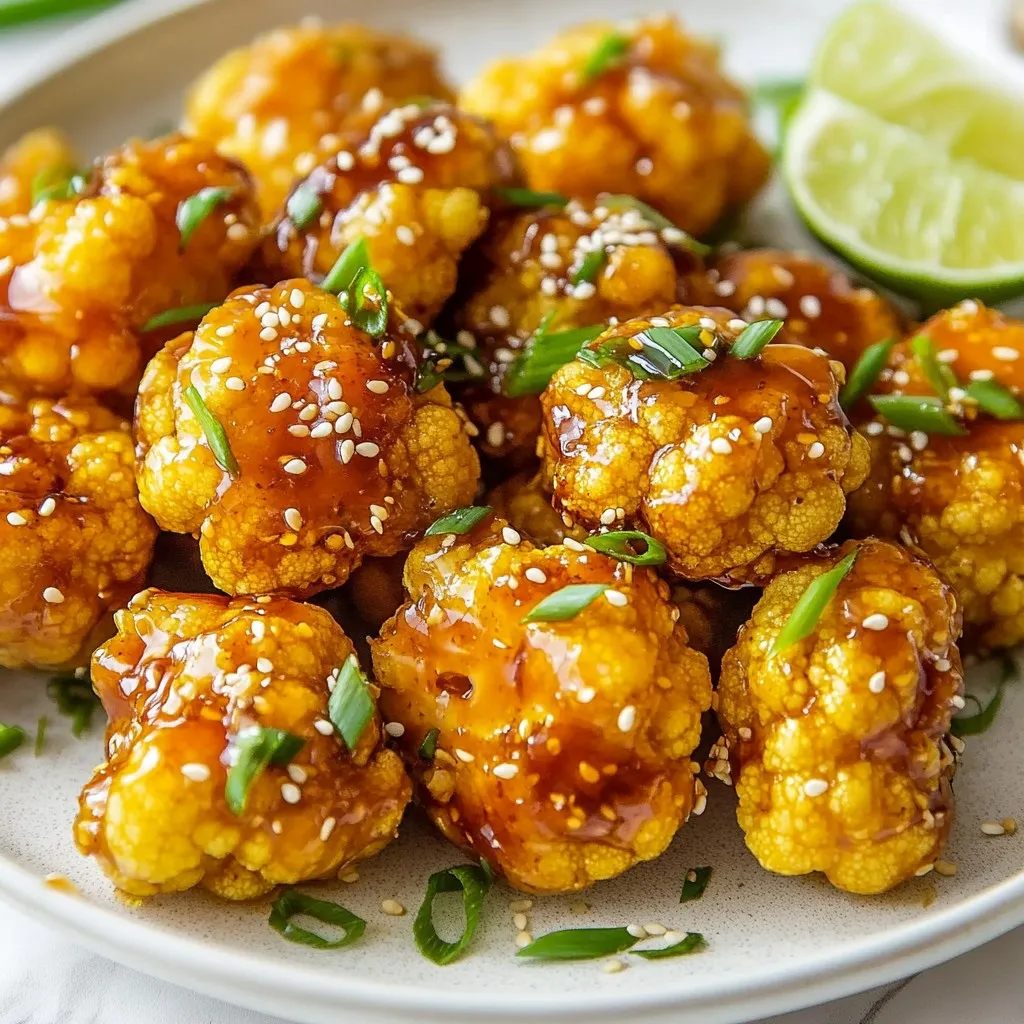
Are you ready to spice up your snack game? My Air Fryer Honey Sriracha Cauliflower Bites are crispy, sweet, and...
READ MORE →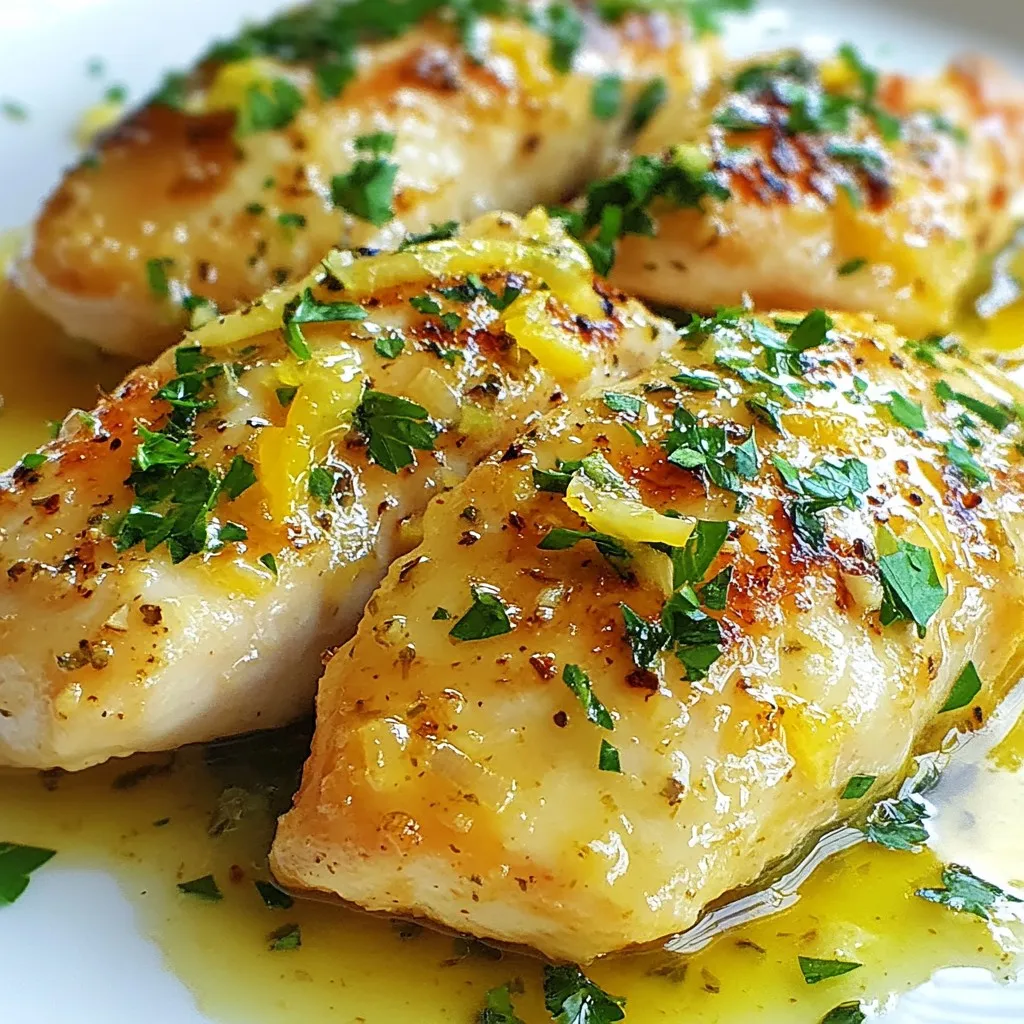
Get ready to enjoy the juiciest and most tender baked chicken you’ve ever tasted! My Garlic Butter Baked Chicken Breast...
READ MORE →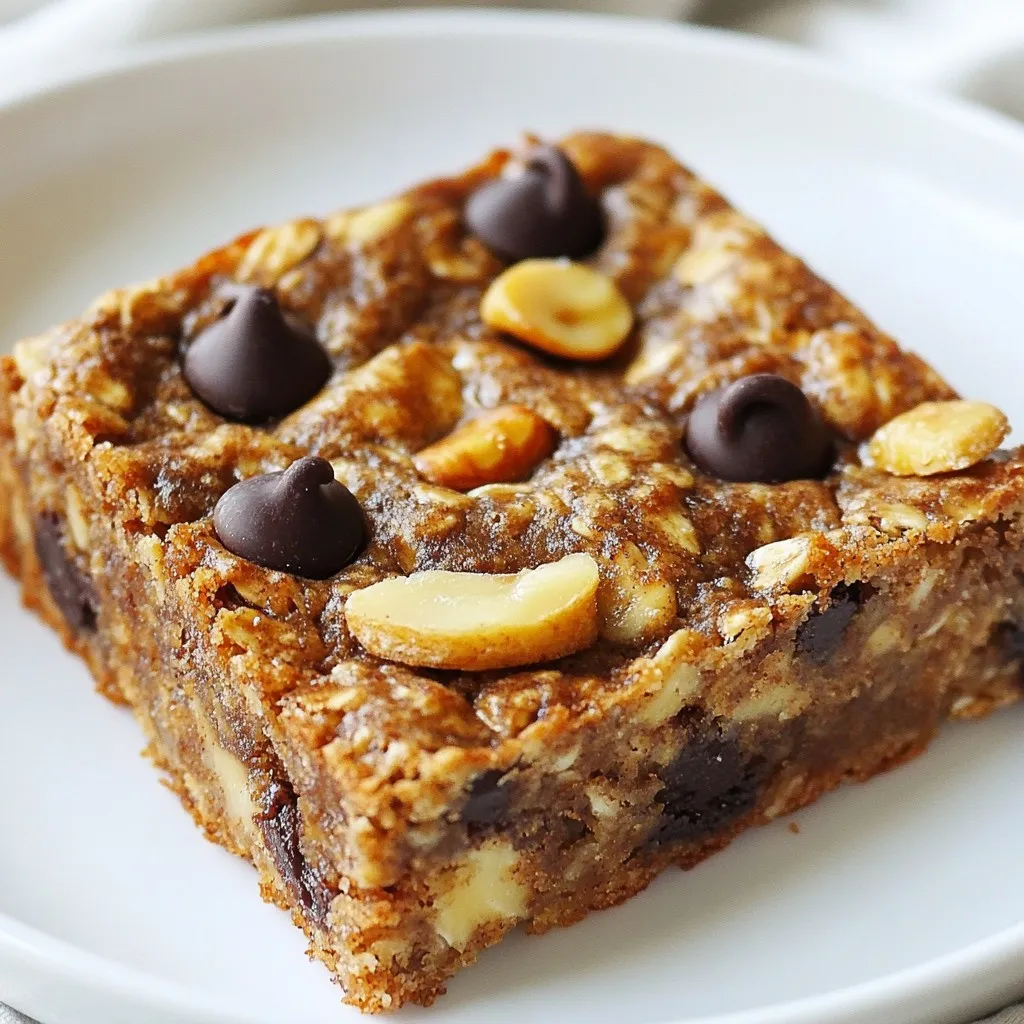
Looking for a tasty snack that’s both healthy and easy to make? You’ve found it! These Healthy Banana Oatmeal Bars...
READ MORE →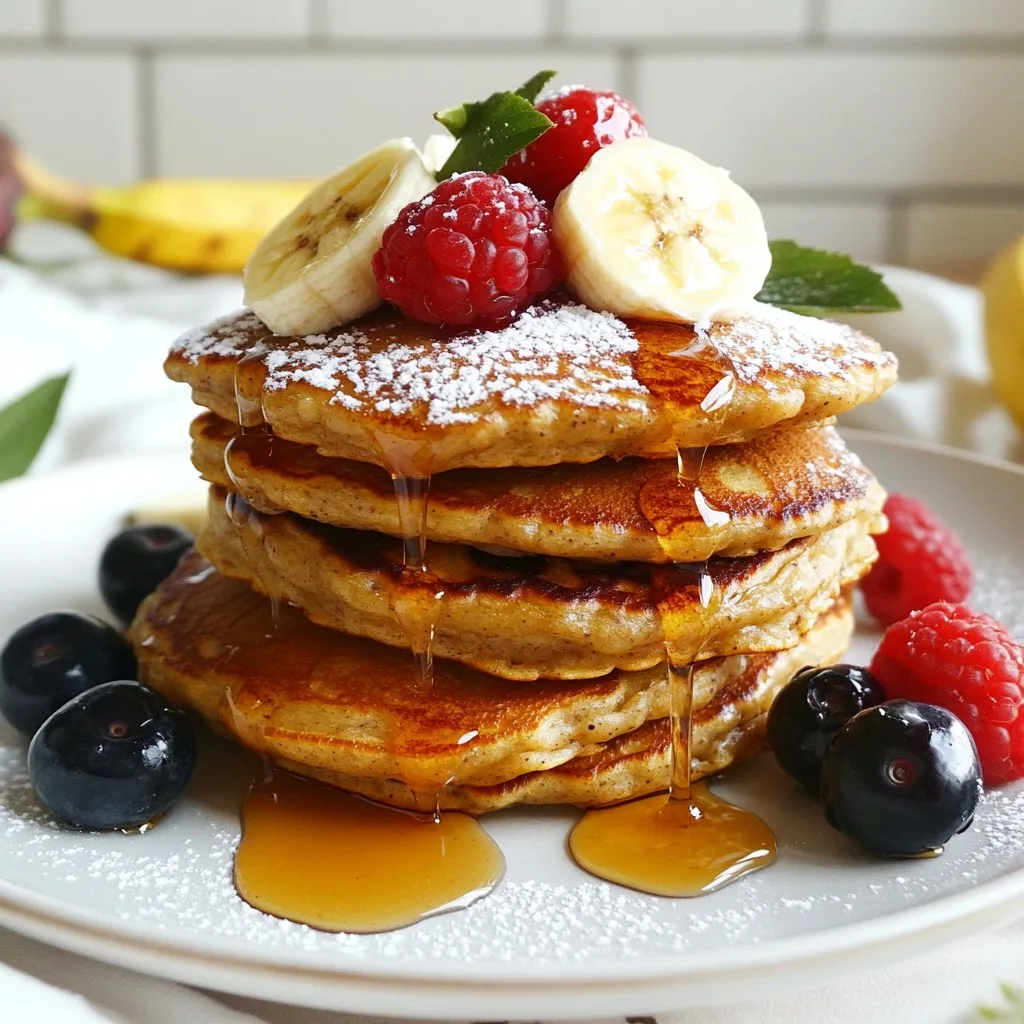
Looking for a quick and healthy breakfast? Flourless banana oat pancakes are your answer! They are simple to make and...
READ MORE →