
DINNER
Cheesy Garlic Chicken Wraps Flavorful and Quick Meal
If you’re craving a quick and tasty meal, you’ve come to the right place. Cheesy Garlic Chicken Wraps pack bold...
READ MORE →Chef Elliot
I’m Chef Elliot, your laid-back kitchen wingman with a serious love for bold flavors and easy cooking. 🥄✨
I believe anyone can cook—no fancy tools, no five-star background required. Just great recipes, a sprinkle of curiosity, and maybe a lemon zest moment to keep things fresh. 🍋💪
Think of me as your flavor coach: part guide, part cheerleader, always down for a second helping. I’m here to help you ditch the stress and stir up some joy—one tossed-together recipe at a time.

Delicious recipes crafted by Chef Elliot
If you’re craving a quick and tasty meal, you’ve come to the right place. Cheesy Garlic Chicken Wraps pack bold...
READ MORE →
Start your day right with a warm, gooey Cinnamon Roll Pancake Bake! This easy recipe combines the best of both...
READ MORE →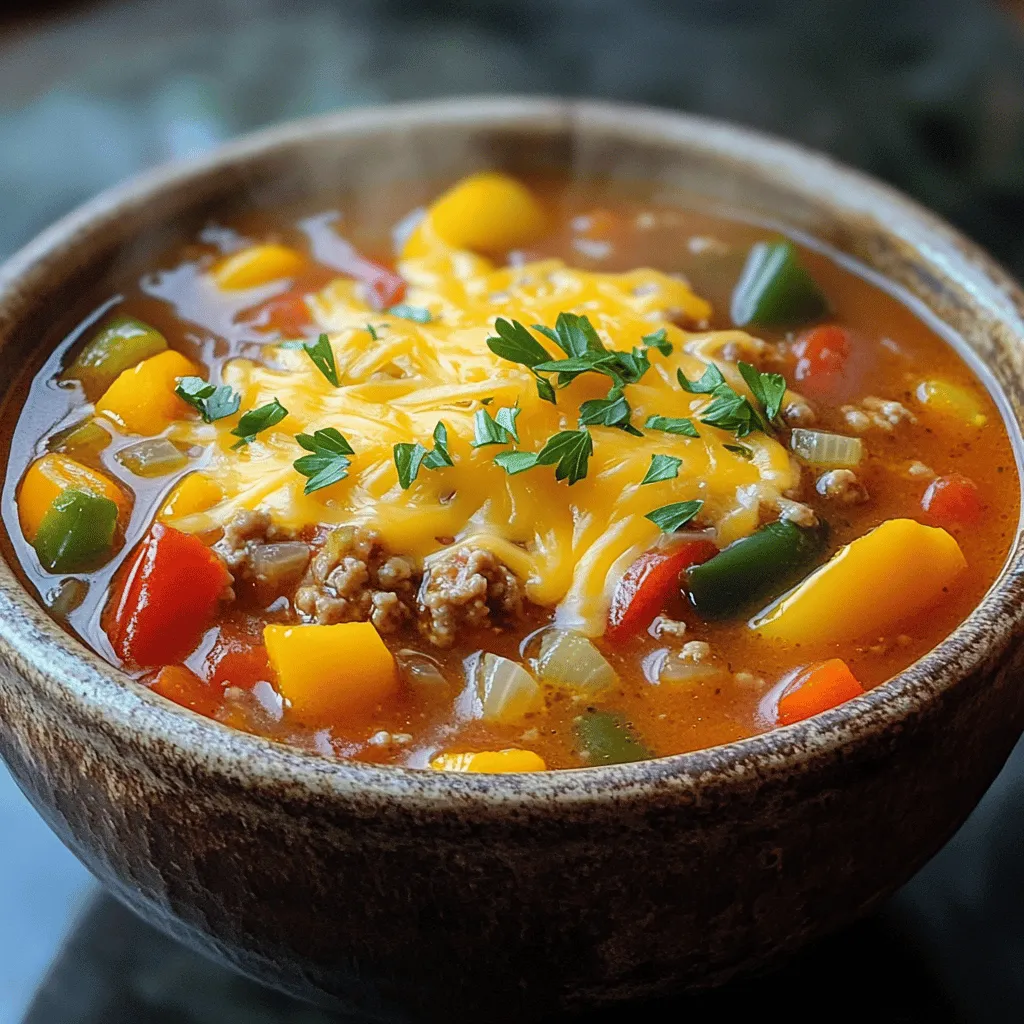
Are you ready to warm up your kitchen with a delicious dish? This Flavorful Slow Cooker Stuffed Pepper Soup is...
READ MORE →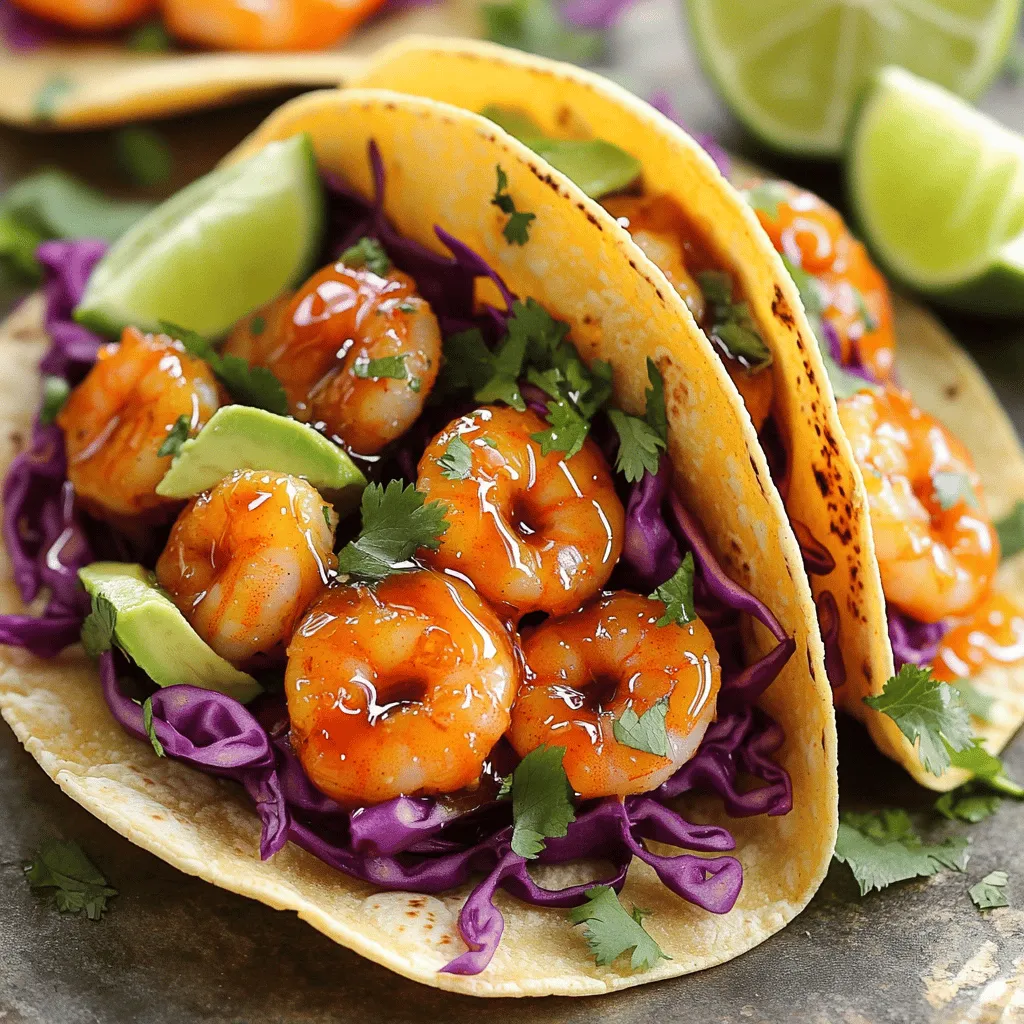
Are you ready to spice up your taco night? These Honey Sriracha Shrimp Tacos are the perfect blend of sweet...
READ MORE →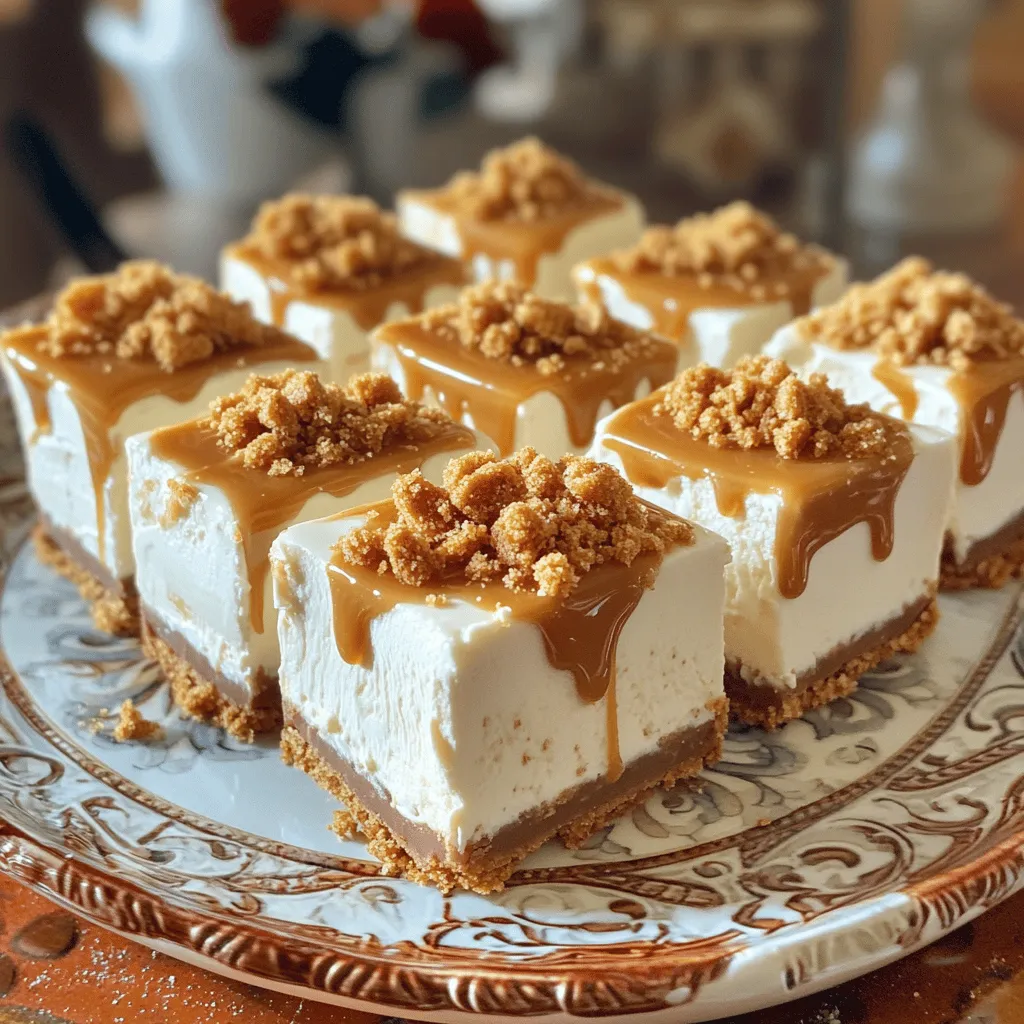
Craving something sweet without the hassle of baking? You’re in the right place! My No-Bake Biscoff Cheesecake Squares are simple...
READ MORE →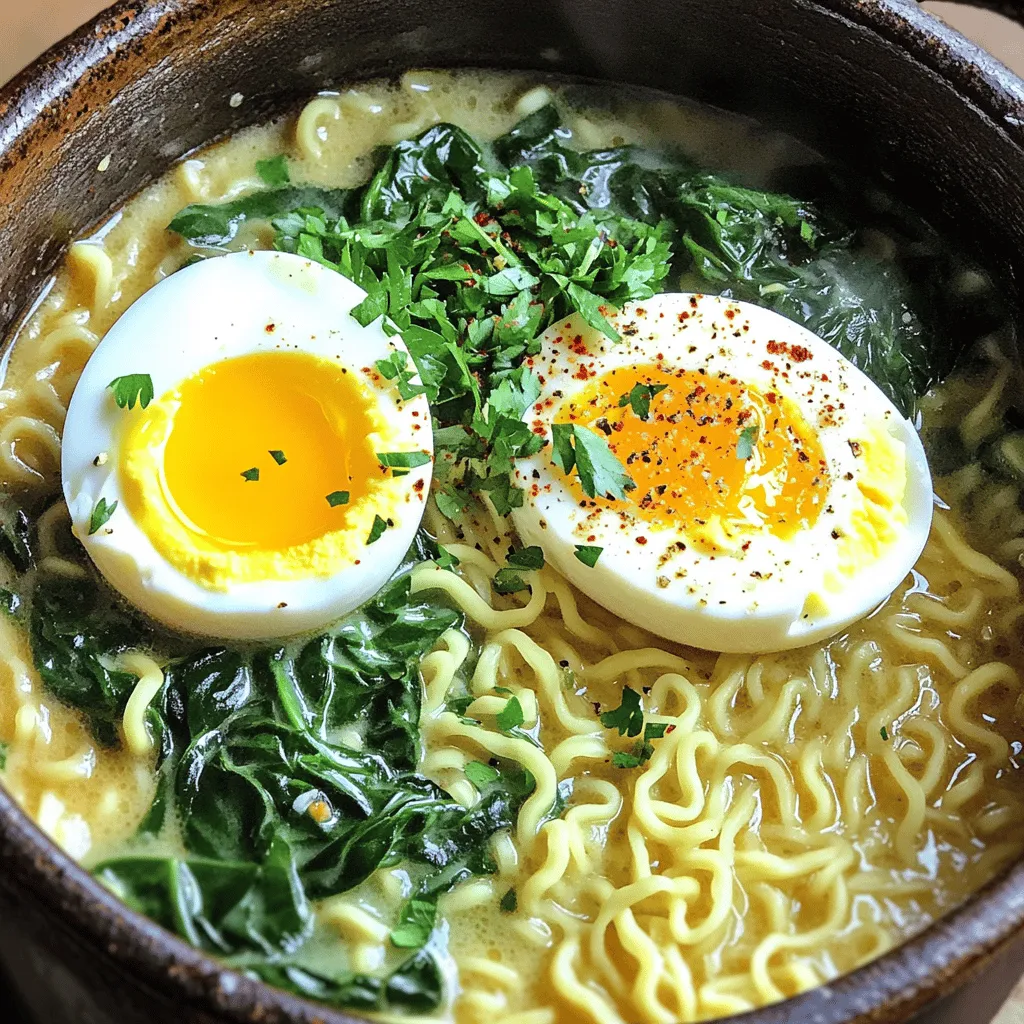
Looking for a simple, tasty meal that’s ready in one pot? You’ve found it! This One-Pot Garlic Parmesan Ramen is...
READ MORE →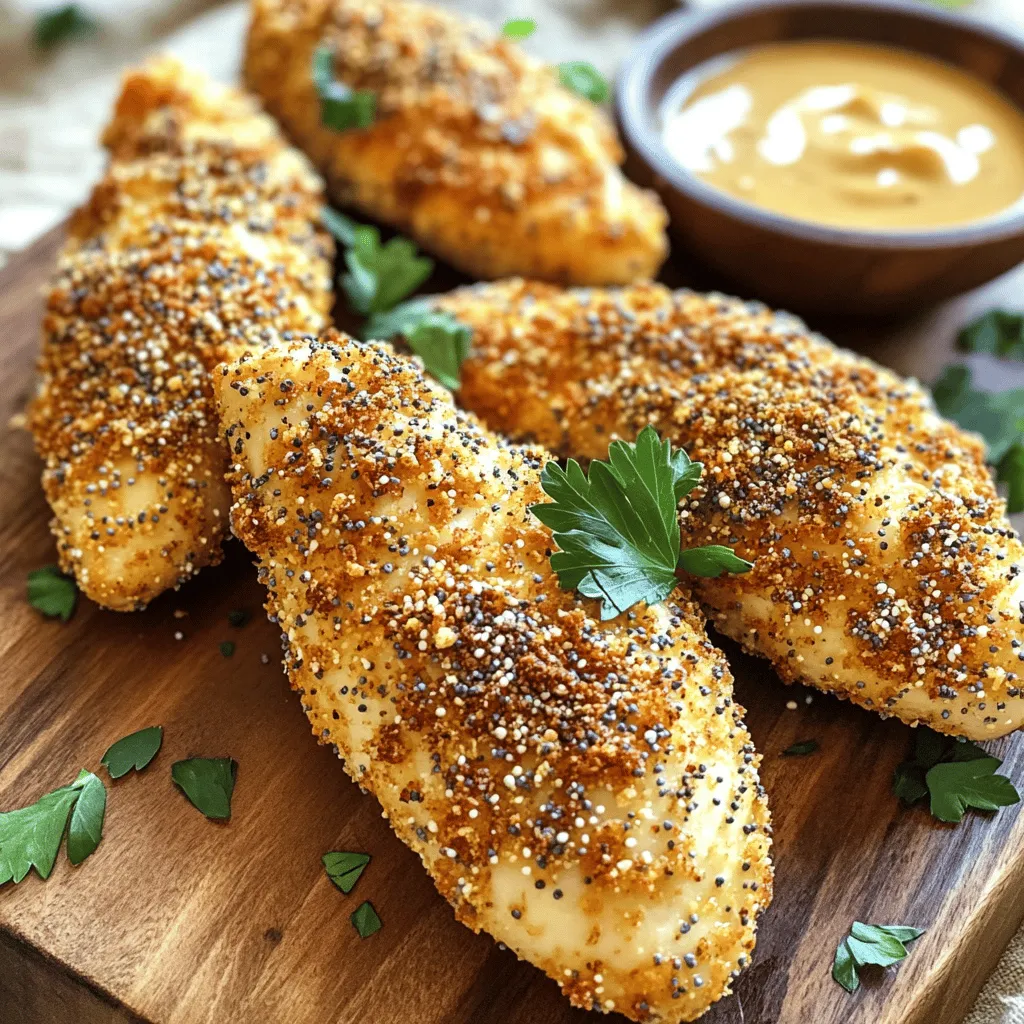
Are you ready to take your chicken tenders to the next level? My Everything Bagel Air Fryer Chicken Tenders Delight...
READ MORE →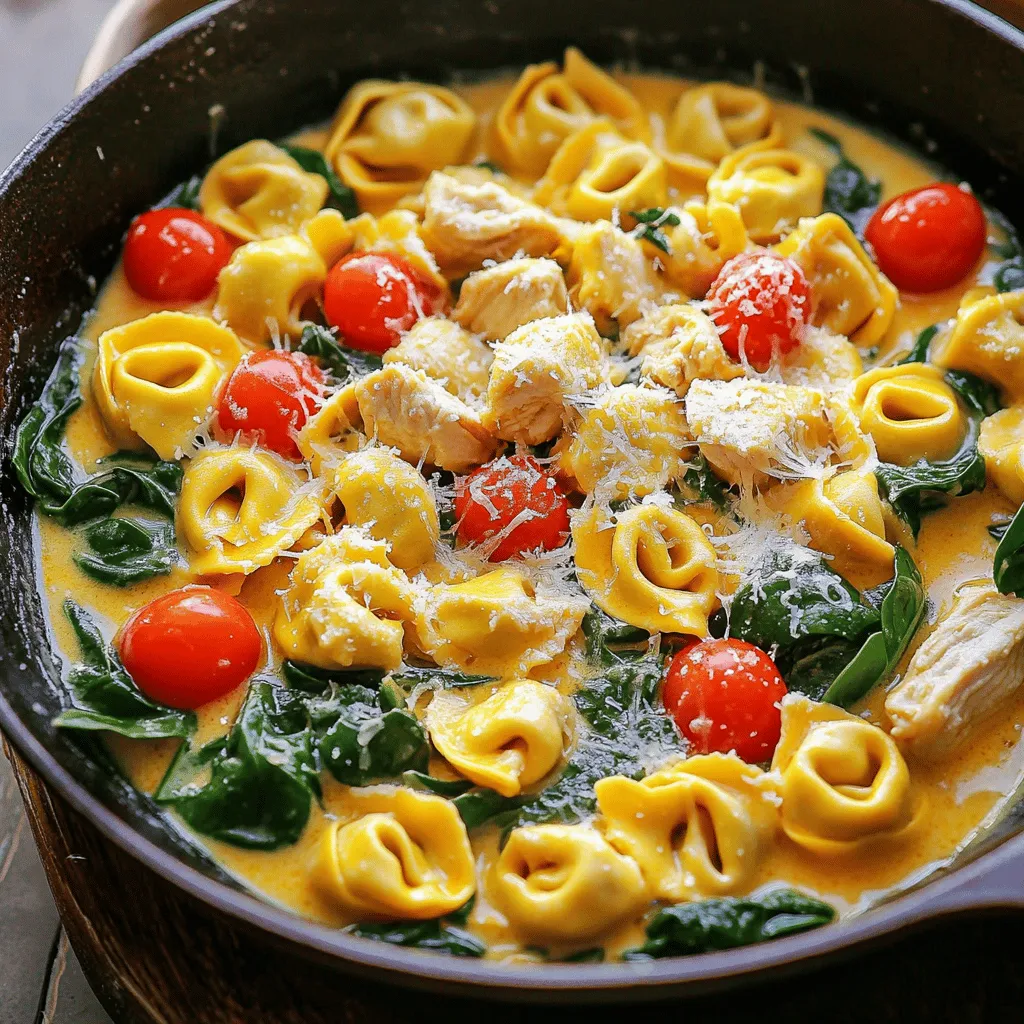
Craving a simple yet delicious dinner? Try my Tuscan Chicken Tortellini Skillet! This quick dish combines tender chicken, creamy sauce,...
READ MORE →
Start your mornings with a burst of flavor in every bite! Our Raspberry Lemon Cinnamon Rolls combine the bright taste...
READ MORE →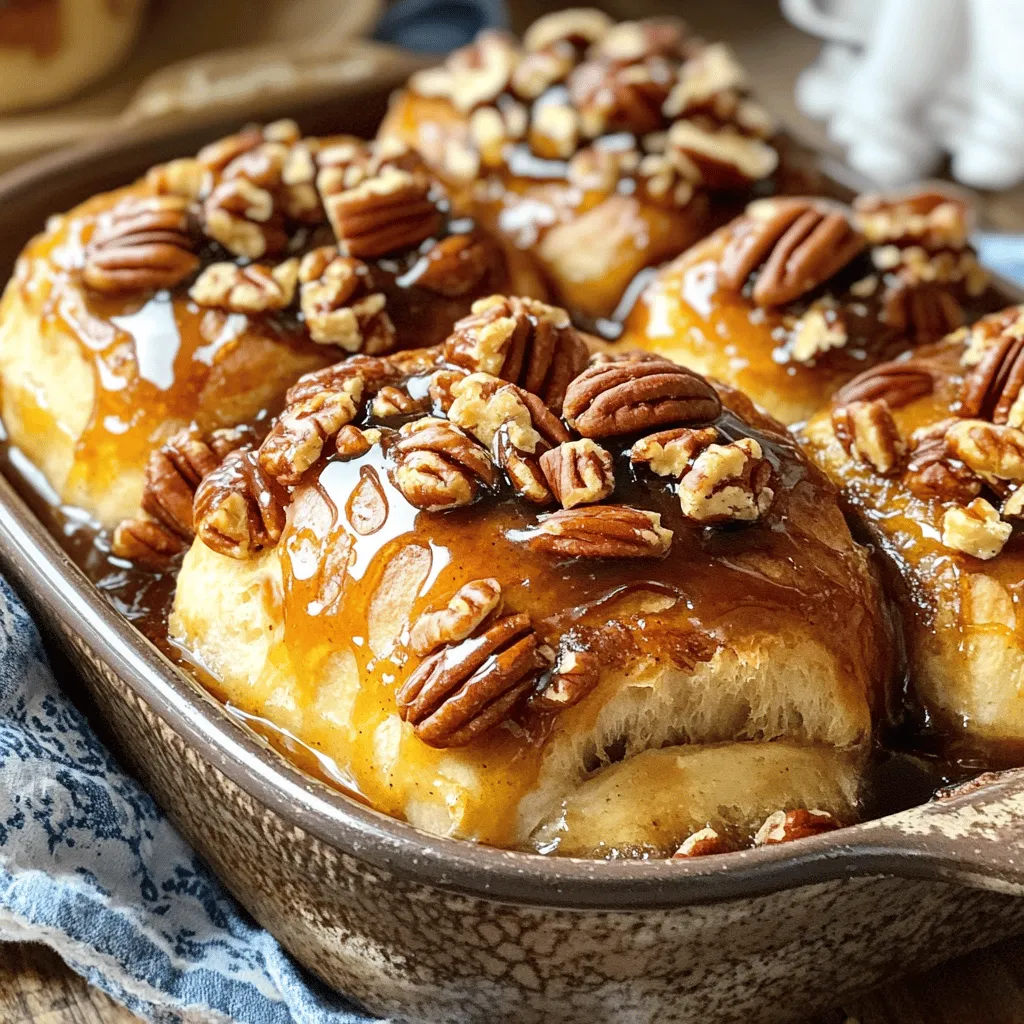
Craving a sweet treat that’s simple to make and delicious to eat? Look no further! Maple Pecan Sticky Buns are...
READ MORE →