DESSERTS
One Bowl Brownies Quick and Easy Dessert Recipe
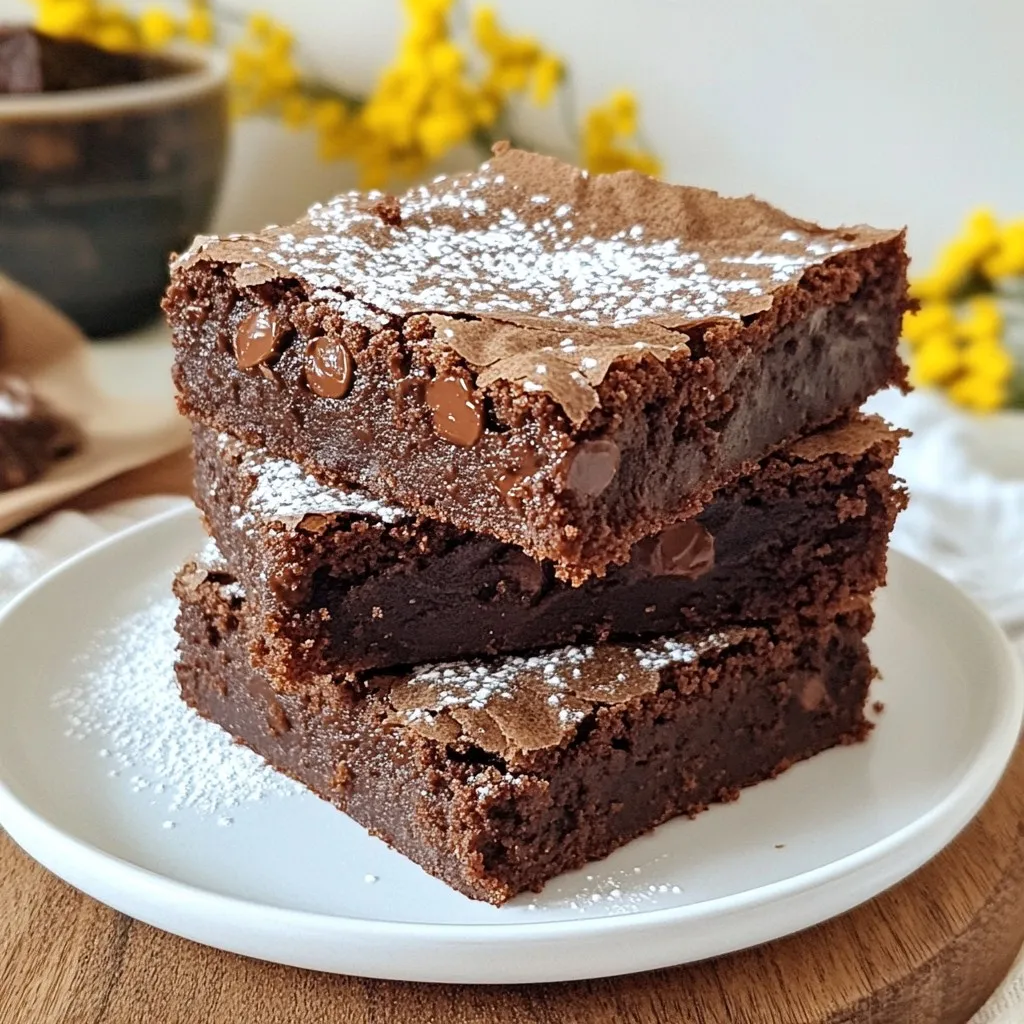
If you crave a quick and delicious dessert, these one bowl brownies are just for you. With just a few...
READ MORE →Chef Elliot
I’m Chef Elliot, your laid-back kitchen wingman with a serious love for bold flavors and easy cooking. 🥄✨
I believe anyone can cook—no fancy tools, no five-star background required. Just great recipes, a sprinkle of curiosity, and maybe a lemon zest moment to keep things fresh. 🍋💪
Think of me as your flavor coach: part guide, part cheerleader, always down for a second helping. I’m here to help you ditch the stress and stir up some joy—one tossed-together recipe at a time.

Delicious recipes crafted by Chef Elliot
If you crave a quick and delicious dessert, these one bowl brownies are just for you. With just a few...
READ MORE →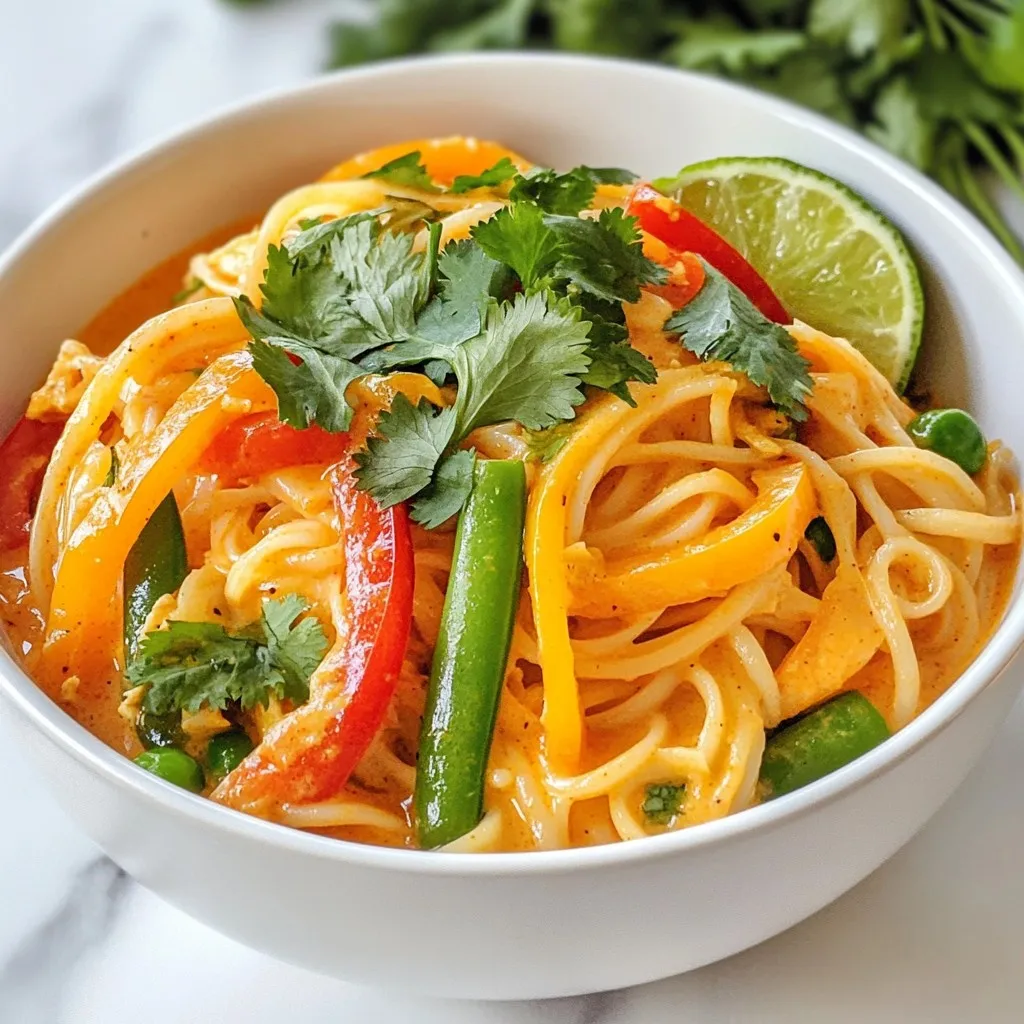
Looking for a quick yet delicious meal? Thai Coconut Curry Noodles is the perfect weeknight dinner for you! This dish...
READ MORE →
Are you ready for a sweet treat that combines brownies and cookies? Fudgy Brookie Cookies blend the best of both...
READ MORE →
Are you ready to elevate your burrito game? The Chipotle Ranch Grilled Chicken Burrito brings bold flavor to your plate....
READ MORE →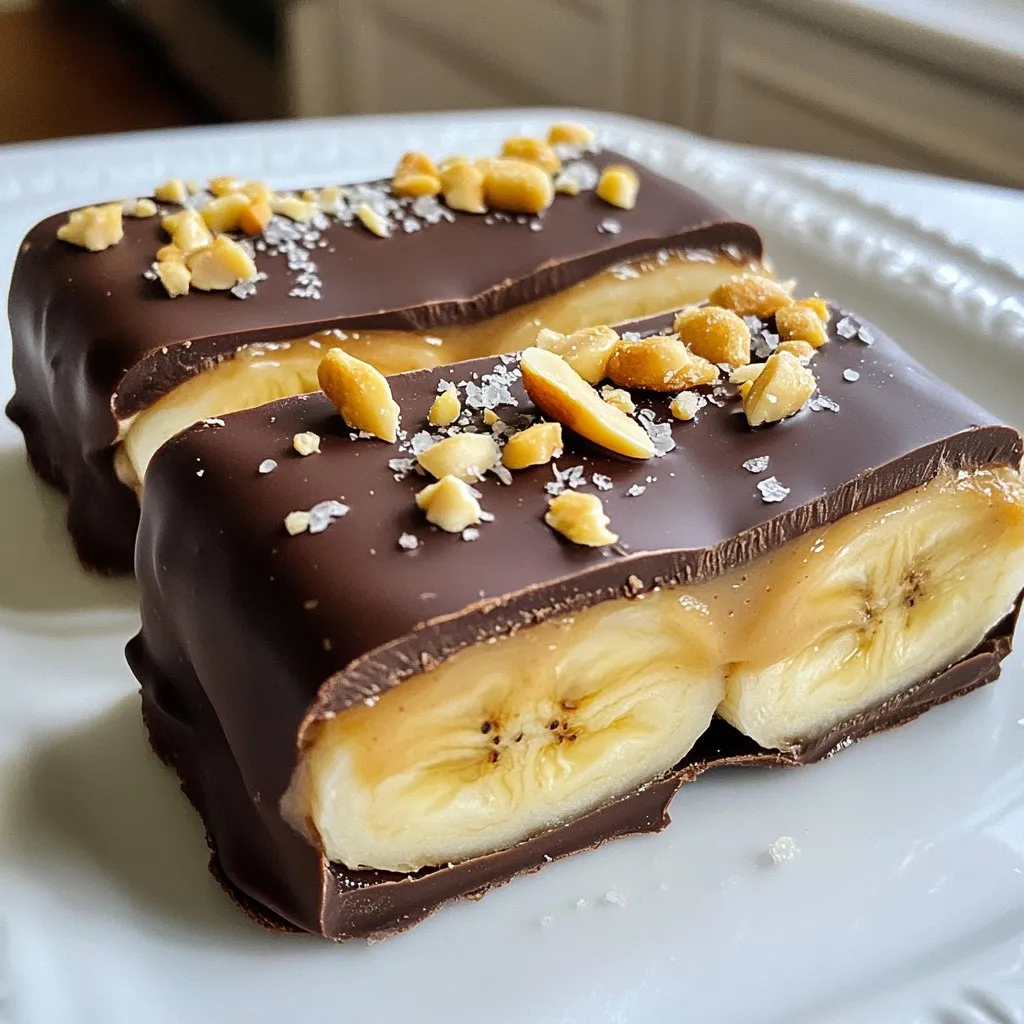
Craving a sweet treat that won’t ruin your diet? Let me introduce you to Low-Cal Frozen Banana Snickers! This simple...
READ MORE →
Looking for a meal that impresses without the stress? My Marry Me Chicken Pasta recipe is your answer! This delightful...
READ MORE →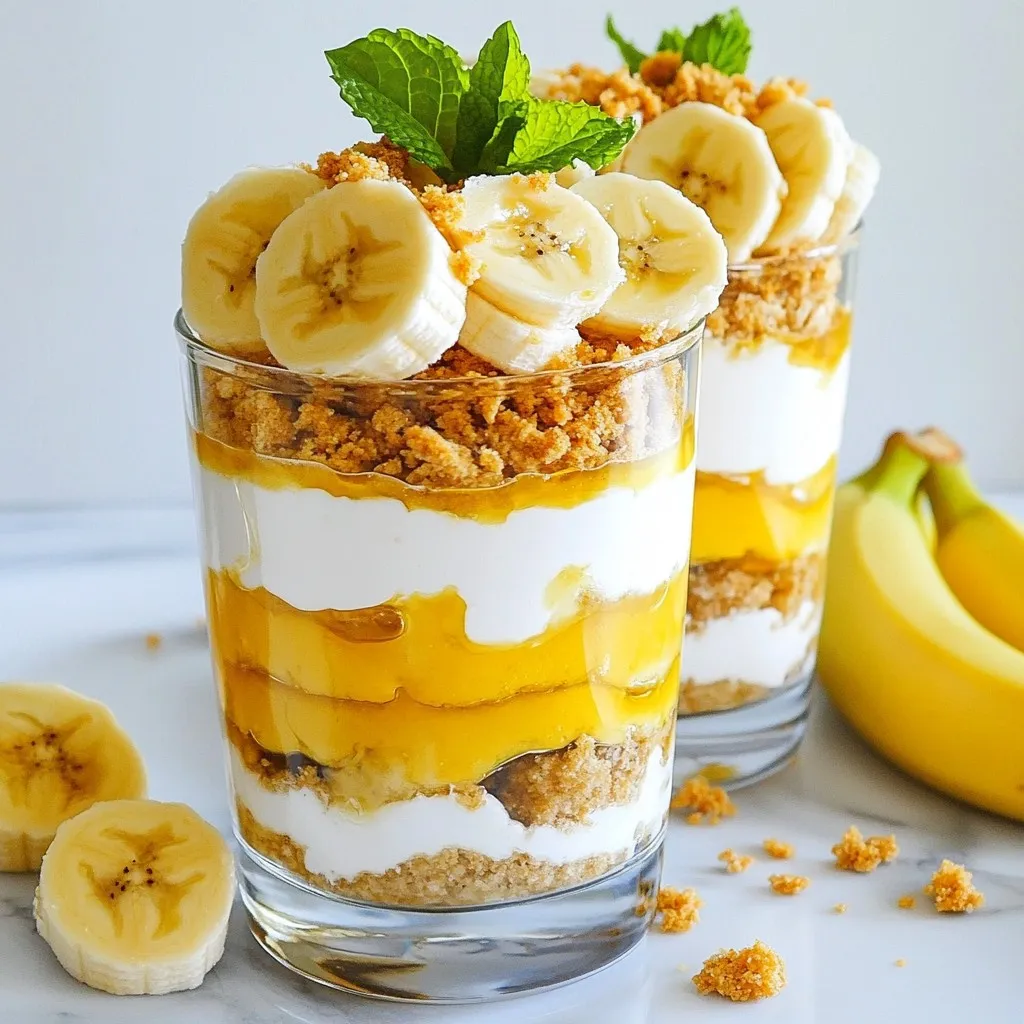
Looking for a sweet yet healthy treat? Cottage Cheese Banana Pudding is your answer! I’ll show you how to whip...
READ MORE →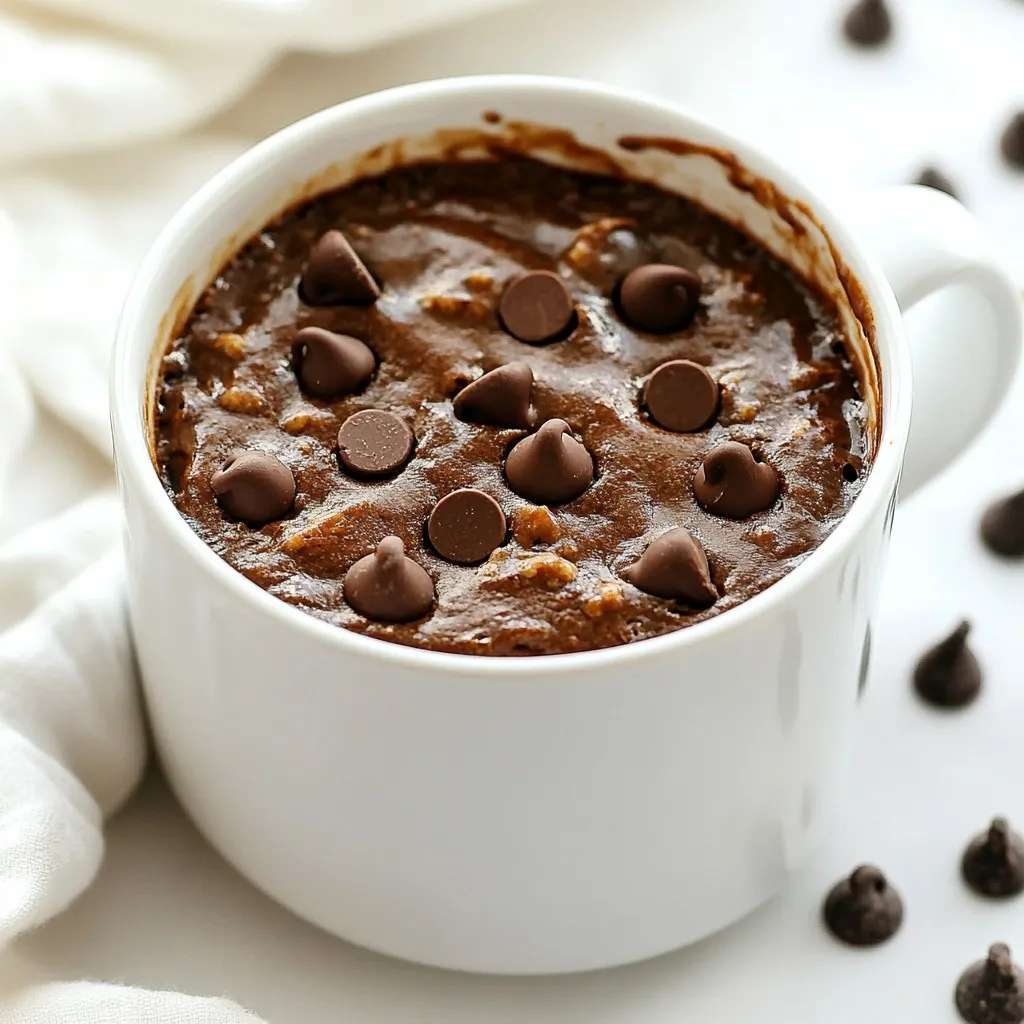
Craving a quick and tasty treat? Let me introduce you to the Secret Cookie Mug Cake! This delightful dessert combines...
READ MORE →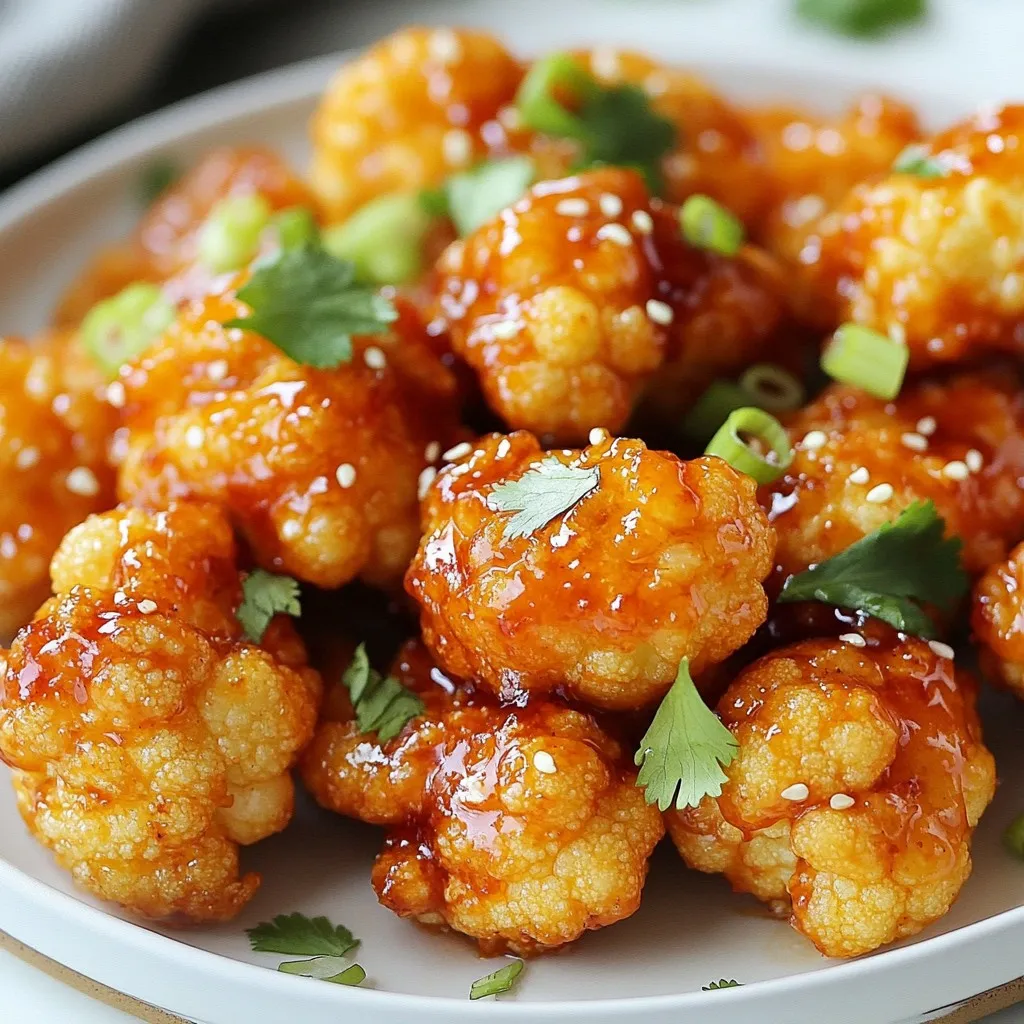
Looking for a tasty snack that packs a punch? Try my Honey Sriracha Cauliflower Wings! These wings are crispy, sweet,...
READ MORE →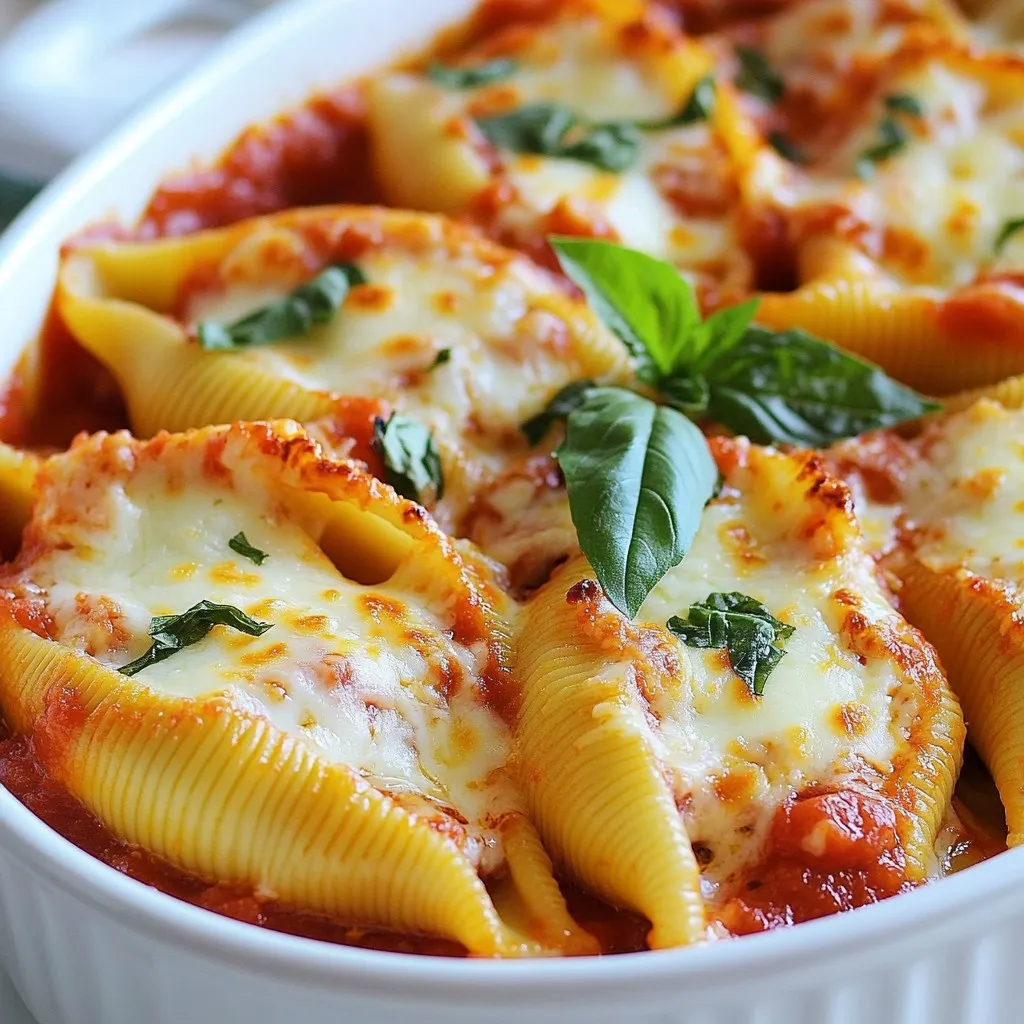
If you’re craving a cozy dinner that satisfies your taste buds, look no further! Cottage cheese stuffed shells bring comfort...
READ MORE →