
BREAKFAST
Pumpkin Spice Latte Irresistible Fall Favorite Recipe
Are you ready to sip on the cozy magic of fall? The Pumpkin Spice Latte is a warm hug in...
READ MORE →Chef Elliot
I’m Chef Elliot, your laid-back kitchen wingman with a serious love for bold flavors and easy cooking. 🥄✨
I believe anyone can cook—no fancy tools, no five-star background required. Just great recipes, a sprinkle of curiosity, and maybe a lemon zest moment to keep things fresh. 🍋💪
Think of me as your flavor coach: part guide, part cheerleader, always down for a second helping. I’m here to help you ditch the stress and stir up some joy—one tossed-together recipe at a time.

Delicious recipes crafted by Chef Elliot
Are you ready to sip on the cozy magic of fall? The Pumpkin Spice Latte is a warm hug in...
READ MORE →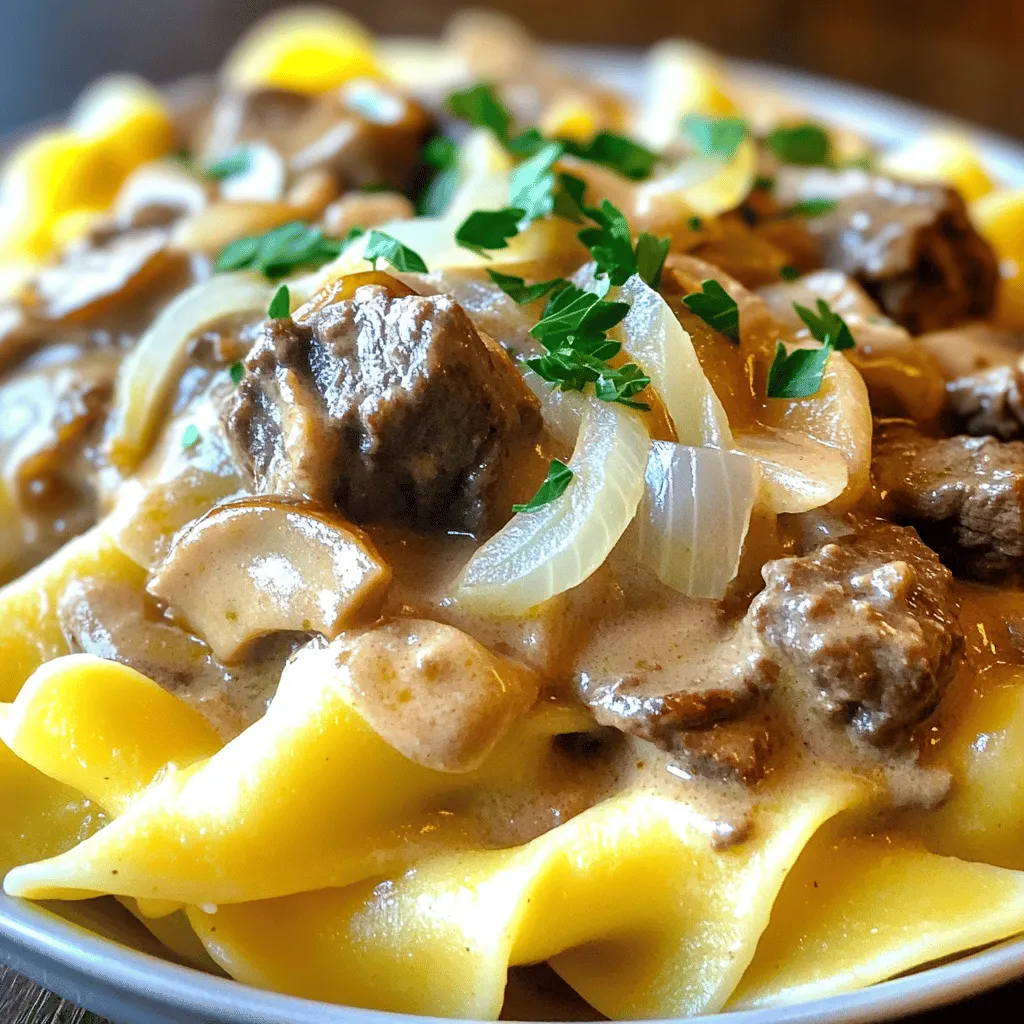
Looking for a simple and tasty meal? You’ve found it with Slow Cooker Beef Stroganoff! This dish combines tender beef,...
READ MORE →
Are you tired of store-bought coffee creamers packed with weird ingredients? Let’s change that! I’m here to show you how...
READ MORE →
Looking for a dessert that’s easy, delicious, and sure to impress? Look no further! These Oreo Cheesecake Cookie Cups are...
READ MORE →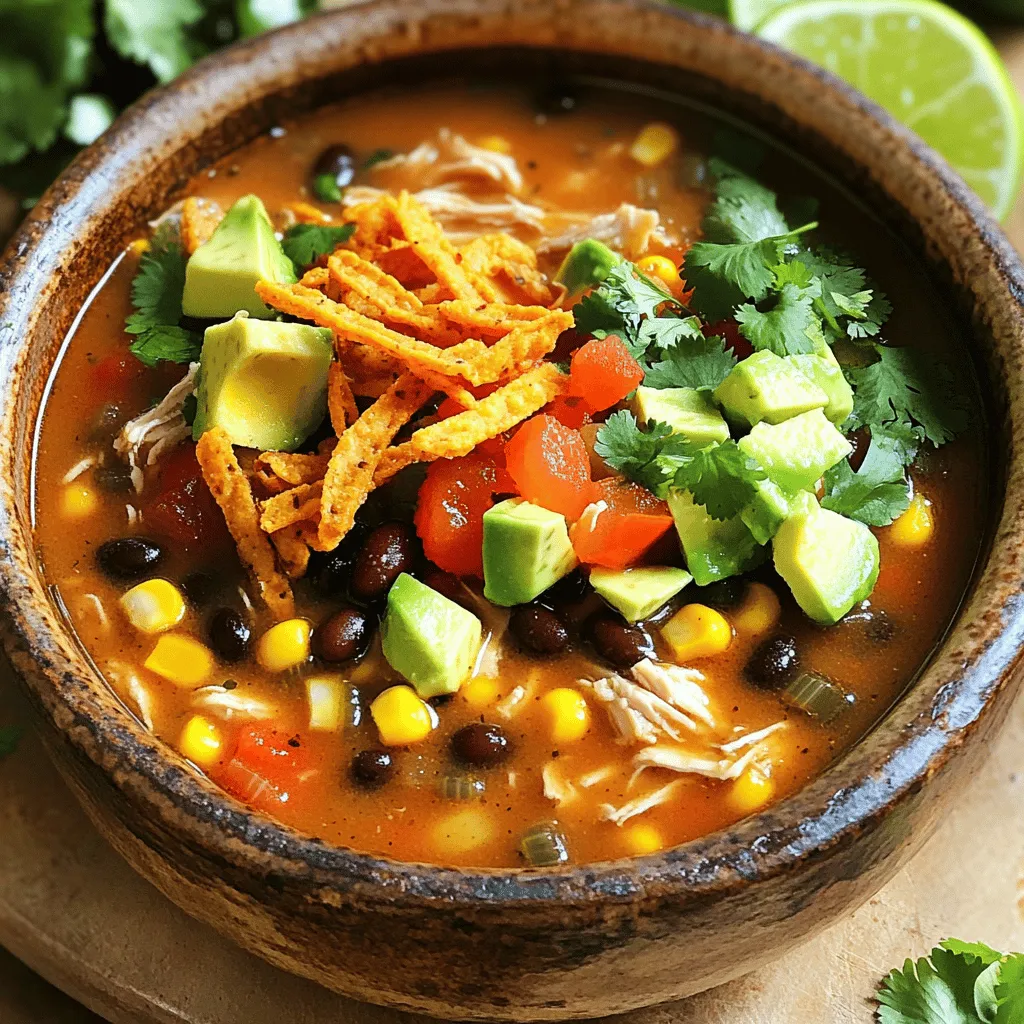
Looking for a quick, hearty meal that bursts with flavor? My Instant Pot Chicken Tortilla Soup is your answer! In...
READ MORE →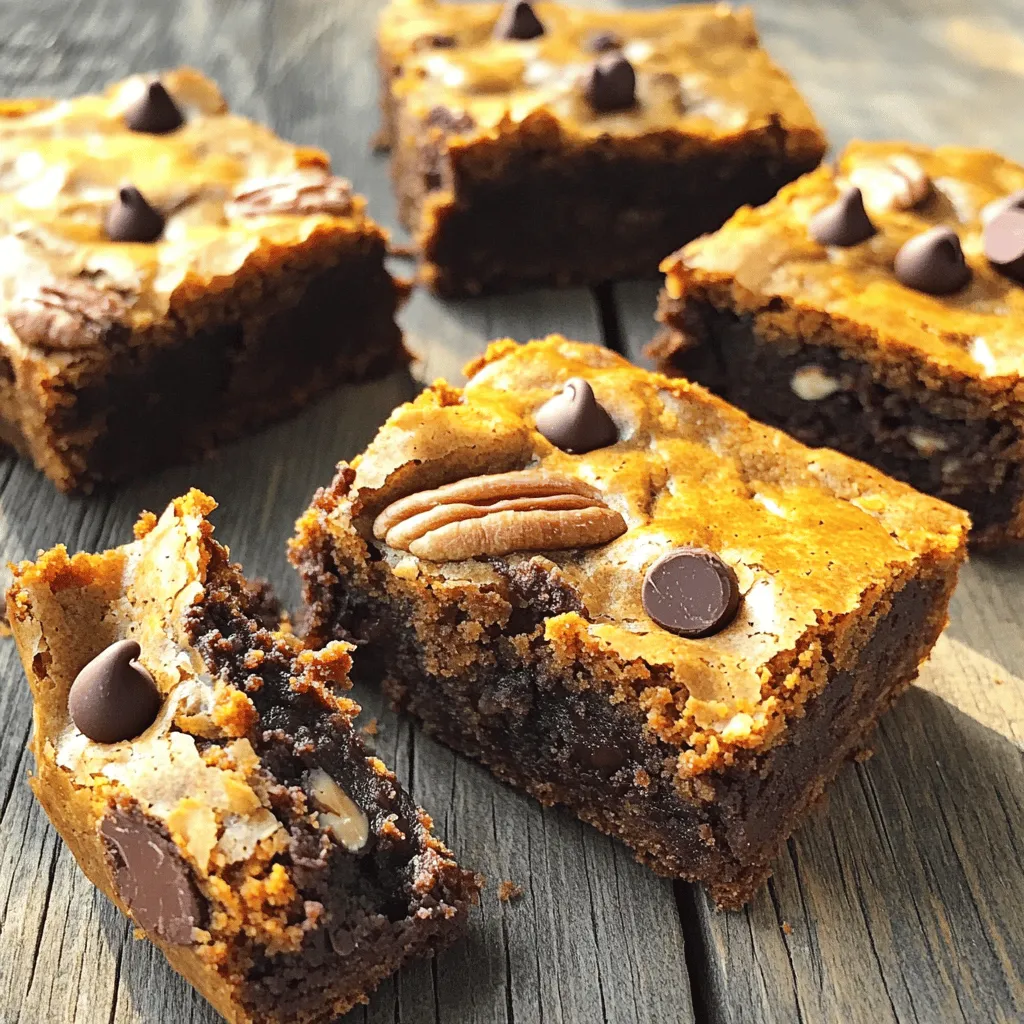
If you love fall flavors and sweet treats, you’re in for a treat! Chocolate Chip Pumpkin Blondies are here to...
READ MORE →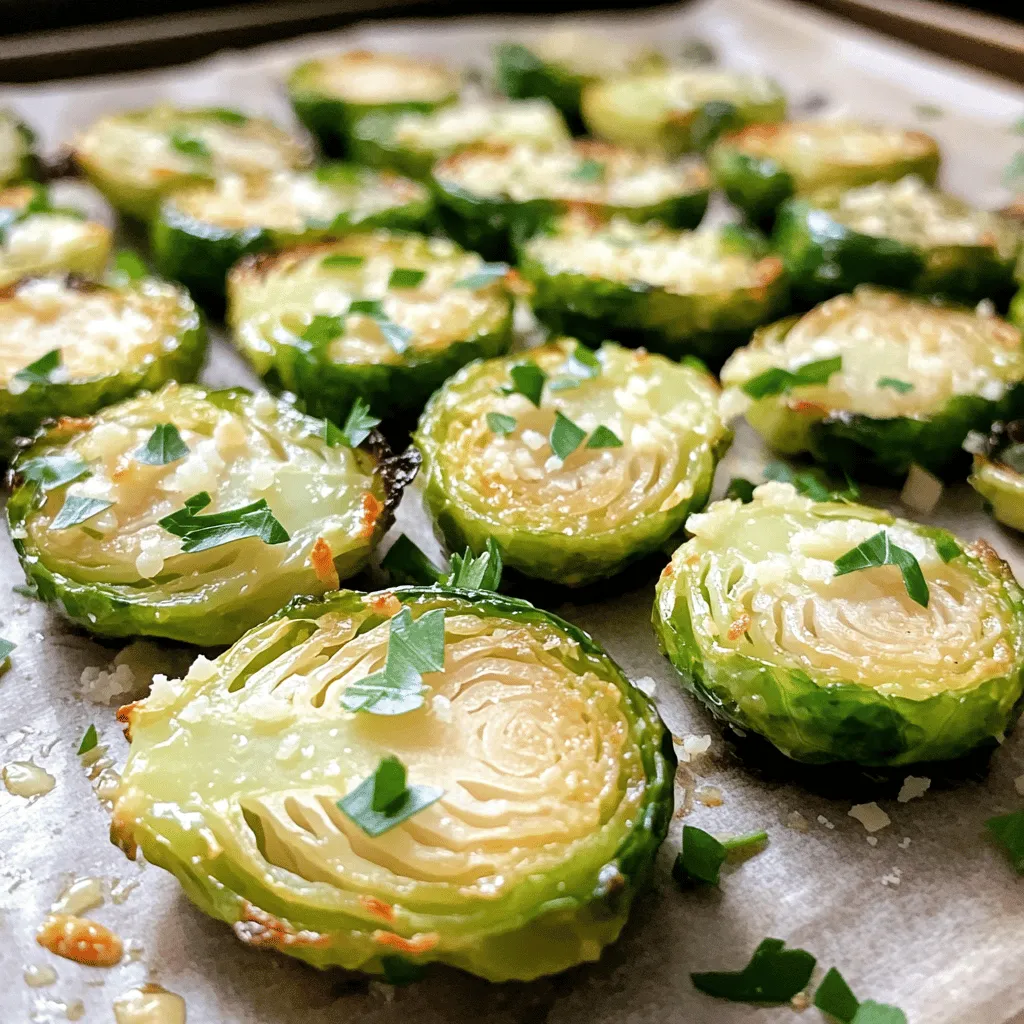
If you want a side dish that wows your taste buds, you’ve found it! My Garlic Parmesan Roasted Brussels Sprouts...
READ MORE →
Are you ready for a meal that bursts with flavor but needs little work? My Slow Cooker Butter Chicken is...
READ MORE →
Craving a sweet treat without firing up the oven? You’ve hit the jackpot! In this guide, I’ll share my easy...
READ MORE →
Are you ready to make an easy, tasty meal that your whole family will love? In this post, I’ll show...
READ MORE →