
DINNER
Satisfying Slow Cooker Chicken Pot Pie Recipe Guide
Looking to create a warm, comforting meal with minimal effort? My Satisfying Slow Cooker Chicken Pot Pie Recipe Guide is...
READ MORE →Chef Elliot
I’m Chef Elliot, your laid-back kitchen wingman with a serious love for bold flavors and easy cooking. 🥄✨
I believe anyone can cook—no fancy tools, no five-star background required. Just great recipes, a sprinkle of curiosity, and maybe a lemon zest moment to keep things fresh. 🍋💪
Think of me as your flavor coach: part guide, part cheerleader, always down for a second helping. I’m here to help you ditch the stress and stir up some joy—one tossed-together recipe at a time.

Delicious recipes crafted by Chef Elliot
Looking to create a warm, comforting meal with minimal effort? My Satisfying Slow Cooker Chicken Pot Pie Recipe Guide is...
READ MORE →
Get ready to fall in love with these Pumpkin Bars topped with rich Brown Sugar Frosting! These bars are soft,...
READ MORE →
If you’re craving a delicious treat that’s also easy to make, Mexican street corn is your answer! In this article,...
READ MORE →
Start your day off right with these delicious Vegan Raspberry Baked Oats! Packed with wholesome ingredients, this easy recipe combines...
READ MORE →
Fall is the perfect time to enjoy the warm, cozy flavors of baked apple cider donuts! These donuts are not...
READ MORE →
If you’re craving a rich, chocolatey treat that offers a kick of coffee flavor, you’re in the right place! My...
READ MORE →
Looking for a warm, tasty meal that’s easy to make? You’ll love this Crock Pot Southwest Chicken and Rice dish!...
READ MORE →
Welcome to your new favorite fall treat: Chewy Pumpkin Cookies with Brown Butter Delight! These cookies are soft, packed with...
READ MORE →
Are you ready to delight your taste buds? My Savory Slow Cooker Four Cheese Mac and Cheese is creamy, cheesy,...
READ MORE →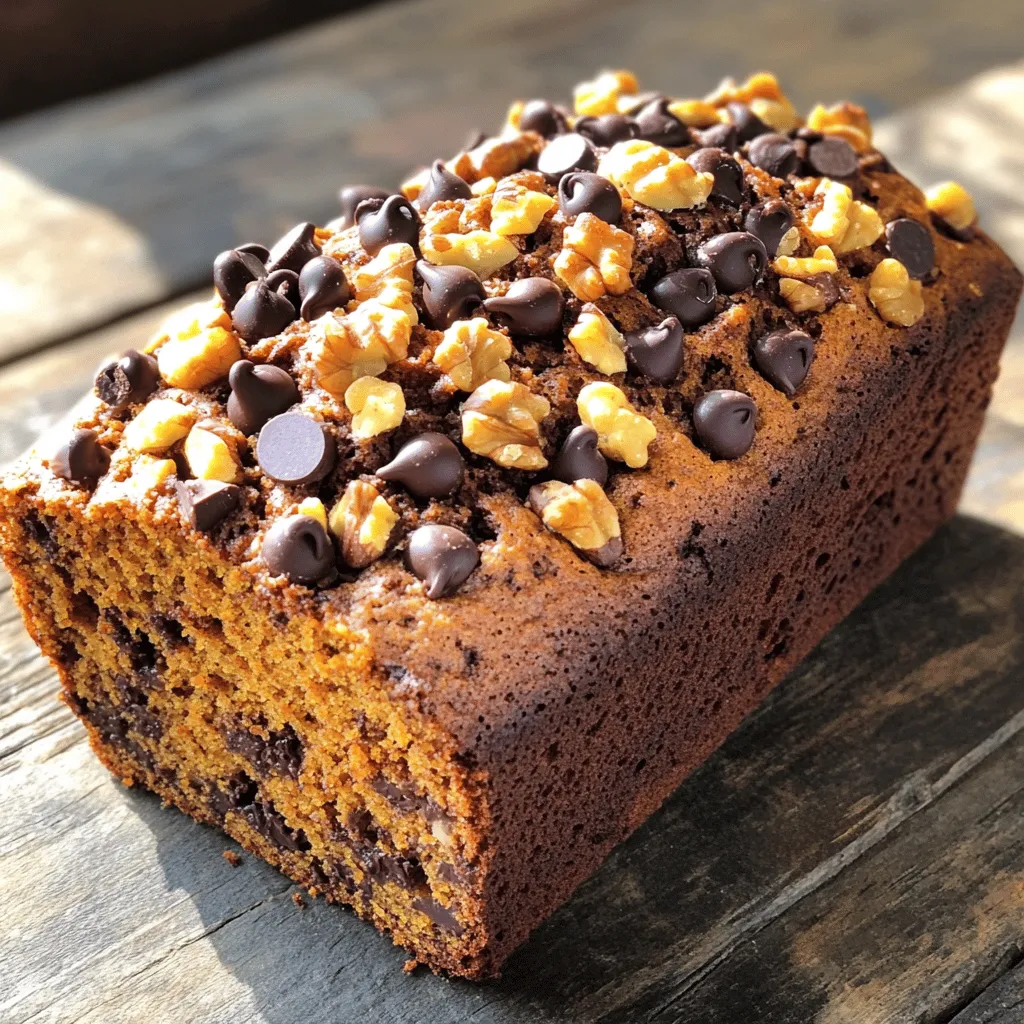
Are you looking for a cozy treat that combines the flavors of fall with the sweetness of chocolate? This Chocolate...
READ MORE →