
DESSERTS
Vanilla French Beignets Deliciously Soft Treats
Have you ever tasted the joy of a soft, warm Vanilla French beignet? If not, you’re in for a delightful...
READ MORE →Chef Elliot
I’m Chef Elliot, your laid-back kitchen wingman with a serious love for bold flavors and easy cooking. 🥄✨
I believe anyone can cook—no fancy tools, no five-star background required. Just great recipes, a sprinkle of curiosity, and maybe a lemon zest moment to keep things fresh. 🍋💪
Think of me as your flavor coach: part guide, part cheerleader, always down for a second helping. I’m here to help you ditch the stress and stir up some joy—one tossed-together recipe at a time.

Delicious recipes crafted by Chef Elliot
Have you ever tasted the joy of a soft, warm Vanilla French beignet? If not, you’re in for a delightful...
READ MORE →
Craving a quick snack that’s packed with flavor? Look no further! In this post, I’ll share an easy recipe for...
READ MORE →
Fall brings the cozy scent of apple cider, and what better way to celebrate than with Apple Cider Cookies? These...
READ MORE →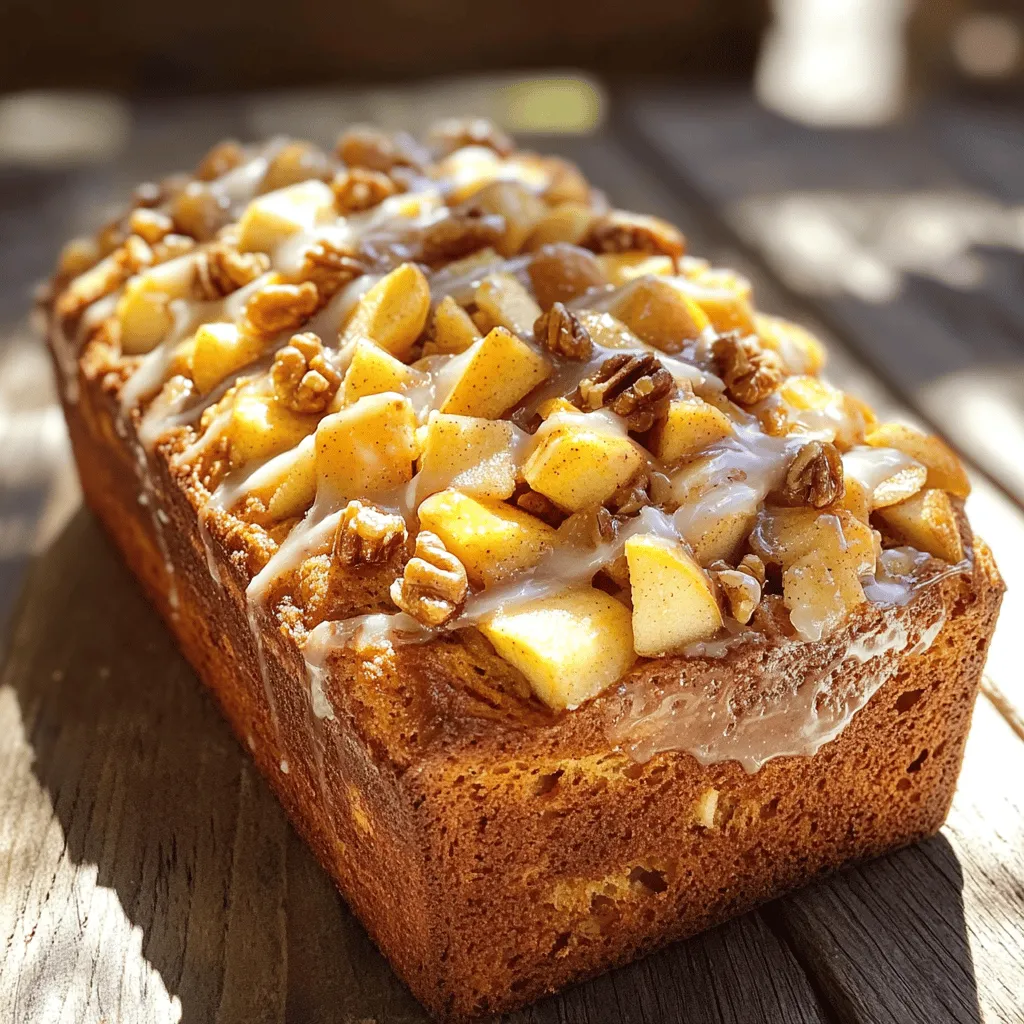
If you love warm, fresh desserts, you’re in for a treat! This delightful Country Apple Fritter Bread recipe brings the...
READ MORE →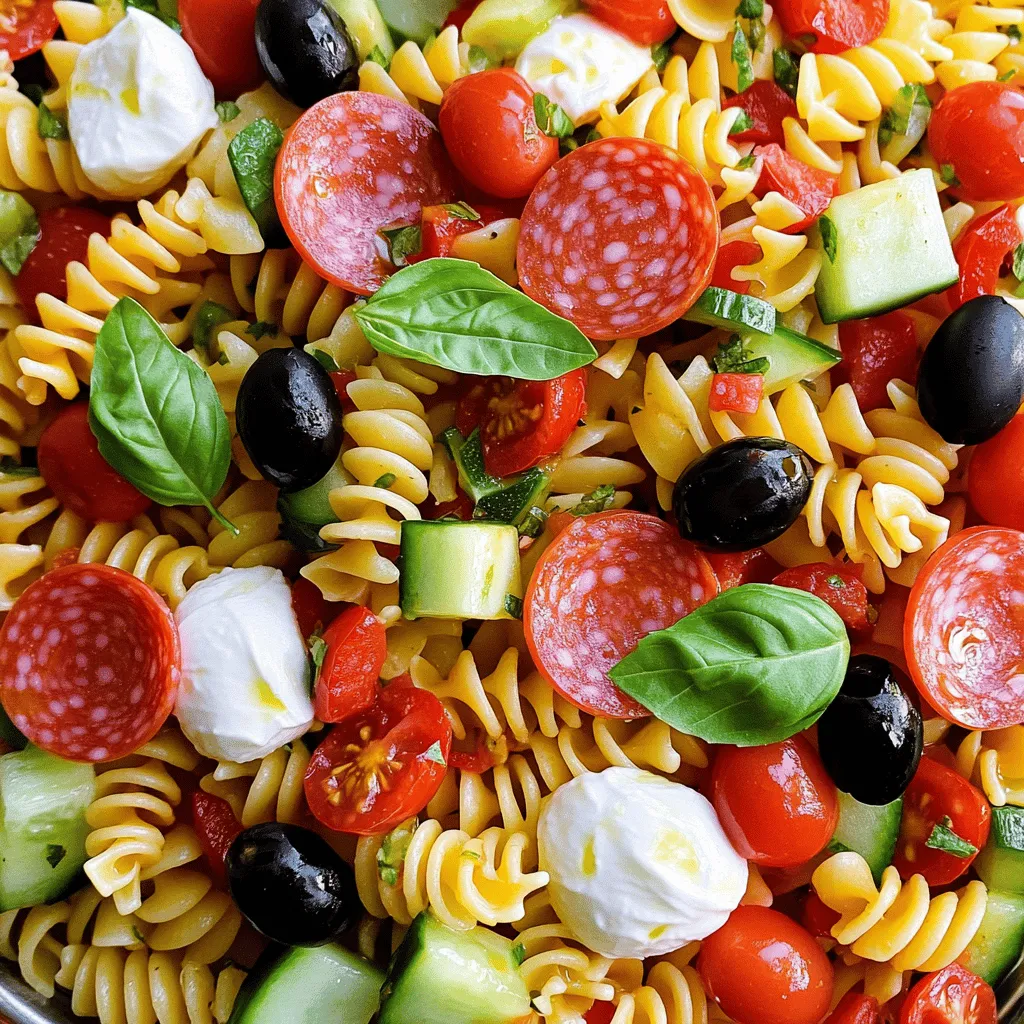
Ready to turn dinner time into a fun event? This 20-Minute Kid-Friendly Supreme Pizza Pasta Salad Delight is your secret...
READ MORE →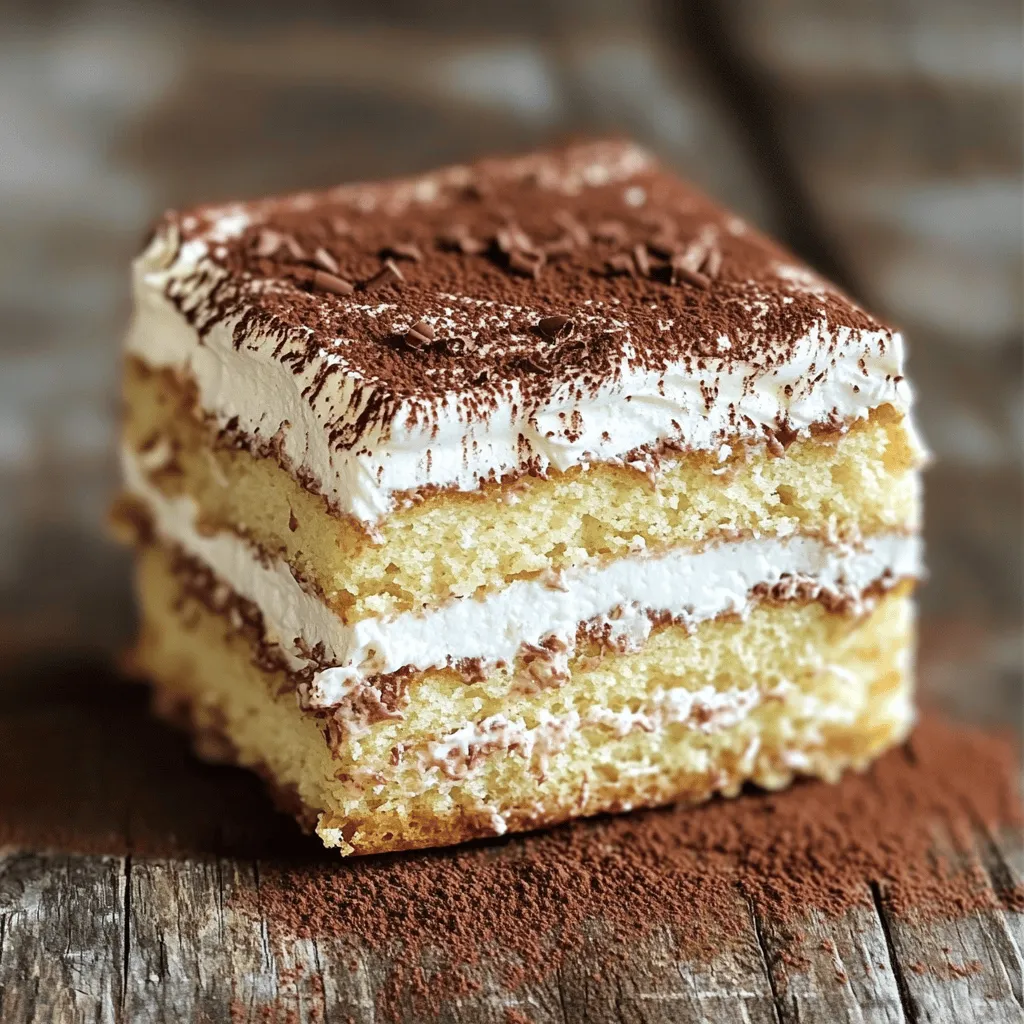
Get ready to indulge in a fluffy tiramisu cake that will make your taste buds dance! This dessert combines rich...
READ MORE →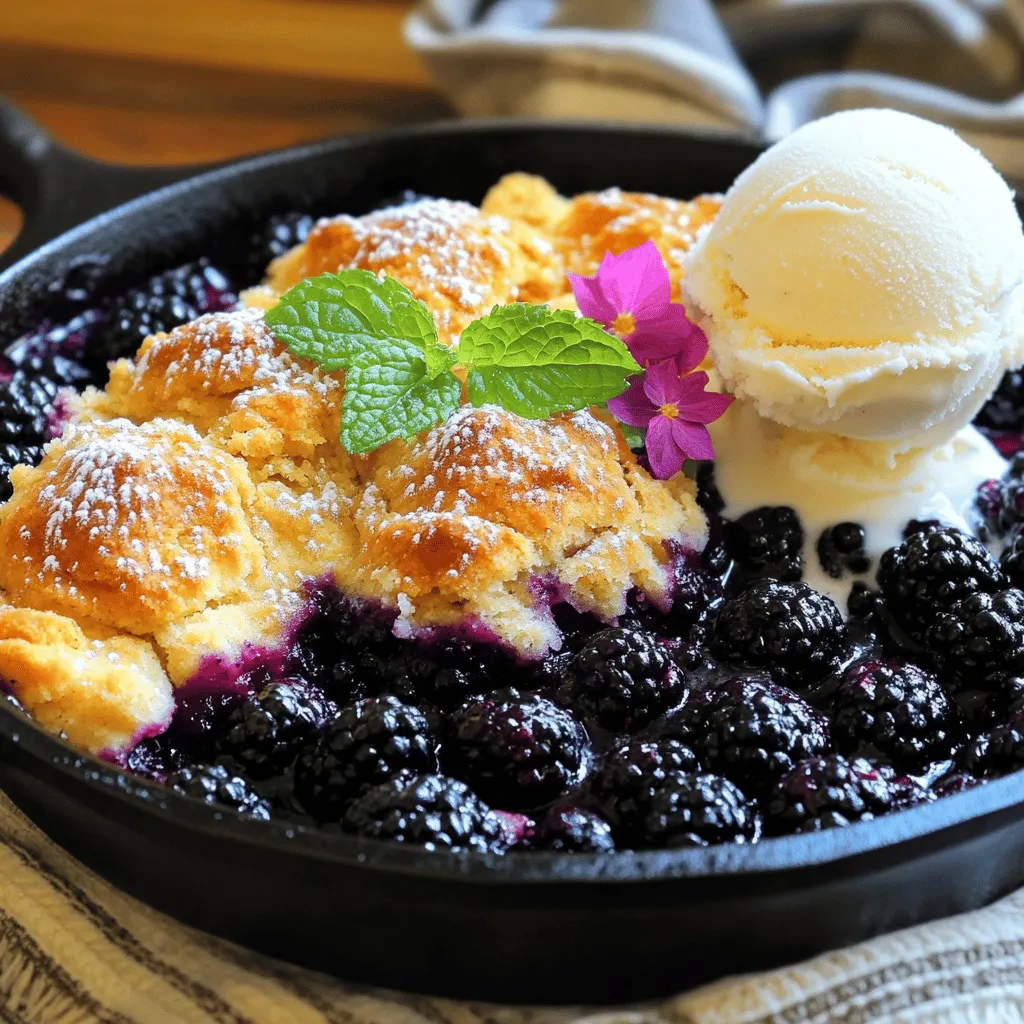
Ready to try a dessert that’s both comforting and delicious? Mimi’s Famous Skillet Blackberry Cobbler is just what you need!...
READ MORE →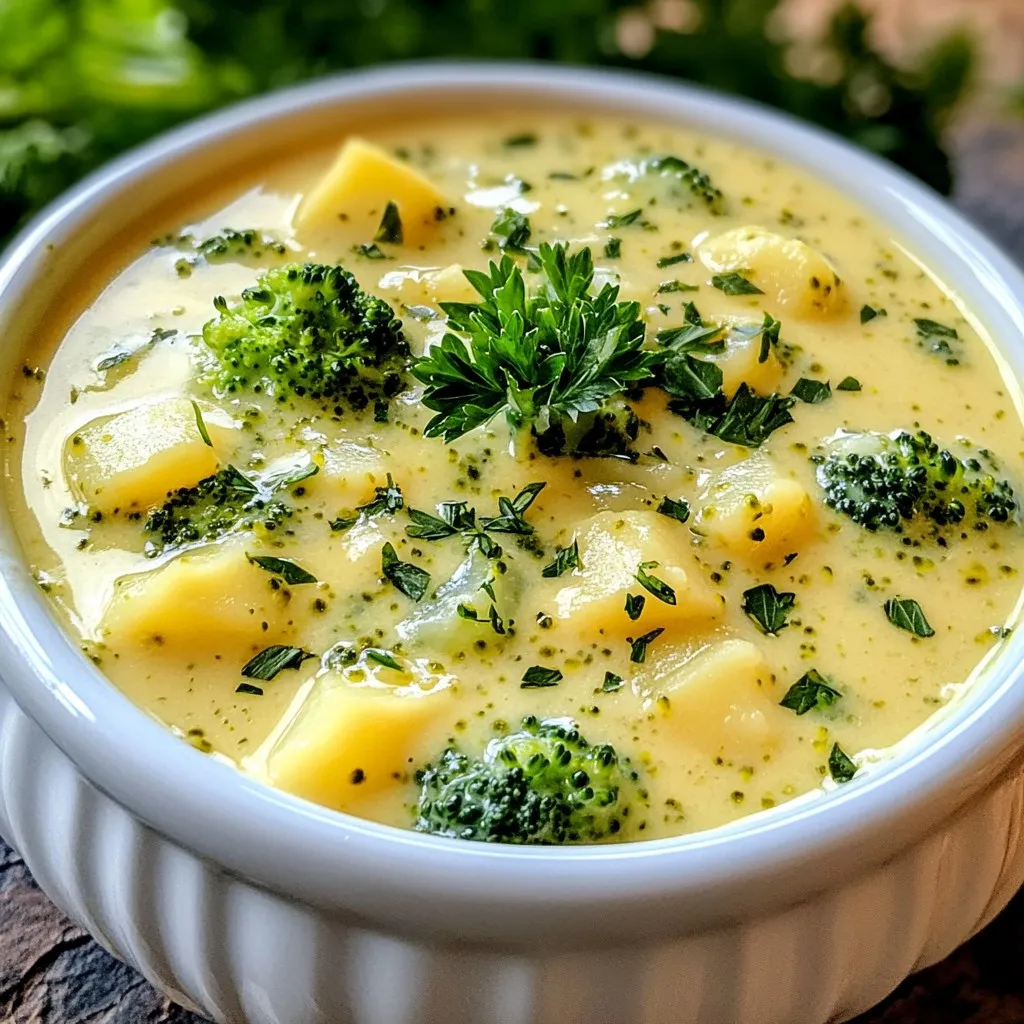
If you’re craving a warm, creamy bowl of comfort, you’re in the right place! Broccoli Potato Cheese Soup is a...
READ MORE →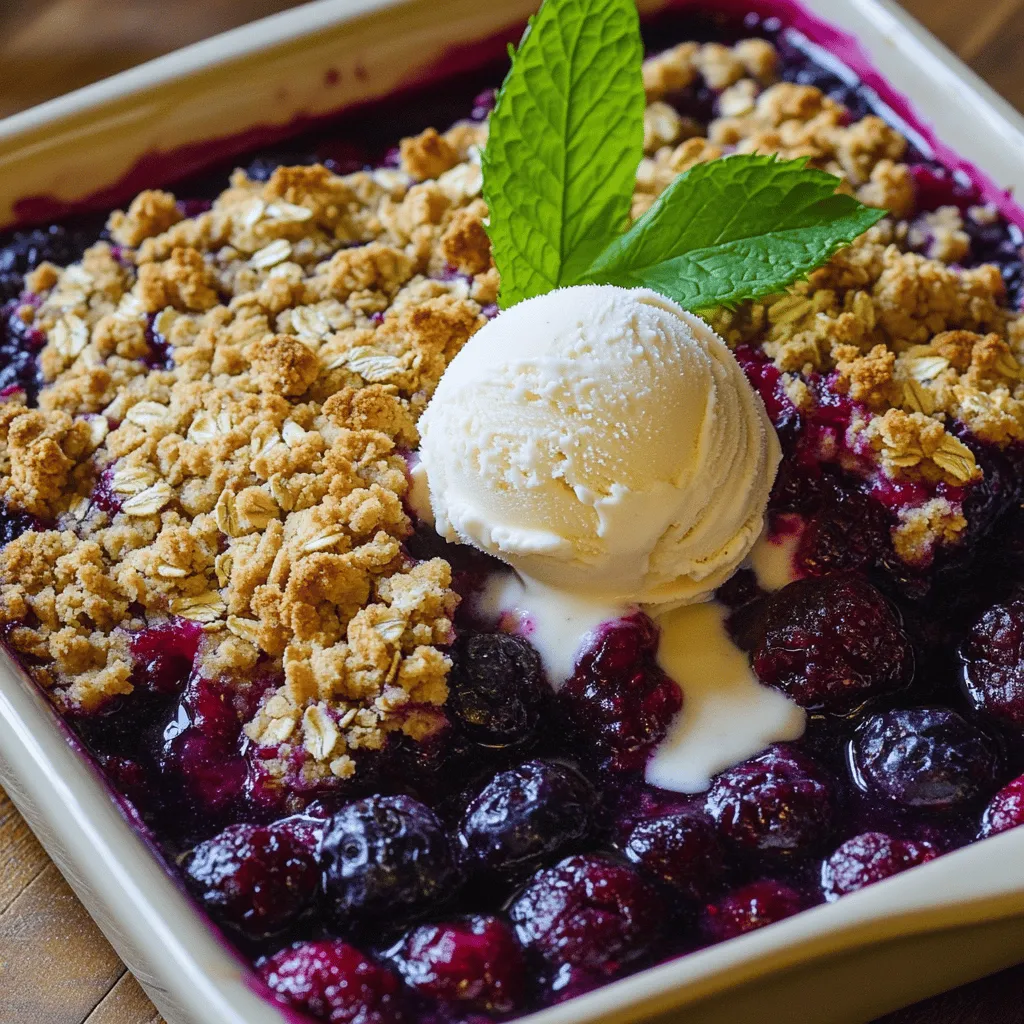
Are you ready to create a delicious dessert that’s both easy and rewarding? With my simple recipe for Saskatoon Berry...
READ MORE →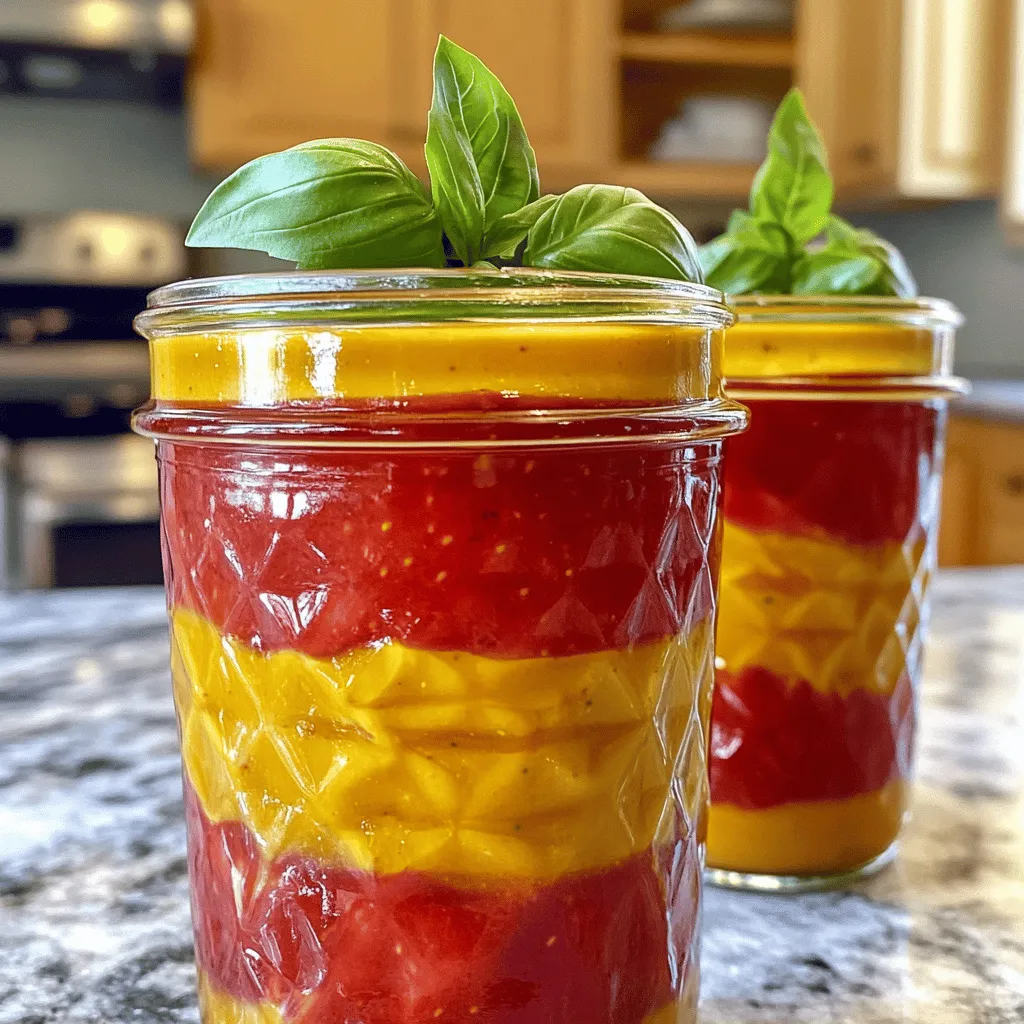
Are you ready to elevate your salads with a burst of flavor? This Strawberry Balsamic Vinaigrette is easy to make...
READ MORE →