BREAKFAST
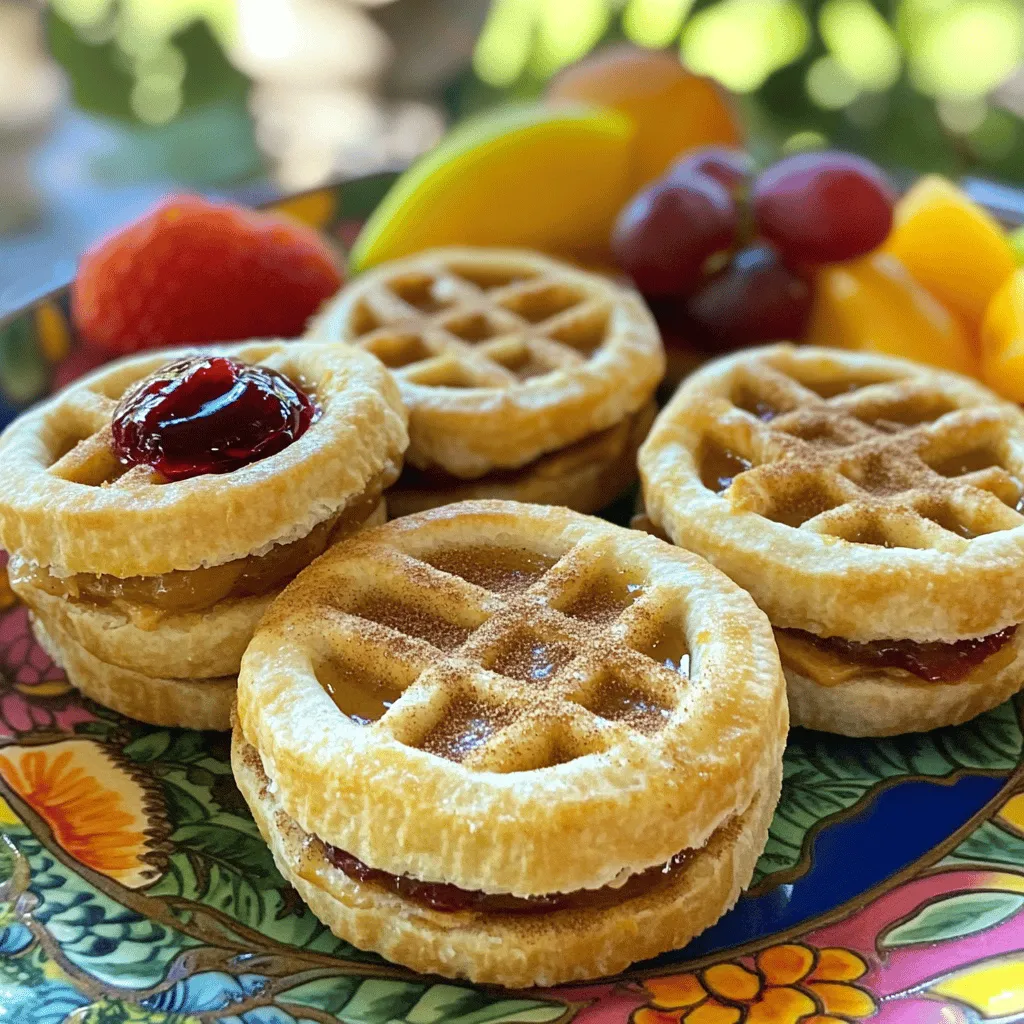
Homemade Uncrustables Simple and Fun Recipe
Are you ready to make lunch fun again? My Homemade Uncrustables recipe is simple and exciting! With just a few...
READ MORE →Chef Elliot
I’m Chef Elliot, your laid-back kitchen wingman with a serious love for bold flavors and easy cooking. 🥄✨
I believe anyone can cook—no fancy tools, no five-star background required. Just great recipes, a sprinkle of curiosity, and maybe a lemon zest moment to keep things fresh. 🍋💪
Think of me as your flavor coach: part guide, part cheerleader, always down for a second helping. I’m here to help you ditch the stress and stir up some joy—one tossed-together recipe at a time.

Delicious recipes crafted by Chef Elliot
Are you ready to make lunch fun again? My Homemade Uncrustables recipe is simple and exciting! With just a few...
READ MORE →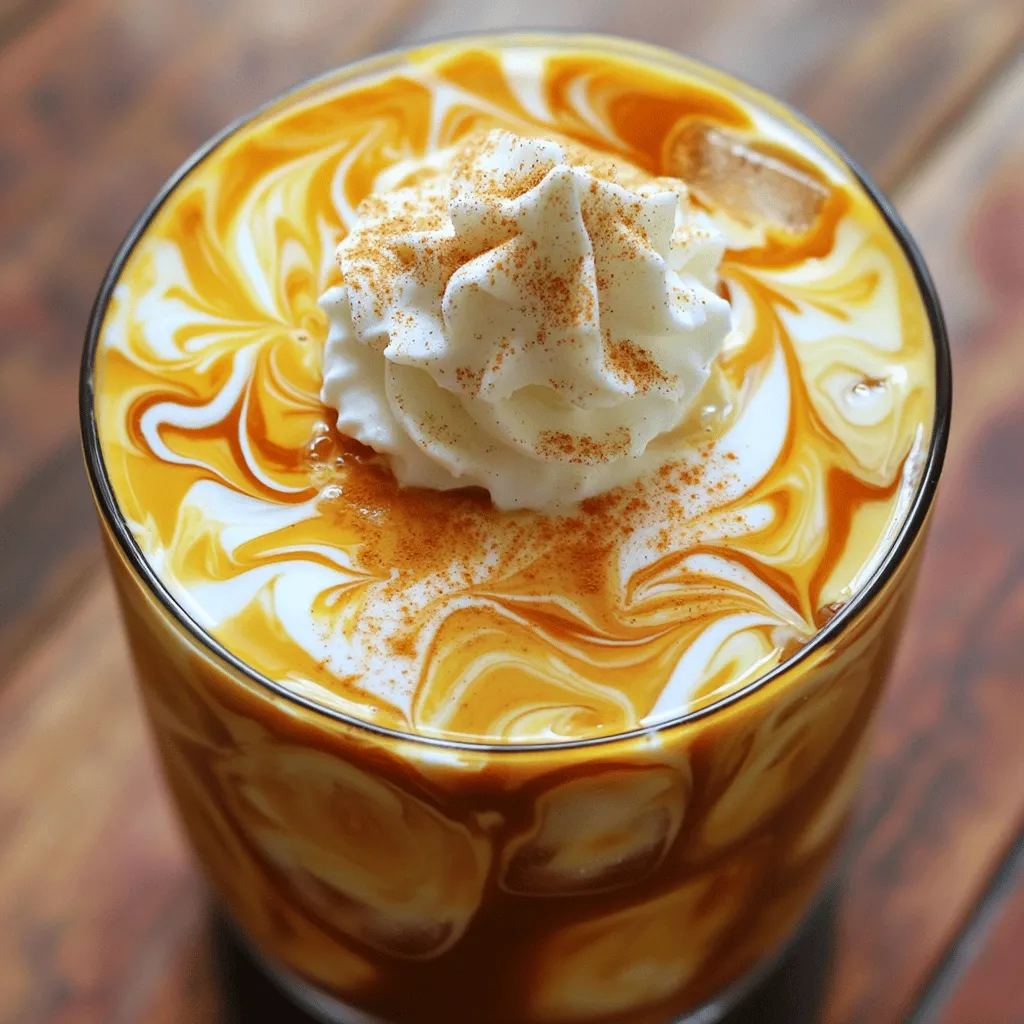
Fall is here, and it’s time to savor the season with a Pumpkin Cream Cold Brew! This delightful drink combines...
READ MORE →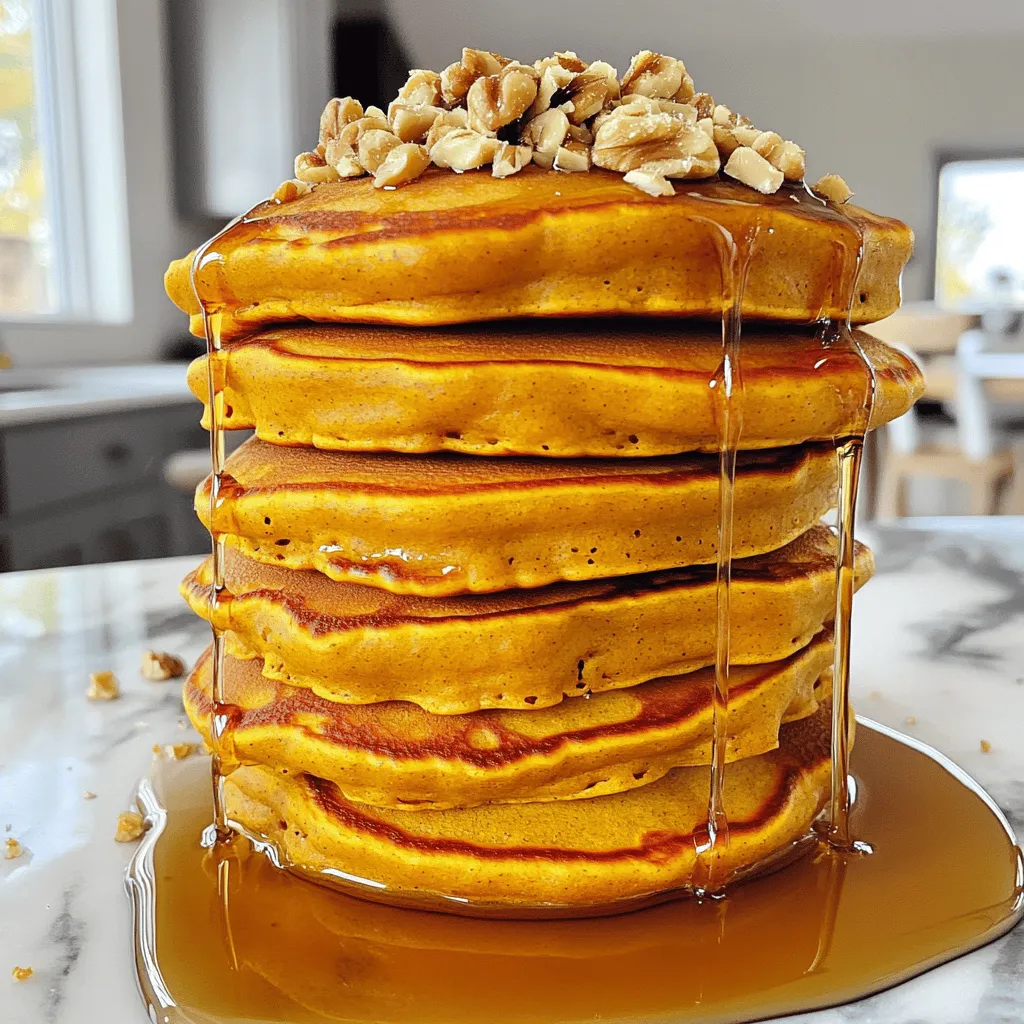
If you’re looking for a fun and tasty breakfast, you’re in the right place. These Easy Pumpkin Pancakes are simple...
READ MORE →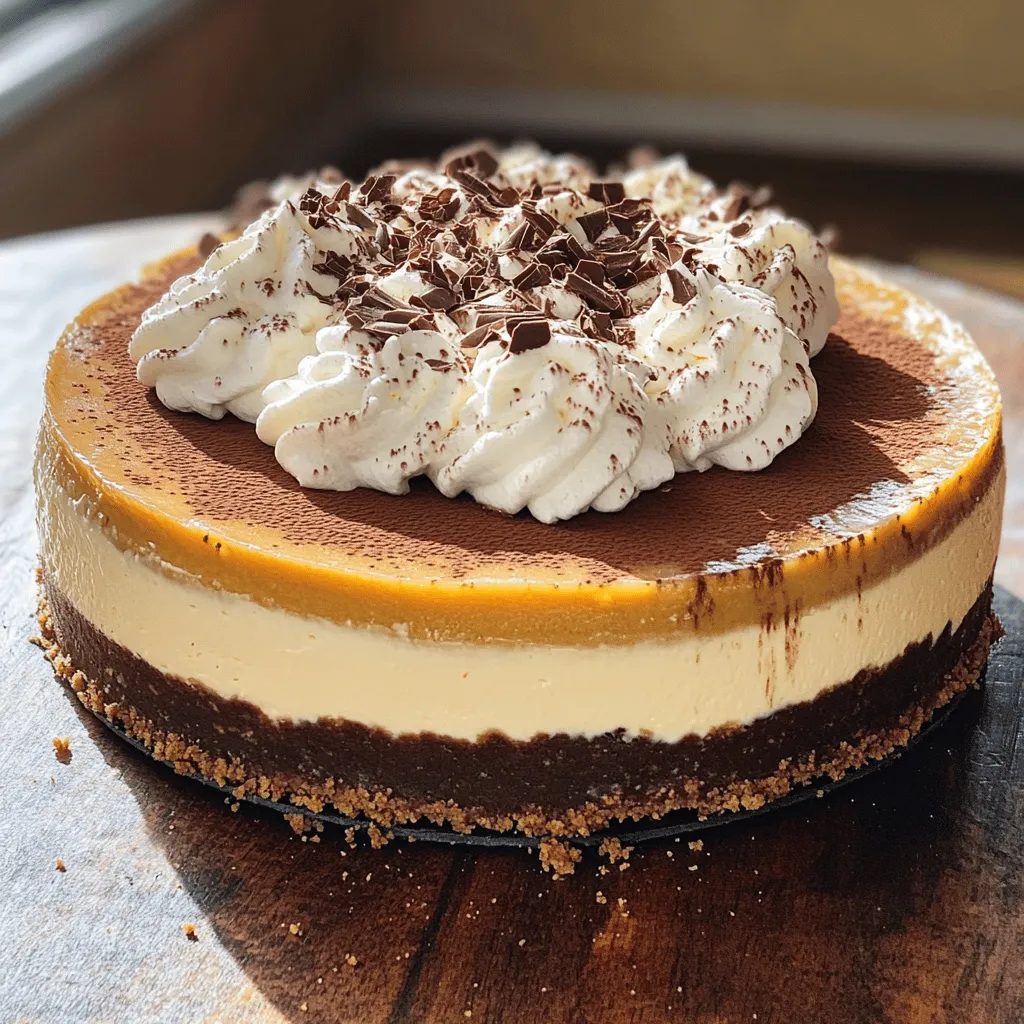
Are you ready to indulge in a treat that combines rich espresso flavor with creamy cheesecake? This Delicious Espresso Cheesecake...
READ MORE →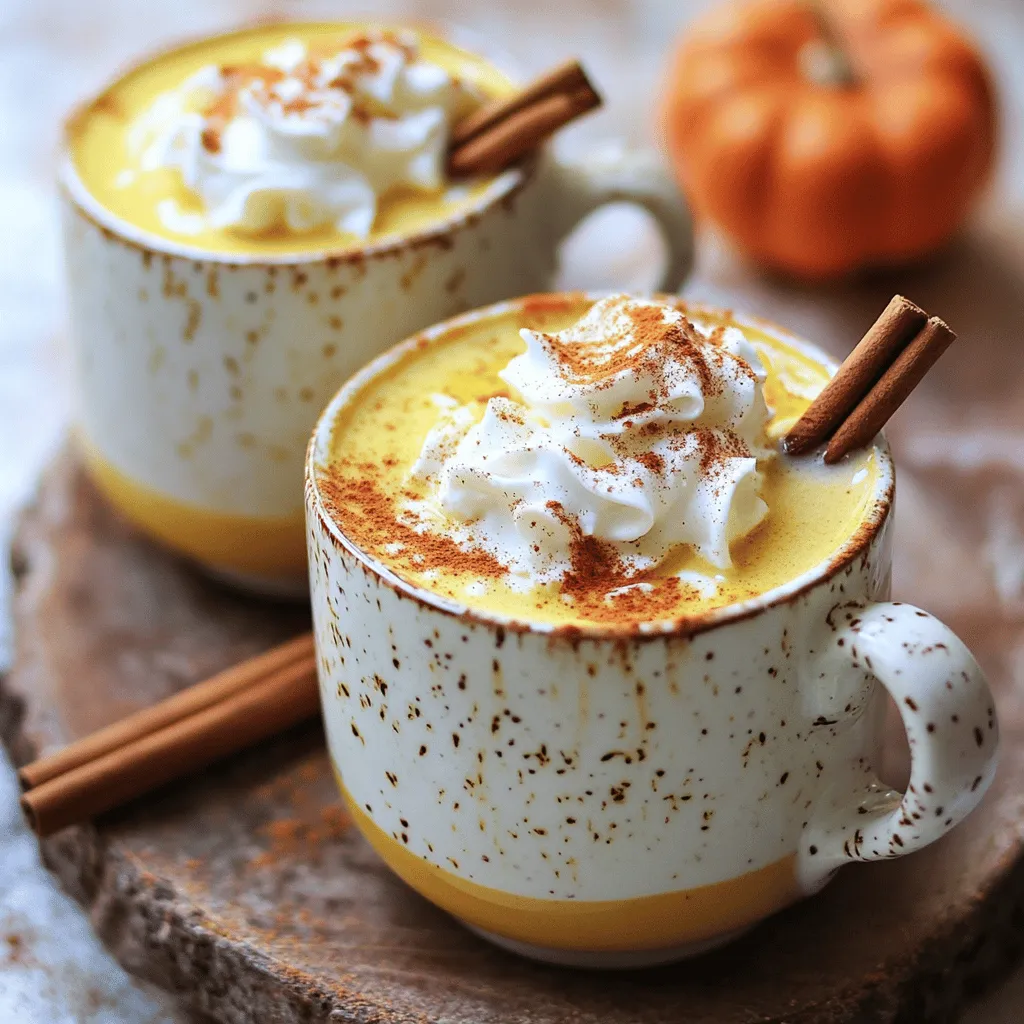
Cozy up with a mug of Pumpkin White Hot Chocolate, the ultimate comfort drink. This creamy treat blends pumpkin and...
READ MORE →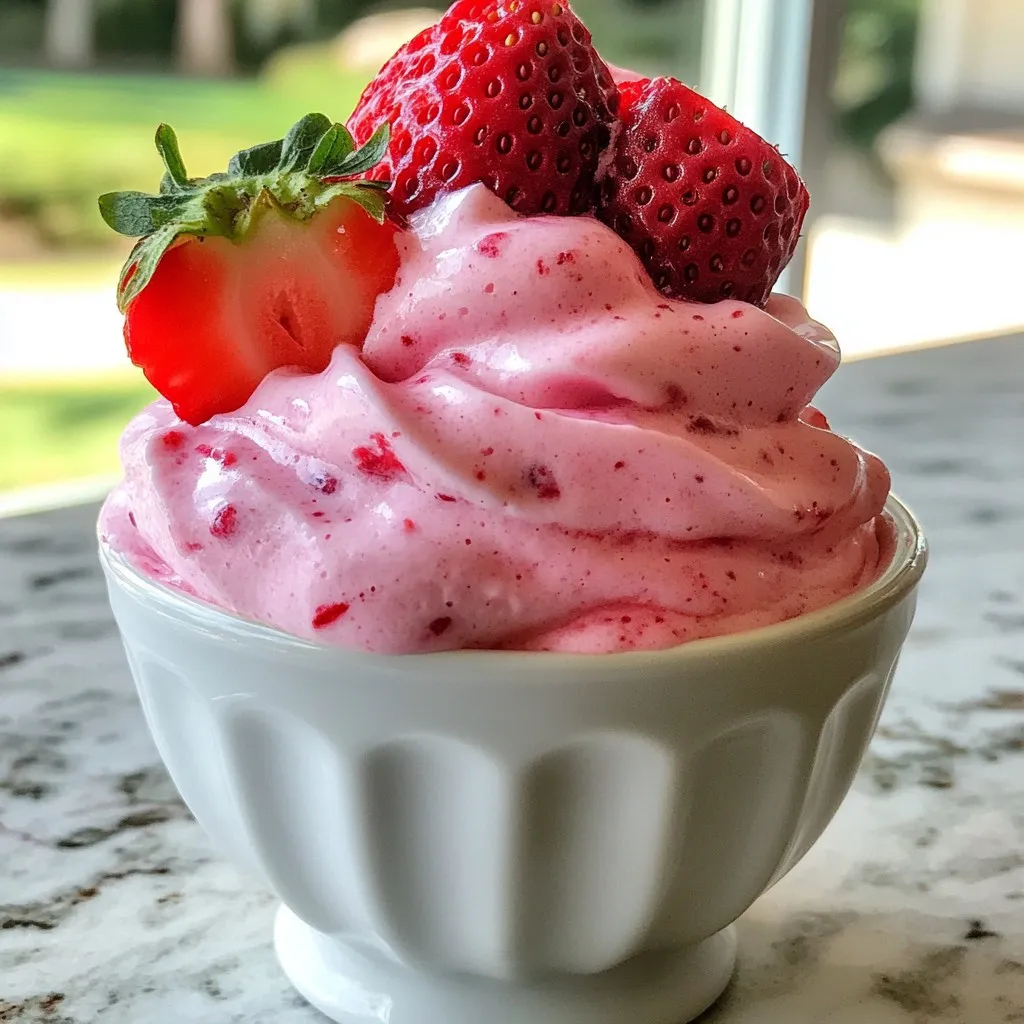
Craving a sweet, creamy treat that’s bursting with strawberry flavor? Let me introduce you to the delightful Strawberry Dole Whip!...
READ MORE →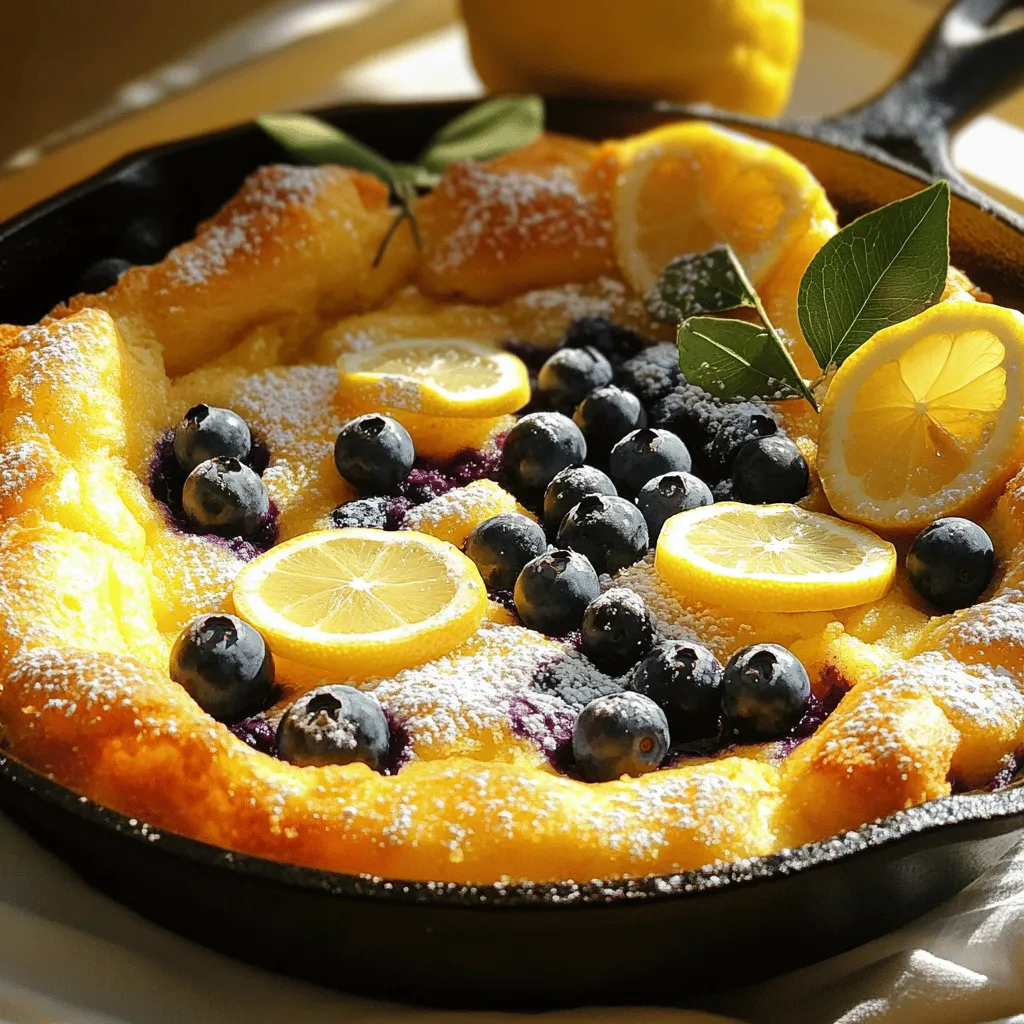
Looking to impress your family or friends with a unique breakfast treat? The Perfect Lemon Blueberry Dutch Baby is your...
READ MORE →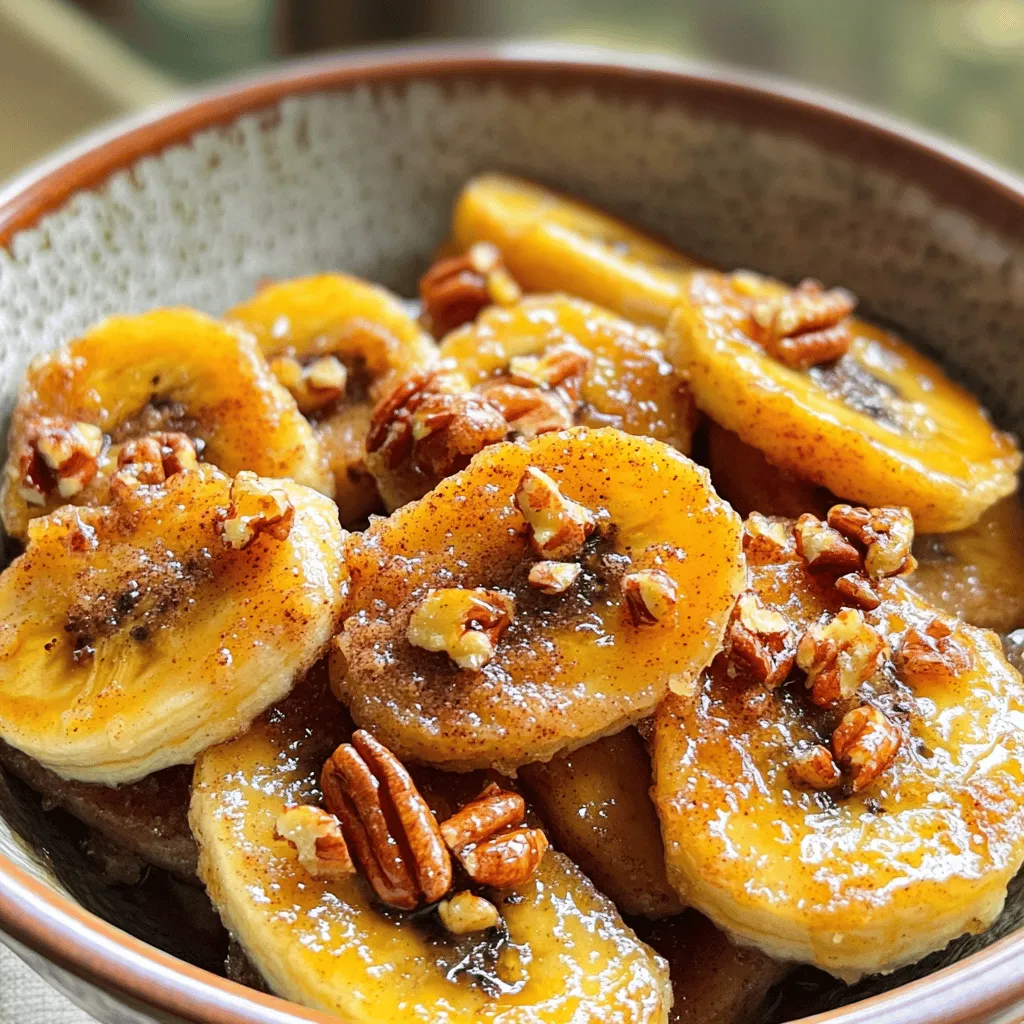
If you love sweet and simple desserts, you’re in for a treat! Pan Fried Cinnamon Bananas are an easy way...
READ MORE →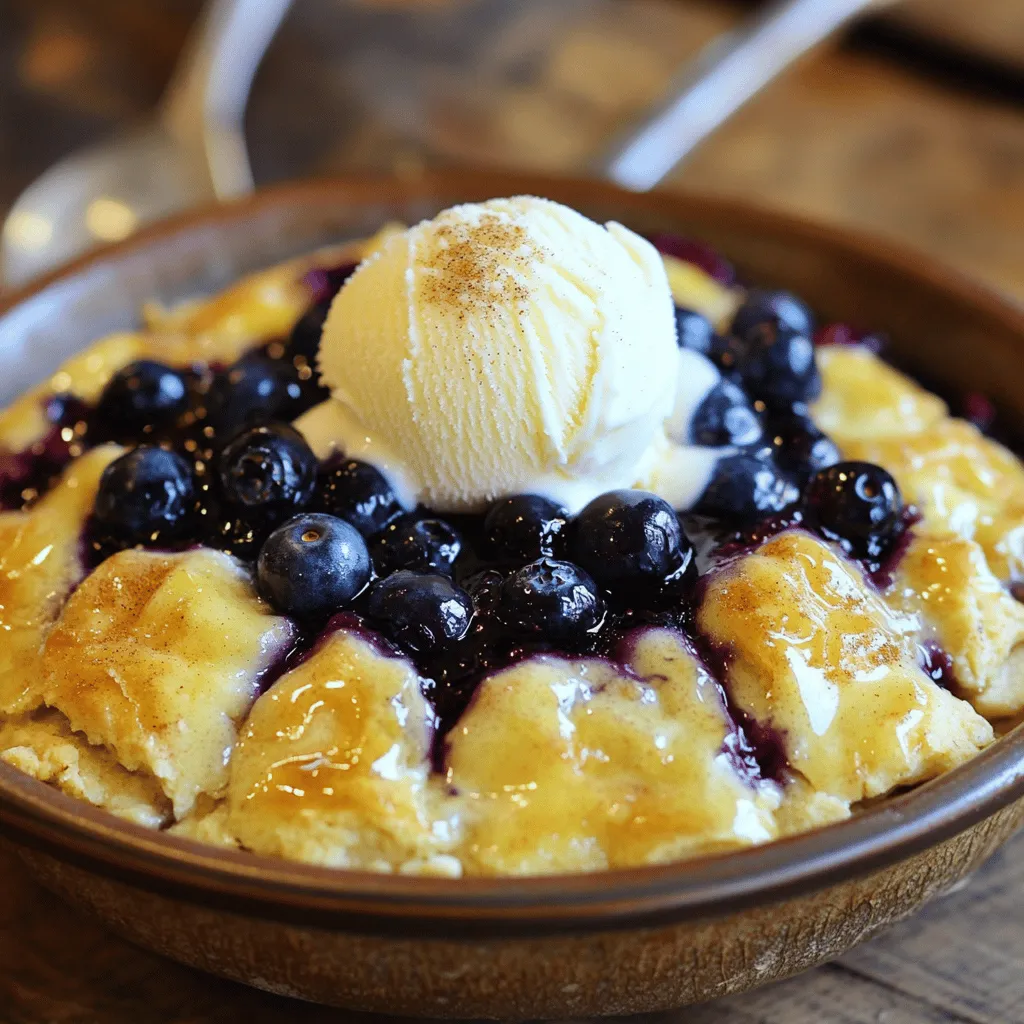
Are you craving a dessert that’s both quick and scrumptious? Look no further! My Texas-Style Blueberry Cobbler is the perfect...
READ MORE →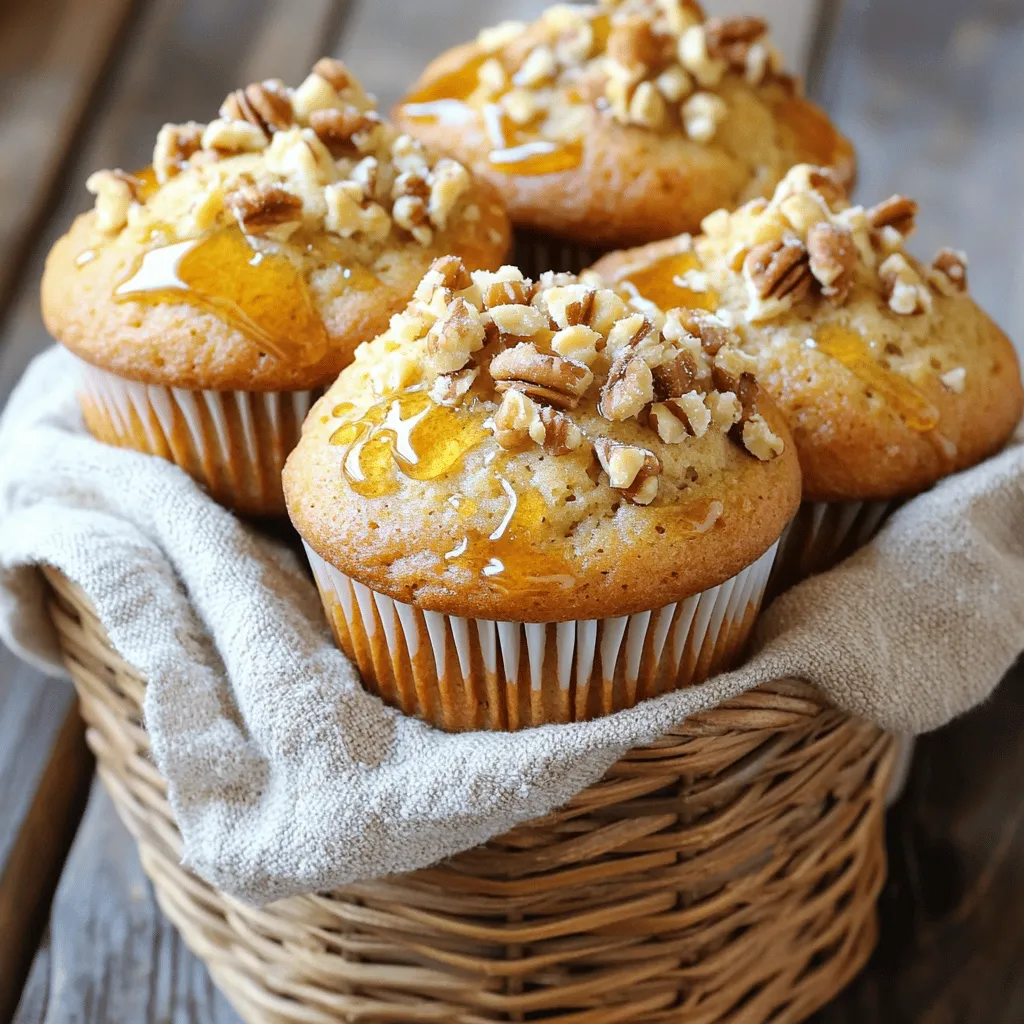
If you’re craving a sweet and nutty treat, Maple Walnut Muffins are your answer! These muffins are simple to make...
READ MORE →