
APPETIZERS
Easy Air Fryer Snack Wraps Delicious and Quick Recipe
Looking for a quick and tasty snack? These Easy Air Fryer Snack Wraps are perfect for you! With just a...
READ MORE →Chef Elliot
I’m Chef Elliot, your laid-back kitchen wingman with a serious love for bold flavors and easy cooking. 🥄✨
I believe anyone can cook—no fancy tools, no five-star background required. Just great recipes, a sprinkle of curiosity, and maybe a lemon zest moment to keep things fresh. 🍋💪
Think of me as your flavor coach: part guide, part cheerleader, always down for a second helping. I’m here to help you ditch the stress and stir up some joy—one tossed-together recipe at a time.

Delicious recipes crafted by Chef Elliot
Looking for a quick and tasty snack? These Easy Air Fryer Snack Wraps are perfect for you! With just a...
READ MORE →
Fall is here, and it’s the perfect time to bake something delightful! These Pumpkin Shaped Mini Apple Pies are not...
READ MORE →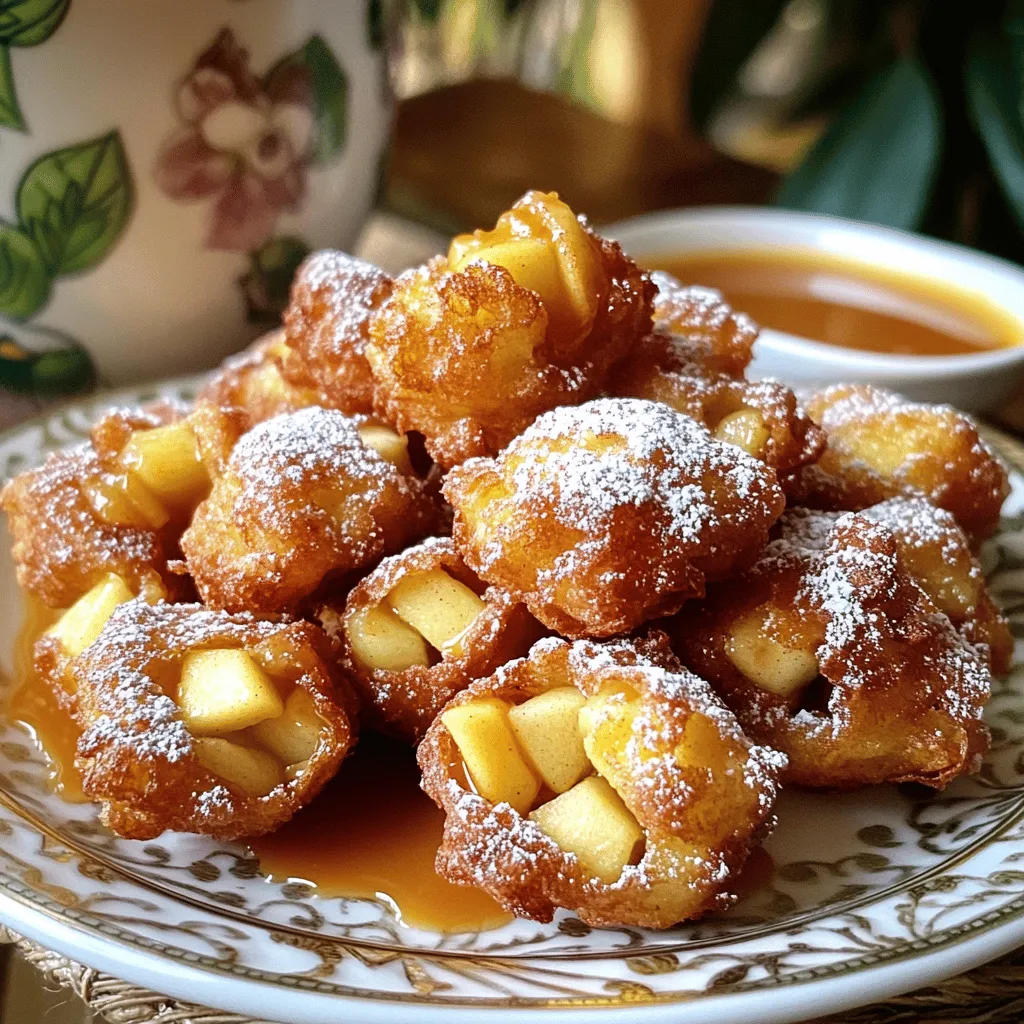
Craving a sweet treat that’s easy to make? You’re in for a treat! My Irresistible Apple Fritter Bites are simple...
READ MORE →
Get ready to delight in the creamy goodness of these Pumpkin Swirl Cheesecake Bars! If you love the rich taste...
READ MORE →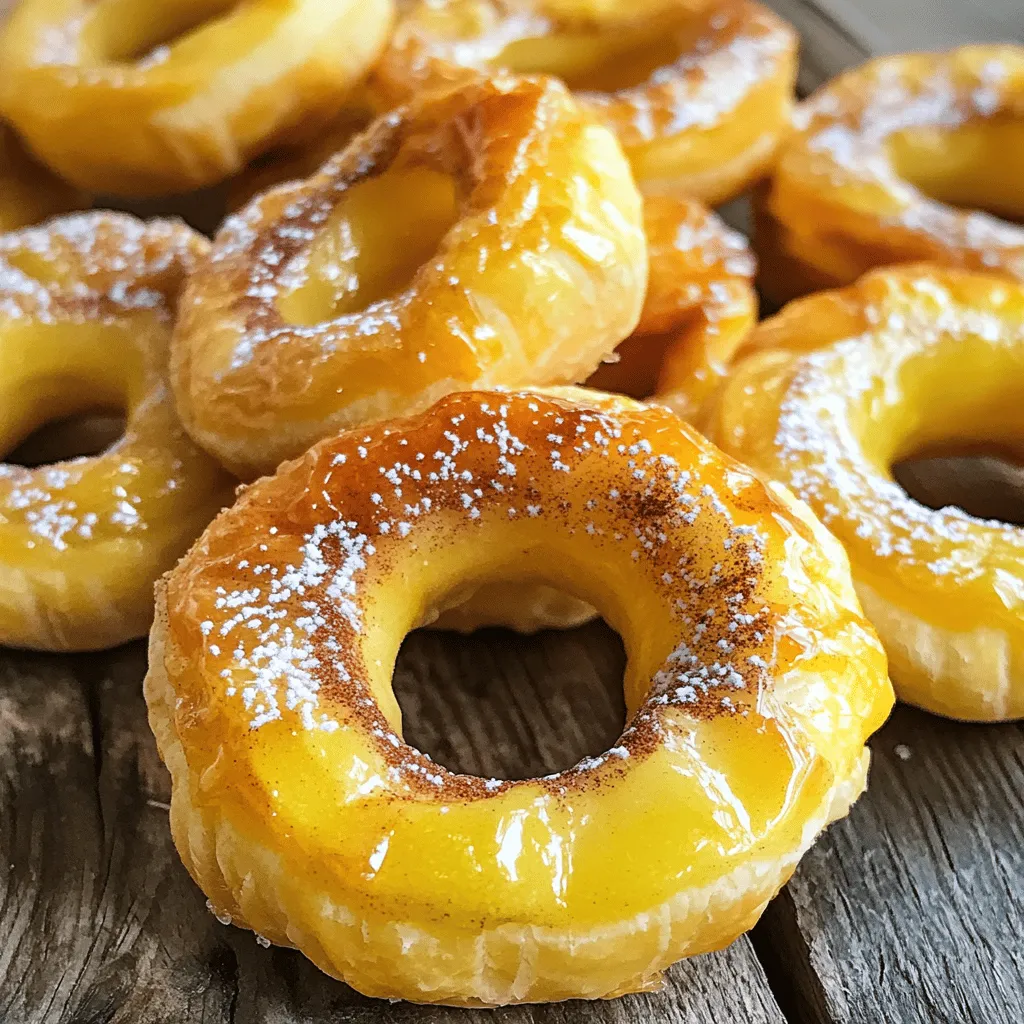
Get ready for a deliciously sweet treat with my Puff Pastry Apple Rings! These delightful pastries are easy to make...
READ MORE →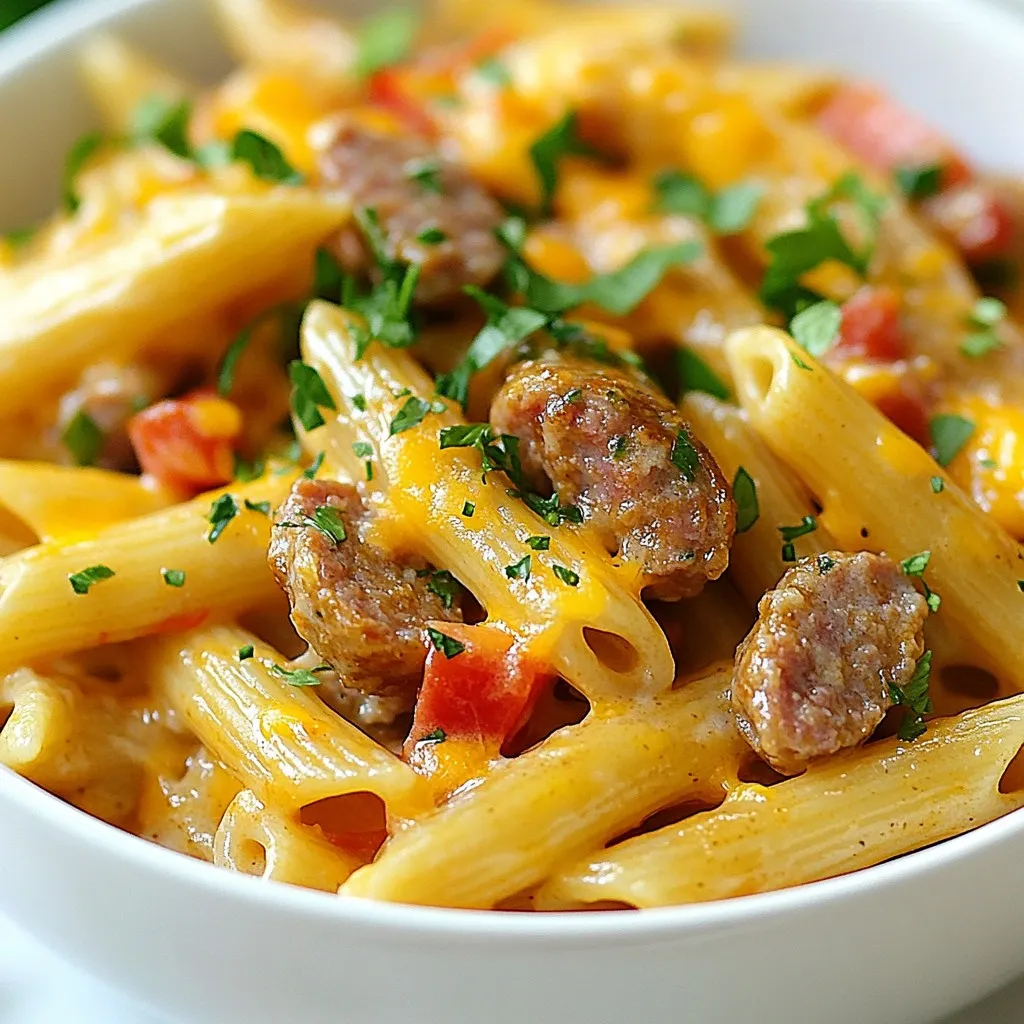
Looking for a quick and tasty dinner? You’ve found it! This One Pot Creamy Cajun Sausage Pasta is your new...
READ MORE →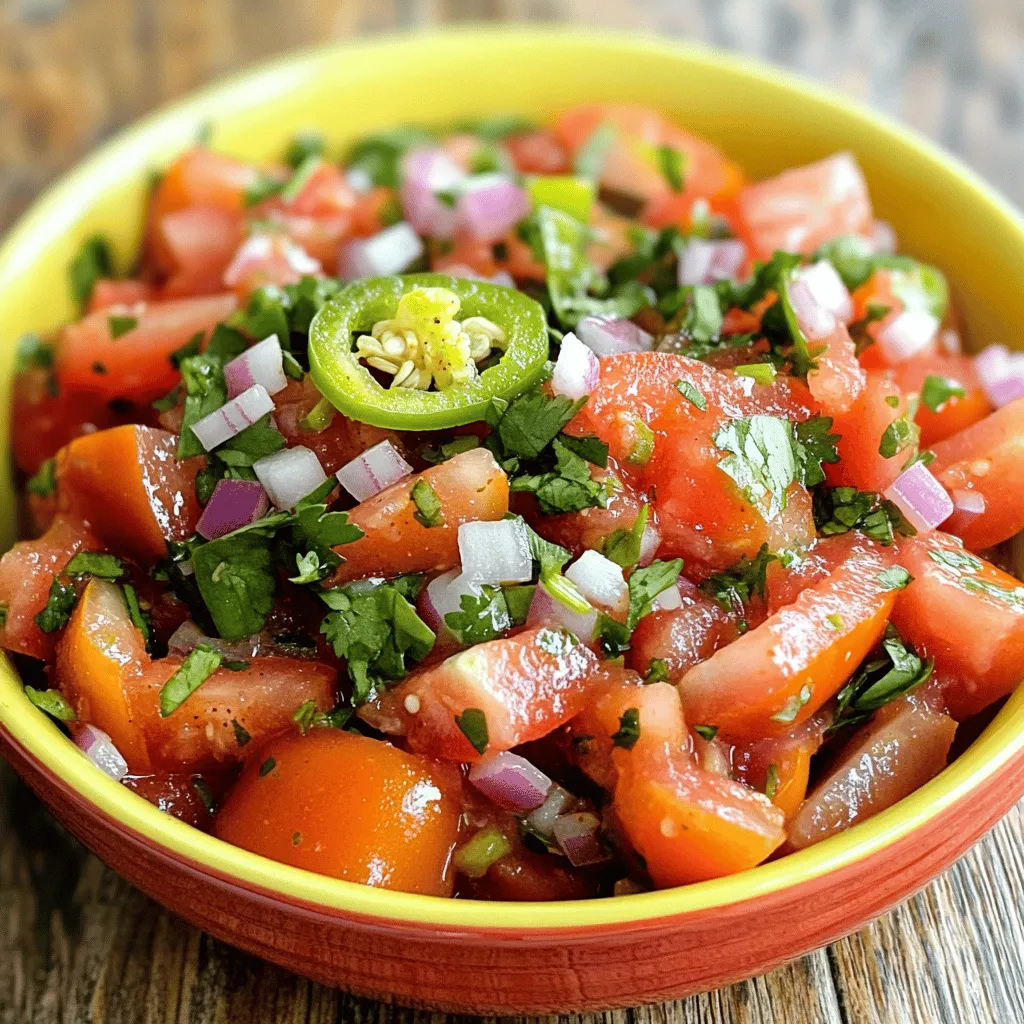
If you love fresh flavors and easy recipes, you’ll adore my favorite garden salsa! Bursting with ripe tomatoes, zesty cilantro,...
READ MORE →
Get ready for the ultimate fall treat: Soft Pumpkin Snickerdoodles! These cookies combine the warm flavors of pumpkin and spices...
READ MORE →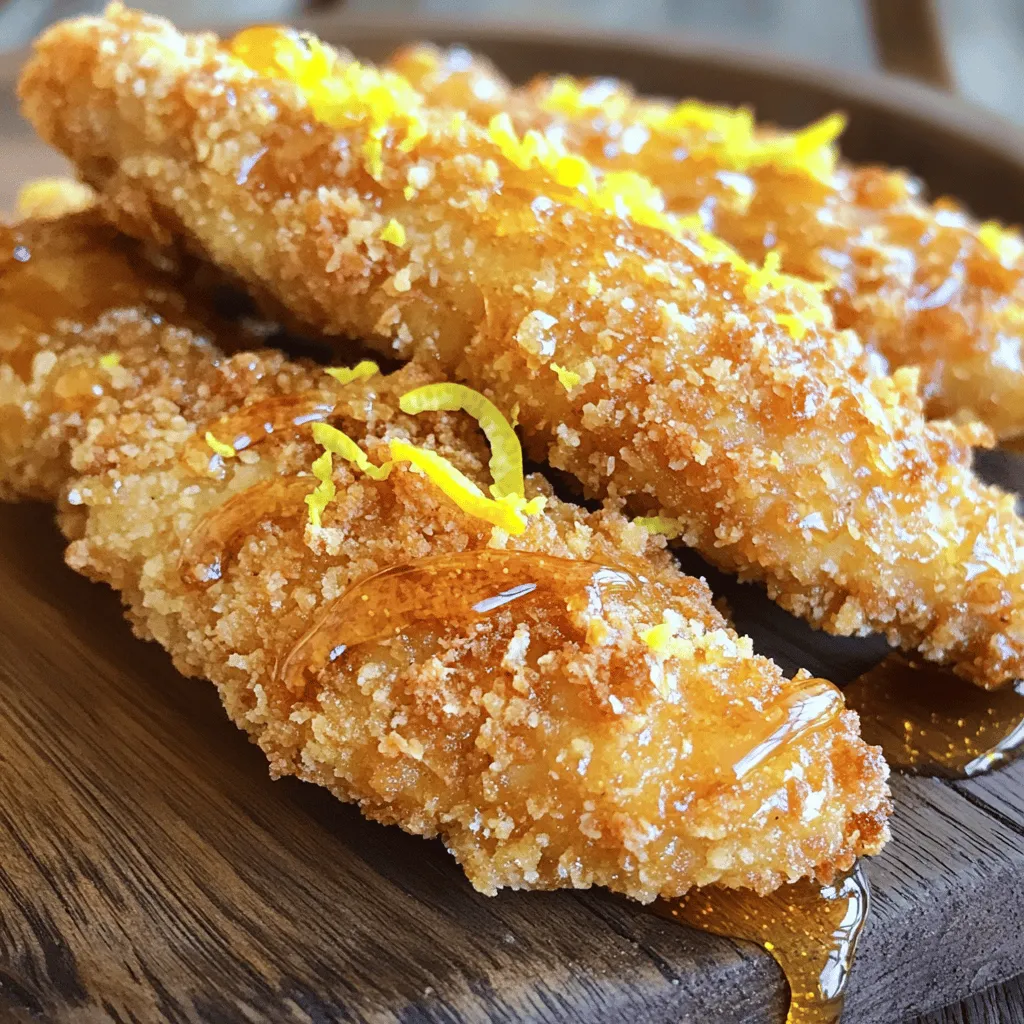
Are you ready to enjoy some mouthwatering chicken tenders? These savory bites are crispy, flavorful, and sure to please! With...
READ MORE →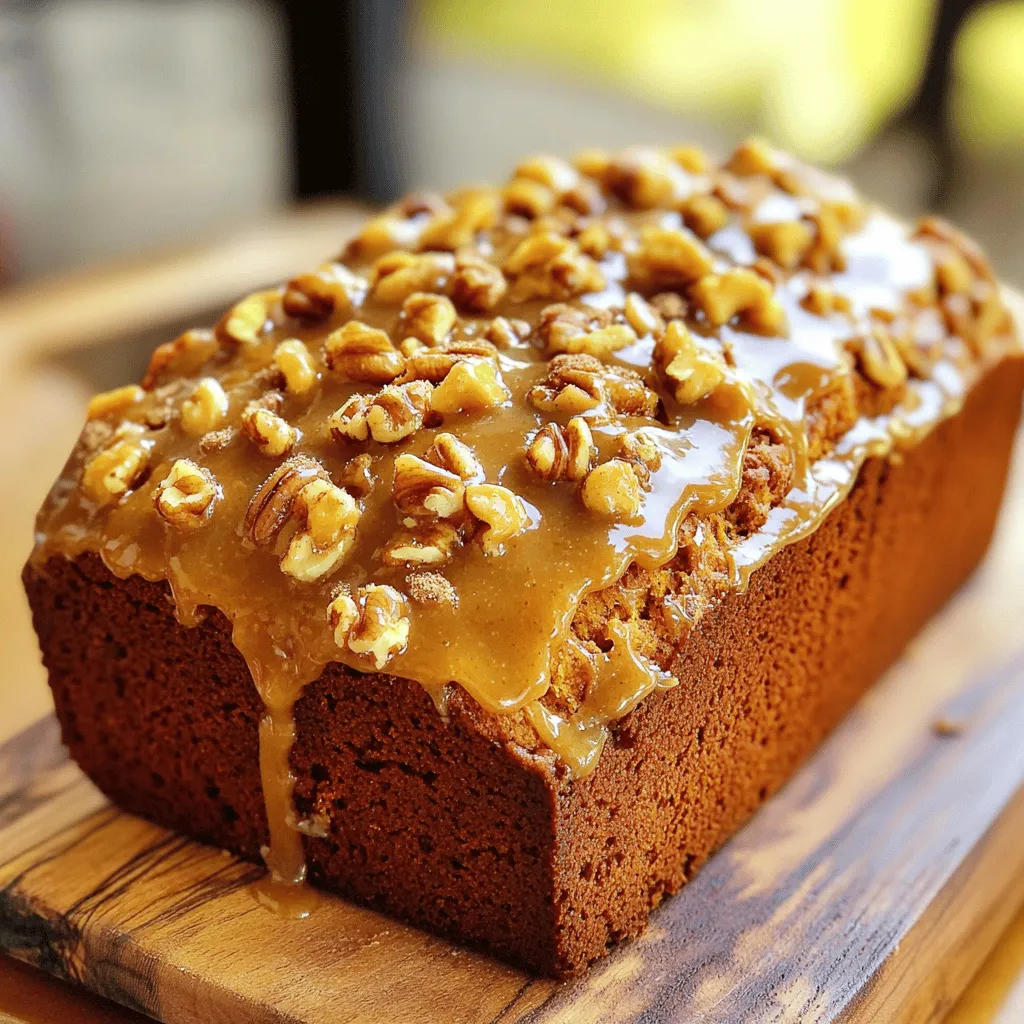
Get ready to savor the rich flavors of fall with my Butter Pumpkin Bread, topped with a delightful maple brown...
READ MORE →