APPETIZERS
Make-Ahead Lunchables Quick Meal Prep Guide
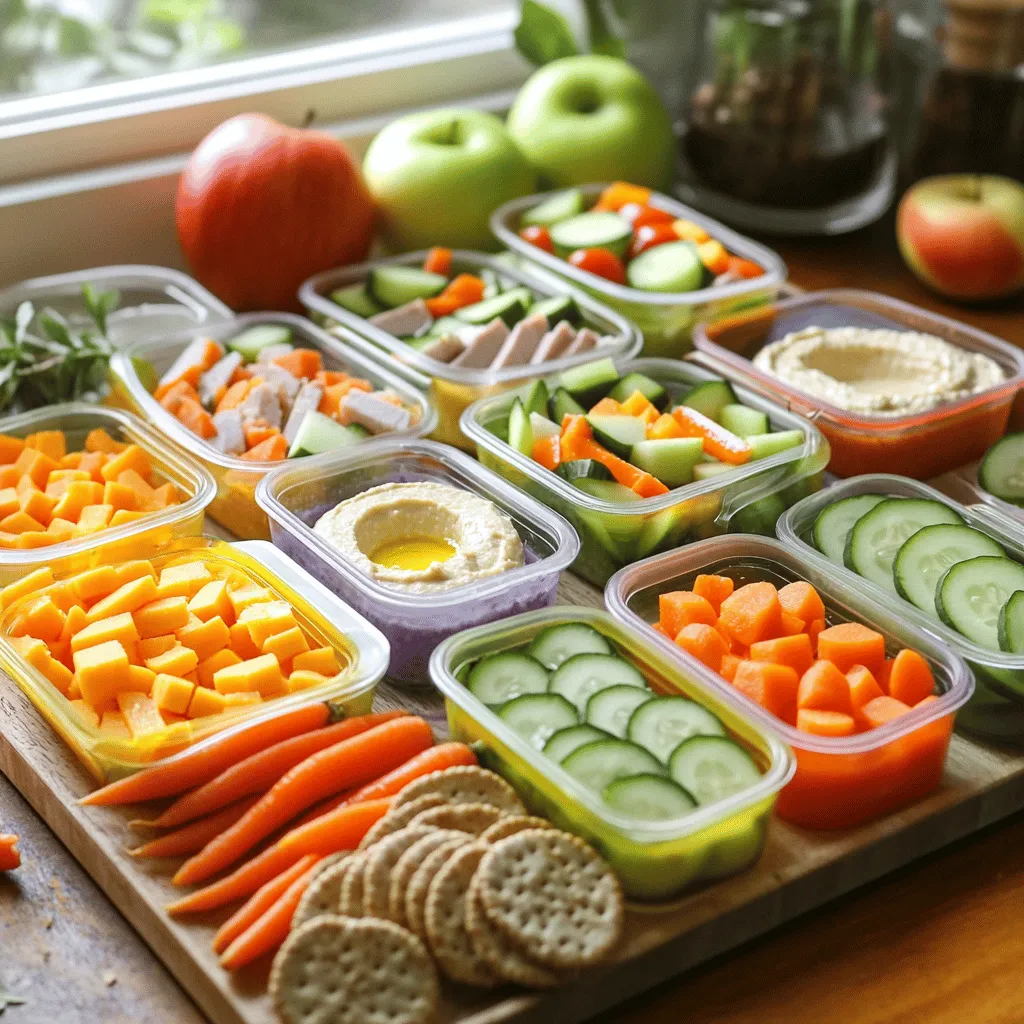
Looking for a quick, fun, and healthy lunch solution? Make-Ahead Lunchables are here to save your day! With easy ingredients...
READ MORE →Chef Elliot
I’m Chef Elliot, your laid-back kitchen wingman with a serious love for bold flavors and easy cooking. 🥄✨
I believe anyone can cook—no fancy tools, no five-star background required. Just great recipes, a sprinkle of curiosity, and maybe a lemon zest moment to keep things fresh. 🍋💪
Think of me as your flavor coach: part guide, part cheerleader, always down for a second helping. I’m here to help you ditch the stress and stir up some joy—one tossed-together recipe at a time.

Delicious recipes crafted by Chef Elliot
Looking for a quick, fun, and healthy lunch solution? Make-Ahead Lunchables are here to save your day! With easy ingredients...
READ MORE →
Fall is here, and I’m excited to share a simple and tasty treat! These Delightful Pumpkin Energy Bites are perfect...
READ MORE →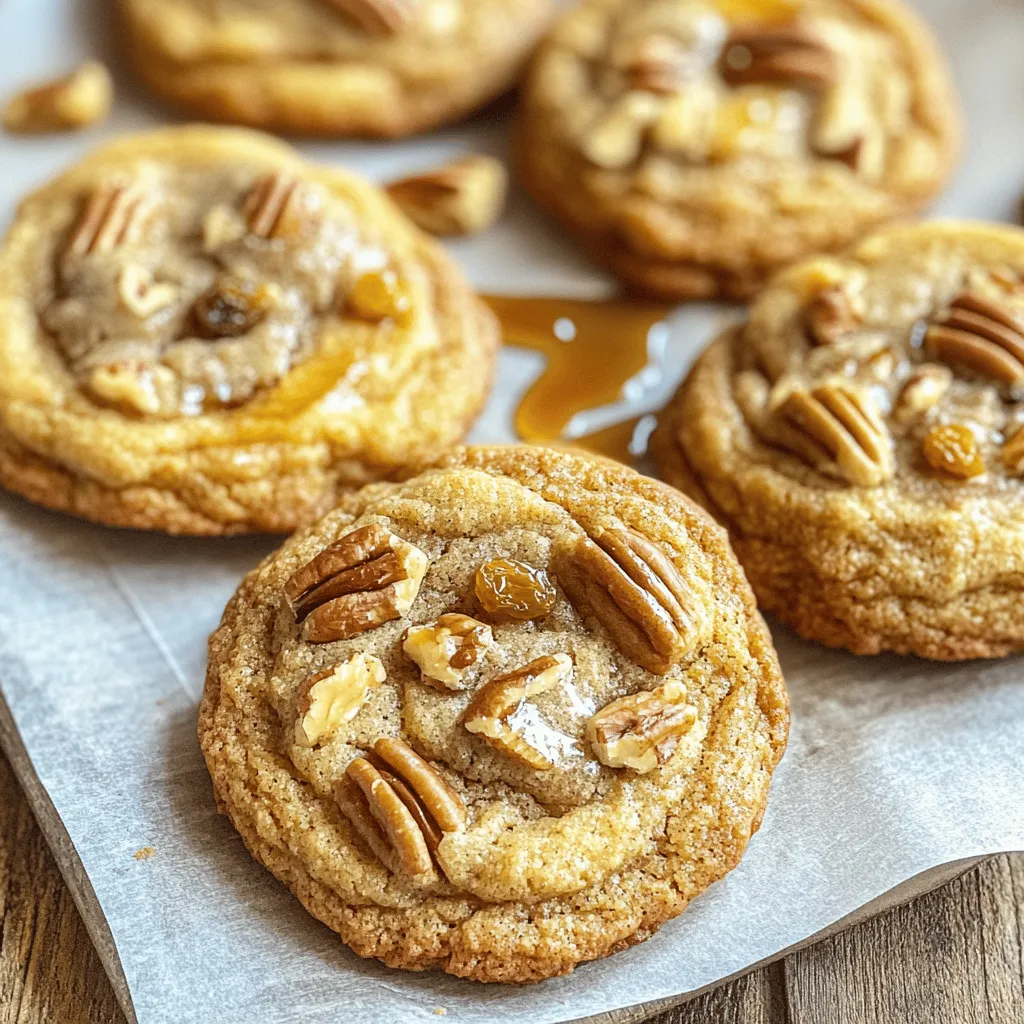
Get ready to indulge in a sweet treat that merges breakfast and dessert! These Chewy French Toast Cookies deliver all...
READ MORE →
Tired of the same old sandwich routine? I’ve got you covered! In this post, I’ll share quick and easy non-sandwich...
READ MORE →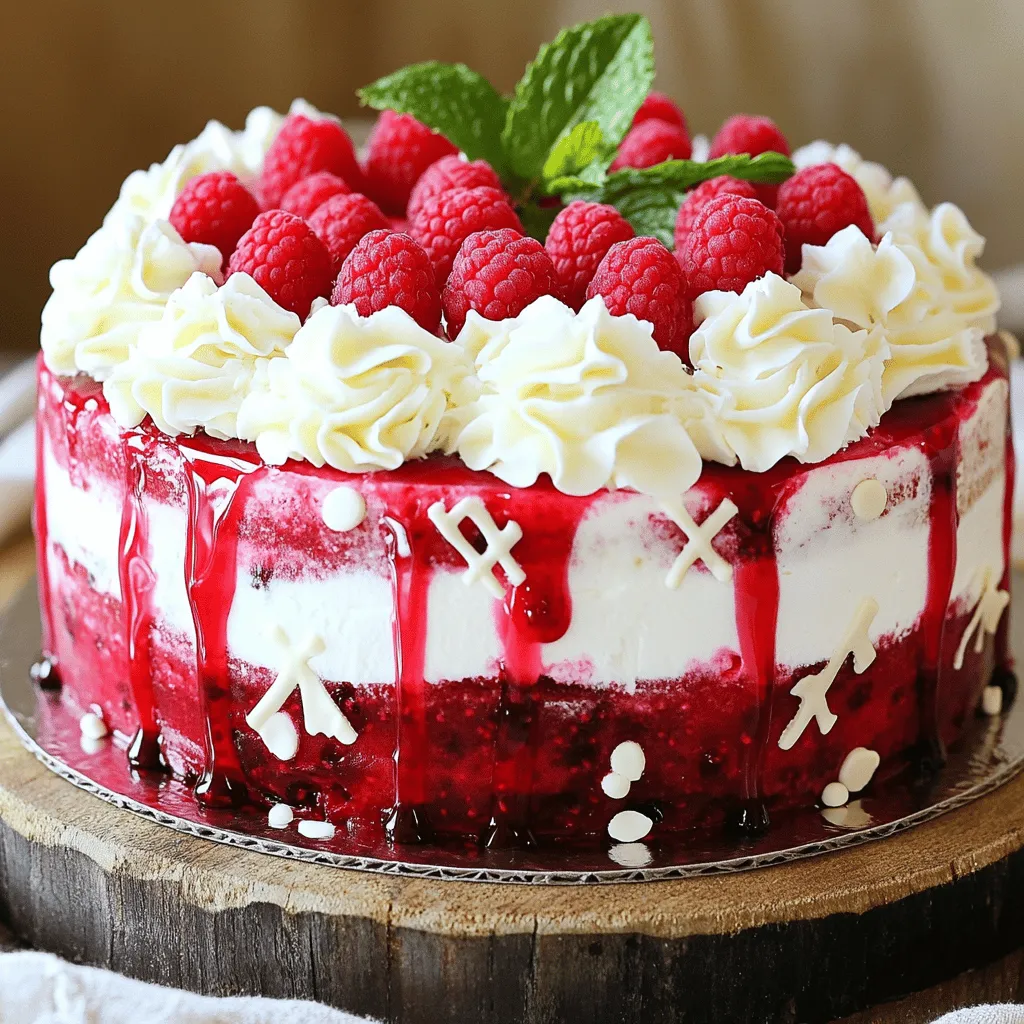
Welcome to a sweet adventure! Today, I’ll show you how to make a White Chocolate Raspberry Cake that’s as easy...
READ MORE →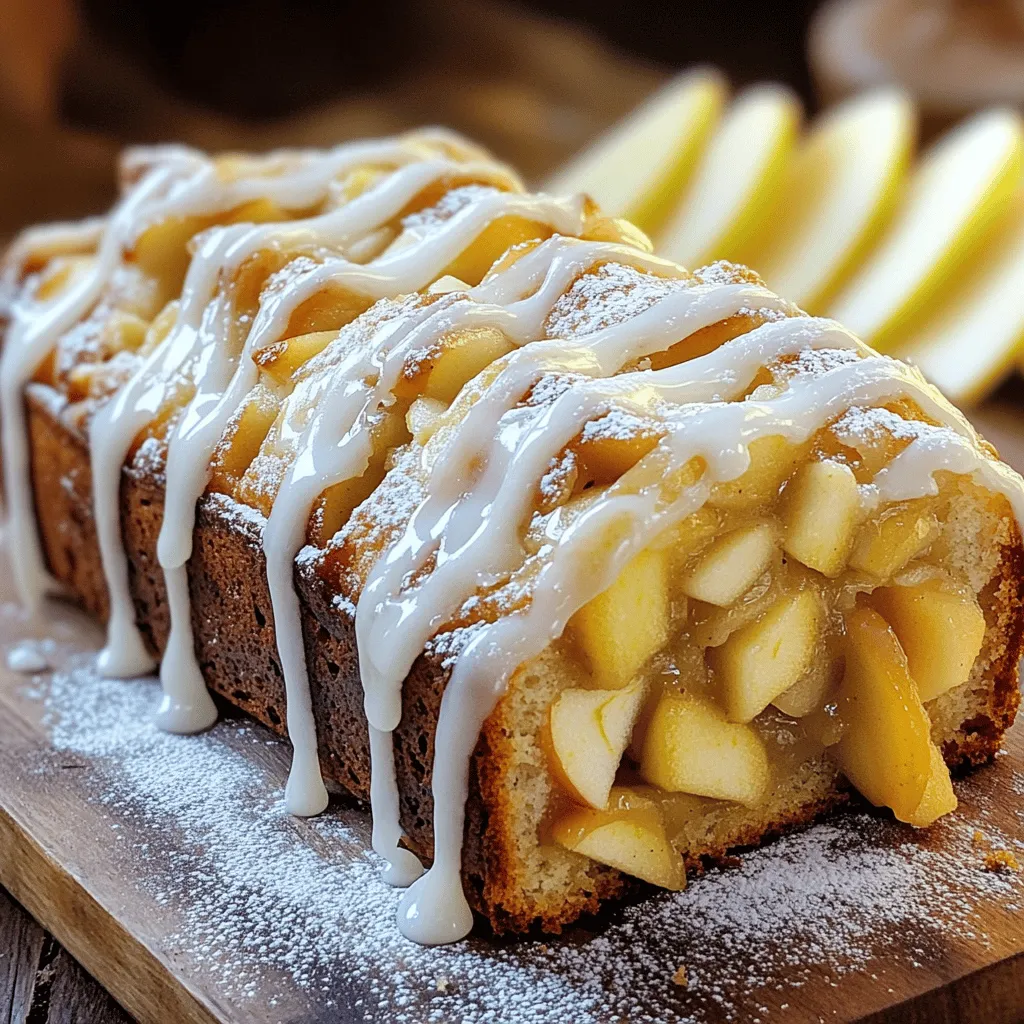
Are you ready to bake something delicious? This Apple Fritter Bread is a fun way to enjoy fall flavors all...
READ MORE →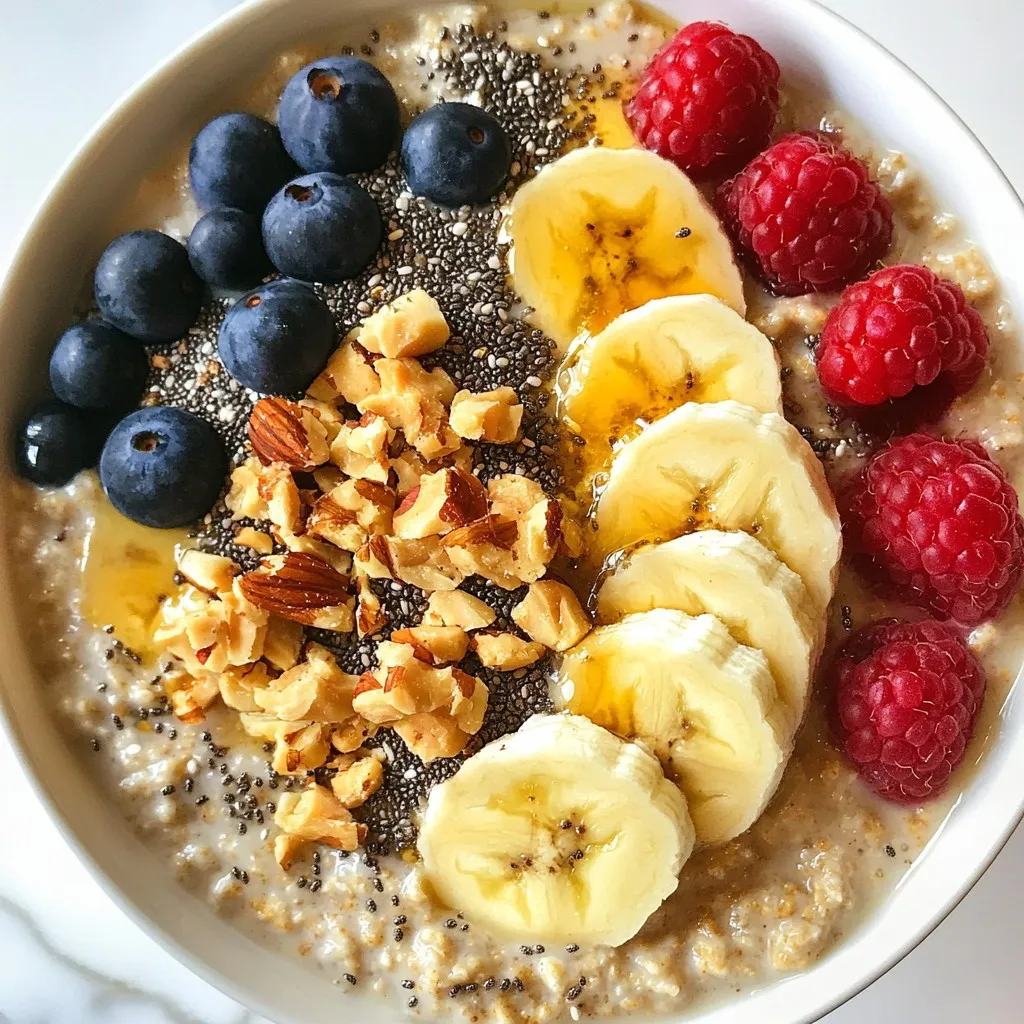
Looking for a tasty, quick breakfast that packs a protein punch? Try my Protein Peanut Butter Overnight Oats! With just...
READ MORE →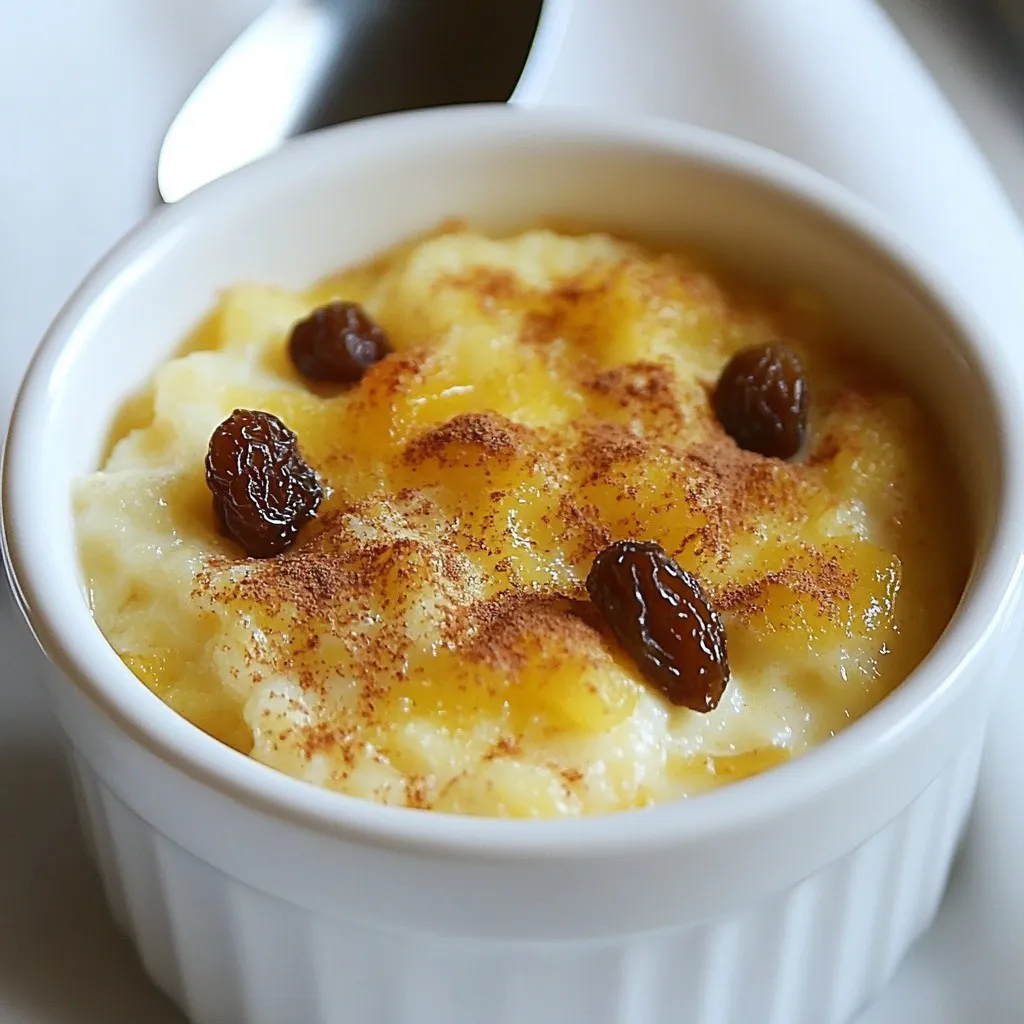
If you crave a warm, creamy dessert that’s easy to make, you’re in the right place! My Condensed Milk Baked...
READ MORE →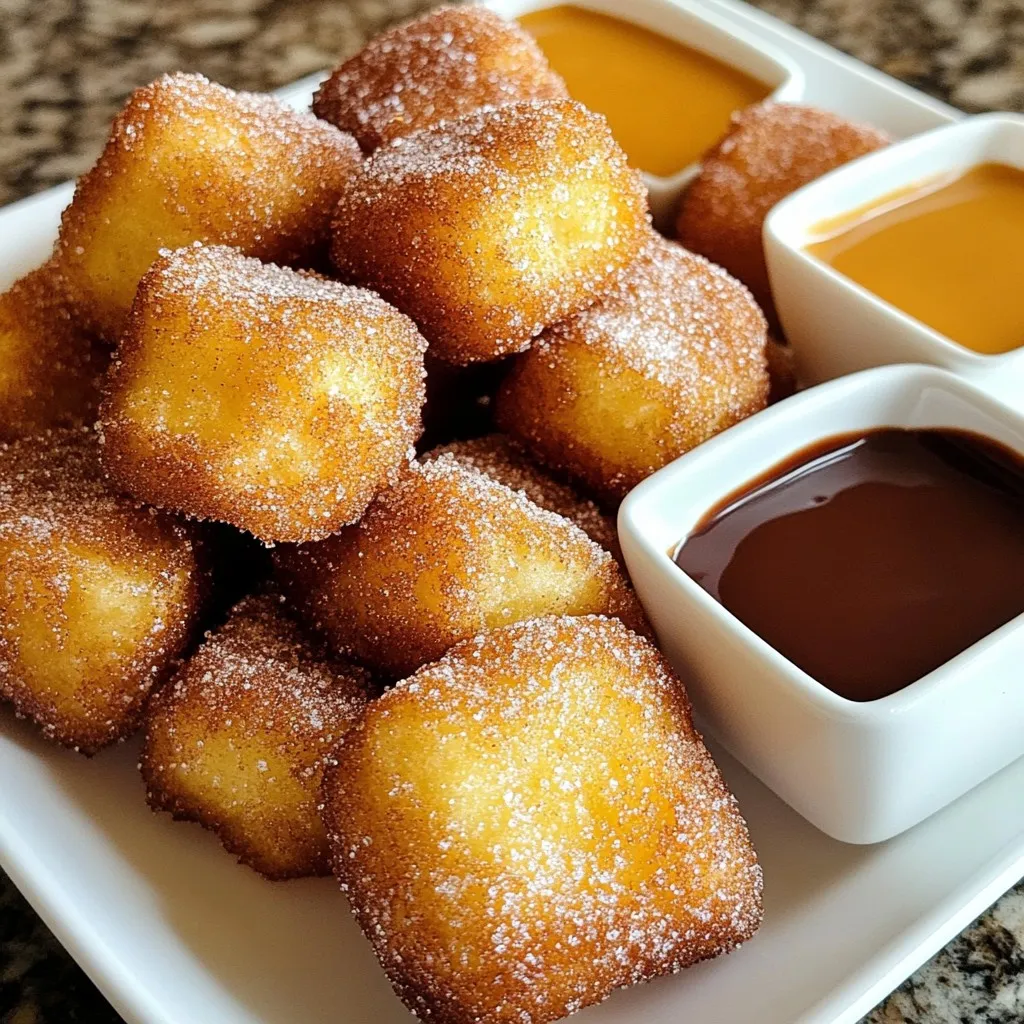
Are you ready for a sweet treat that everyone will love? Churro poppers are bite-sized delights that are crispy on...
READ MORE →
Start your day with a burst of flavor and fun! Bagel fruit breakfast pizzas are quick, tasty, and super easy...
READ MORE →