DESSERTS
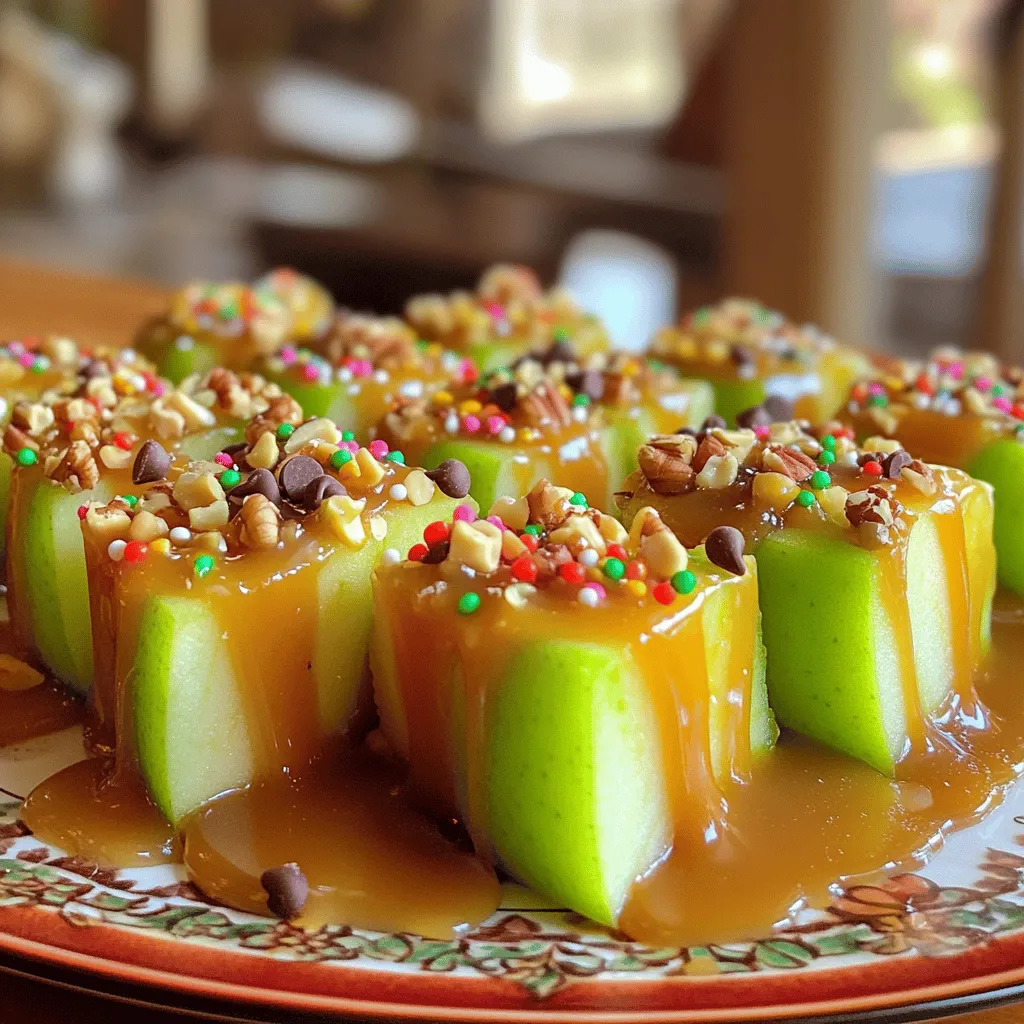
Easy Caramel Apple Bites Simple and Tasty Treat
Are you ready for a delicious treat that’s super easy to make? These Easy Caramel Apple Bites are a fun...
READ MORE →Chef Elliot
I’m Chef Elliot, your laid-back kitchen wingman with a serious love for bold flavors and easy cooking. 🥄✨
I believe anyone can cook—no fancy tools, no five-star background required. Just great recipes, a sprinkle of curiosity, and maybe a lemon zest moment to keep things fresh. 🍋💪
Think of me as your flavor coach: part guide, part cheerleader, always down for a second helping. I’m here to help you ditch the stress and stir up some joy—one tossed-together recipe at a time.

Delicious recipes crafted by Chef Elliot
Are you ready for a delicious treat that’s super easy to make? These Easy Caramel Apple Bites are a fun...
READ MORE →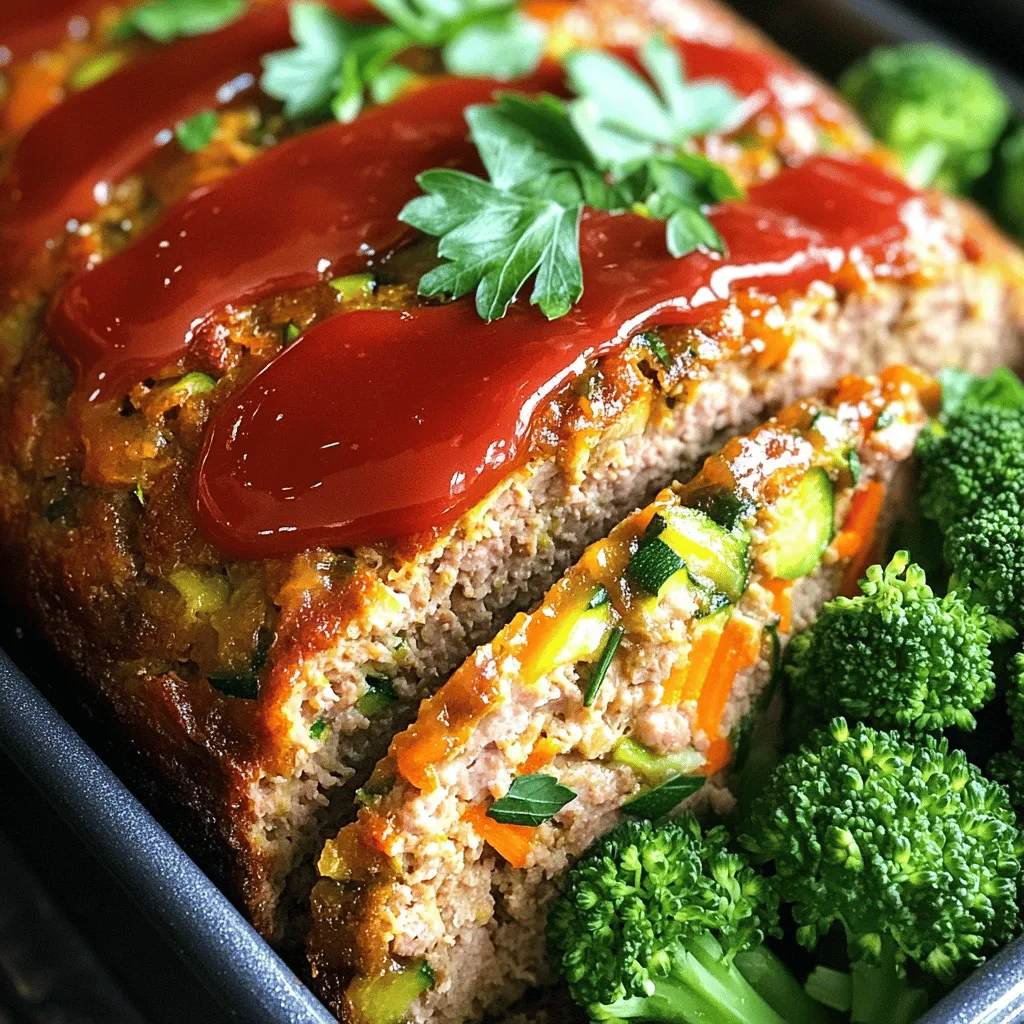
Are you tired of dry and bland meatloaf? You’ve come to the right place! This Moist & Healthy Turkey Meatloaf...
READ MORE →
As a busy parent, finding quick and healthy lunch ideas for your toddler can be a challenge. That’s why I’ve...
READ MORE →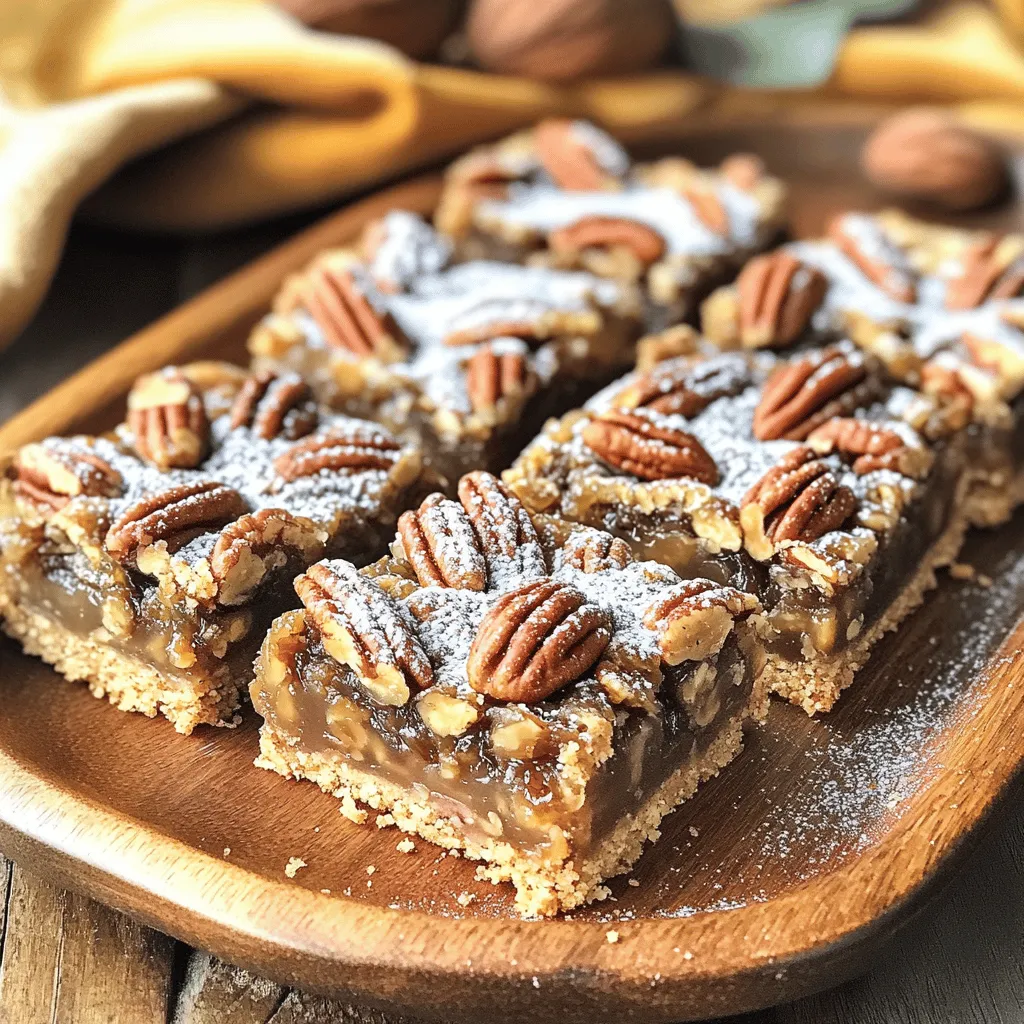
Looking for a tasty and guilt-free snack? These Healthy Vegan Pecan Pie Bars are just what you need! With simple...
READ MORE →
Fall is here, and so is the perfect cookie to warm your heart: Pumpkindoodle Cookies! This tasty treat mixes the...
READ MORE →
Fall is here, and so is the perfect treat: Chewy Apple Cider Cookies! These cookies are soft, sweet, and packed...
READ MORE →
Get ready for a tasty snack that’s quick to make and fun to eat! Mini grilled cheese sandwiches are perfect...
READ MORE →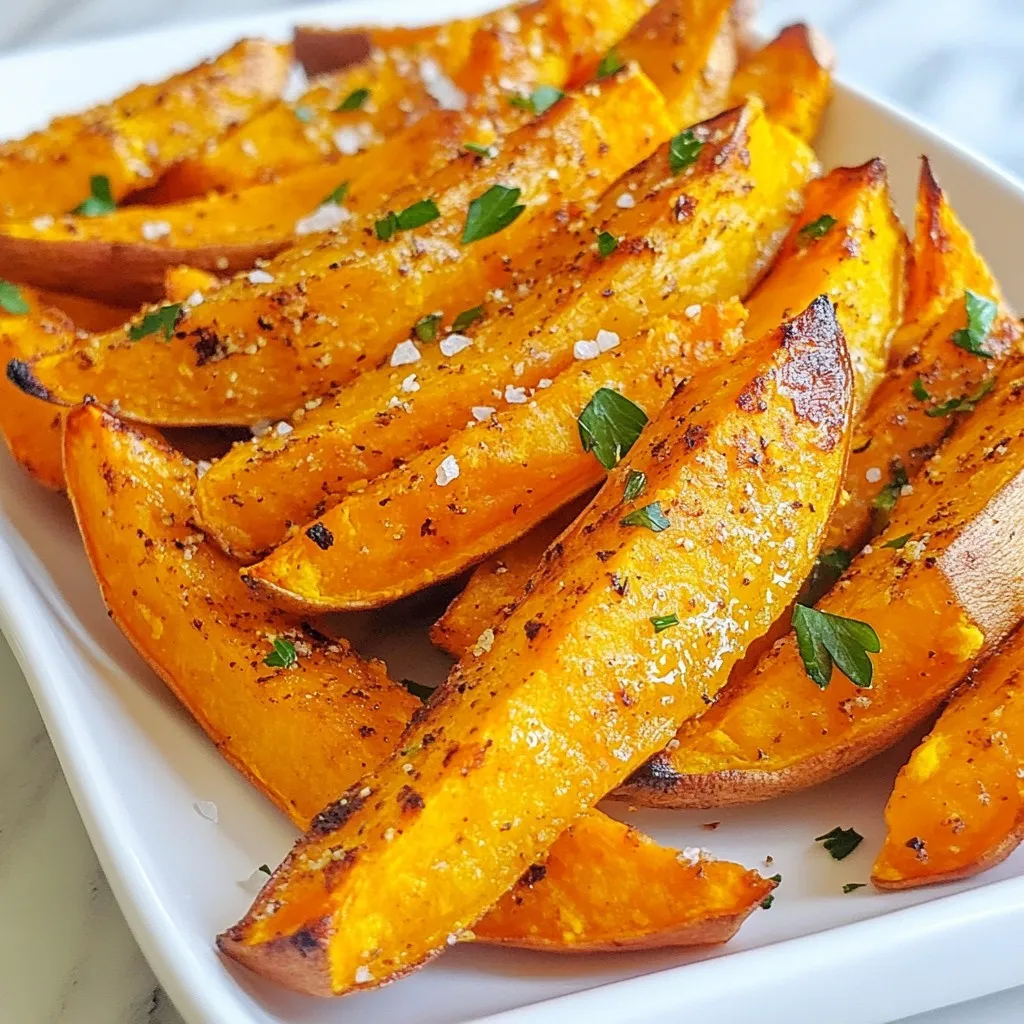
Craving a snack that’s crunchy, healthy, and easy to make? You’re in the right place! In this guide, I will...
READ MORE →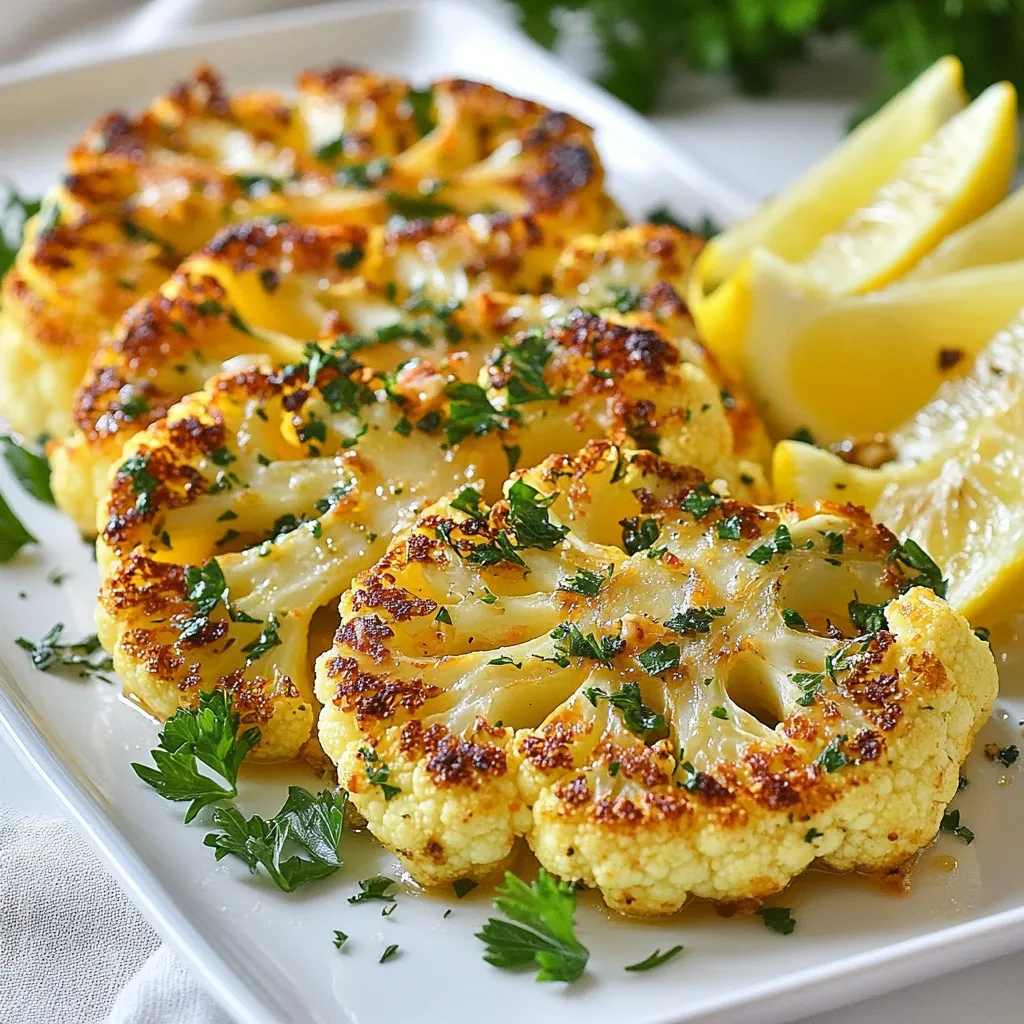
Looking for a tasty and healthy dish? Garlic Herb Roasted Cauliflower Steaks are a game changer! This recipe transforms cauliflower...
READ MORE →
Are you ready to bake some soft and chewy sugar cookies that will steal the show? In this guide, I’ll...
READ MORE →