DINNER
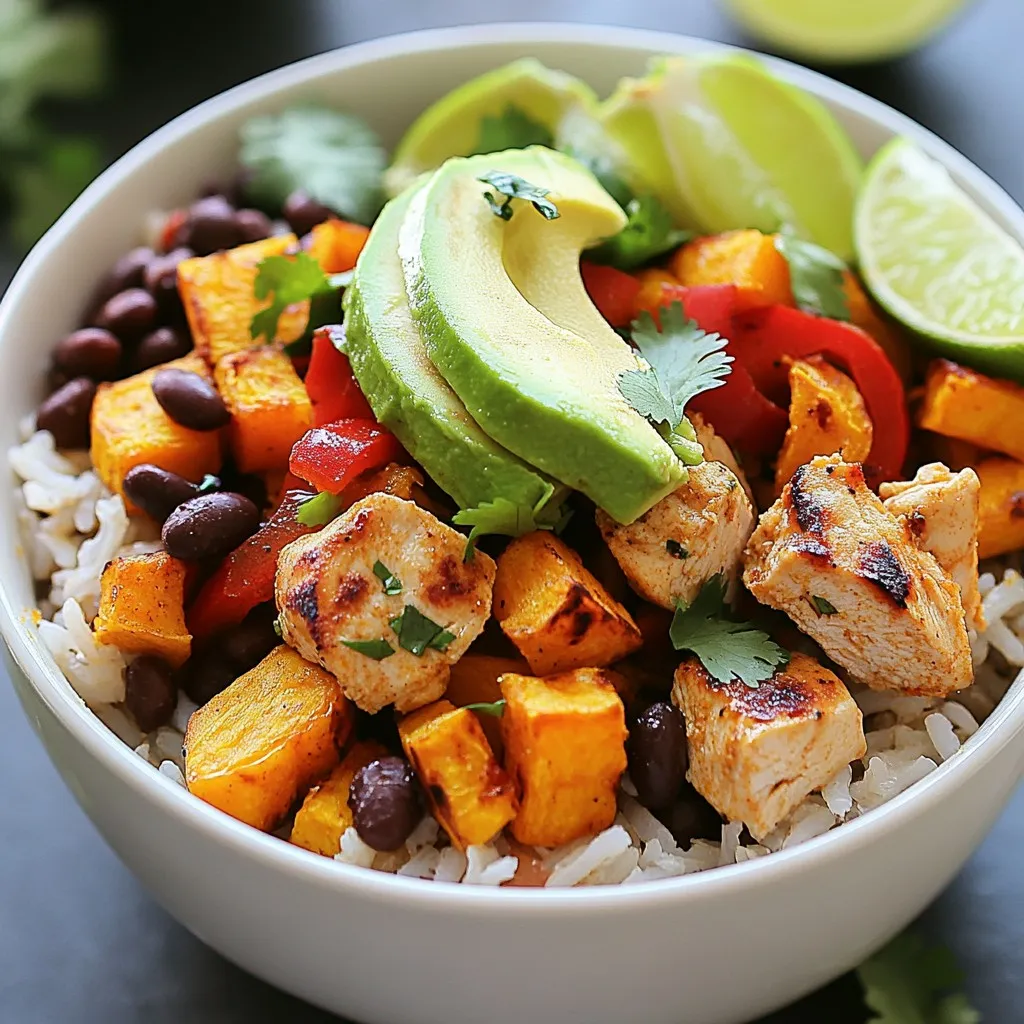
Chicken & Sweet Potato Rice Bowls Flavorful Meal Idea
If you’re looking for a tasty meal that’s both filling and healthy, try my Chicken & Sweet Potato Rice Bowls!...
READ MORE →Chef Elliot
I’m Chef Elliot, your laid-back kitchen wingman with a serious love for bold flavors and easy cooking. 🥄✨
I believe anyone can cook—no fancy tools, no five-star background required. Just great recipes, a sprinkle of curiosity, and maybe a lemon zest moment to keep things fresh. 🍋💪
Think of me as your flavor coach: part guide, part cheerleader, always down for a second helping. I’m here to help you ditch the stress and stir up some joy—one tossed-together recipe at a time.

Delicious recipes crafted by Chef Elliot
If you’re looking for a tasty meal that’s both filling and healthy, try my Chicken & Sweet Potato Rice Bowls!...
READ MORE →
Fall is here, and it’s time to embrace the cozy flavors of the season! Today, I’m excited to share my...
READ MORE →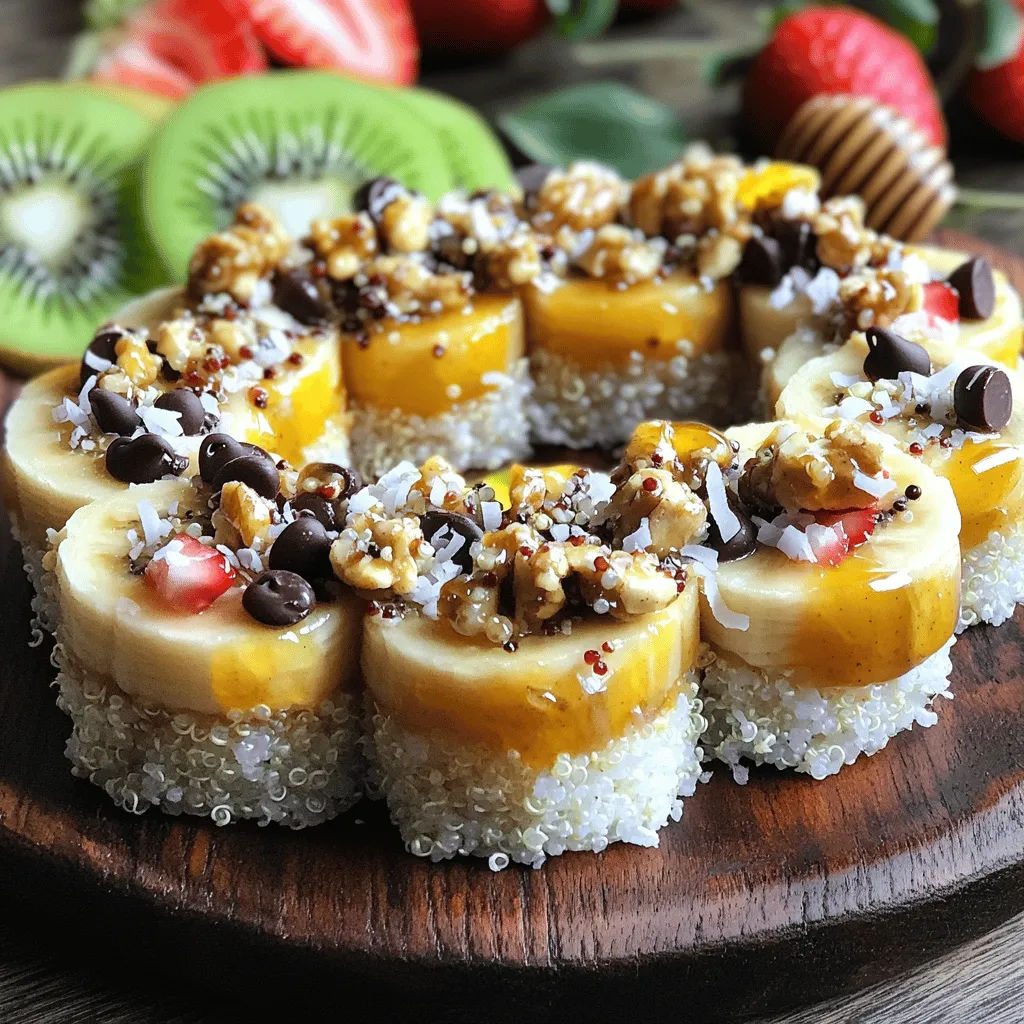
Looking for a fun and tasty treat? You’re in the right place! Today, I’m sharing a simple recipe for Banana...
READ MORE →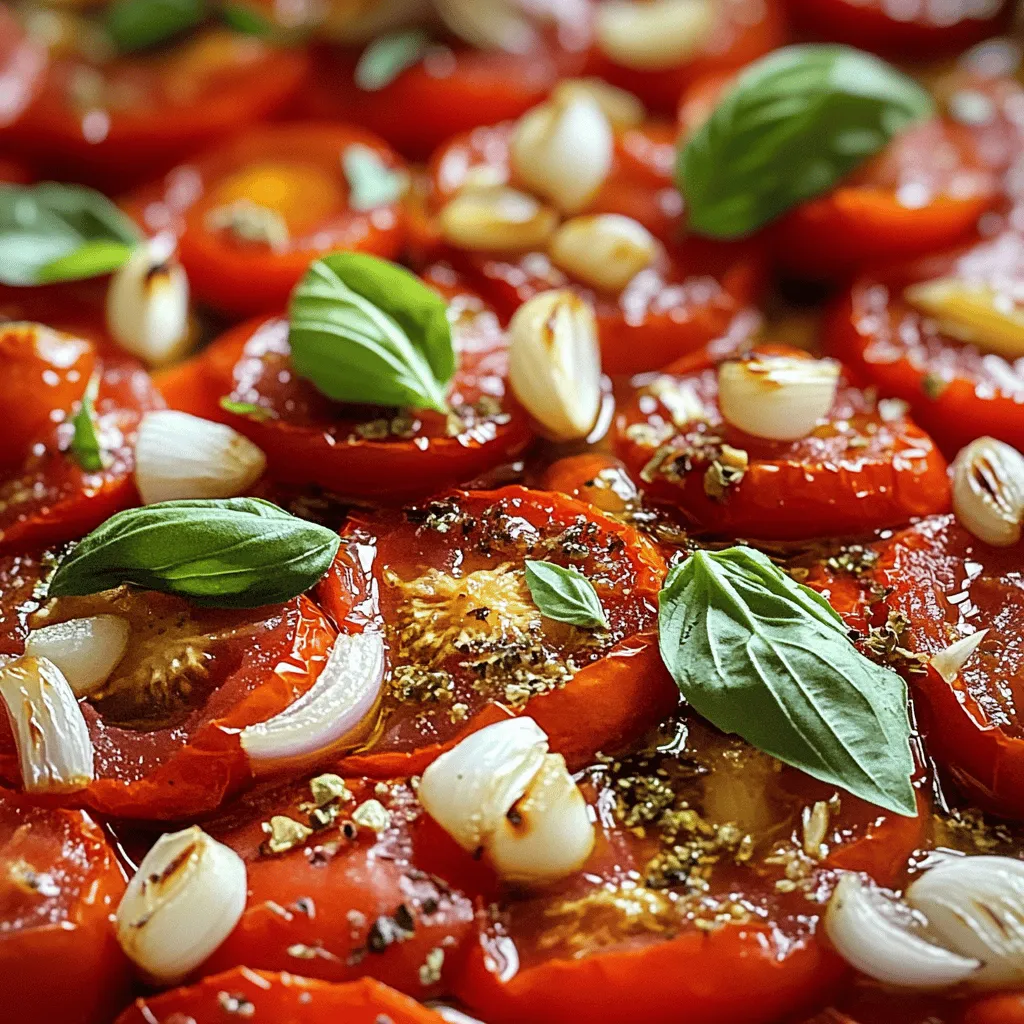
If you love rich and fresh flavors, you’ll adore this Roasted Tomato Sauce recipe. It transforms simple tomatoes into a...
READ MORE →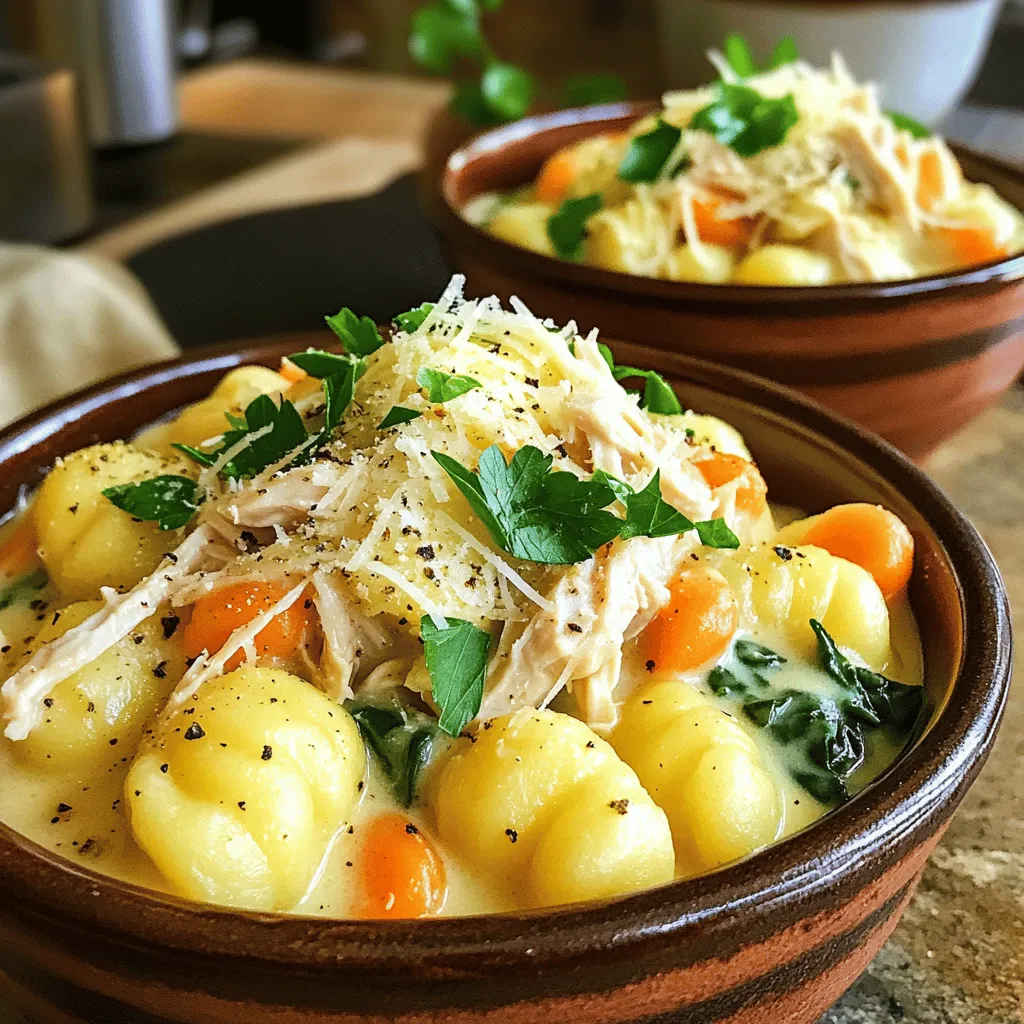
Are you craving a warm bowl of comfort? This Savory Olive Garden Chicken Gnocchi Soup recipe is your answer! Not...
READ MORE →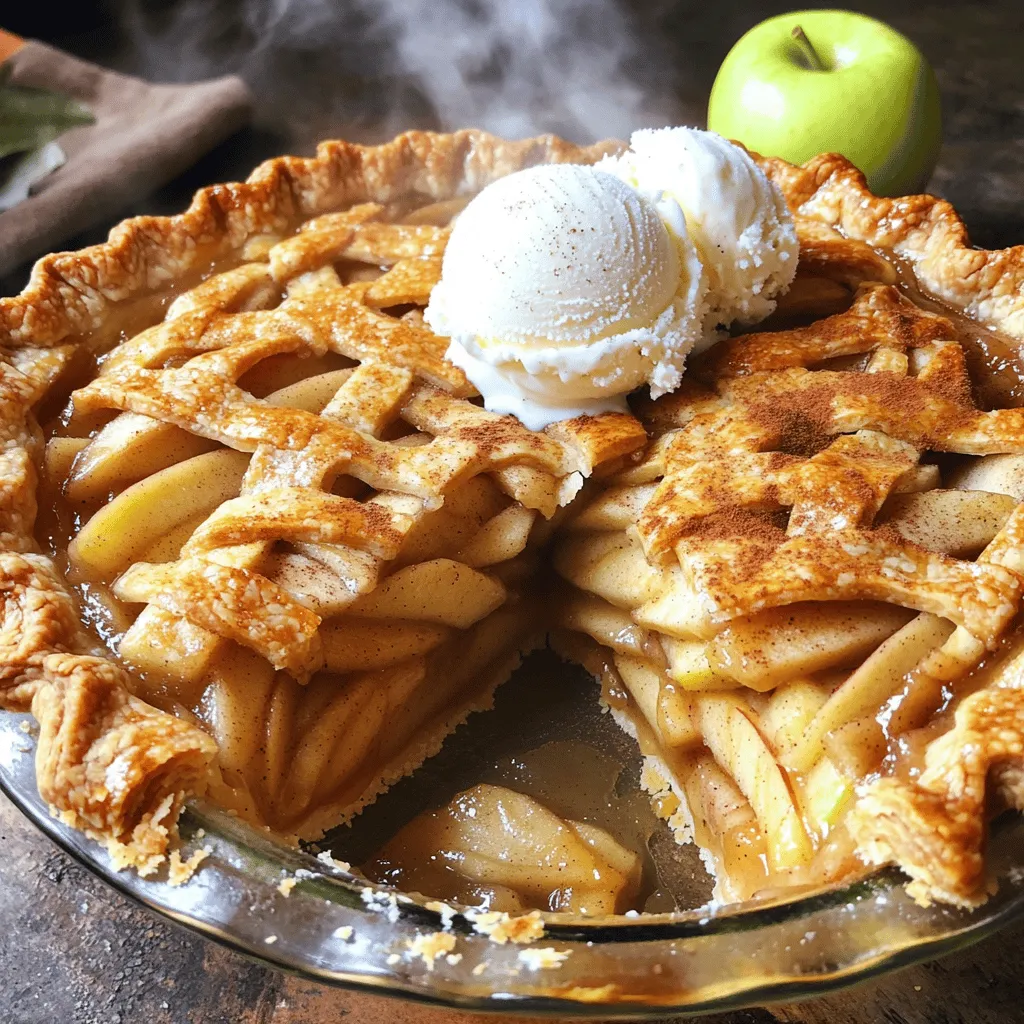
Are you ready to impress your family and friends with a dessert that vanishes in minutes? This Disappearing Apple Pie...
READ MORE →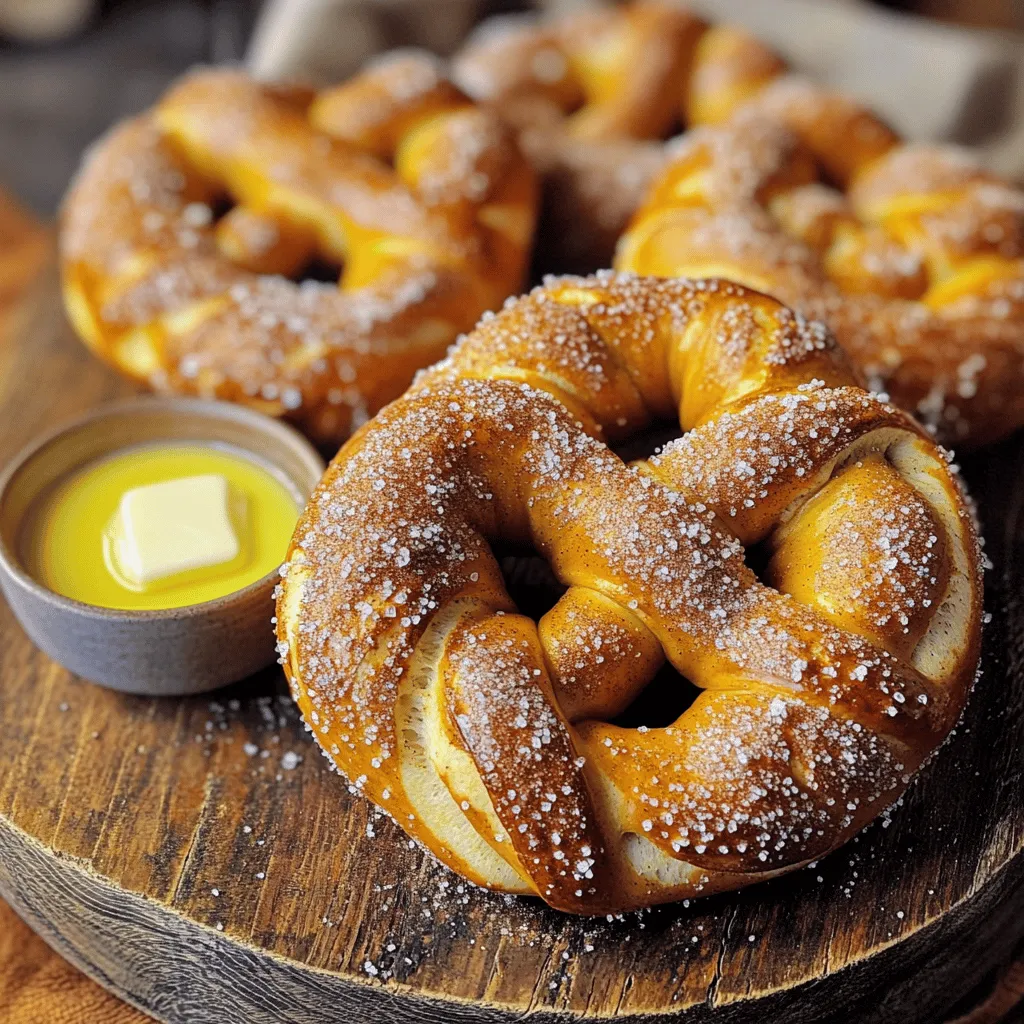
Craving a sweet treat that’s soft, warm, and oh-so-delicious? You’ve come to the right place! I’m excited to share my...
READ MORE →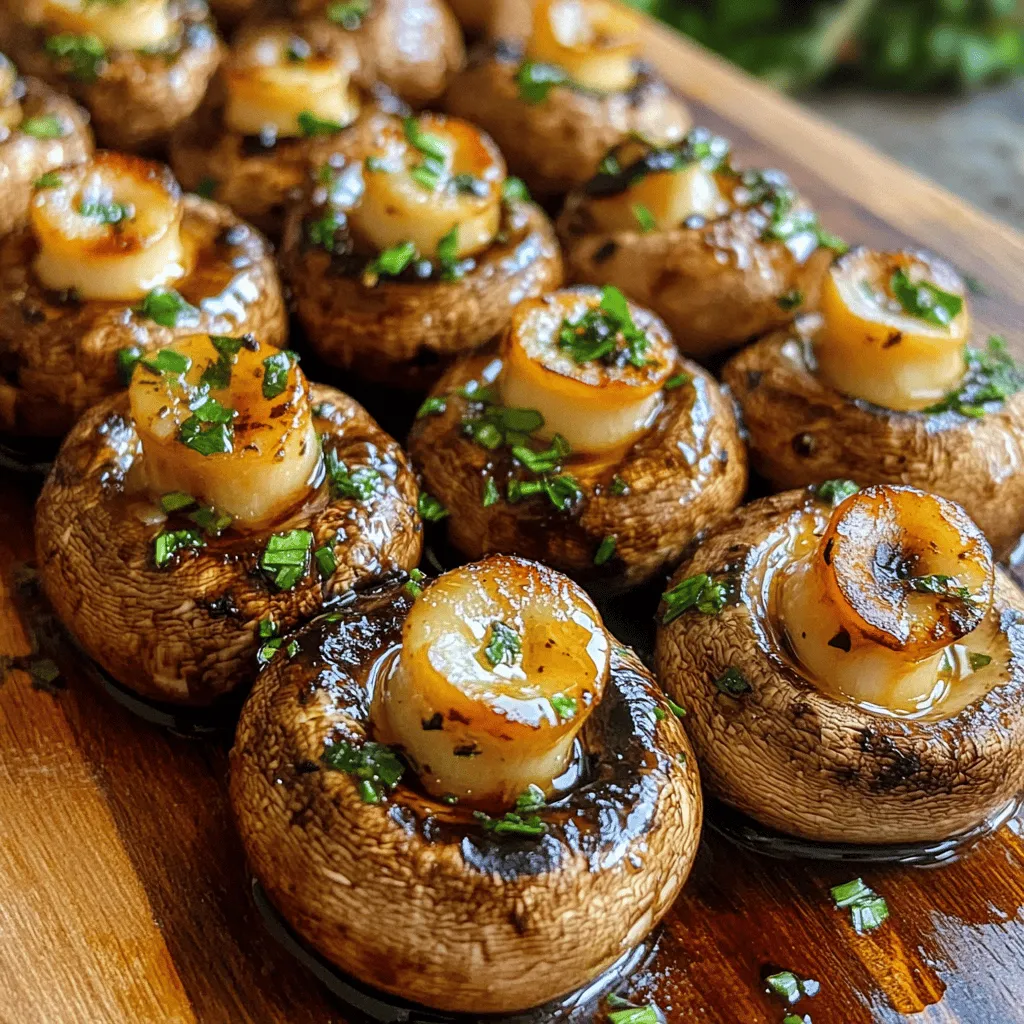
Looking for a quick dish that bursts with flavor? Sautéed Grilled Garlic Mushrooms are just the ticket. They are easy...
READ MORE →
Get ready to warm your soul with my Gingerbread Oatmilk Chai Tea Latte! This cozy drink combines spicy gingerbread and...
READ MORE →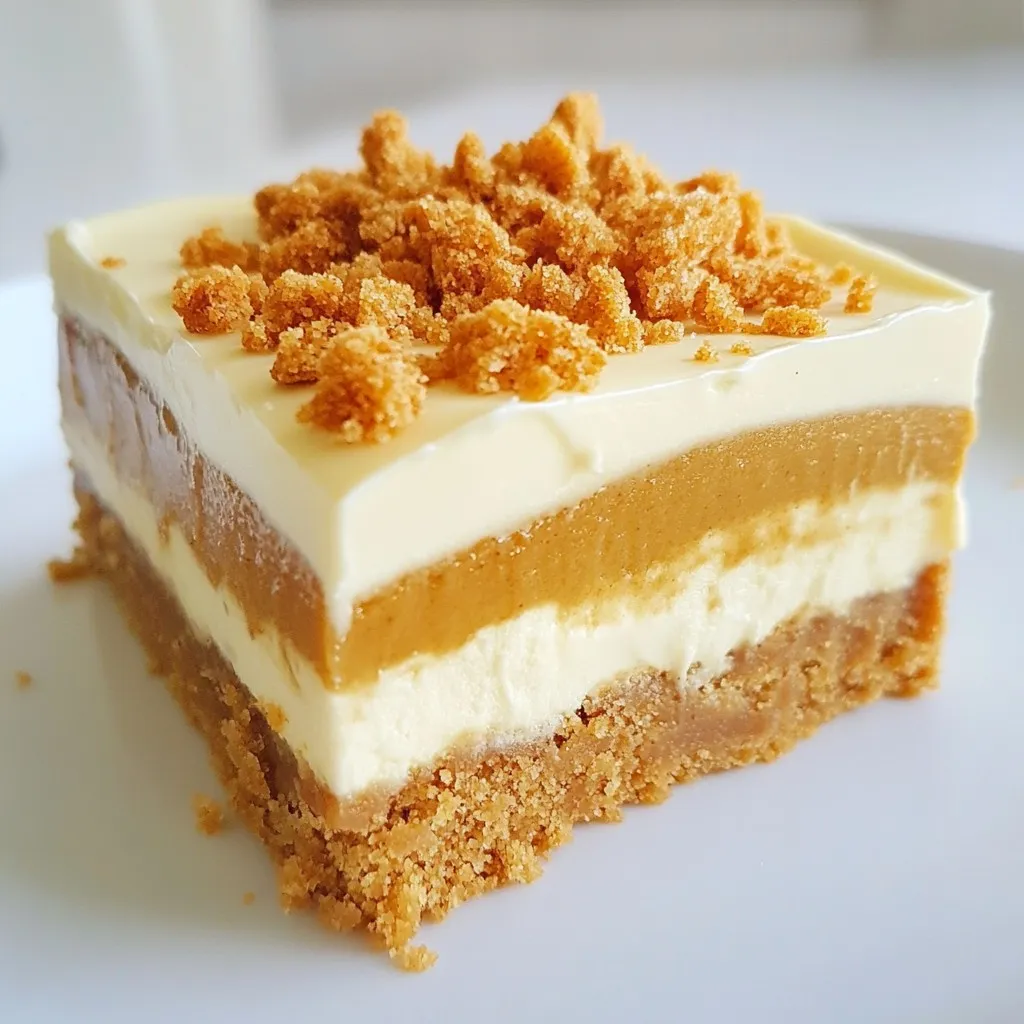
If you’re craving a sweet treat that requires no baking and delivers pure bliss, you’re in for a treat! This...
READ MORE →