DINNER
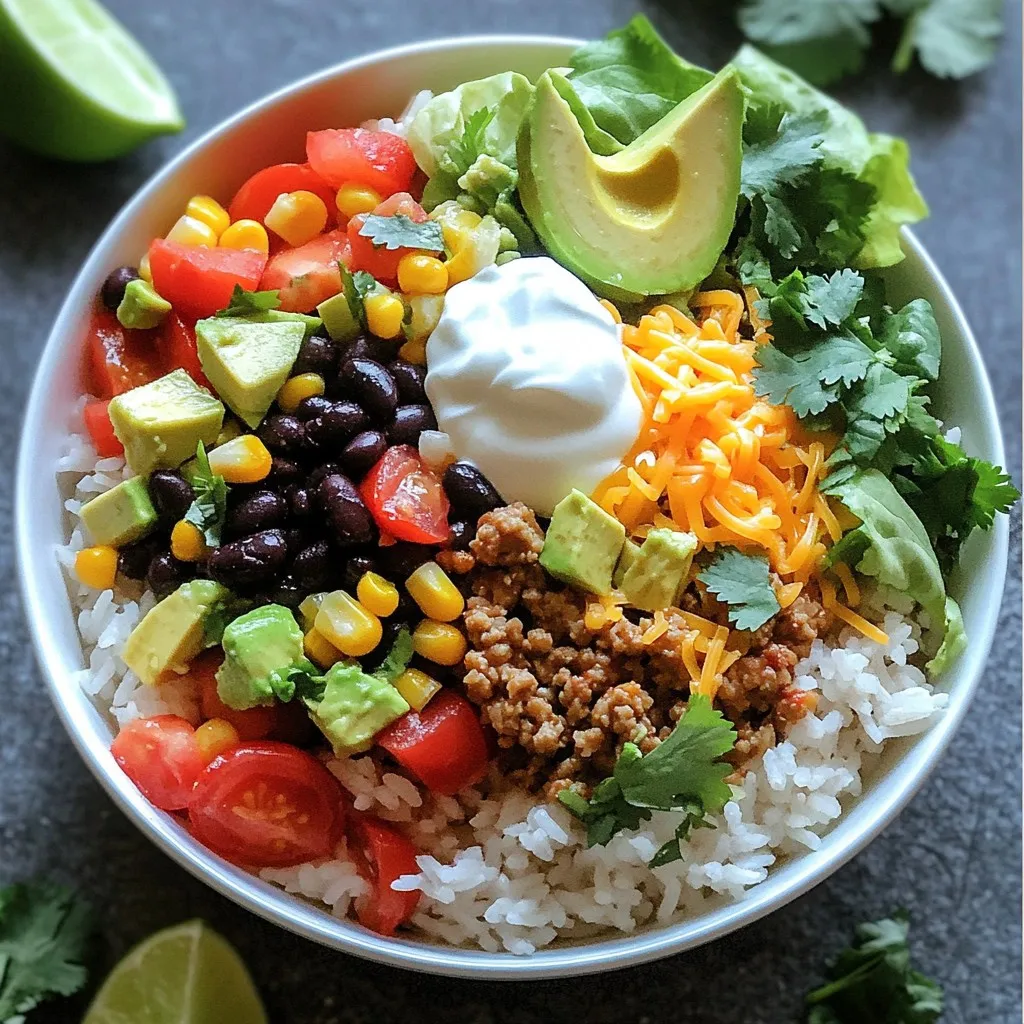
Taco Rice Bowl Flavorful and Satisfying Meal Idea
If you’re craving a meal that’s both tasty and filling, the Taco Rice Bowl is for you! This dish combines...
READ MORE →Chef Elliot
I’m Chef Elliot, your laid-back kitchen wingman with a serious love for bold flavors and easy cooking. 🥄✨
I believe anyone can cook—no fancy tools, no five-star background required. Just great recipes, a sprinkle of curiosity, and maybe a lemon zest moment to keep things fresh. 🍋💪
Think of me as your flavor coach: part guide, part cheerleader, always down for a second helping. I’m here to help you ditch the stress and stir up some joy—one tossed-together recipe at a time.

Delicious recipes crafted by Chef Elliot
If you’re craving a meal that’s both tasty and filling, the Taco Rice Bowl is for you! This dish combines...
READ MORE →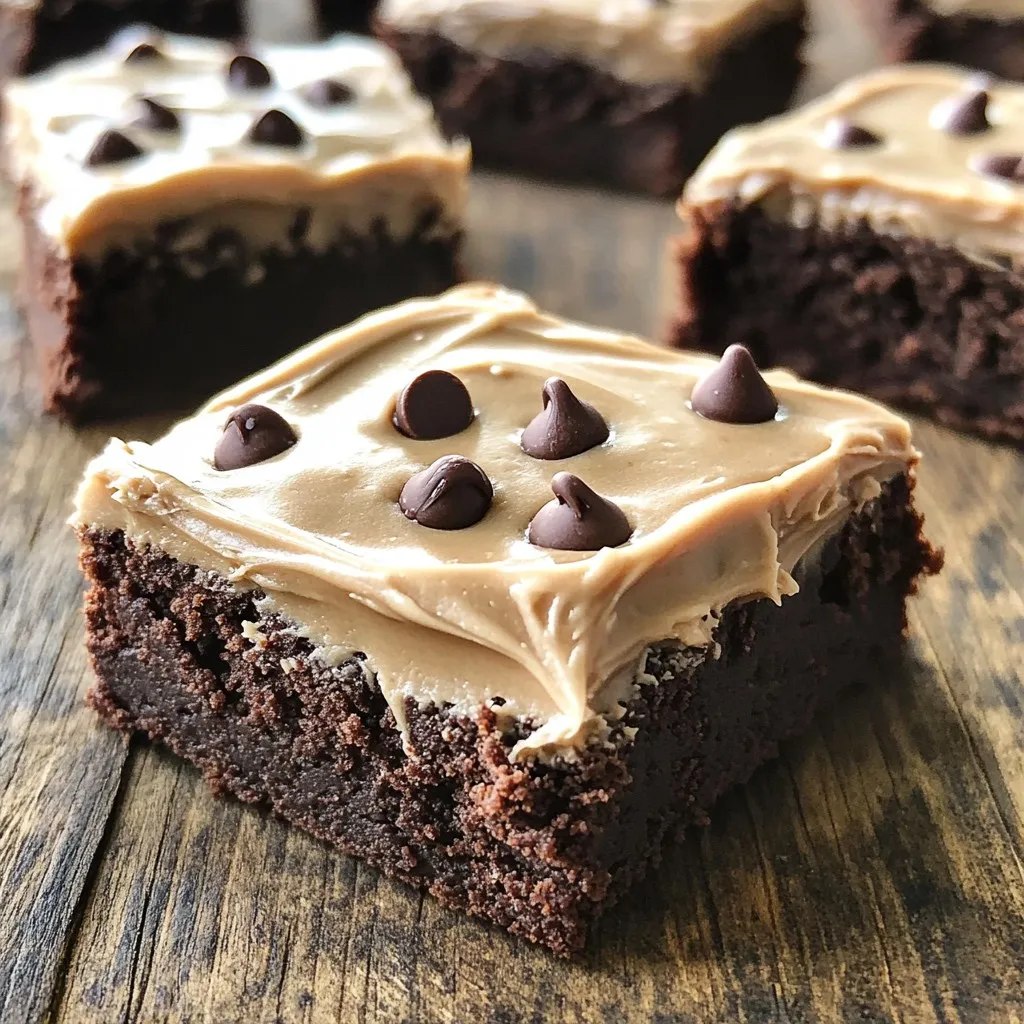
Craving a dessert that brings rich chocolate and coffee together? Try my frosted coffee brownies! These treats are soft, rich,...
READ MORE →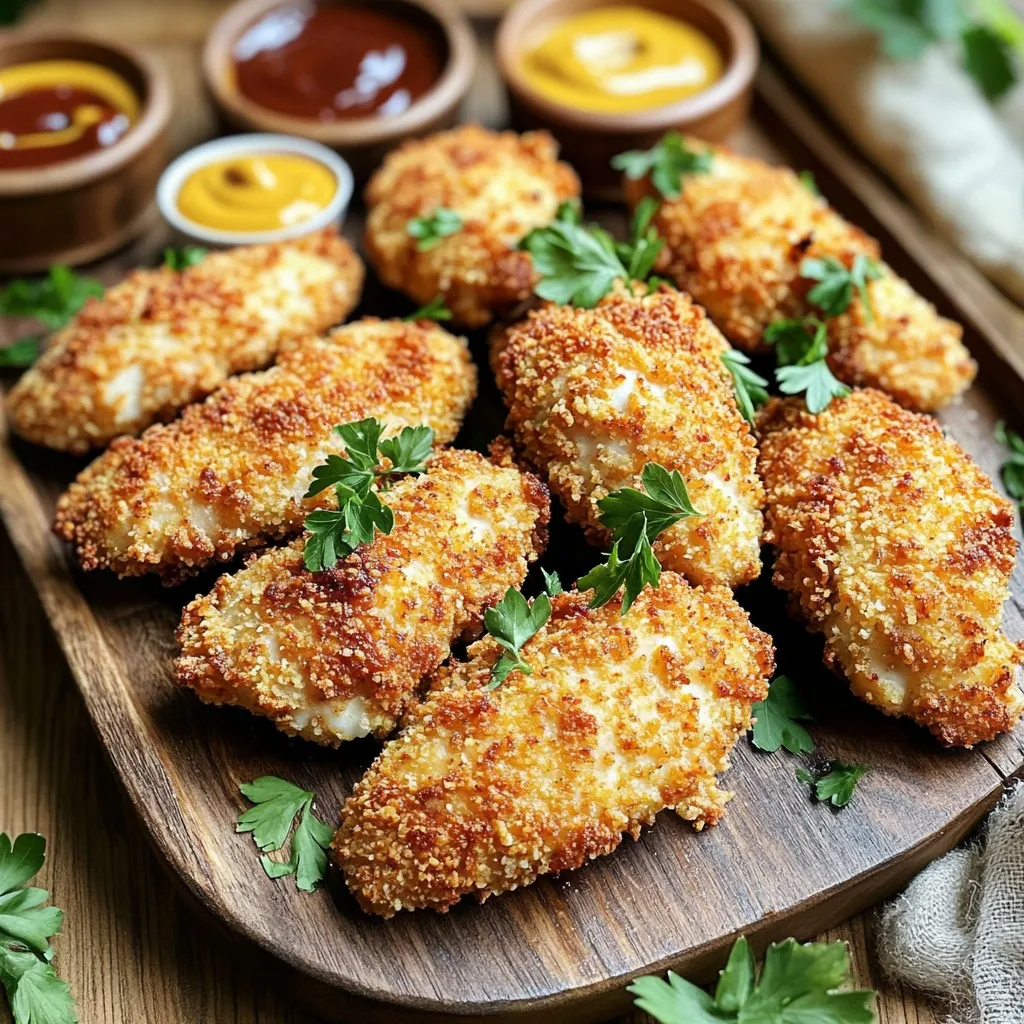
Are you ready to whip up a delicious meal that everyone will love? My Crispy Baked Chicken Tenders are fun...
READ MORE →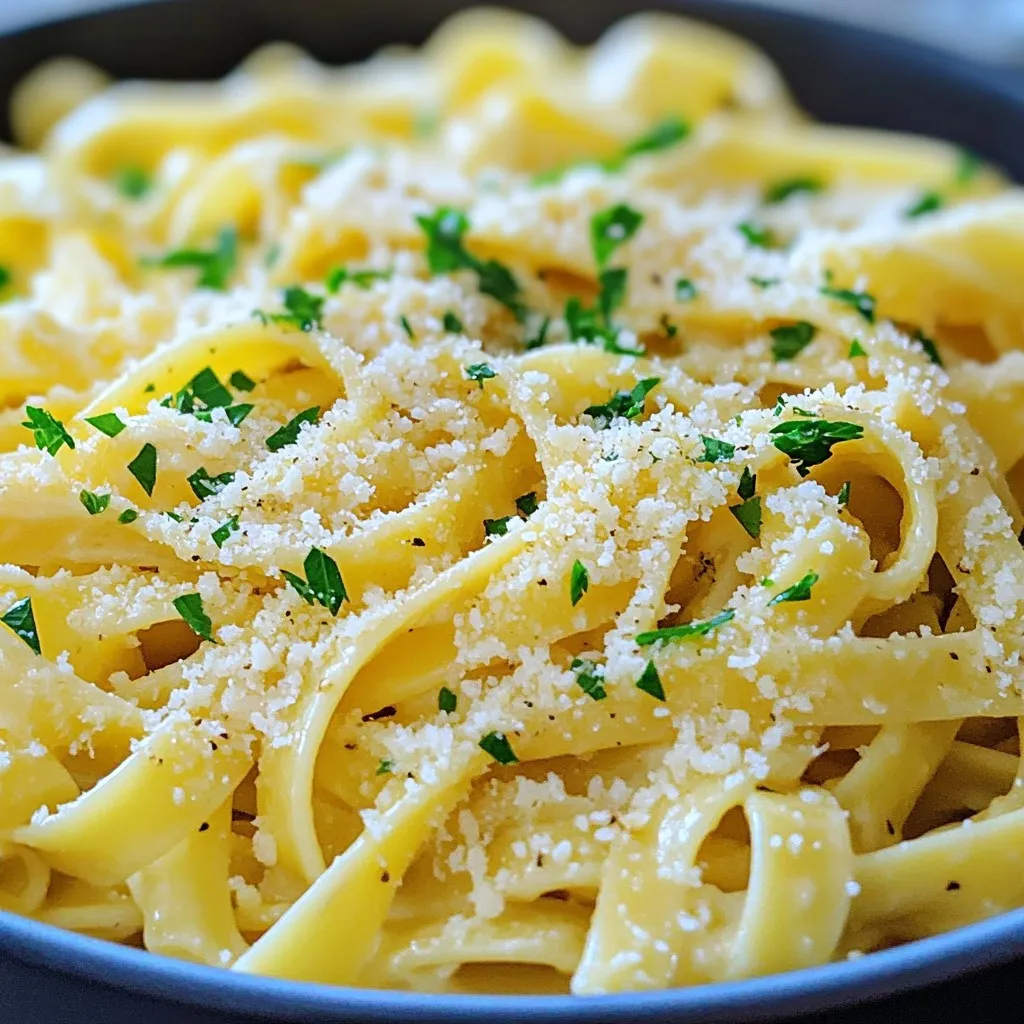
If you crave a dish that’s rich, creamy, and bursting with flavor, you’ve found it! Garlic Parmesan Pasta is a...
READ MORE →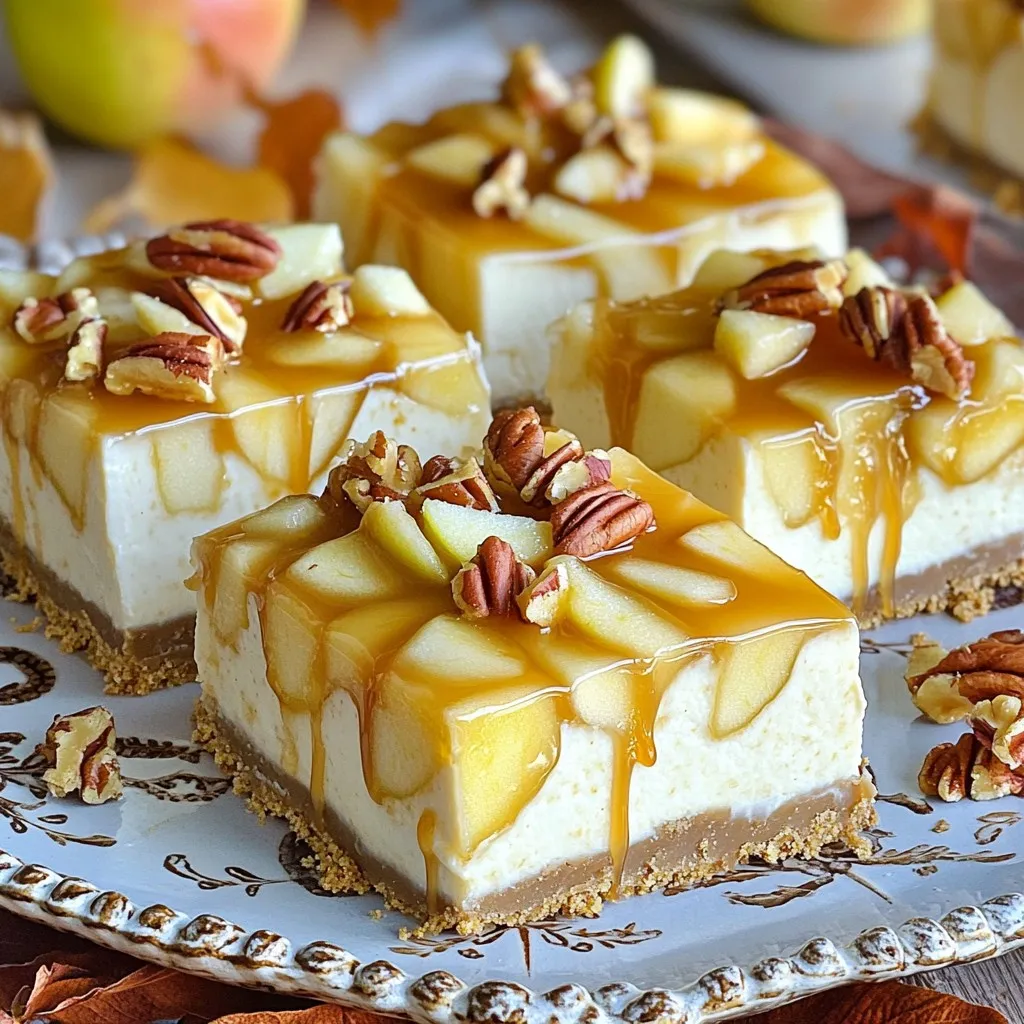
Craving a sweet treat that combines creamy cheesecake with the classic flavors of caramel and apple? Look no further! These...
READ MORE →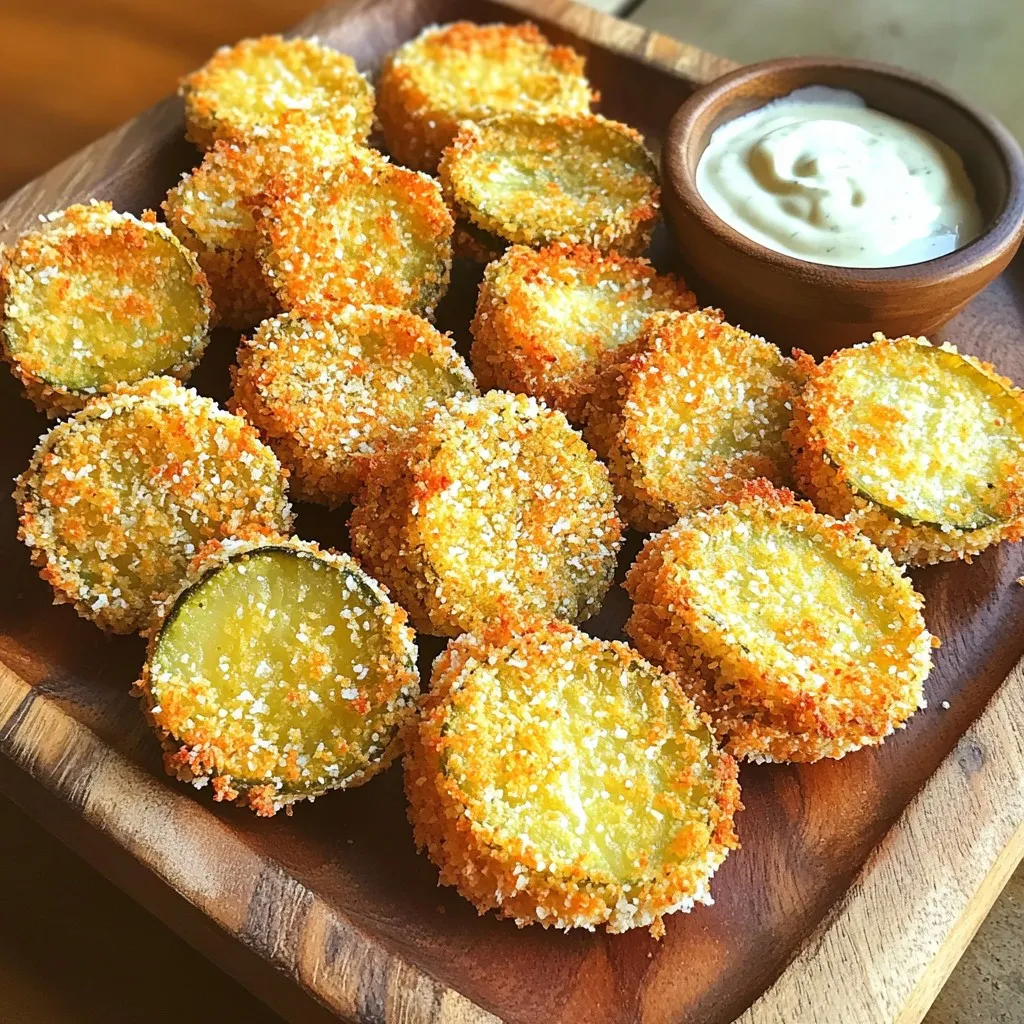
Looking for a crunchy, flavorful snack that’s easy to make? Air fryer fried pickles are the answer! In this guide,...
READ MORE →
Craving a sweet treat that’s easy and delicious? Look no further! These No-Bake Raspberry Cheesecake Bars combine creamy cheesecake with...
READ MORE →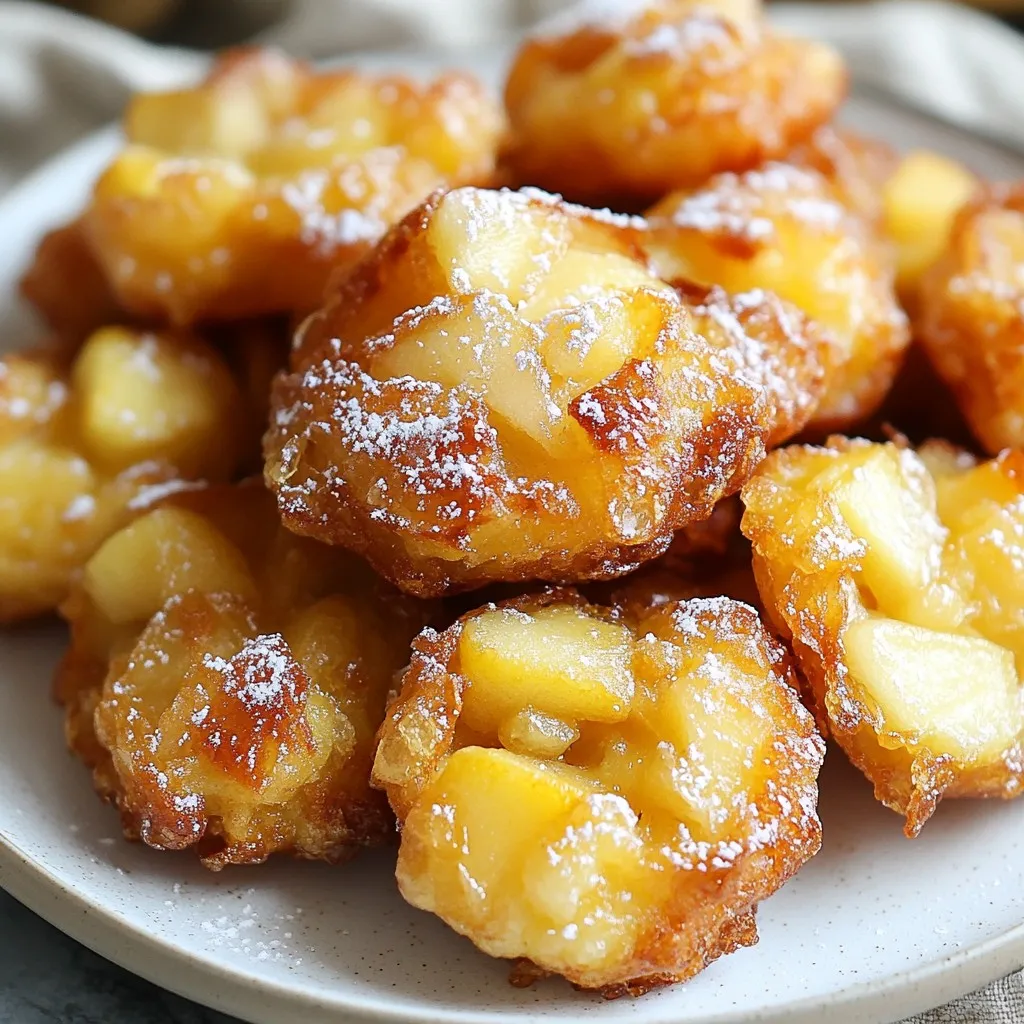
Craving a sweet treat? Let me show you how to make Air Fryer Apple Fritters! This easy recipe combines tender...
READ MORE →
Are you ready for a fun twist on the classic cheeseburger? Garlic Butter Cheeseburger Rollups will make your taste buds...
READ MORE →
Are you ready to indulge in a sweet twist on a classic dessert? Peach Pie Cruffins blend the best of...
READ MORE →