APPETIZERS
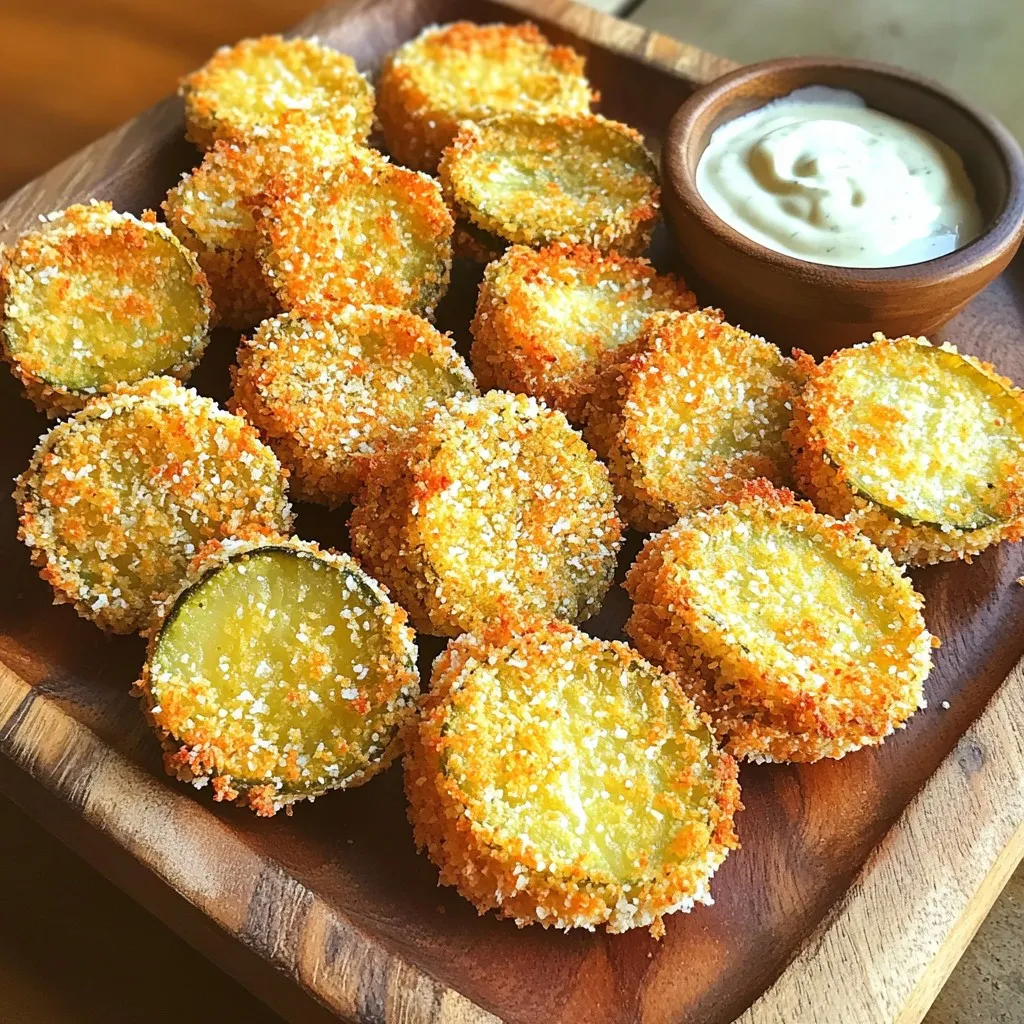
Air Fryer Fried Pickles Crispy and Flavorful Snack
Looking for a crunchy, flavorful snack that’s easy to make? Air fryer fried pickles are the answer! In this guide,...
READ MORE →Explore our collection of appetizers recipes
Looking for a crunchy, flavorful snack that’s easy to make? Air fryer fried pickles are the answer! In this guide,...
READ MORE →
Are you ready for a fun twist on the classic cheeseburger? Garlic Butter Cheeseburger Rollups will make your taste buds...
READ MORE →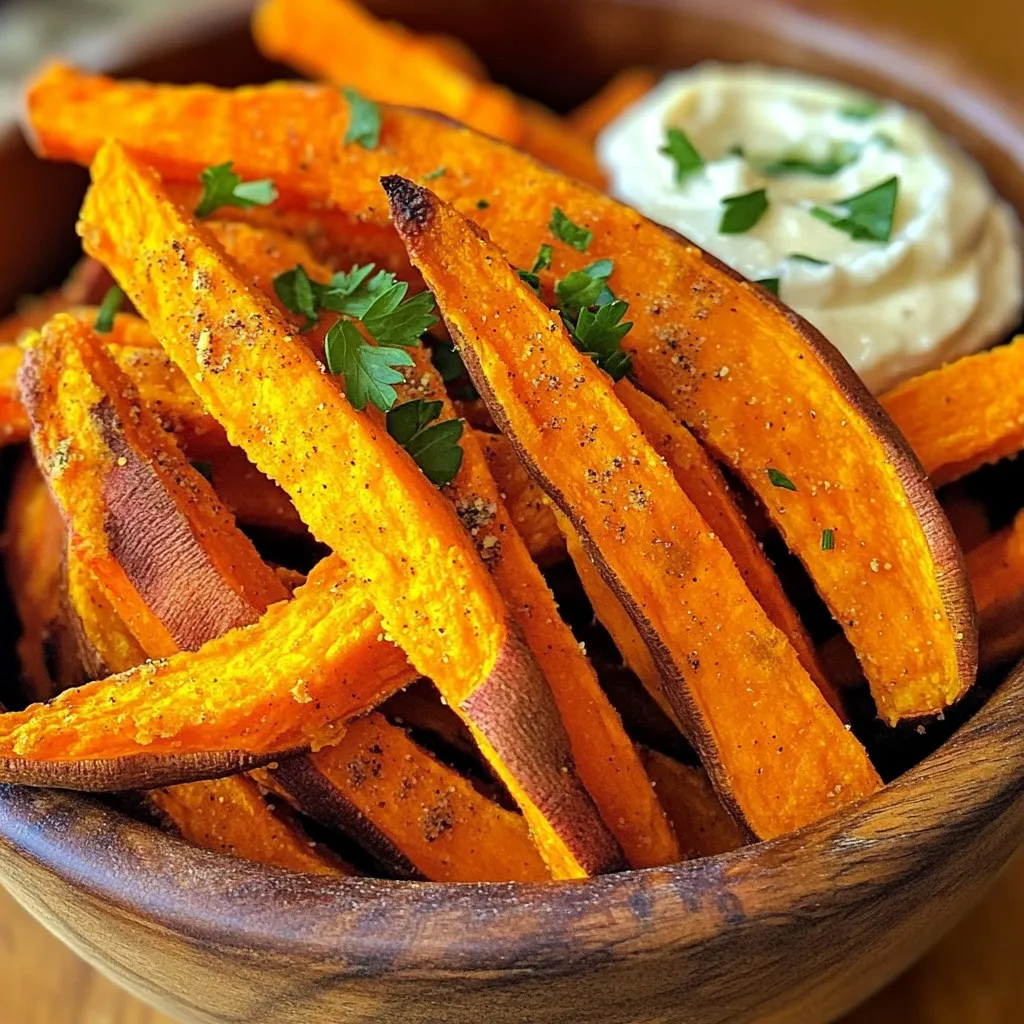
Are you ready to enjoy a delicious snack that’s both healthy and easy? These Crispy Baked Sweet Potato Fries are...
READ MORE →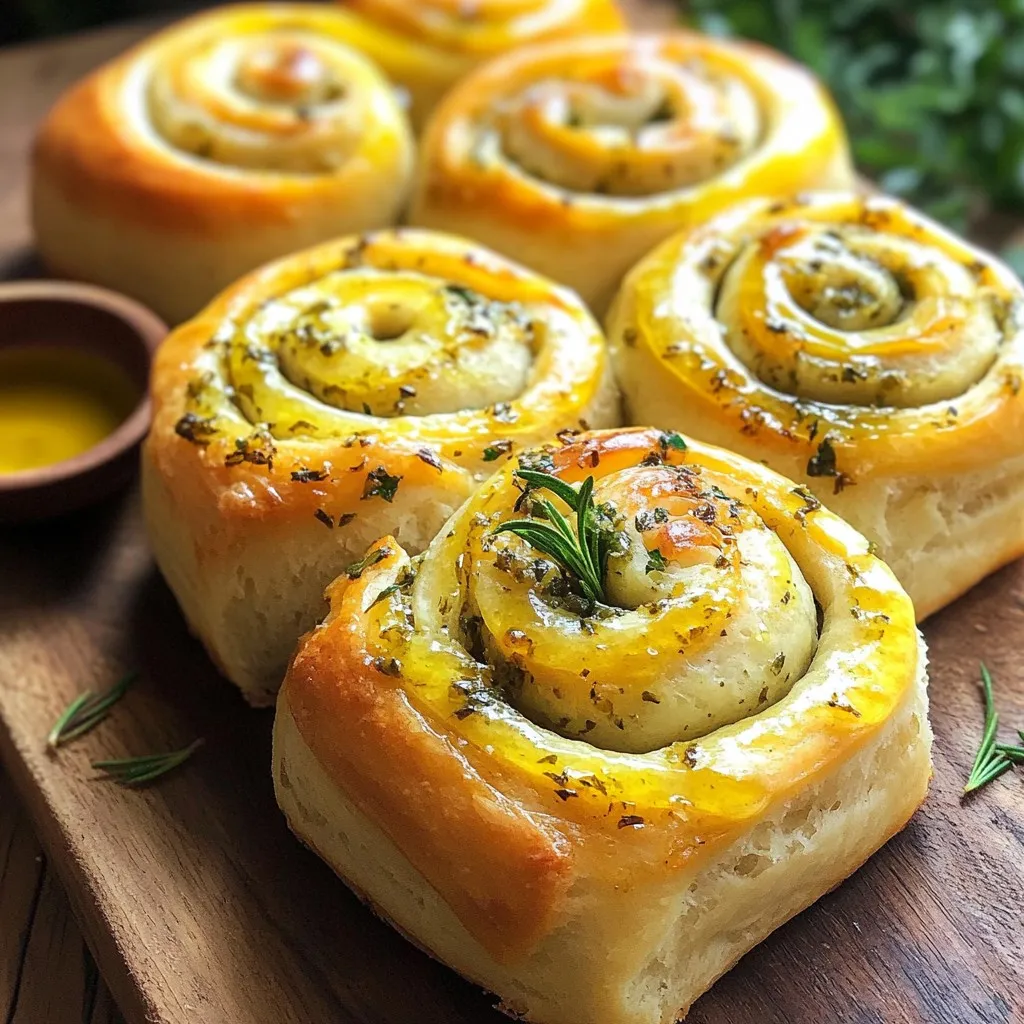
Imagine biting into a warm, fluffy roll, bursting with the rich flavors of garlic and fresh herbs. These Herb and...
READ MORE →
Ready to elevate your snacking game? In this blog, I’m sharing my Air Fryer Everything Bagel Zucchini Fries Delight recipe....
READ MORE →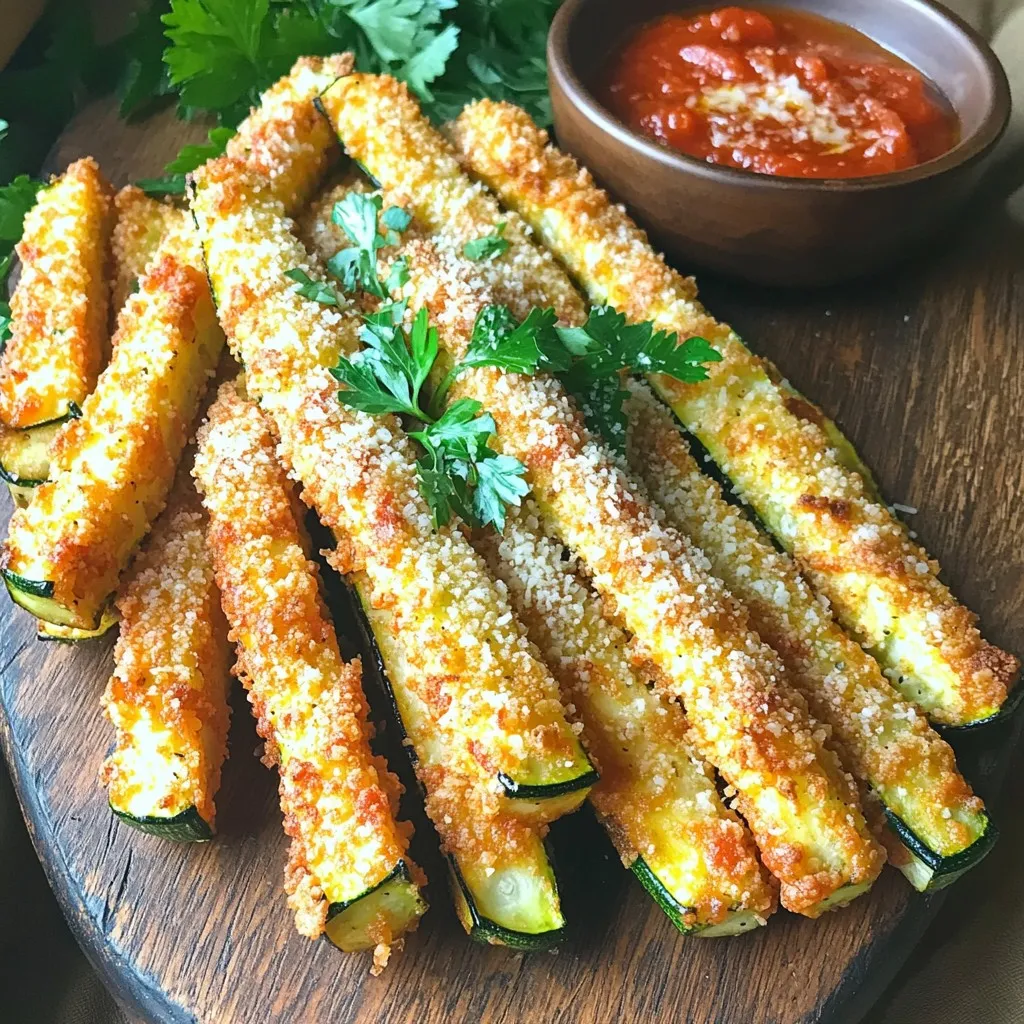
Looking for a snack that’s both tasty and easy to make? These Air Fryer Parmesan Zucchini Fries tick all the...
READ MORE →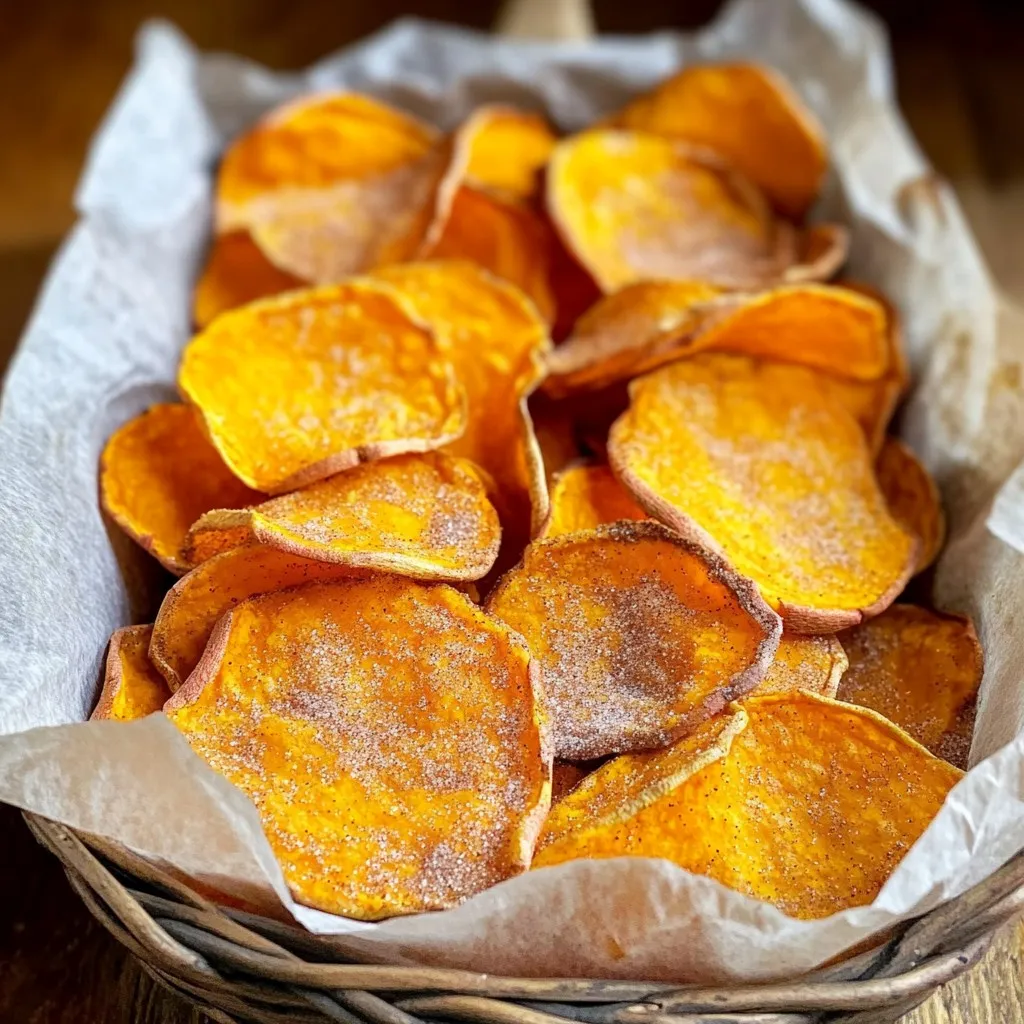
Craving a crunchy snack that’s both sweet and healthy? These Air Fryer Cinnamon Sugar Sweet Potato Chips are here to...
READ MORE →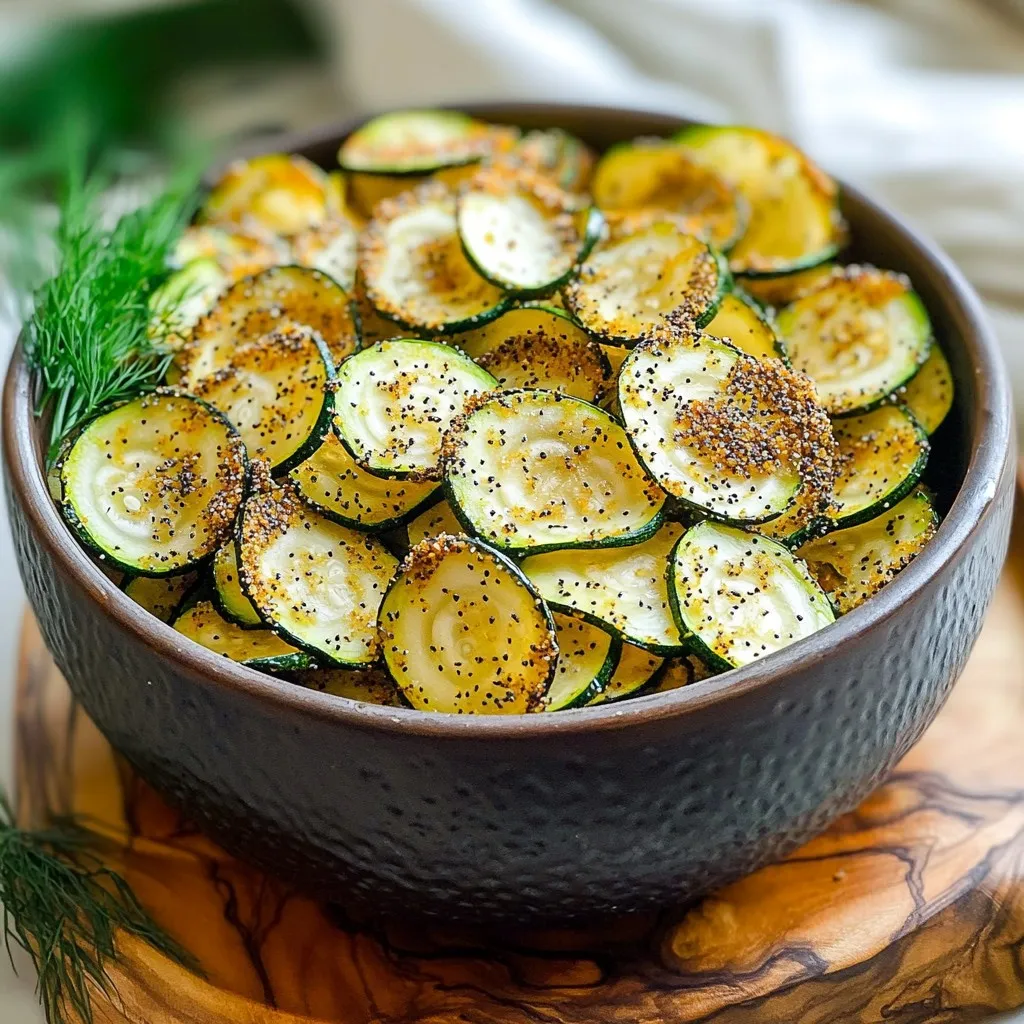
Looking for a delicious snack that’s both healthy and easy to make? Try these Air Fryer Everything Bagel Zucchini Chips!...
READ MORE →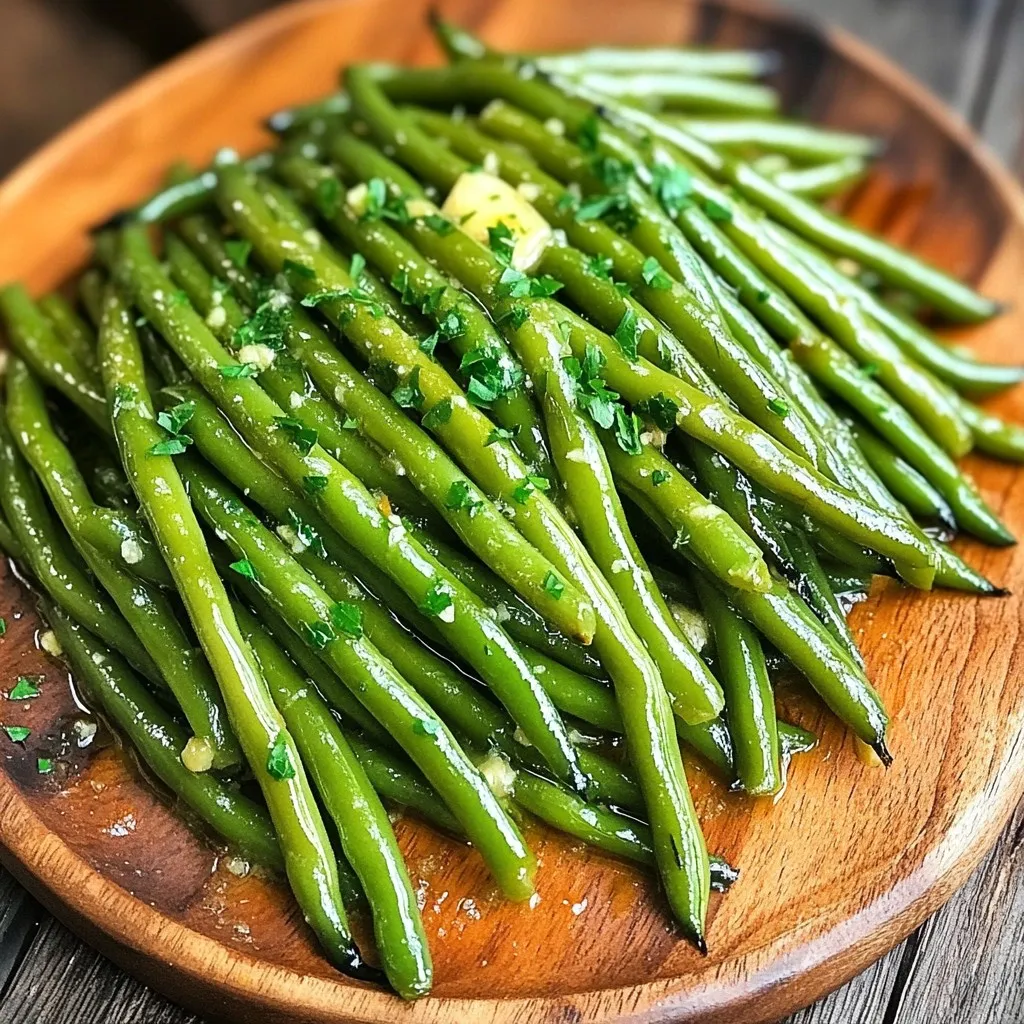
Looking for a simple and tasty side dish? You’ve found it! My Air Fryer Garlic Butter Green Beans are fresh,...
READ MORE →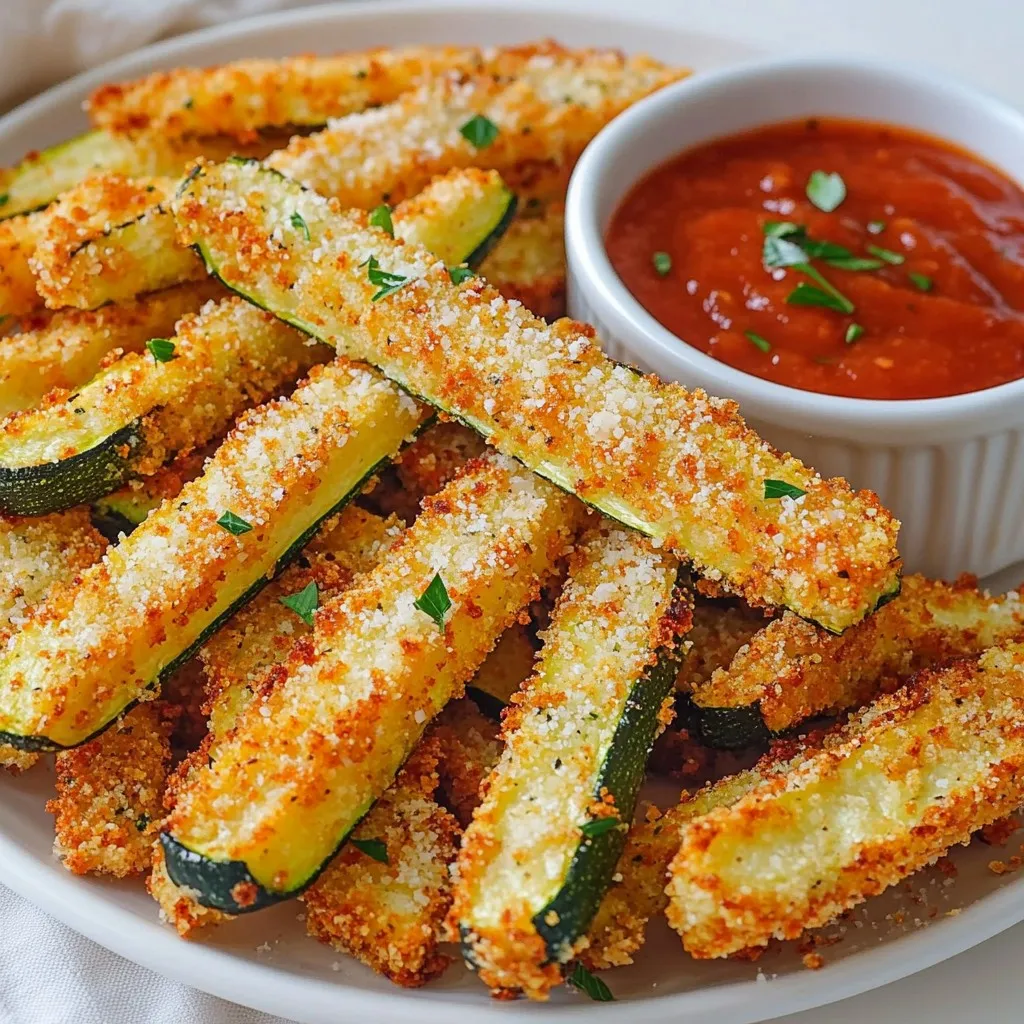
Looking for a tasty, guilt-free snack? I’ve got just the thing: Crispy Parmesan Zucchini Fries! With just a few simple...
READ MORE →