
APPETIZERS
Air Fryer Everything Bagel Zucchini Chips Delight
Are you ready to transform your snacking game? With my Air Fryer Everything Bagel Zucchini Chips, you can enjoy a...
READ MORE →Explore our collection of appetizers recipes
Are you ready to transform your snacking game? With my Air Fryer Everything Bagel Zucchini Chips, you can enjoy a...
READ MORE →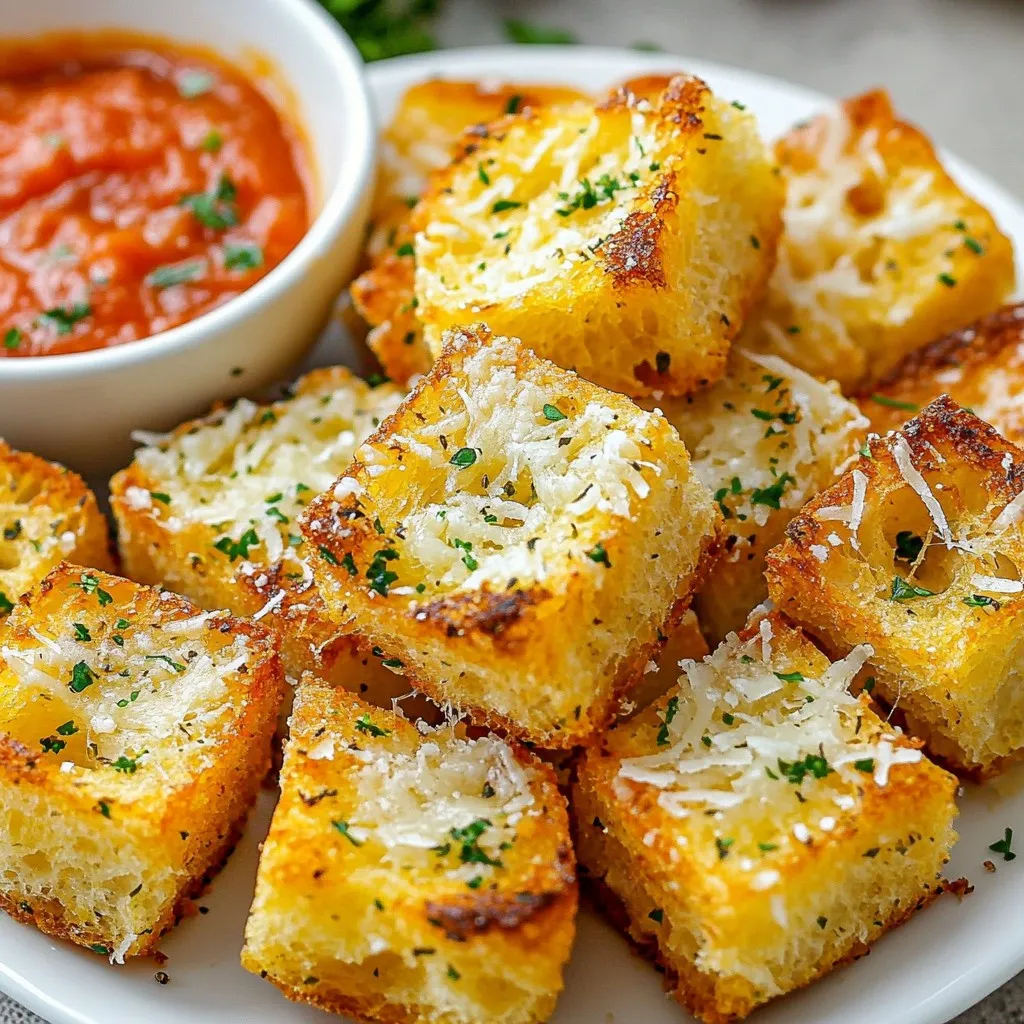
Get ready to treat yourself to a snack that’s hard to resist! Garlic Parmesan Bread Bites are a perfect blend...
READ MORE →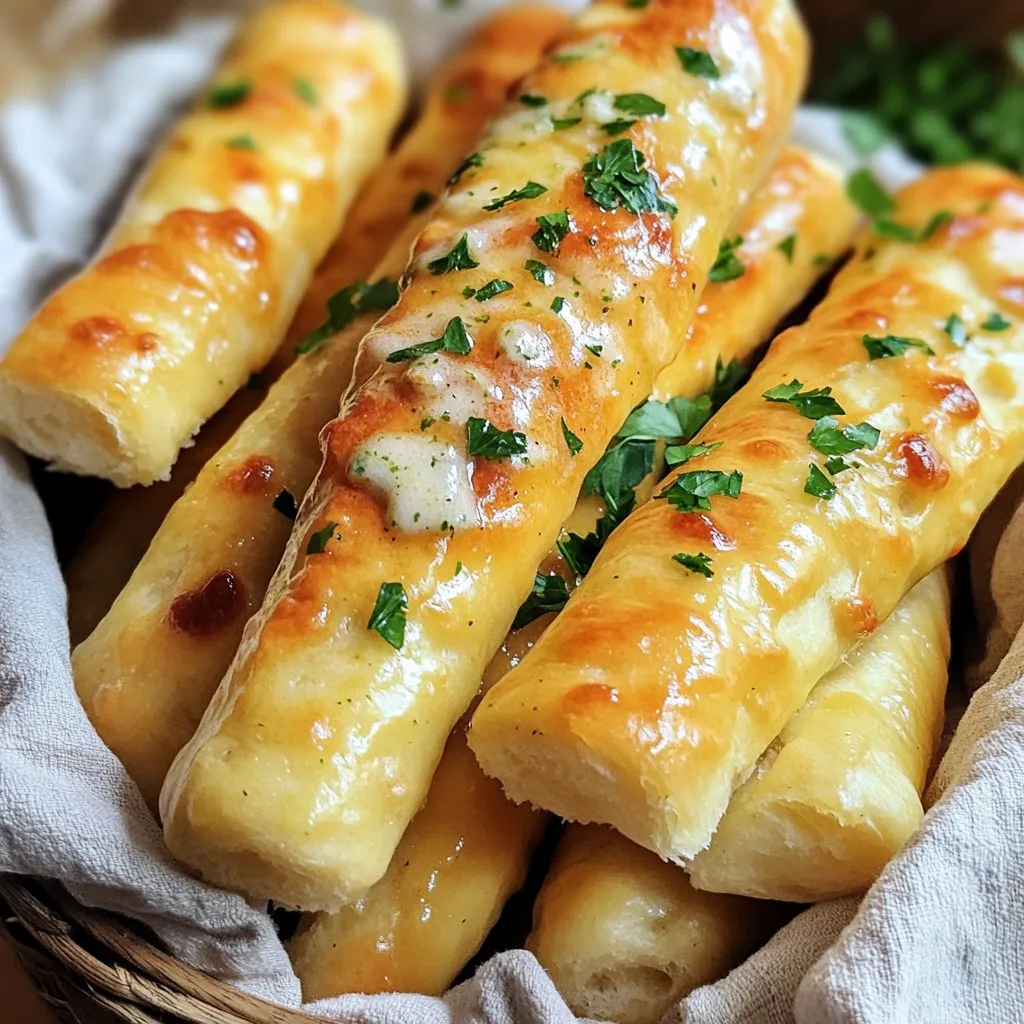
Craving a quick and tasty snack? Look no further! In this post, I’ll show you how to make Air Fryer...
READ MORE →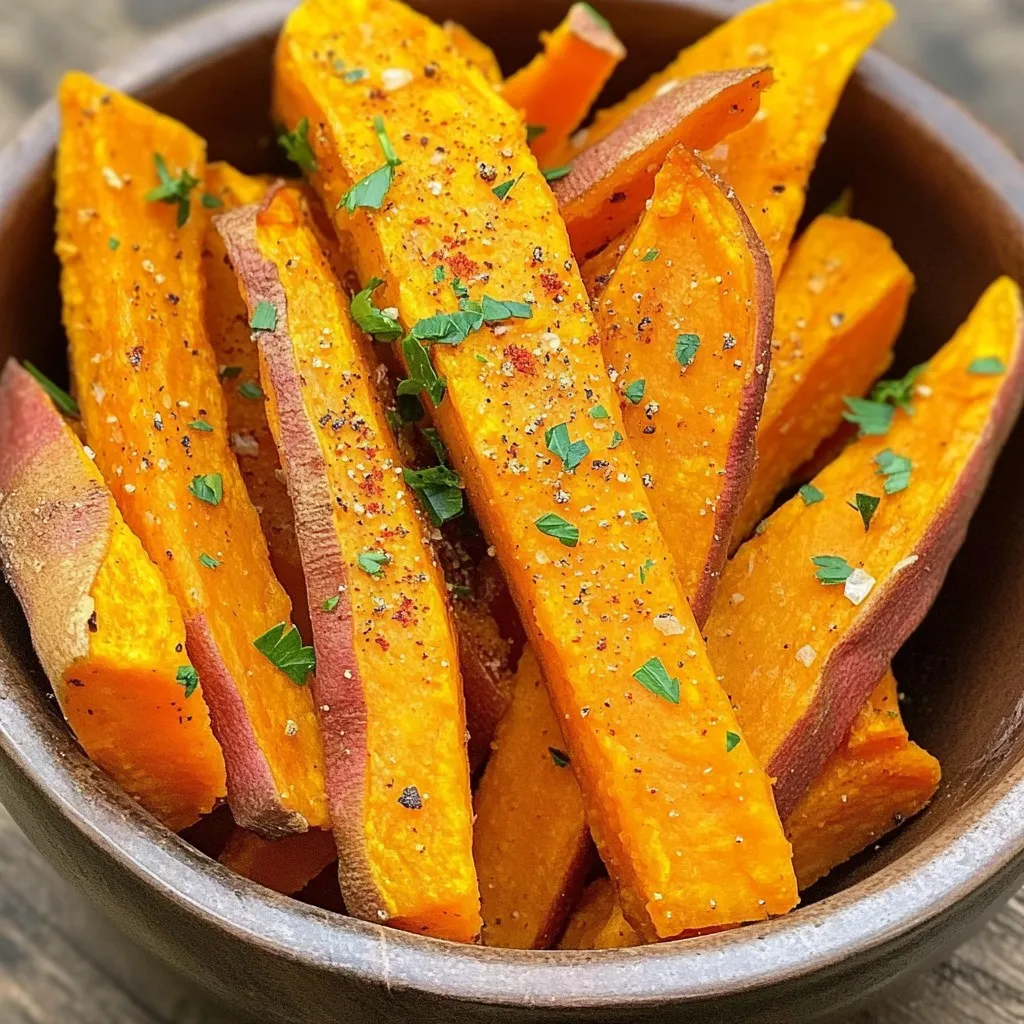
Are you ready to make crispy air fryer sweet potato fries that everyone will love? This easy and tasty recipe...
READ MORE →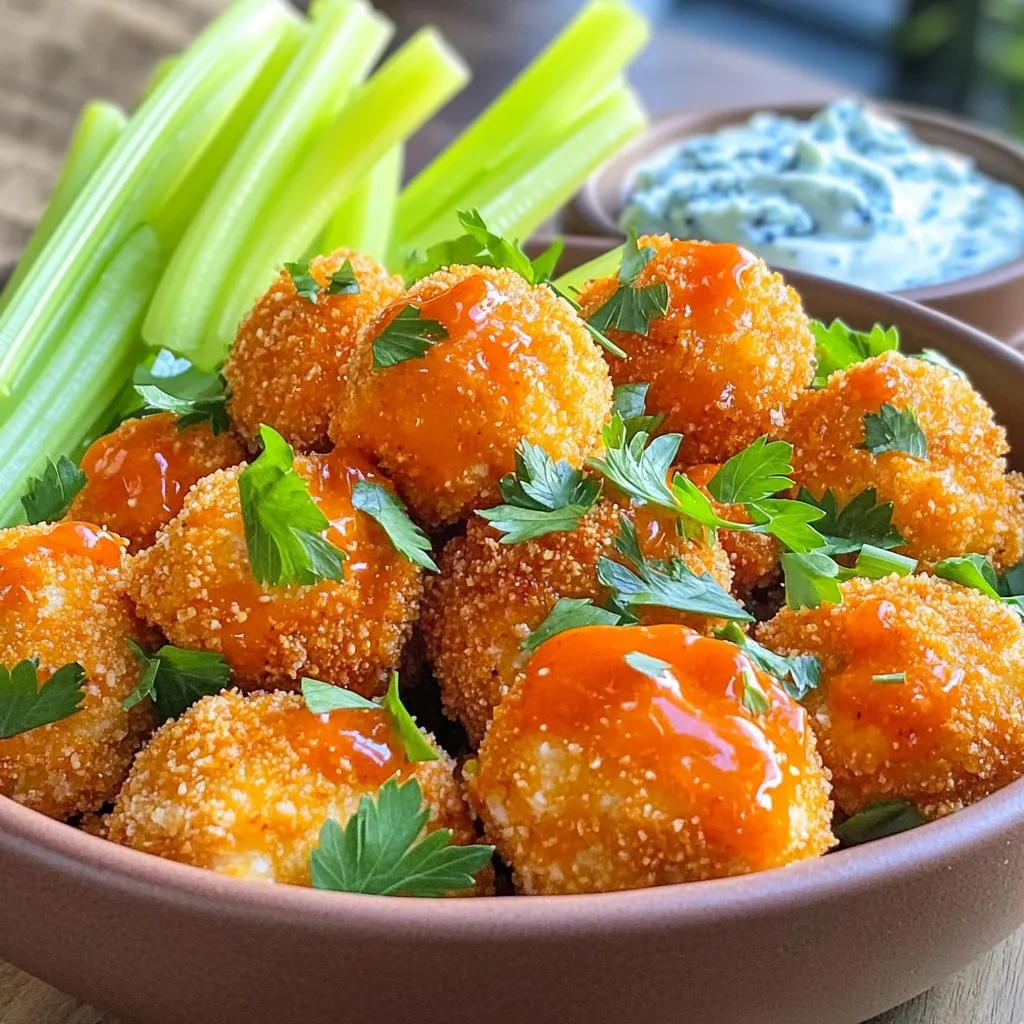
Craving a crispy and flavorful snack? Air Fryer Buffalo Chicken Bites are the answer! You can whip up these tasty...
READ MORE →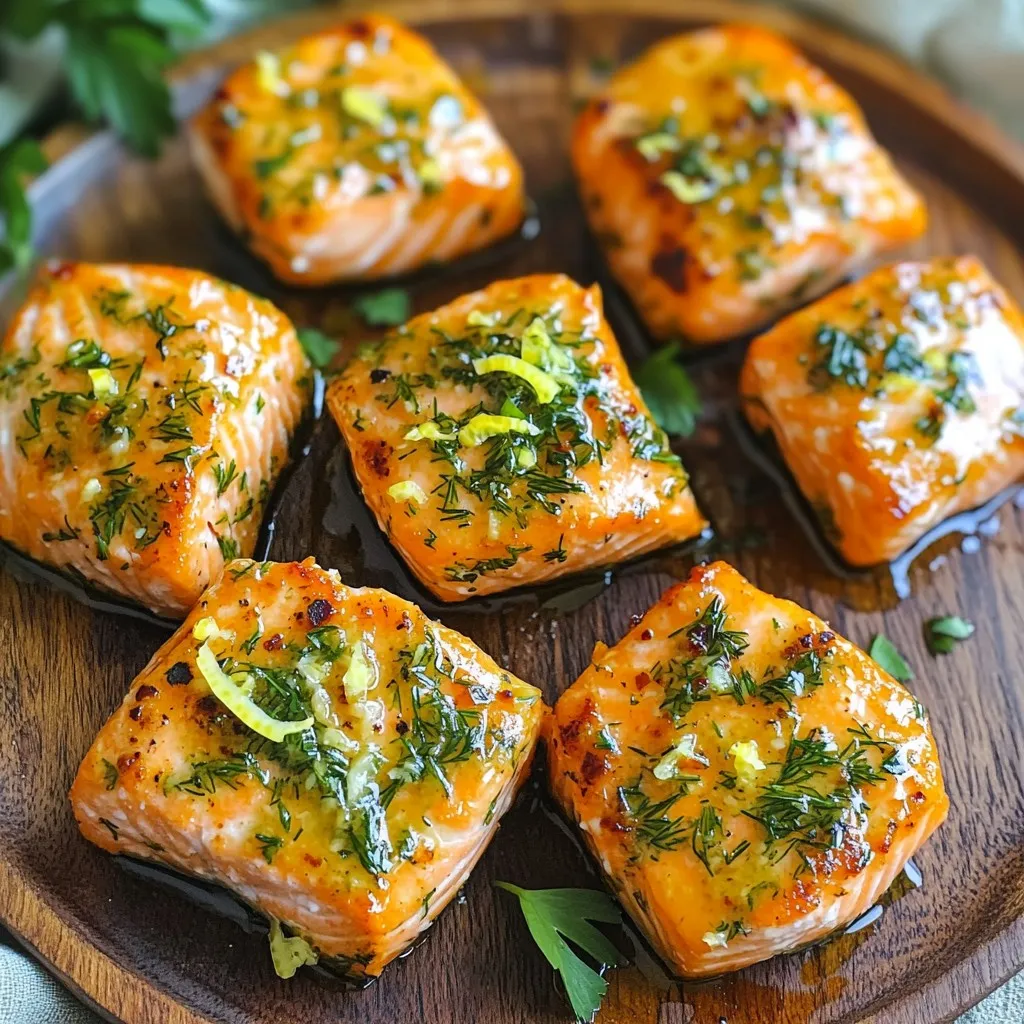
Are you ready to elevate your dinner game? In this post, I’ll show you how to make tasty Air Fryer...
READ MORE →
Looking for a quick and tasty meal? Look no further than Air Fryer Buffalo Chicken Wraps! These wraps mix juicy...
READ MORE →
Craving a tasty twist on nachos? You’re in the right place! My Sheet Pan Chipotle Lime Chicken Nachos are loaded...
READ MORE →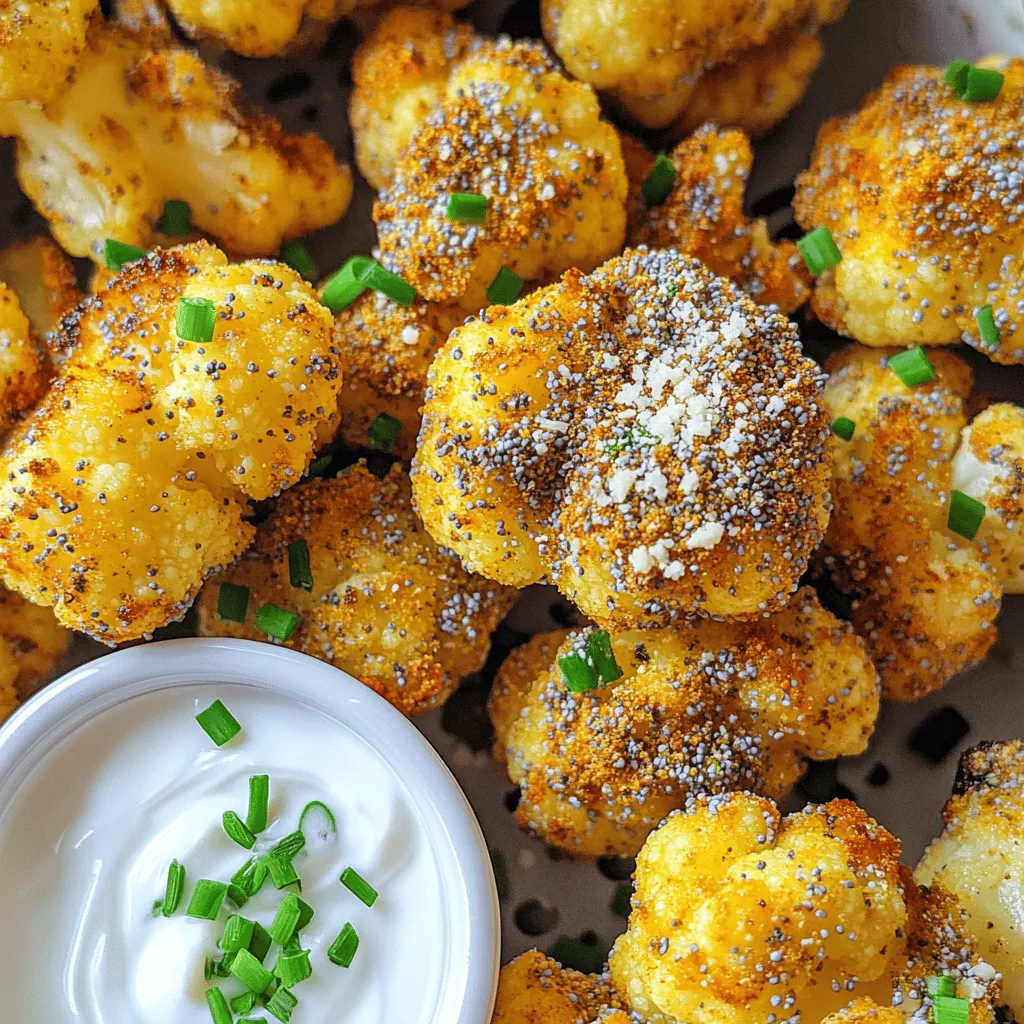
Looking for a quick and tasty snack? Try my Air Fryer Everything Bagel Cauliflower Bites! These bites are easy to...
READ MORE →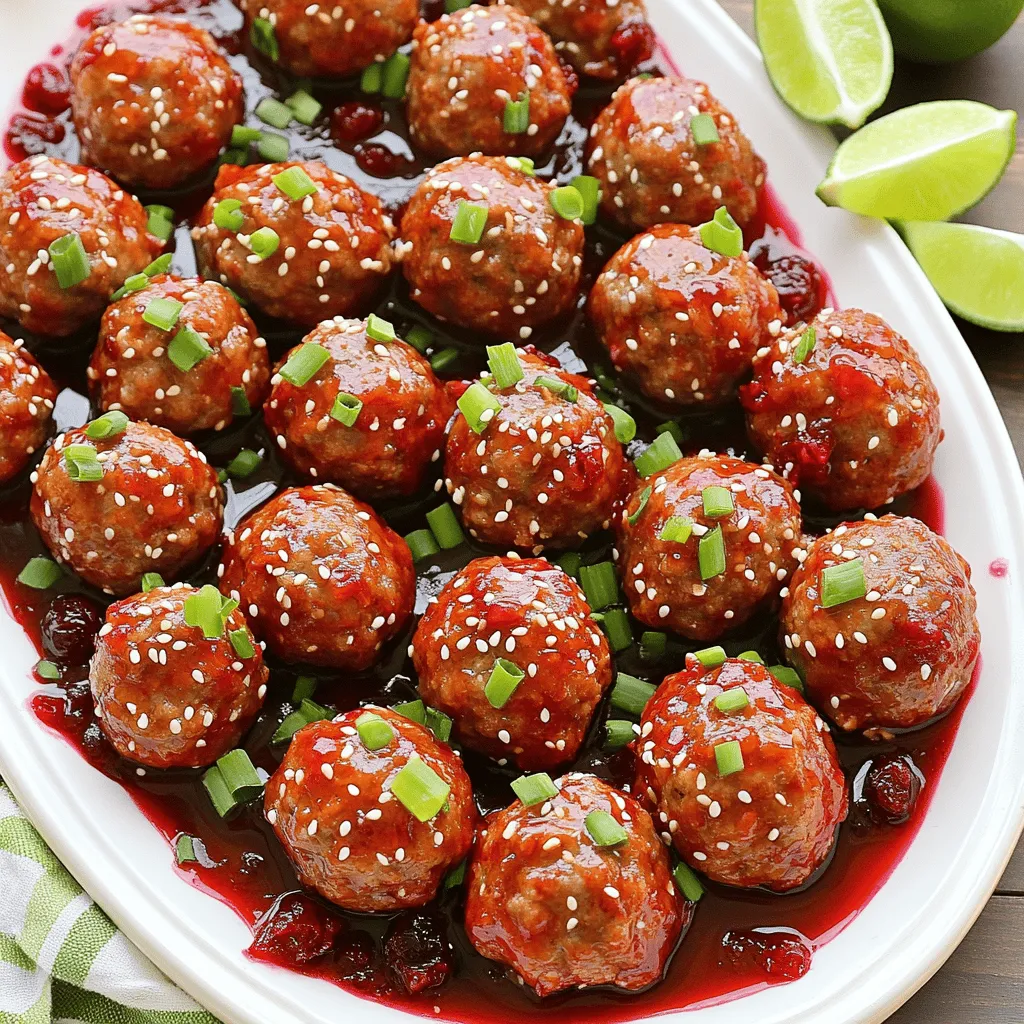
Looking for a delicious dish that requires minimal effort? Try my Savory Slow Cooker Sweet Chili Cranberry Meatballs! These mouthwatering...
READ MORE →