
APPETIZERS
Air Fryer Everything Bagel Zucchini Chips Crunchy Snack
Looking for a tasty snack that’s easy to make? Try these Air Fryer Everything Bagel Zucchini Chips! With just a...
READ MORE →Explore our collection of appetizers recipes
Looking for a tasty snack that’s easy to make? Try these Air Fryer Everything Bagel Zucchini Chips! With just a...
READ MORE →
Are you ready to savor a bold dish that’s simple to make? My Air Fryer Honey Sriracha Salmon Bites bring...
READ MORE →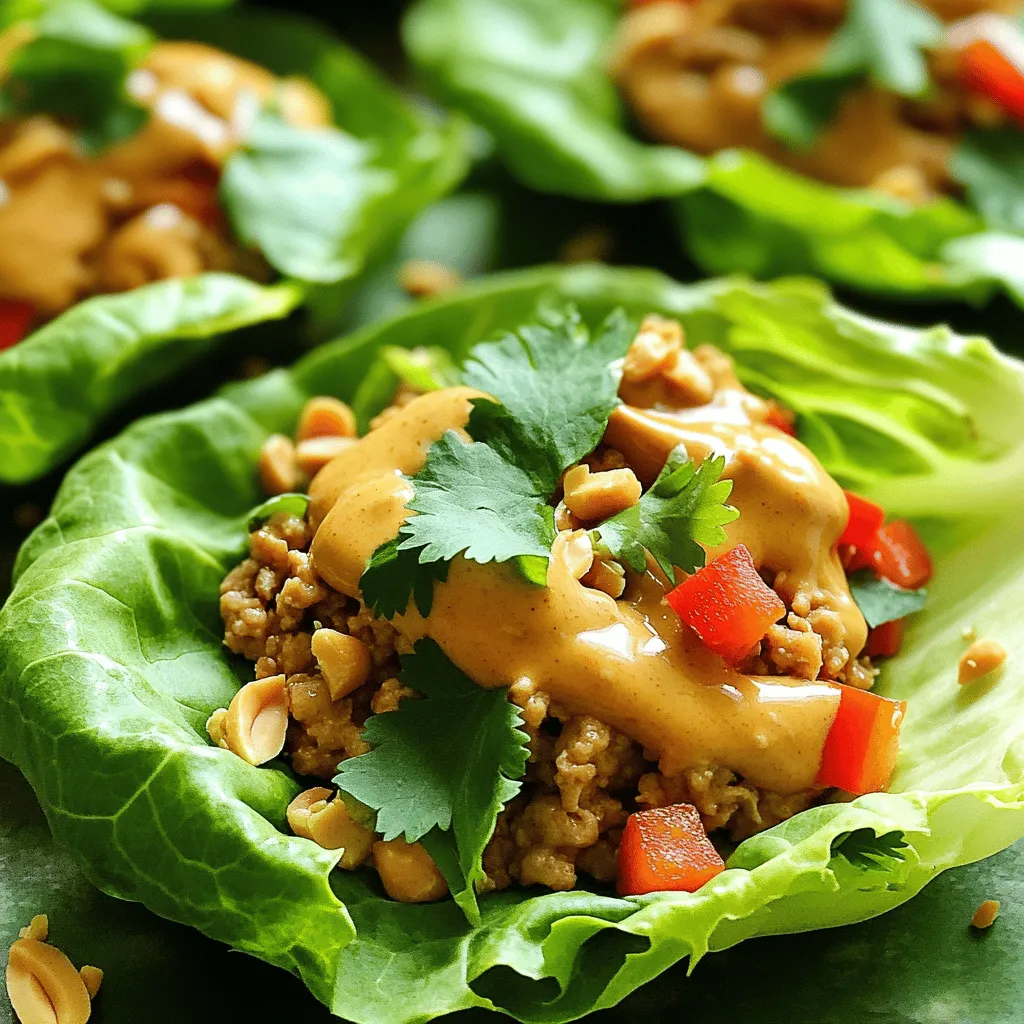
Looking for a quick and tasty meal? You’ll love my Minute Thai Peanut Chicken Lettuce Wraps! These wraps burst with...
READ MORE →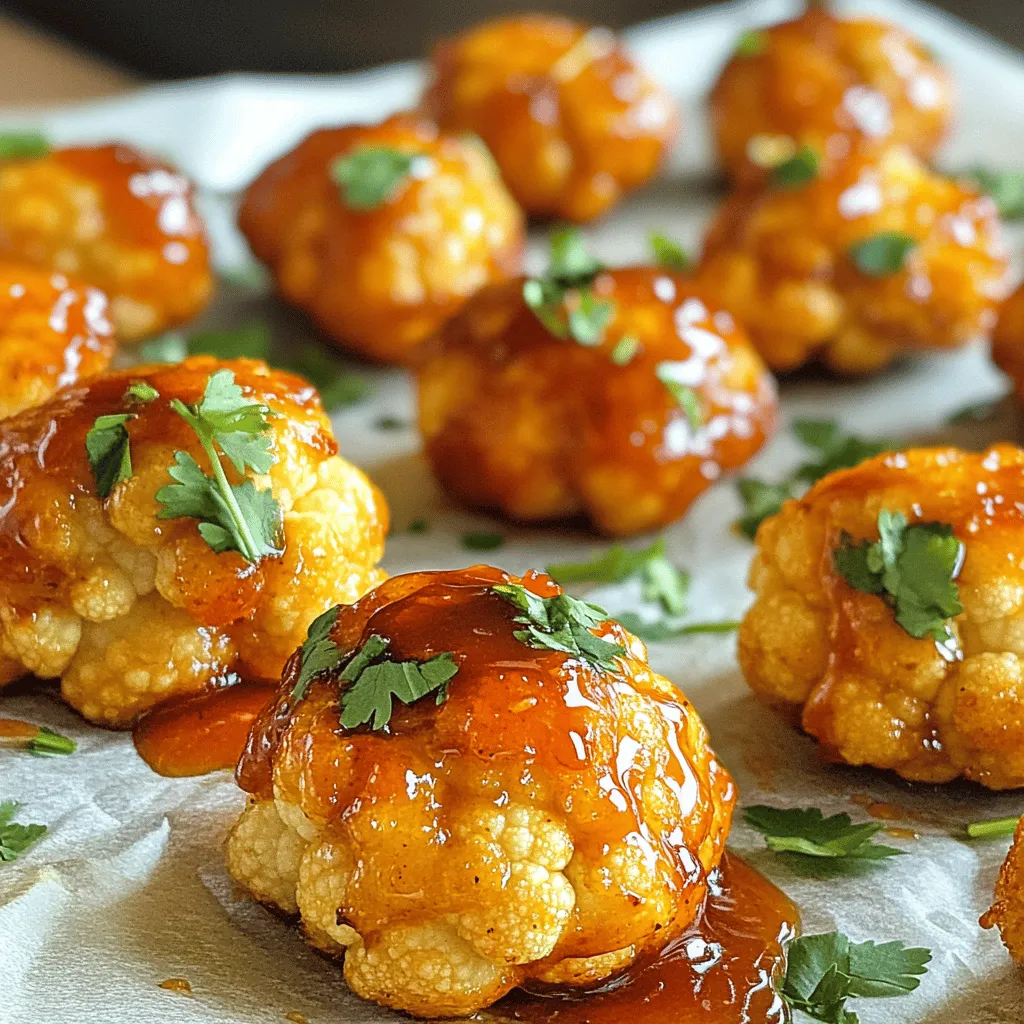
Get ready to transform your snack game with Air Fryer Honey Sriracha Cauliflower Wings! These crispy, sweet, and spicy bites...
READ MORE →
If you’re craving a snack that packs a punch, my Air Fryer Everything Bagel Chicken Bites are a must-try! These...
READ MORE →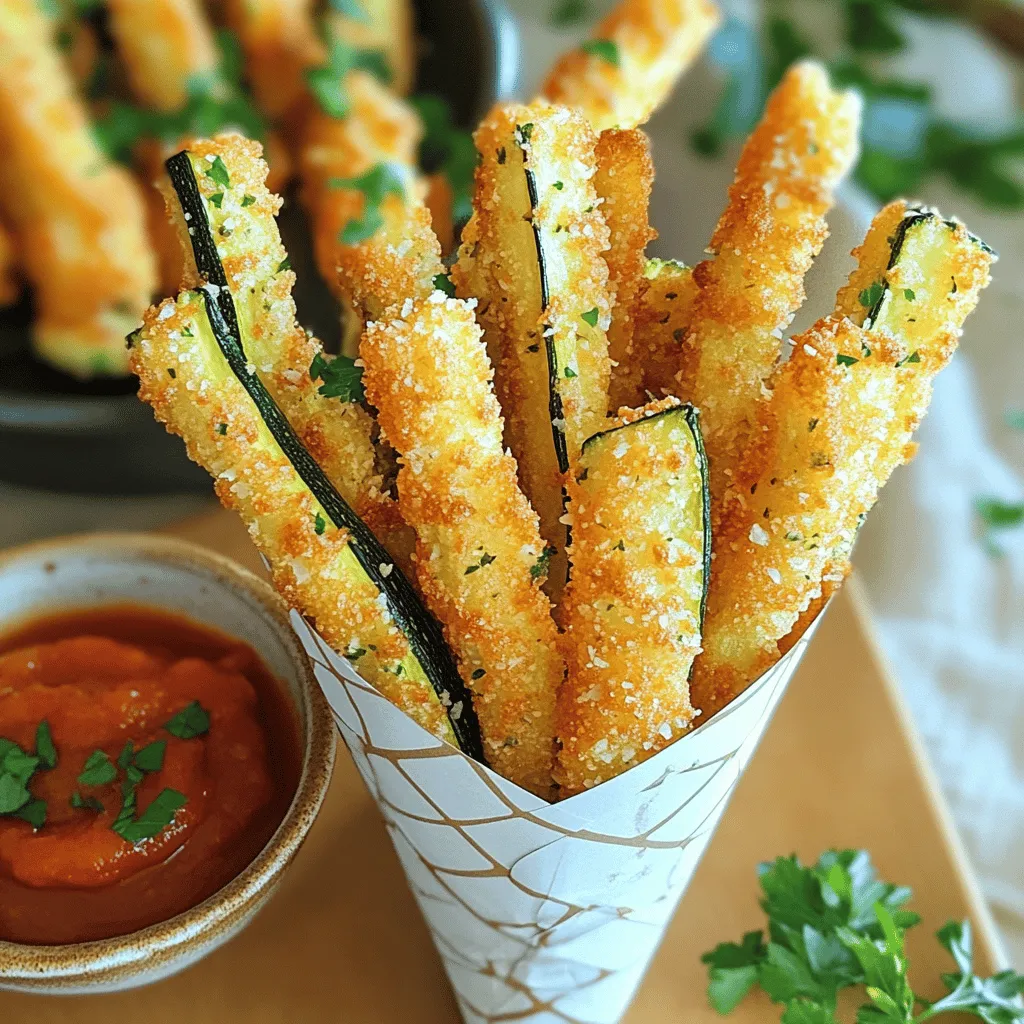
Looking for a fun and healthy snack? Try my Crispy Parmesan Zucchini Fries! This dish is simple to make and...
READ MORE →
Are you ready to elevate your potato game? Crispy garlic smashed potatoes are both simple and packed with flavor. This...
READ MORE →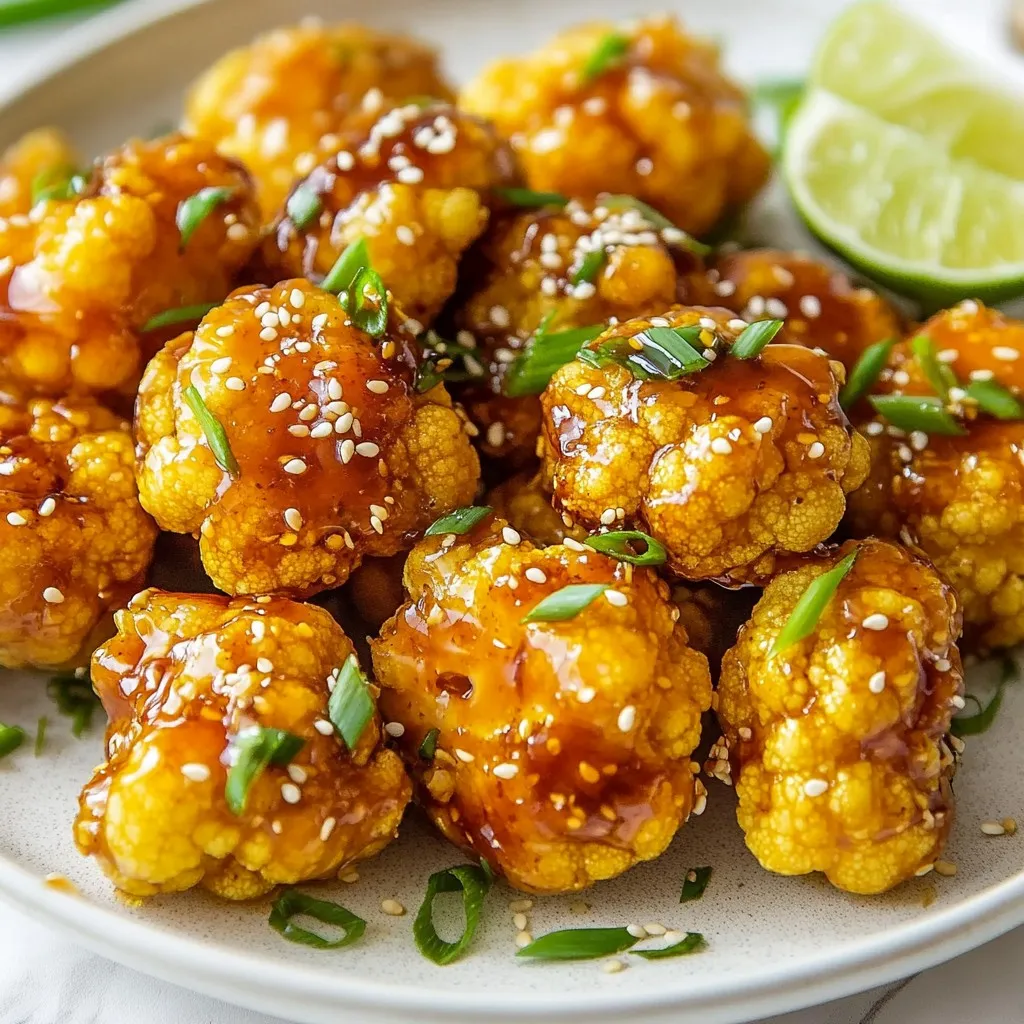
Are you ready to spice up your snack game? My Air Fryer Honey Sriracha Cauliflower Bites are crispy, sweet, and...
READ MORE →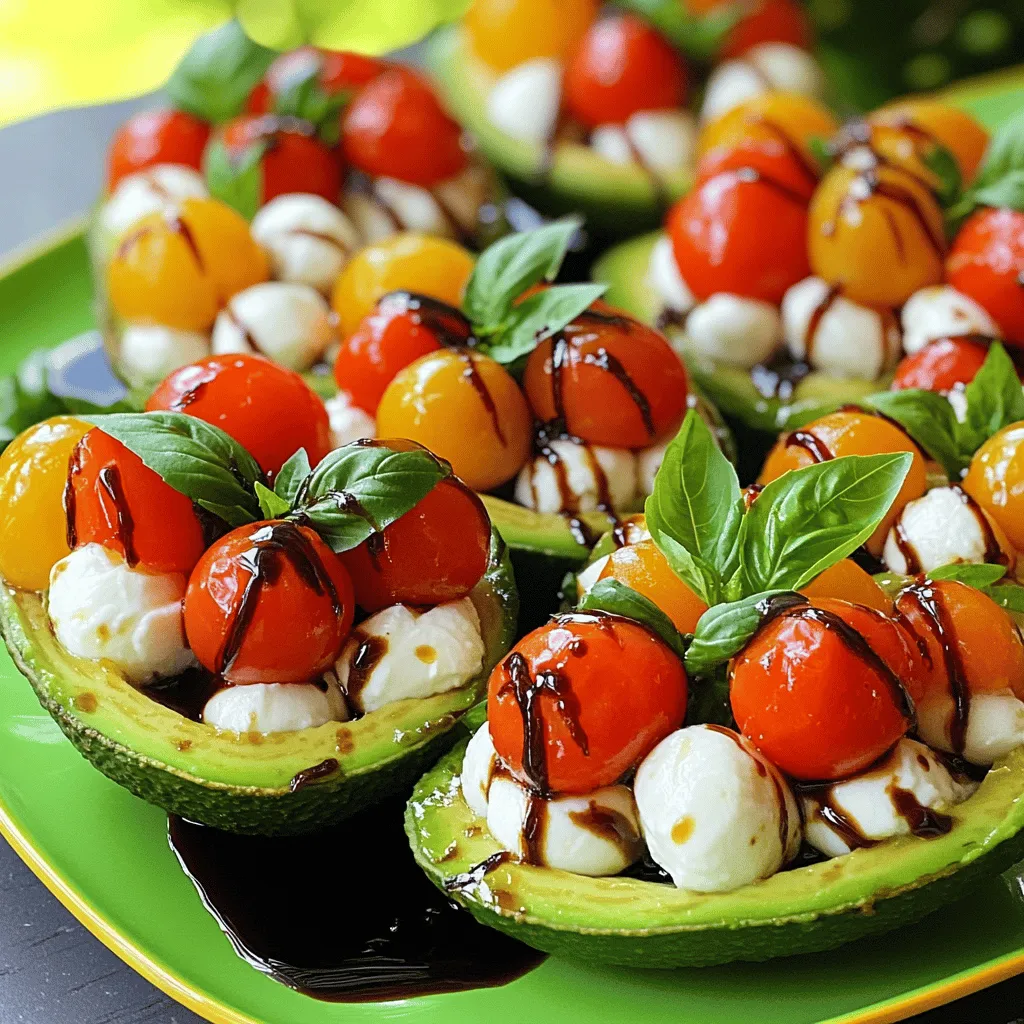
Are you ready to elevate your snack game? Caprese Stuffed Avocados are a vibrant and fresh dish that combines creamy...
READ MORE →
Are you ready for a flavor explosion? Crispy Garlic Parmesan Wings bring together mouthwatering chicken, rich Parmesan, and bold garlic...
READ MORE →