BREAKFAST
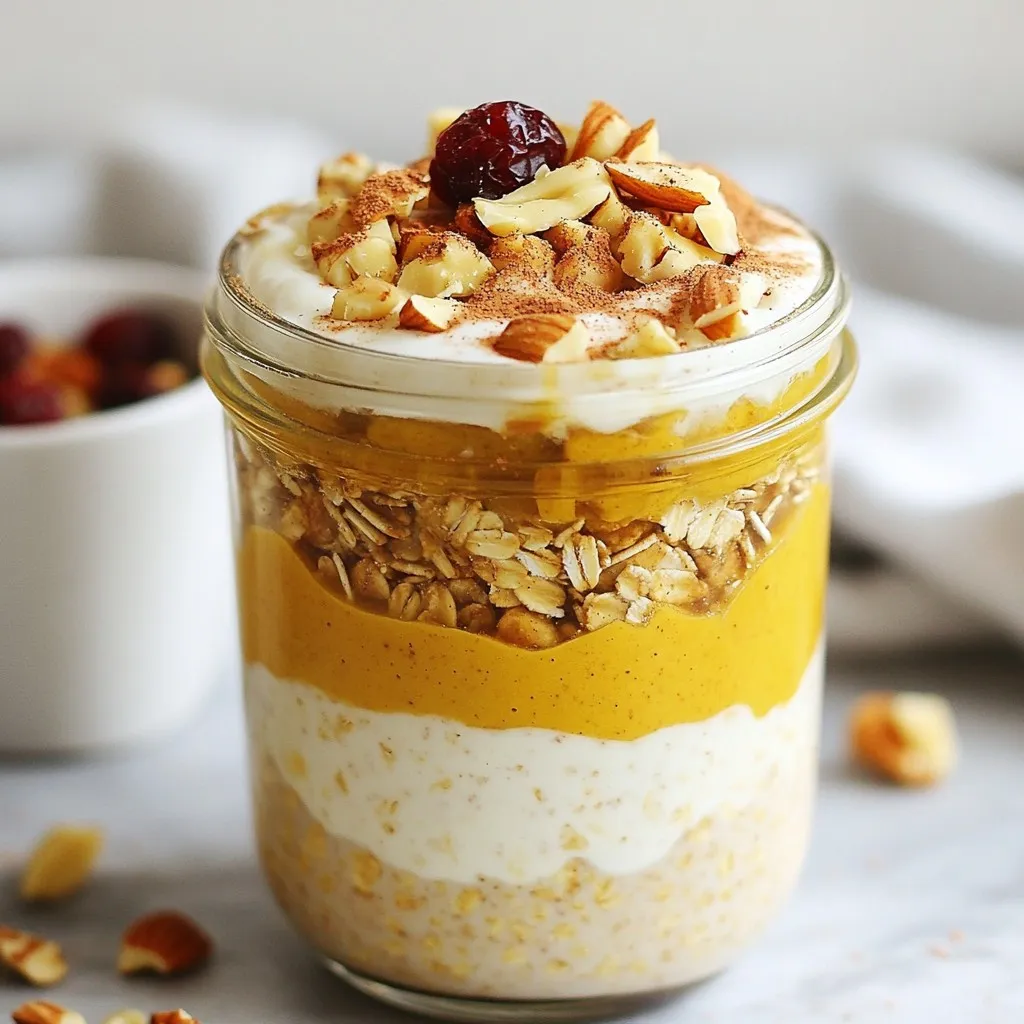
Pumpkin Spice Overnight Oats Tasty Fall Breakfast
Fall is here, and it’s time to spice up your breakfast! I love making Pumpkin Spice Overnight Oats. They are...
READ MORE →Explore our collection of breakfast recipes
Fall is here, and it’s time to spice up your breakfast! I love making Pumpkin Spice Overnight Oats. They are...
READ MORE →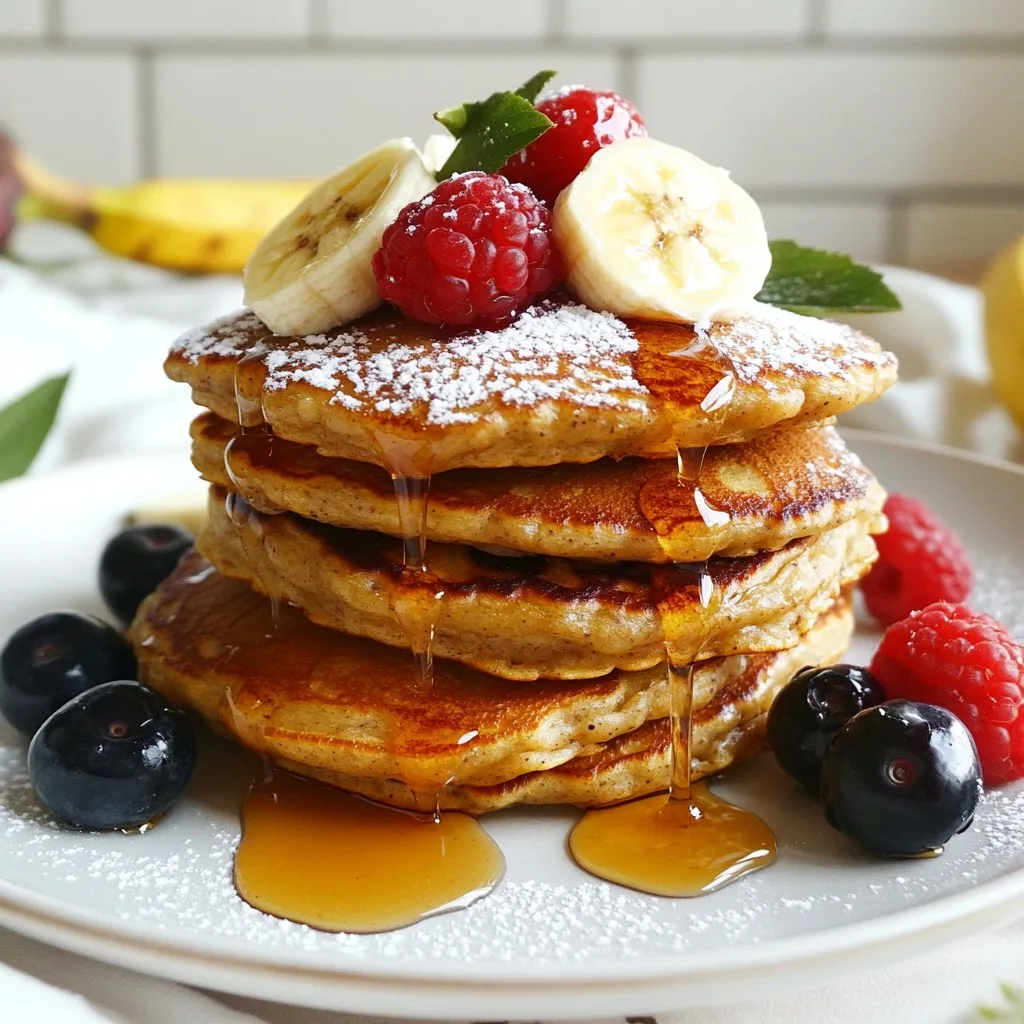
Looking for a quick and healthy breakfast? Flourless banana oat pancakes are your answer! They are simple to make and...
READ MORE →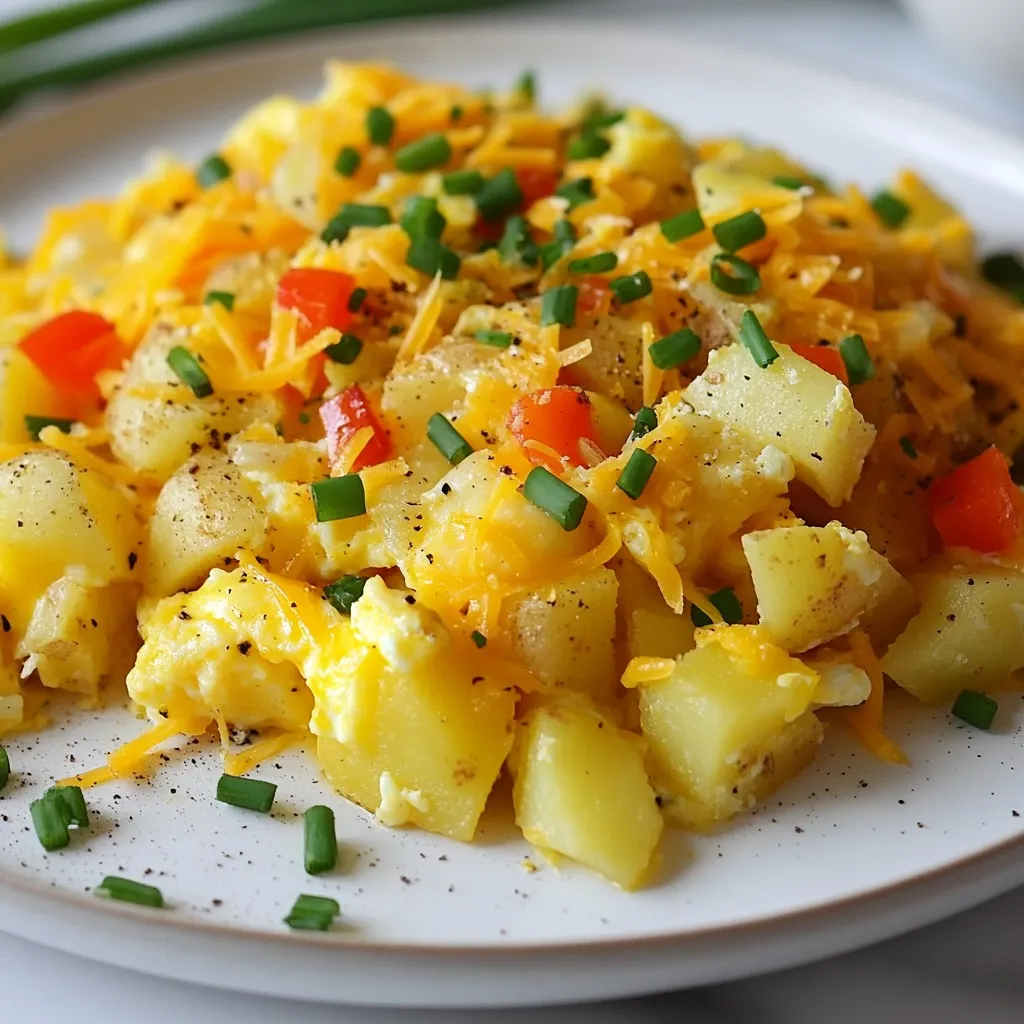
Are you searching for a breakfast that bursts with flavor and warms your soul? Look no further! My Cheesy Potato...
READ MORE →
Are you ready to elevate your mornings? This Savory Breakfast Croissant Sandwich recipe is packed with flavor and can be...
READ MORE →
Are you searching for a quick, tasty breakfast? Look no further! In this post, I’ll share my simple and delightful...
READ MORE →
Looking for a quick and healthy snack? You’ll love my freezer-friendly protein biscuits! In this simple recipe guide, I’ll show...
READ MORE →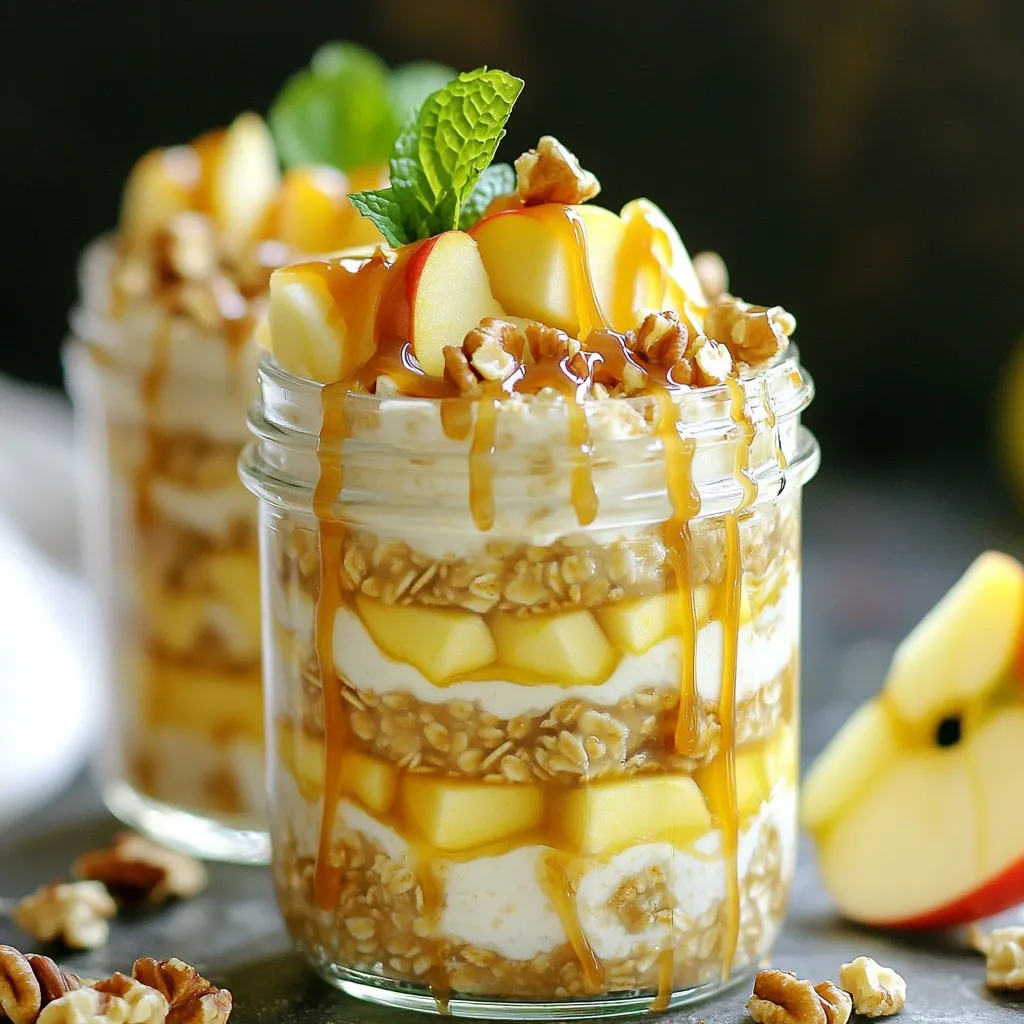
If you crave a sweet and creamy breakfast, you need to try my Caramel Apple Cheesecake Overnight Oats Delight. This...
READ MORE →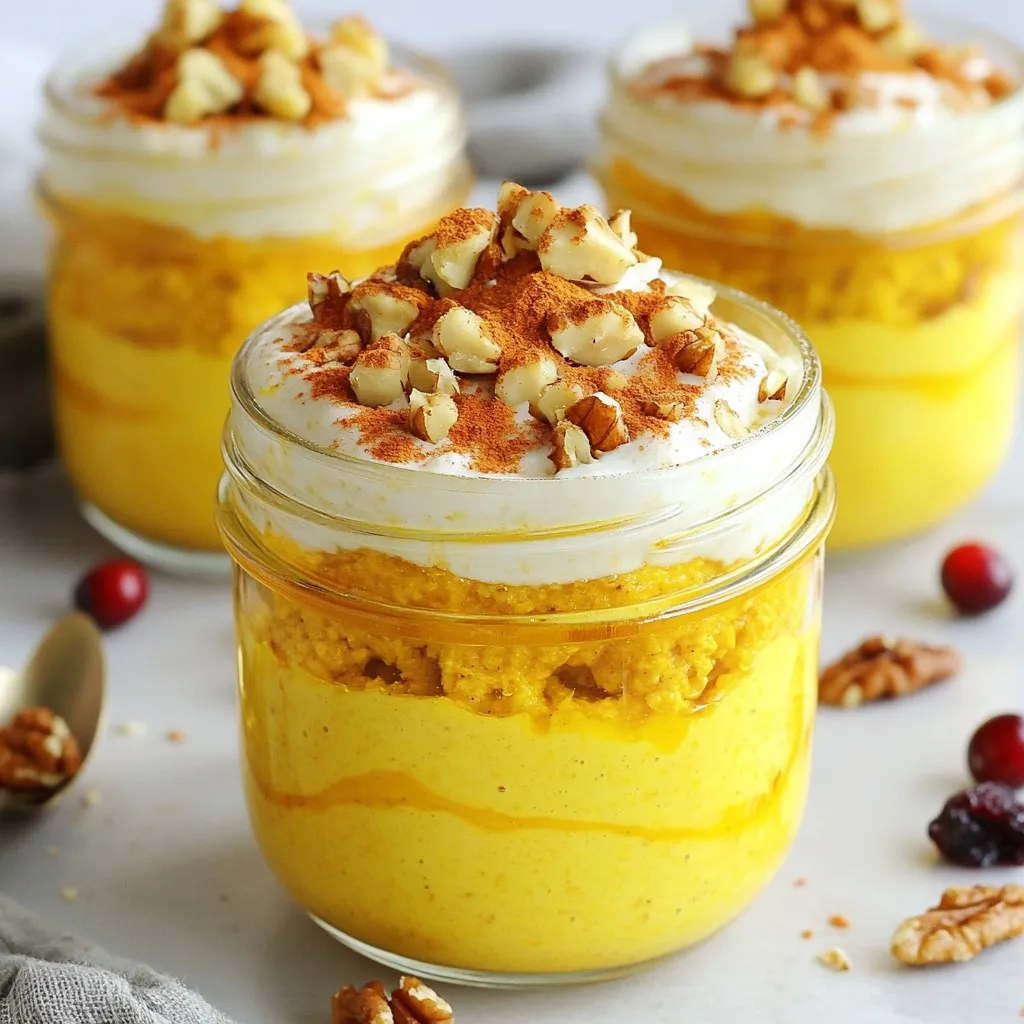
Craving something warm and cozy for breakfast? Try my Pumpkin Spice Overnight Oats! This easy recipe combines delicious flavors and...
READ MORE →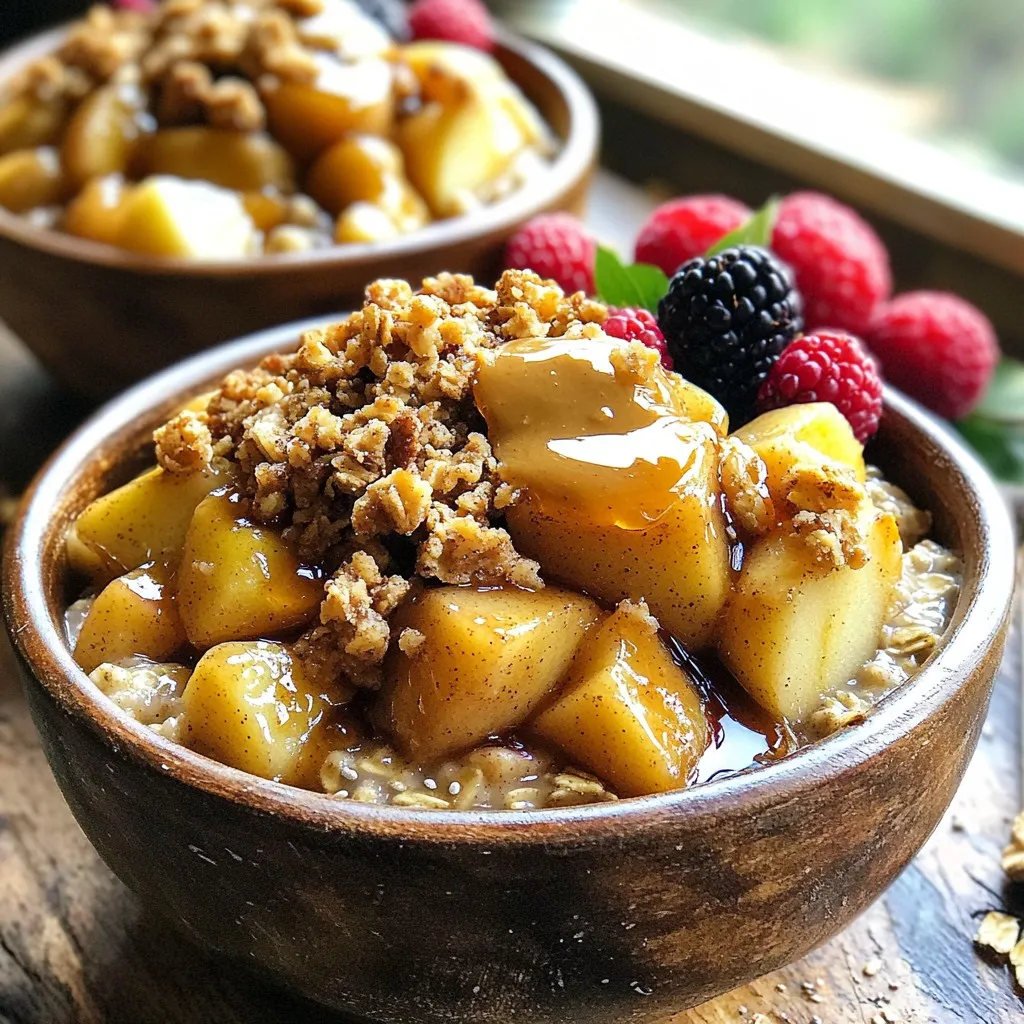
Start your day with a warm bowl of joy! My Cinnamon Apple Crumble Breakfast Bowl is easy to make and...
READ MORE →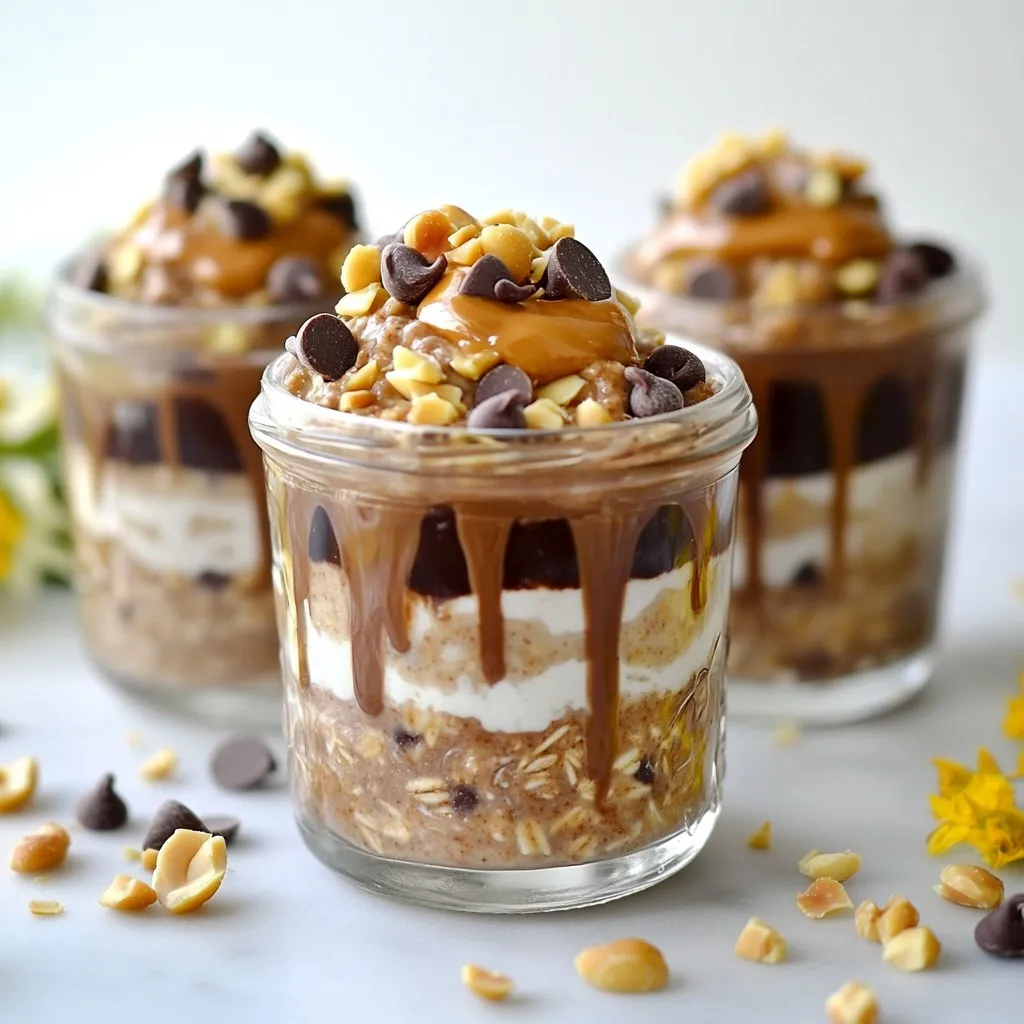
Are you ready to transform your breakfast routine? Peanut Butter Cup Overnight Oats are a delicious way to start your...
READ MORE →