BREAKFAST
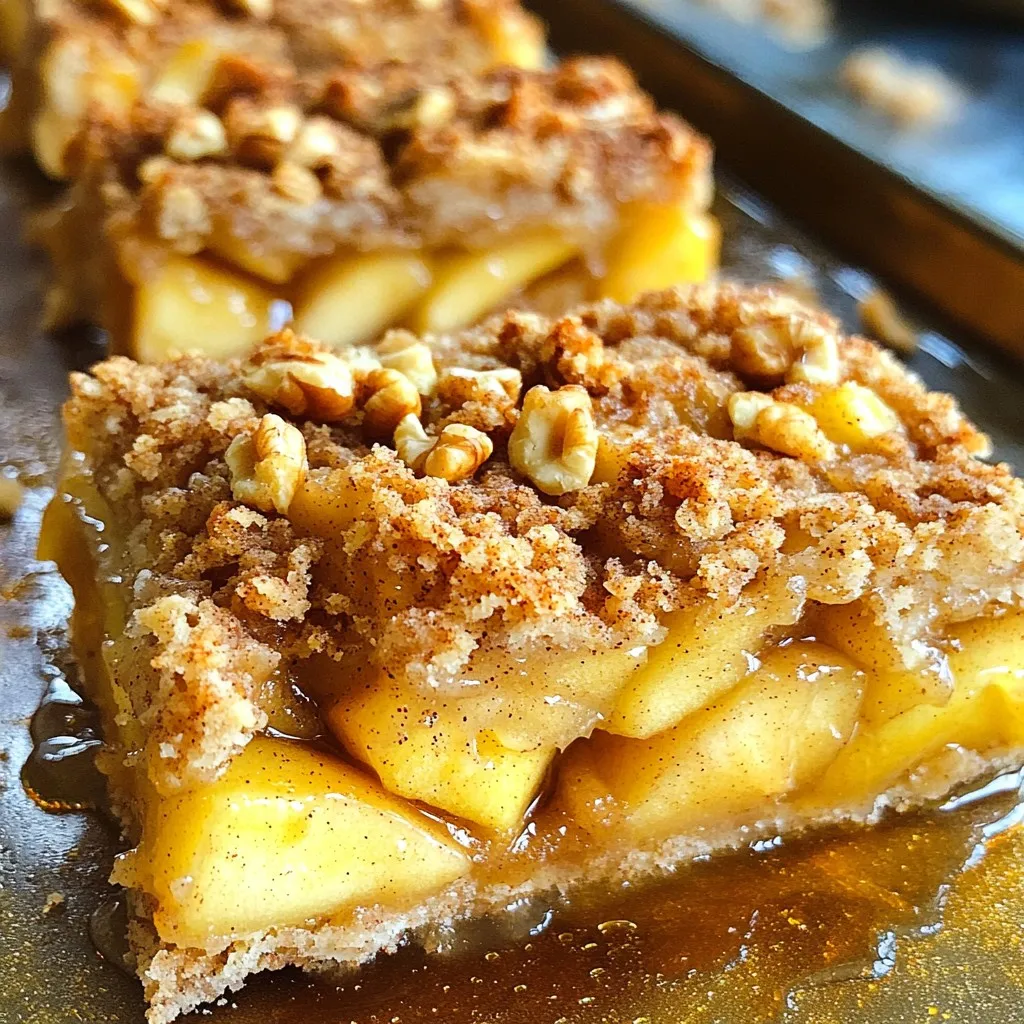
Baked Apple Crumble Breakfast Bars Tasty and Easy Recipe
Start your day with a delicious twist on breakfast! My Baked Apple Crumble Breakfast Bars are not only easy to...
READ MORE →Explore our collection of breakfast recipes
Start your day with a delicious twist on breakfast! My Baked Apple Crumble Breakfast Bars are not only easy to...
READ MORE →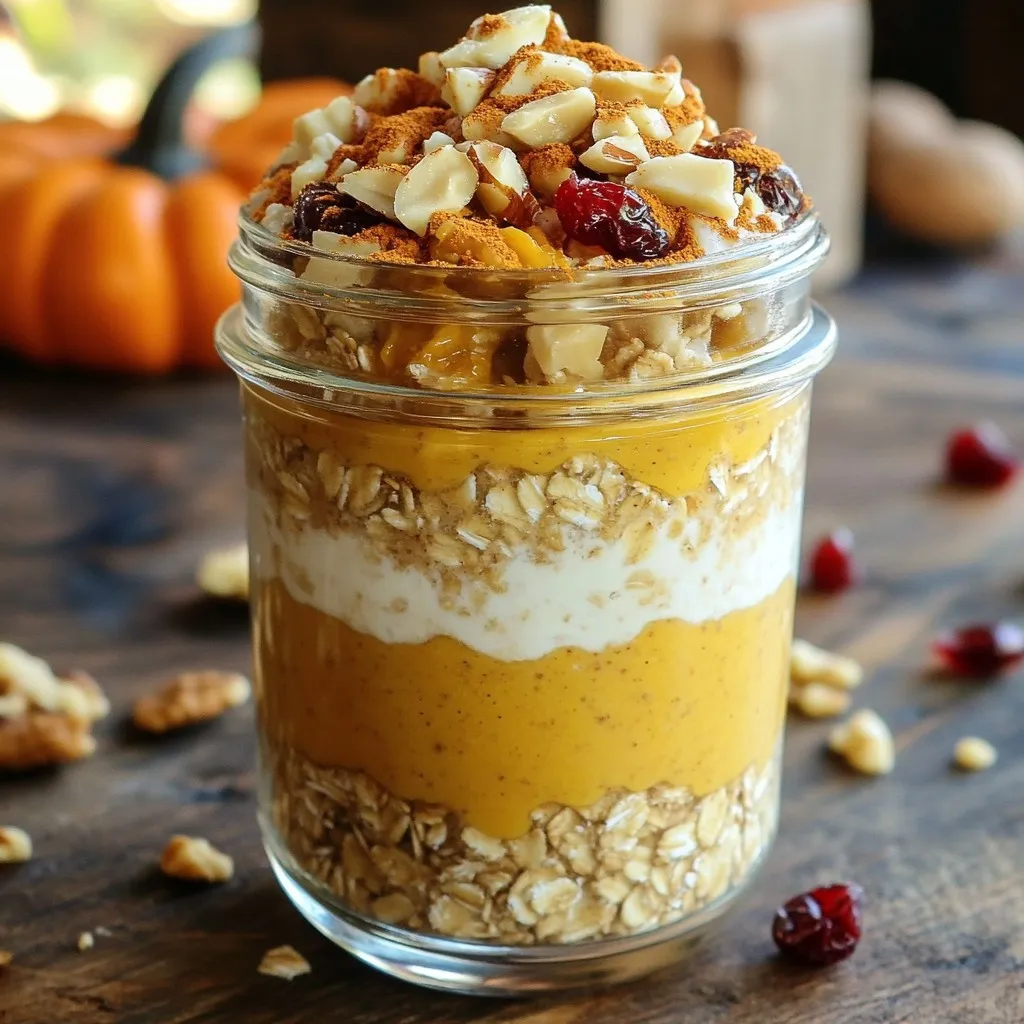
Get ready to embrace fall with my Pumpkin Spice Overnight Oats! This tasty treat combines creamy oats with rich pumpkin...
READ MORE →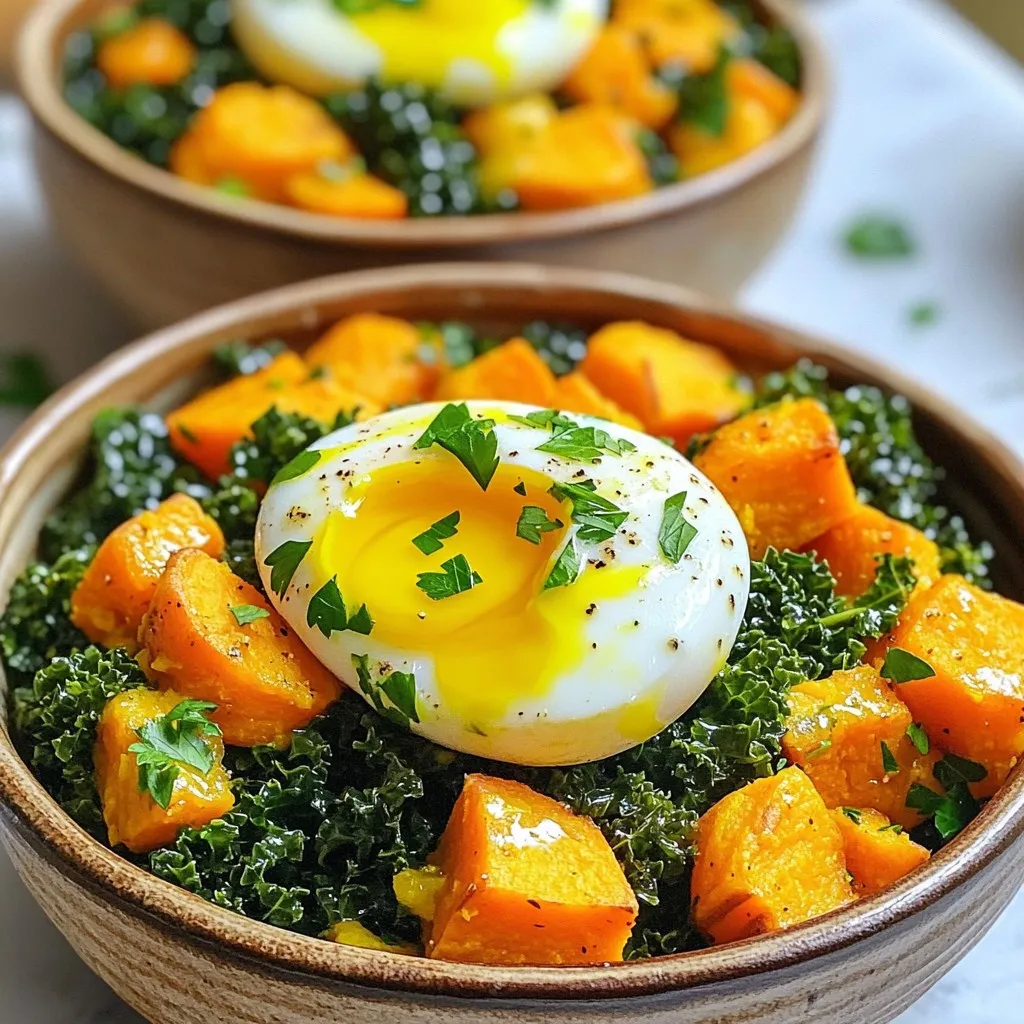
Start your day with a burst of flavor! This Savory Sweet Potato & Kale Breakfast Hash is not only delicious...
READ MORE →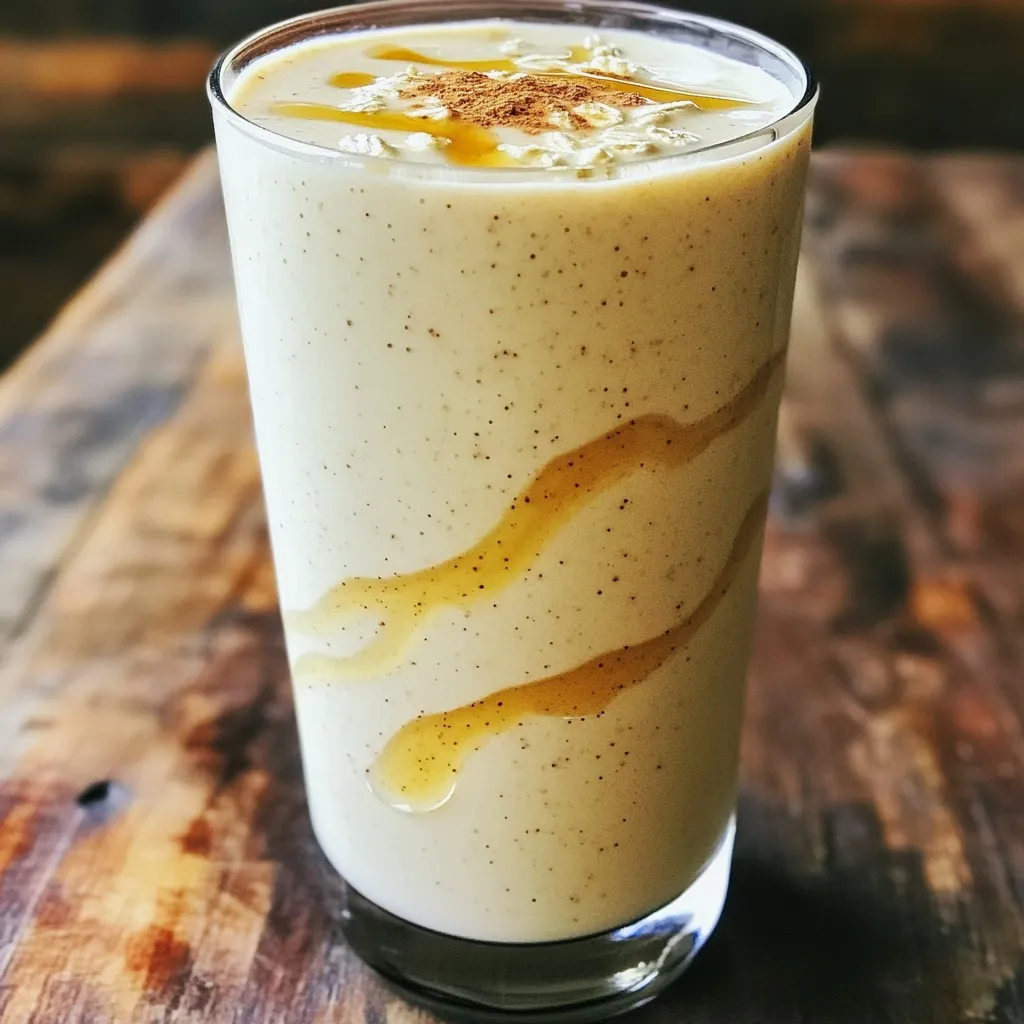
Are you ready to enjoy a delicious drink that tastes just like a cinnamon roll? This Protein Cinnamon Roll Smoothie...
READ MORE →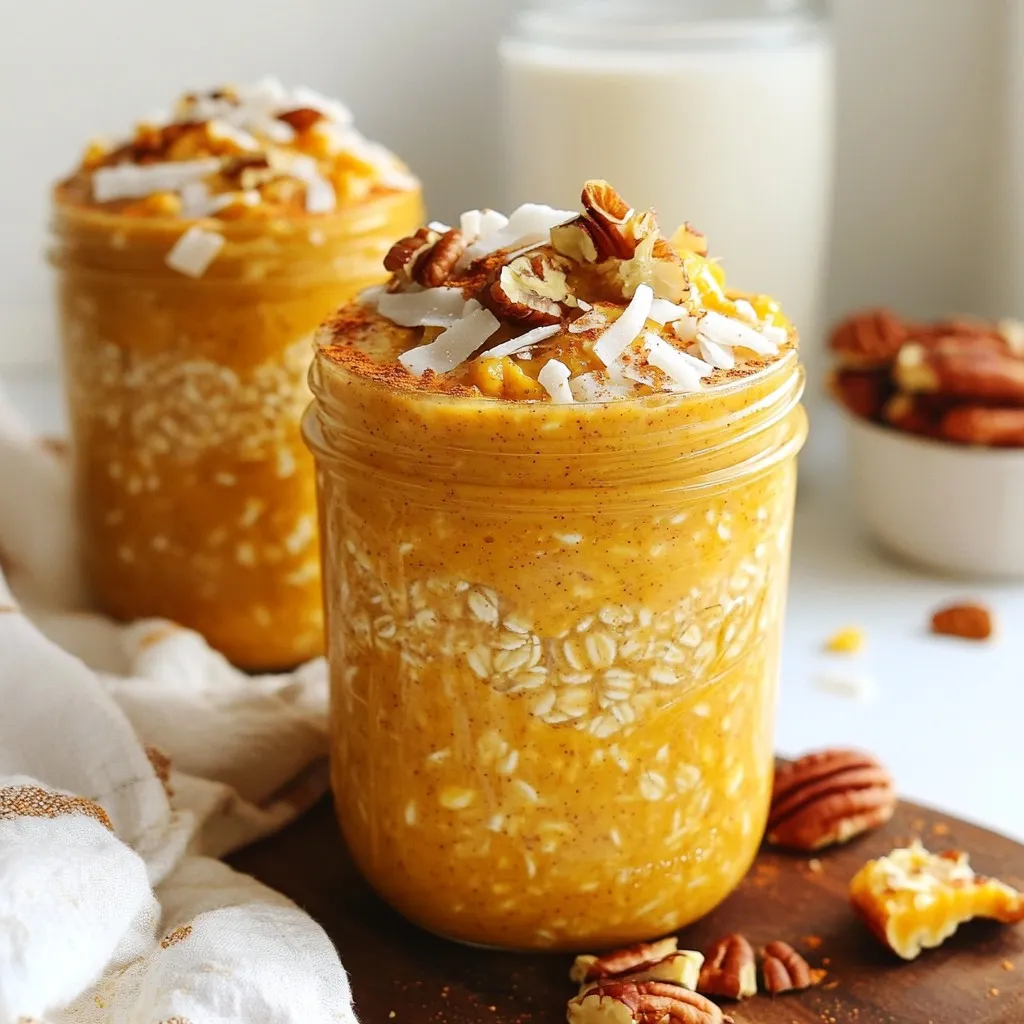
Are you looking for a quick, tasty, and nutritious breakfast? Look no further! This Pumpkin Spice Overnight Oats recipe combines...
READ MORE →
If you’re craving a light and fluffy breakfast treat, look no further! Creamy Lemon Ricotta Pancake Bites bring bright, fresh...
READ MORE →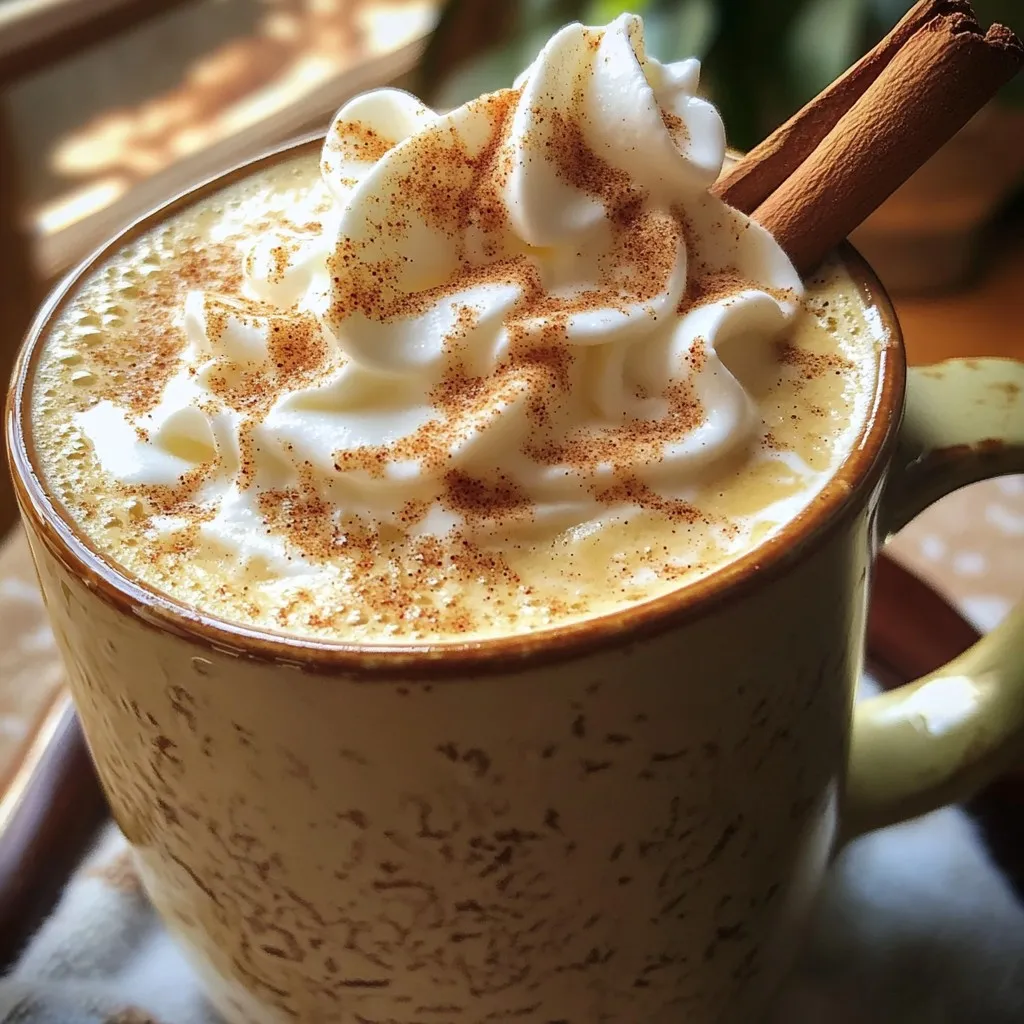
Indulge your taste buds with a warm cup of Brown Sugar Cinnamon Latte! This perfect blend of rich espresso, creamy...
READ MORE →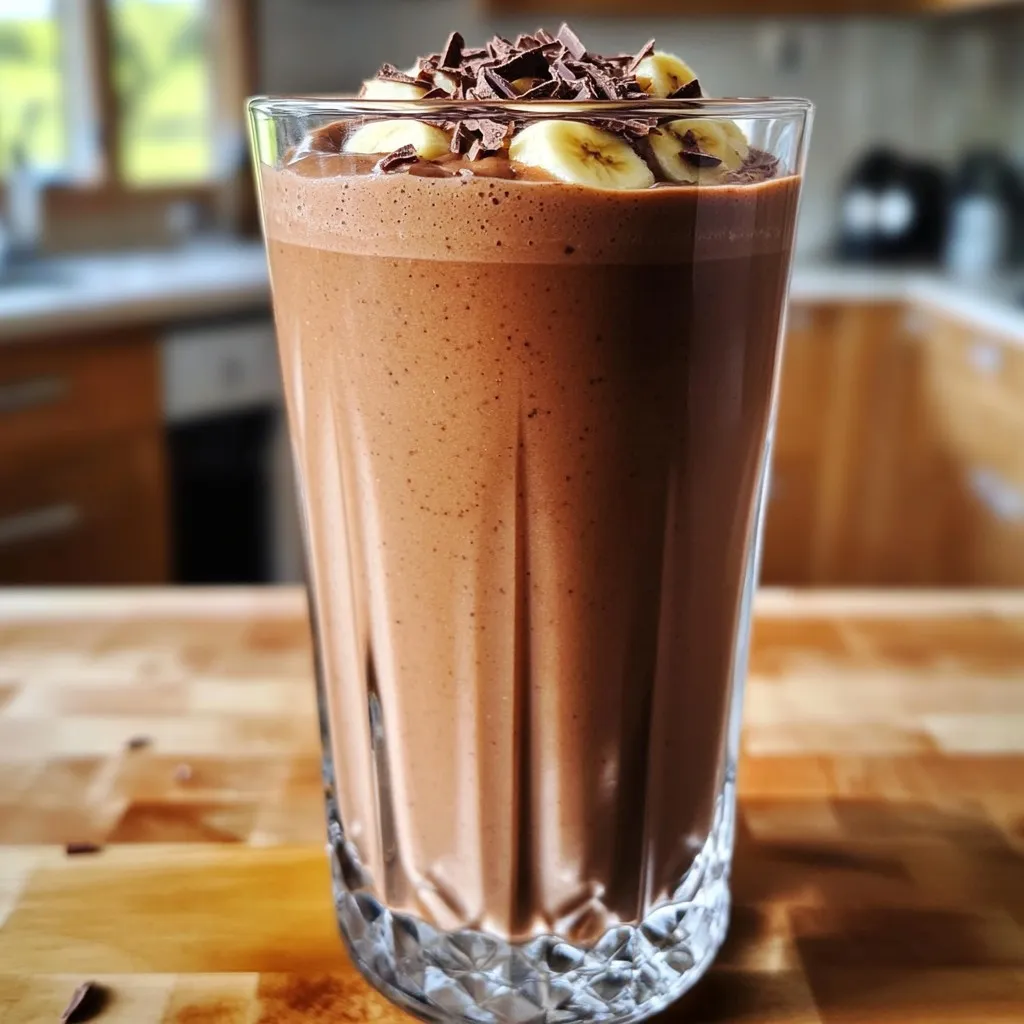
Ready to satisfy your chocolate cravings while boosting your health? Our Hot Cocoa Protein Smoothie combines rich cocoa, creamy peanut...
READ MORE →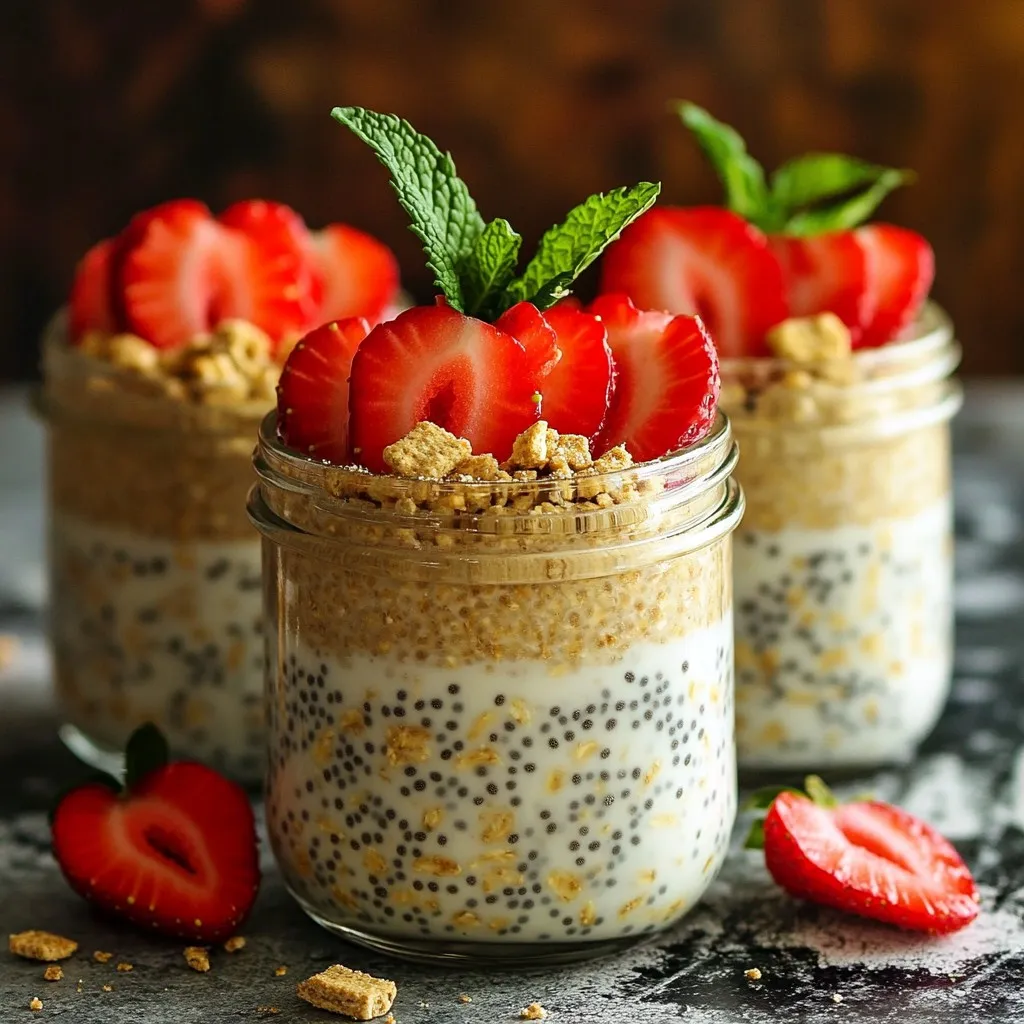
Start your day with a burst of flavor! Strawberry Shortcake Overnight Oats are a fun twist on your morning routine....
READ MORE →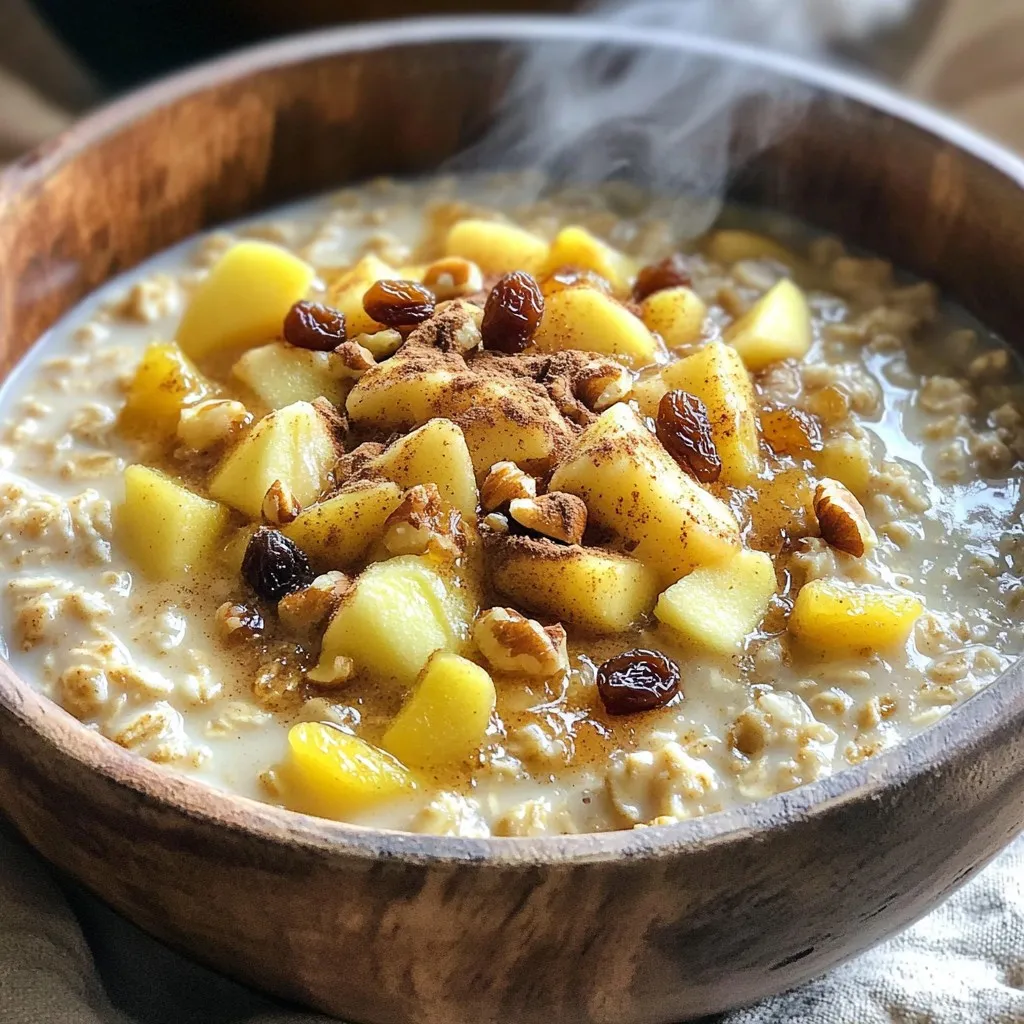
Start your day with warmth and flavor by making Slow Cooker Apple Cinnamon Oatmeal. This cozy breakfast delight combines simple...
READ MORE →