
BREAKFAST
Homemade Copycat McGriddles Easy Breakfast Recipe
Craving a McGriddle but want to make it at home? You’re in the right place! Today, I’ll show you how...
READ MORE →Explore our collection of breakfast recipes
Craving a McGriddle but want to make it at home? You’re in the right place! Today, I’ll show you how...
READ MORE →
Are you ready to indulge in a delicious treat that packs a nutritious punch? My Pumpkin Spice Latte Energy Bites...
READ MORE →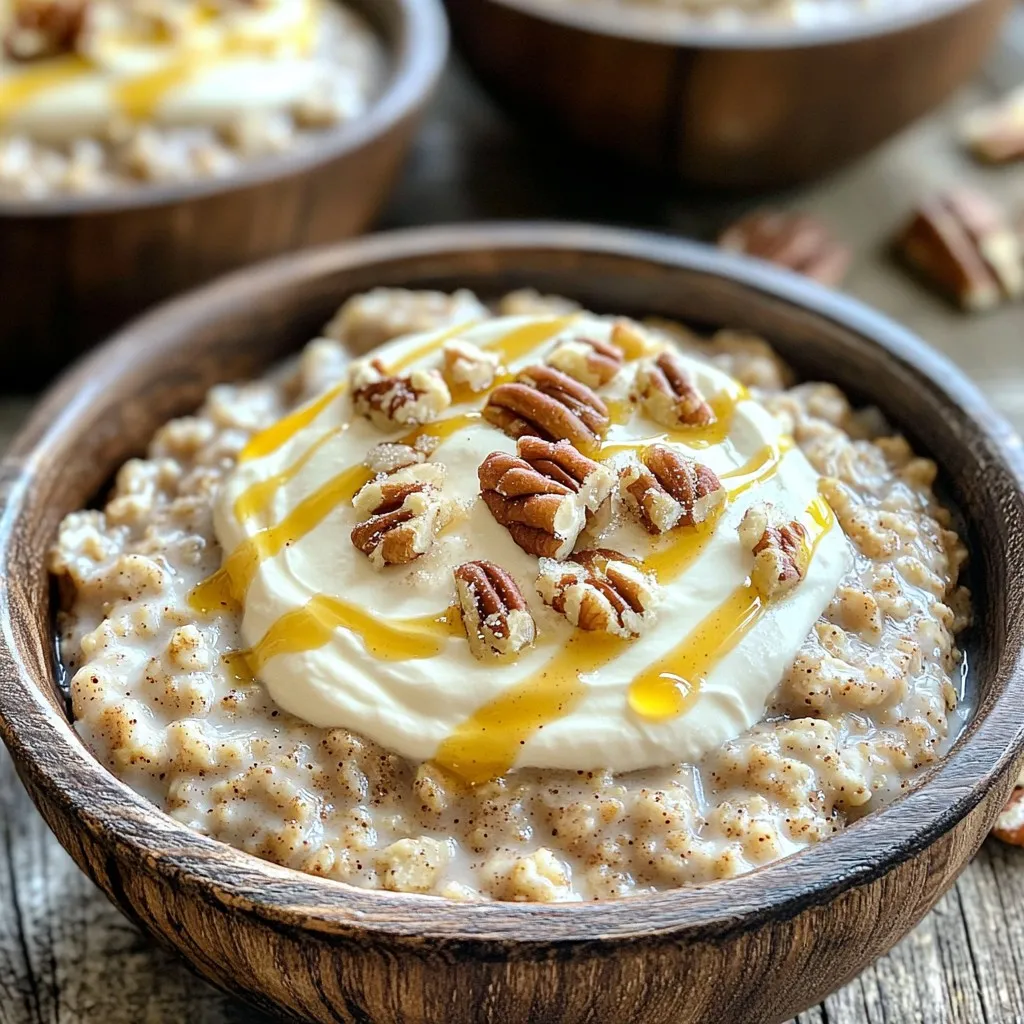
Looking for a warm, comforting breakfast? Try my Slow Cooker Cinnamon Roll Oatmeal. This easy recipe combines the flavors of...
READ MORE →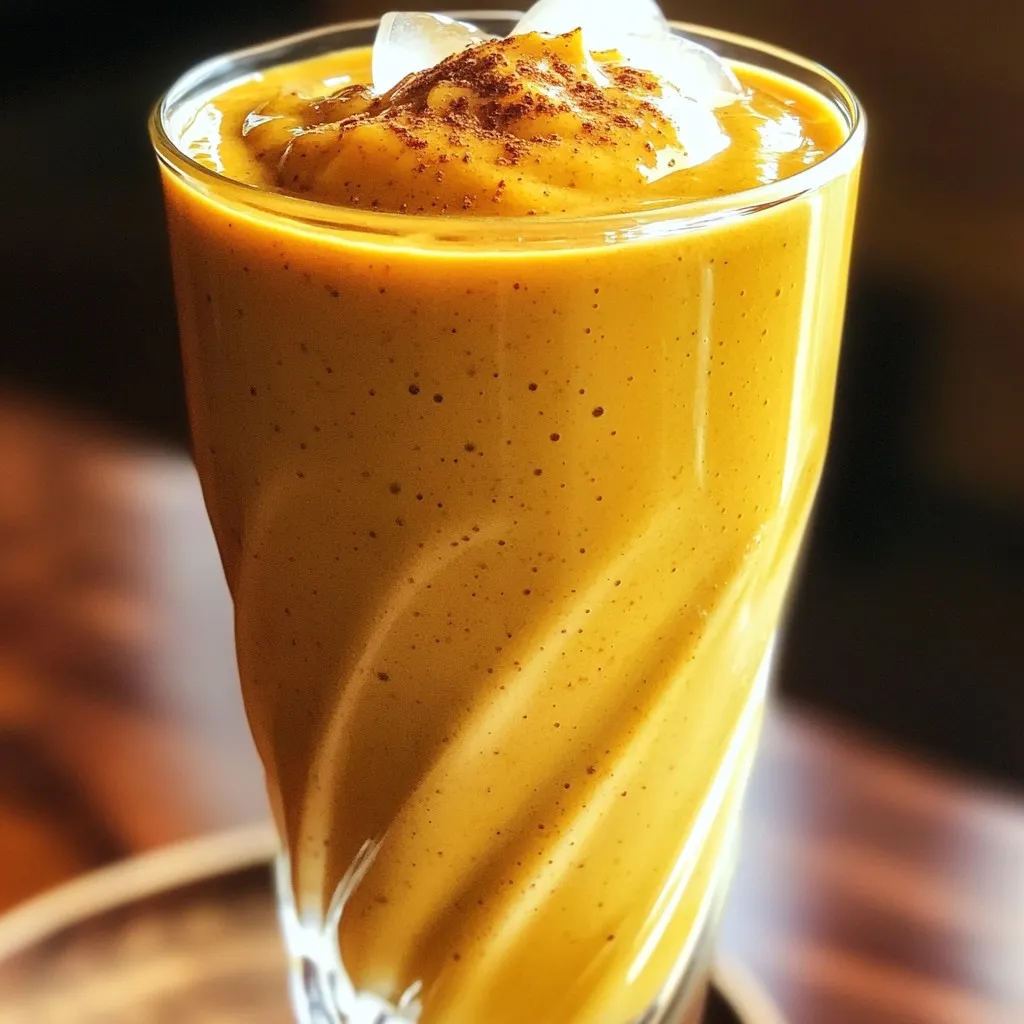
Ready to savor a delightful Pumpkin Chai Smoothie with Oat Milk? This tasty drink offers warming spices and creamy goodness,...
READ MORE →
Start your day right with a Sausage Hash Brown Breakfast Casserole Delight! This simple dish combines tasty sausage, crispy hash...
READ MORE →
Are you ready to transform your mornings with mouthwatering Bakery-Style Lemon Poppy Seed Muffins? These fluffy, citrusy treats burst with...
READ MORE →
Start your day right with my Irresistible Slow Cooker Breakfast Tacos! These tasty tacos are quick to make and full...
READ MORE →
Looking for a quick and easy way to fuel your day? This High Protein Cottage Cheese Smoothie packs a punch...
READ MORE →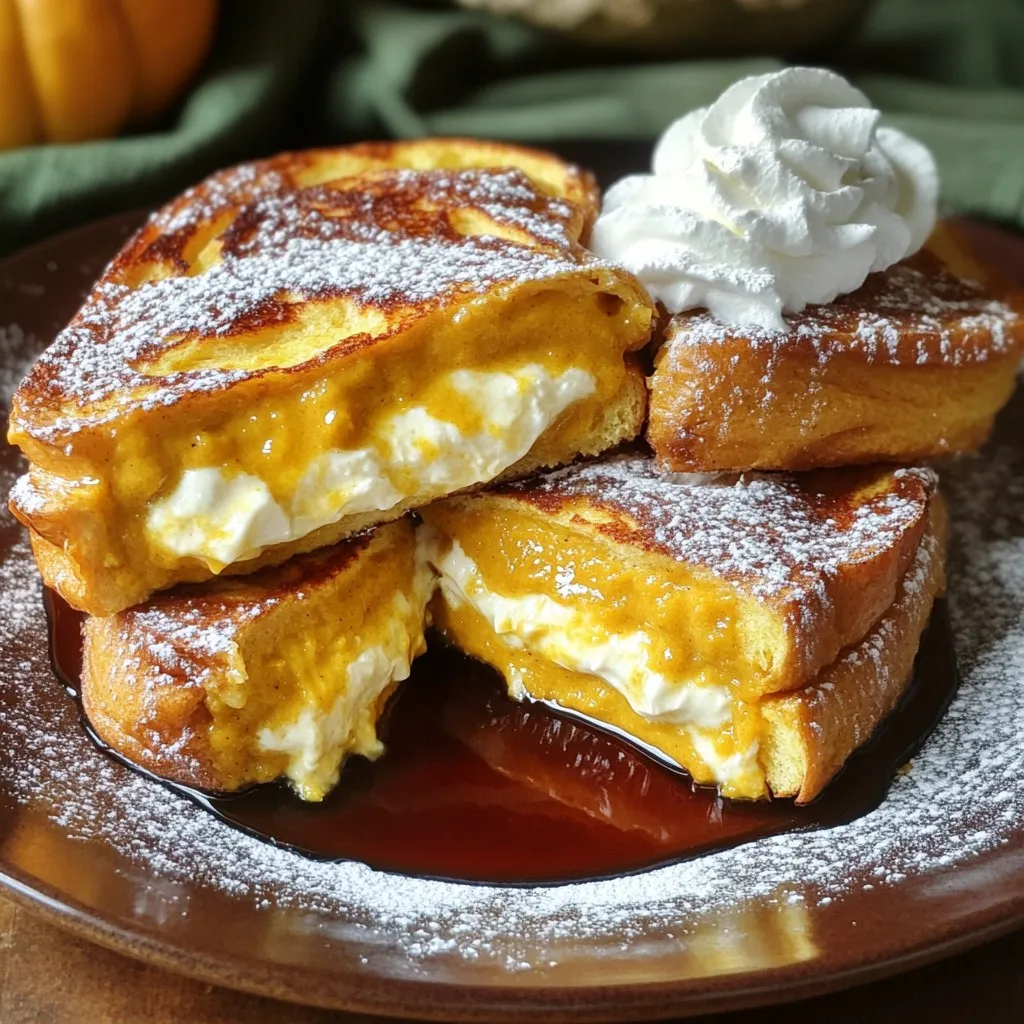
If you love pumpkin and cheesecake, get ready for a sweet treat! I’m excited to share my Pumpkin Cheesecake Stuffed...
READ MORE →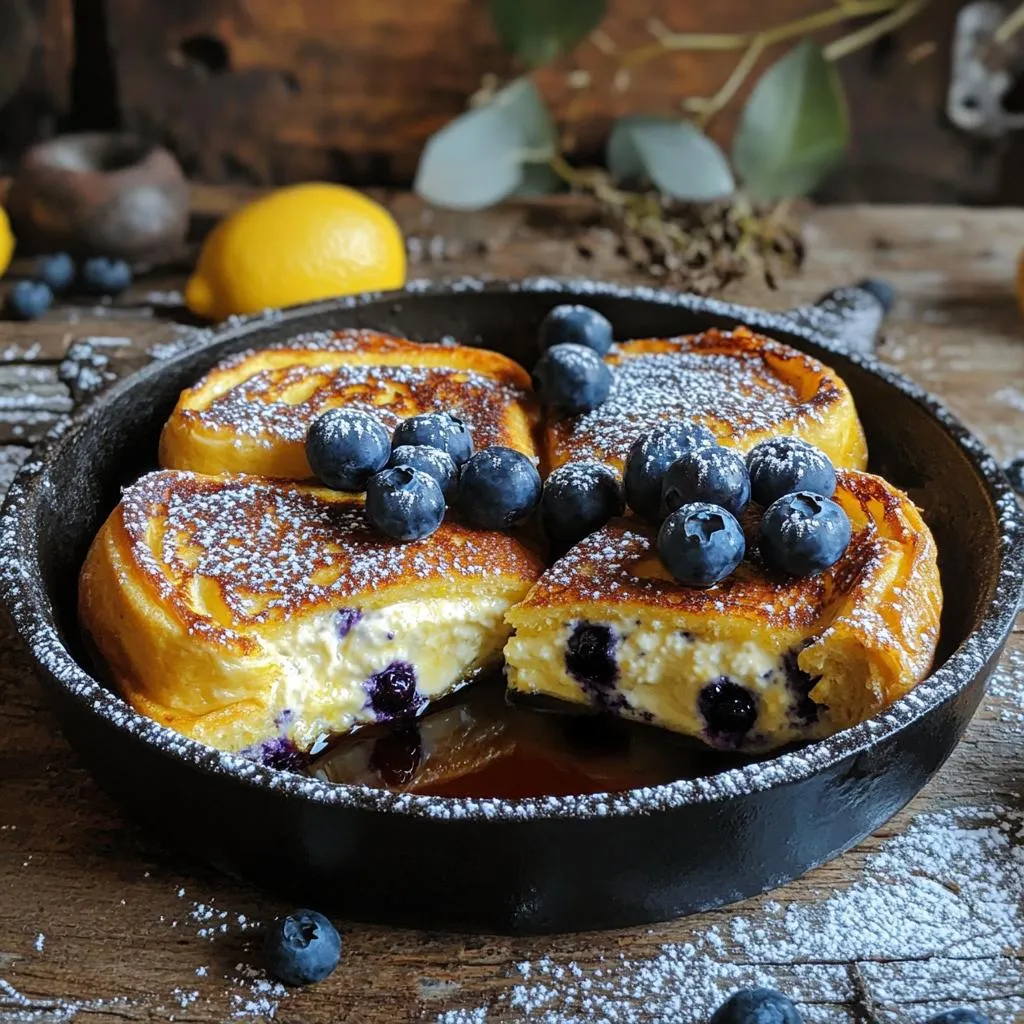
If you crave a delicious breakfast treat, you’re in for a delight! Imagine thick slices of brioche or challah, stuffed...
READ MORE →