BREAKFAST
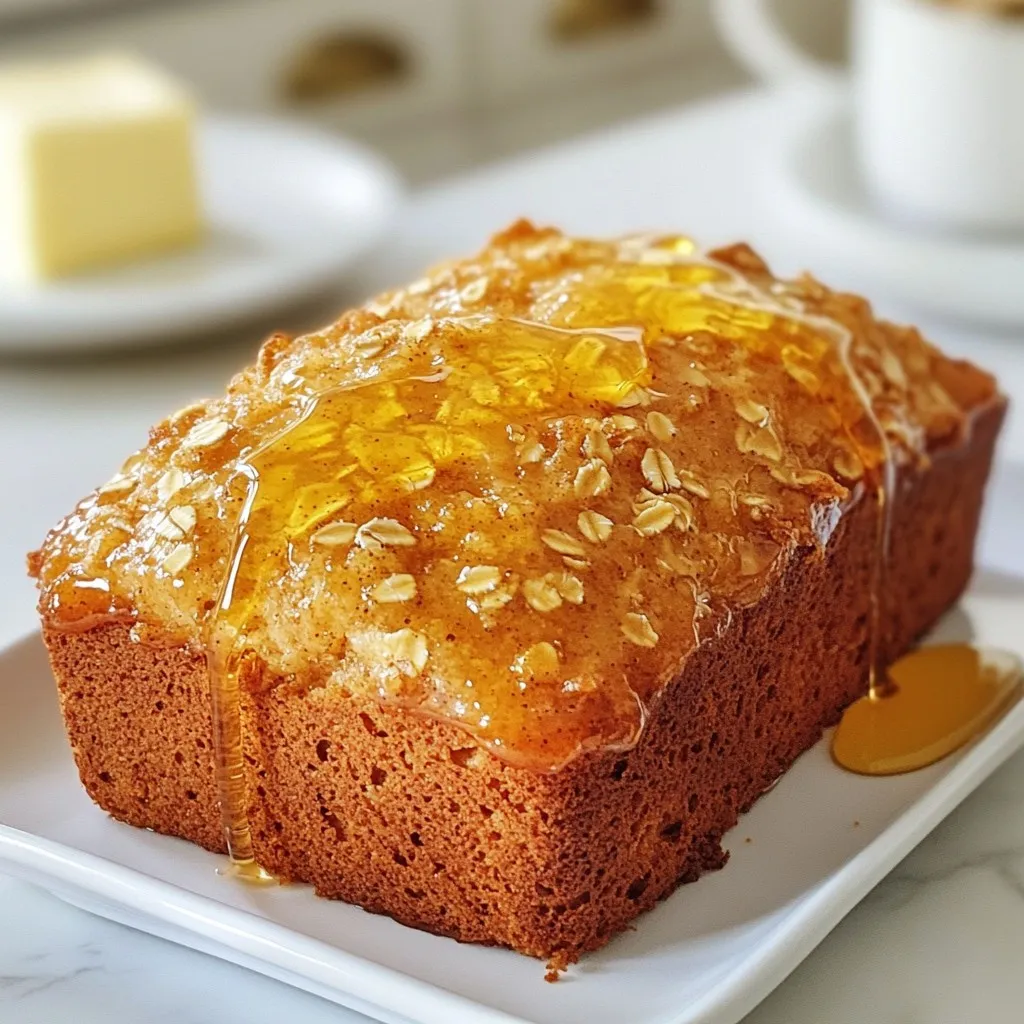
Honey Cinnamon Oatmeal Bread Loaf Flavorful Delight
Welcome to a flavorful delight you won’t want to miss: Honey Cinnamon Oatmeal Bread Loaf! This recipe is simple, yet...
READ MORE →Explore our collection of breakfast recipes
Welcome to a flavorful delight you won’t want to miss: Honey Cinnamon Oatmeal Bread Loaf! This recipe is simple, yet...
READ MORE →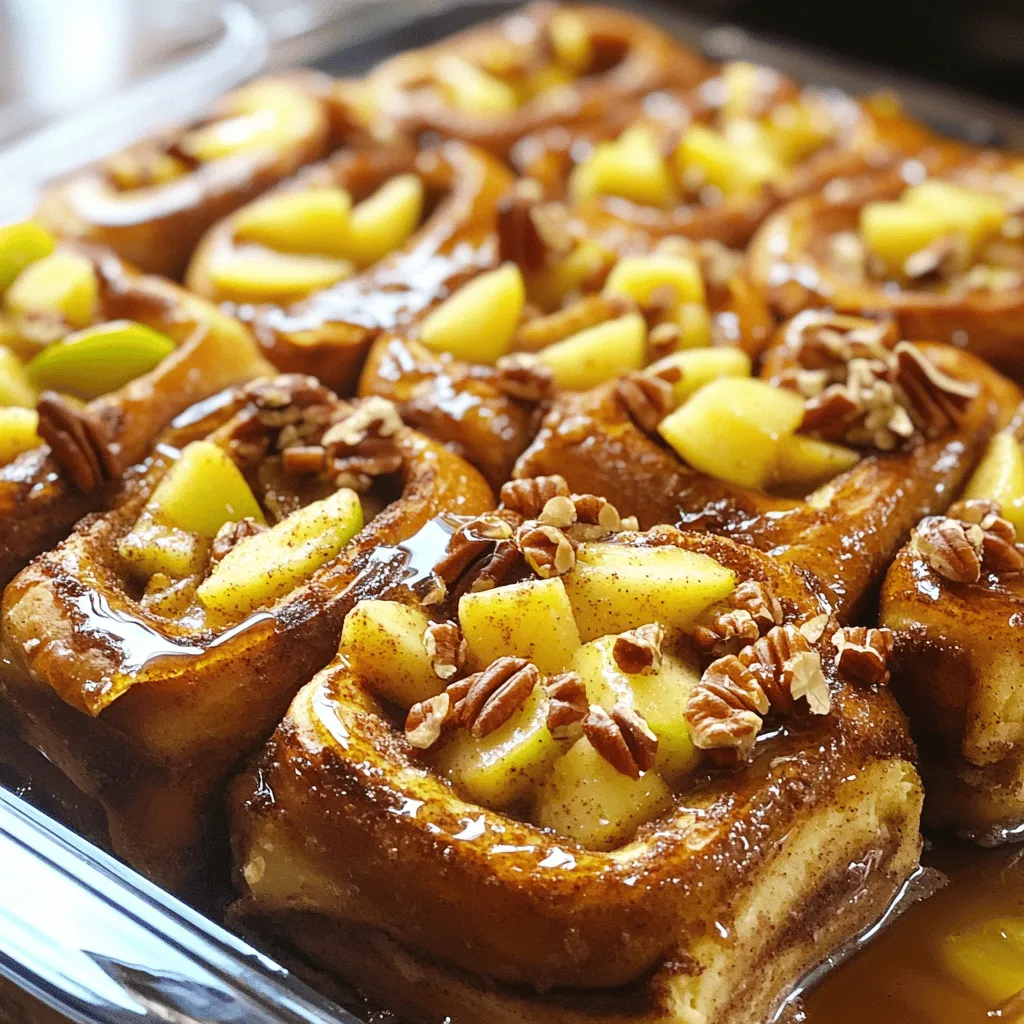
Looking for a delicious breakfast that combines your favorite treats? You’ve found it! With my Cinnamon Roll Apple French Toast...
READ MORE →
Craving something unique for breakfast? Look no further than Cheddar Jalapeno Cornbread Waffles! These savory treats combine a crispy exterior...
READ MORE →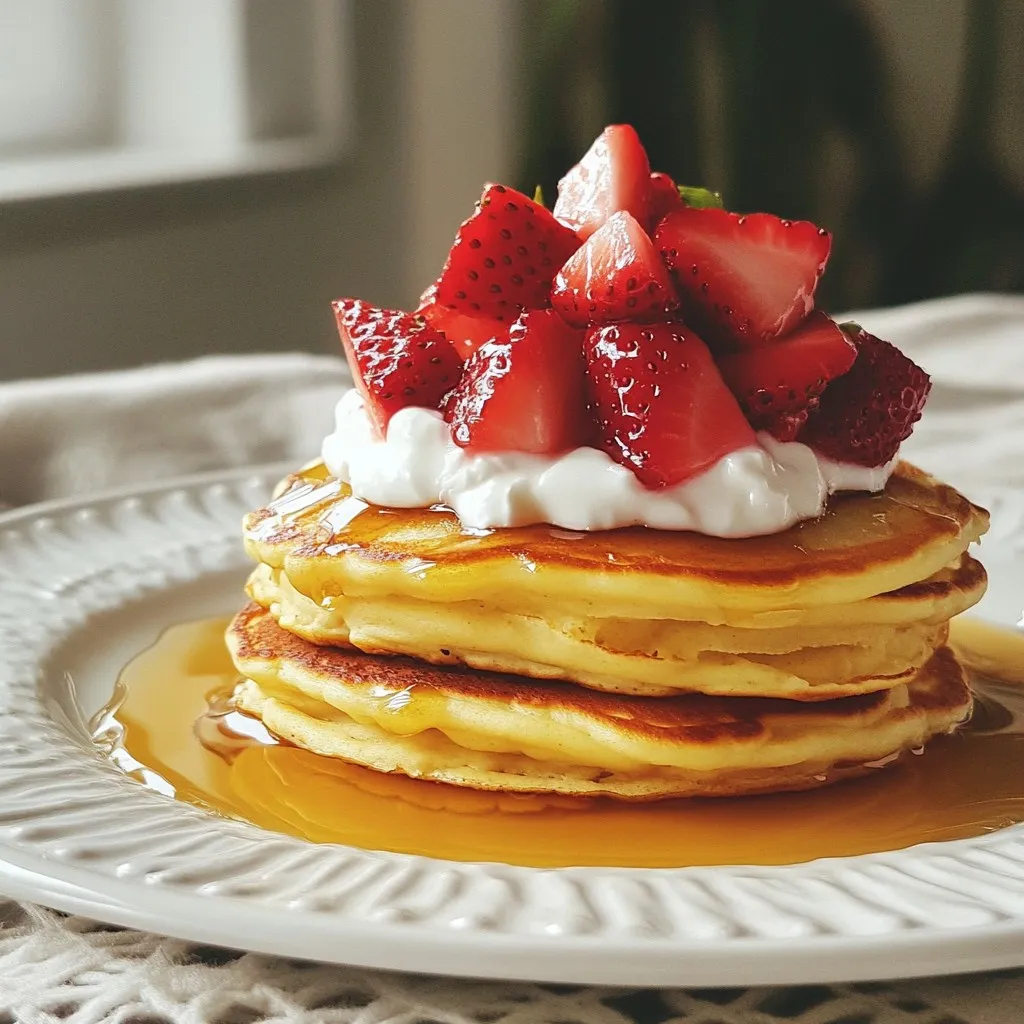
Do you love pancakes? How about a tasty twist with a protein boost? In this post, I’ll share my favorite...
READ MORE →
Are you craving the perfect pumpkin spice latte but want to skip the café lines? You’re in the right place!...
READ MORE →
Fall is here, and nothing says cozy like a warm Apple Butter Latte. This drink blends sweet apple butter with...
READ MORE →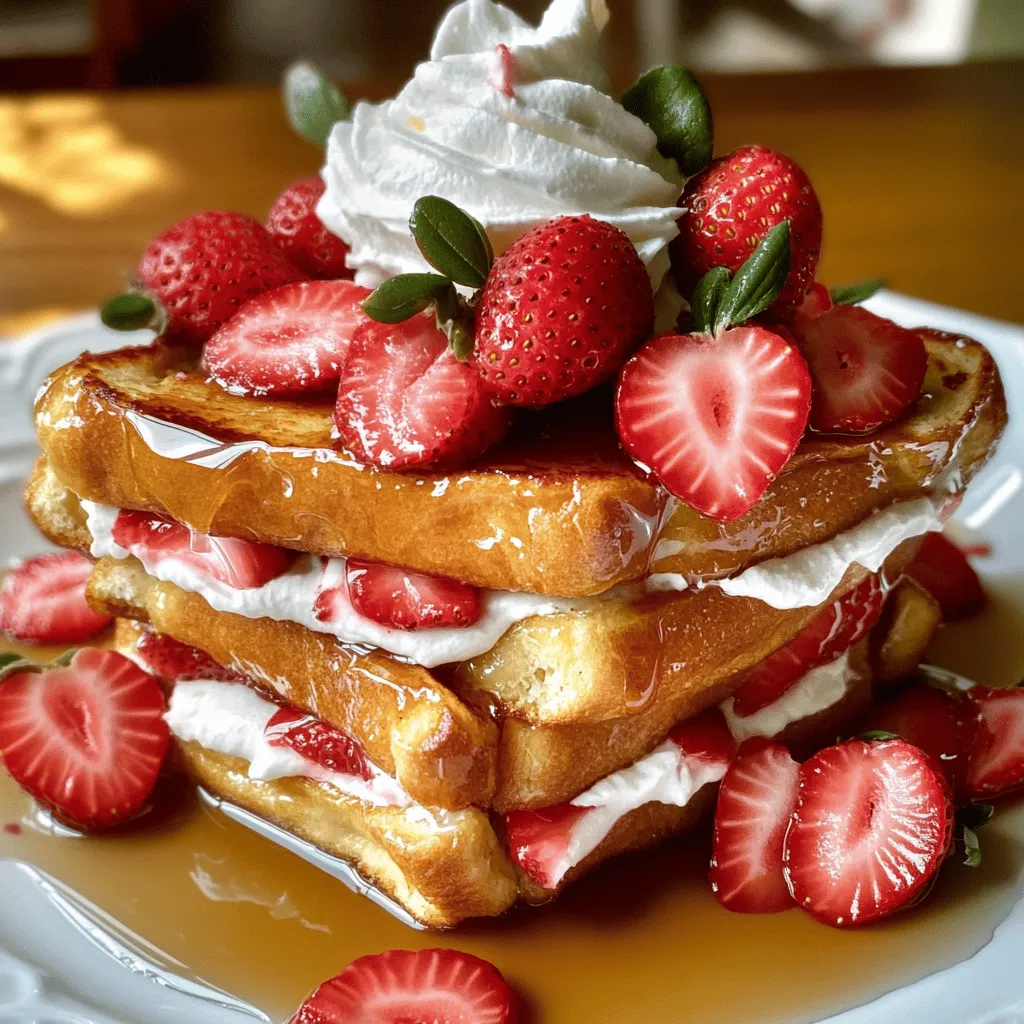
Get ready to elevate your breakfast game with Strawberry Cheesecake French Toast! This delightful recipe will astonish your taste buds...
READ MORE →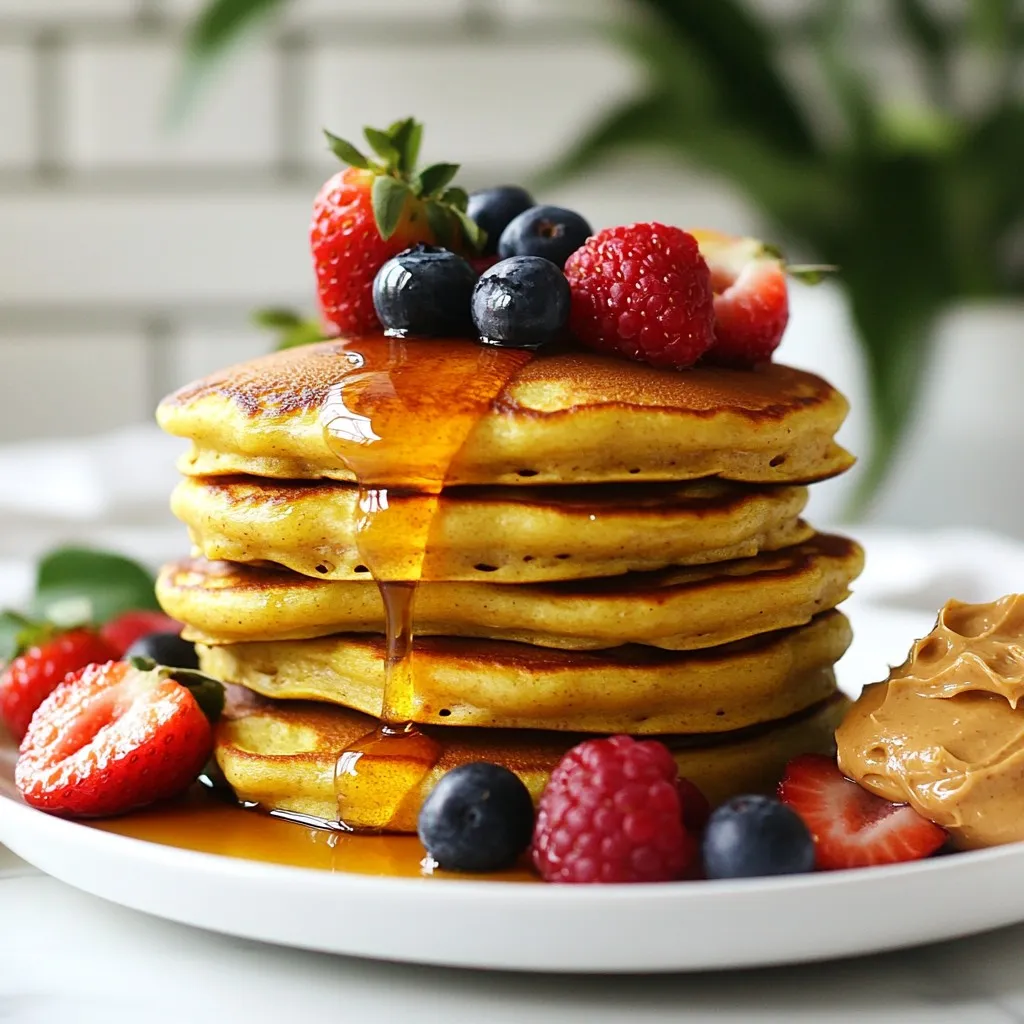
Looking for a simple and tasty breakfast? Vanilla protein pancakes are both nutritious and easy to make. With ingredients like...
READ MORE →
Cozy mornings call for something special, and I’ve got just the treat for you: a Pumpkin Spice Chai Latte! This...
READ MORE →
Are you ready to take your coffee game to the next level? The Iced Apple Crisp Macchiato is a delightful...
READ MORE →