DESSERTS
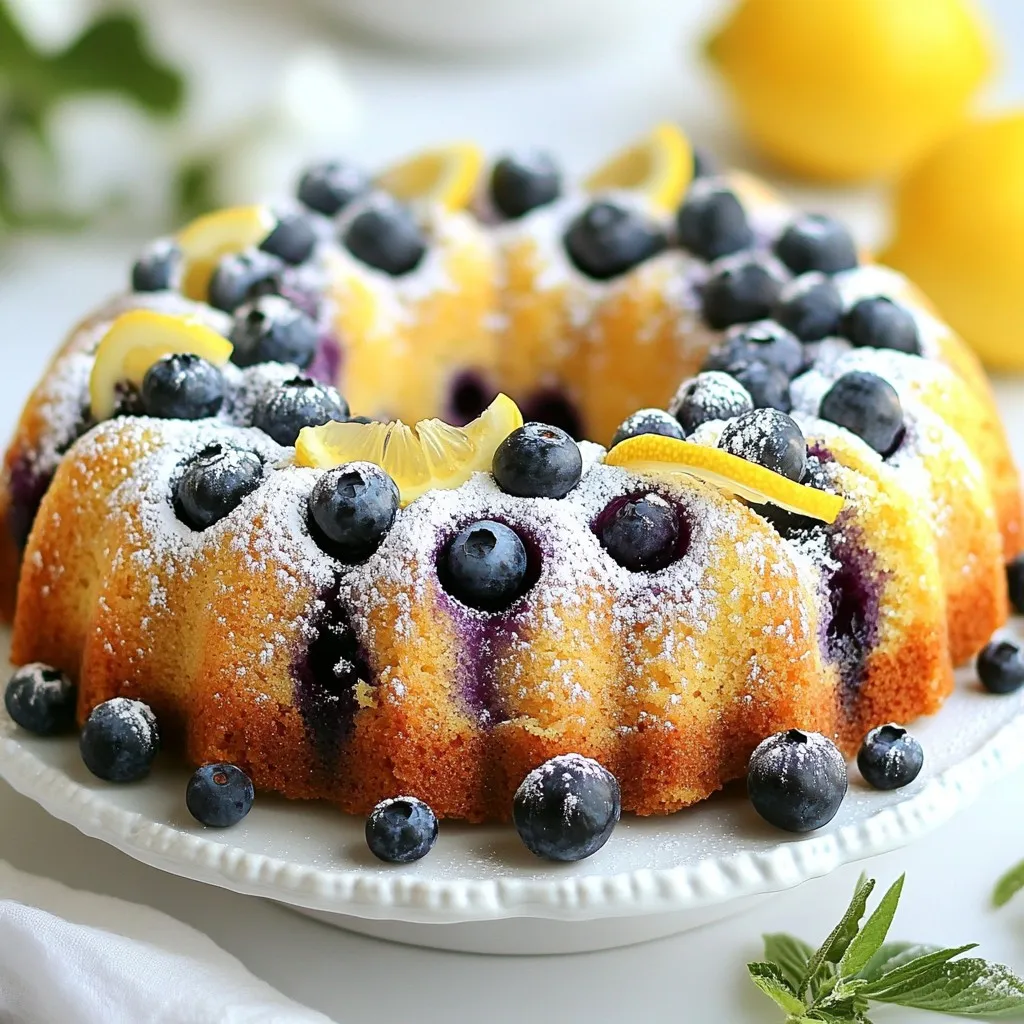
Zesty Lemon Blueberry Pound Cake Delightful Treat
Are you ready for a tasty treat that combines zesty lemon and juicy blueberries? This Zesty Lemon Blueberry Pound Cake...
READ MORE →Explore our collection of desserts recipes
Are you ready for a tasty treat that combines zesty lemon and juicy blueberries? This Zesty Lemon Blueberry Pound Cake...
READ MORE →
If you love light, fluffy desserts, Japanese Cotton Cheesecake Cupcakes are a must-try! These delightful treats blend creamy cheesecake with...
READ MORE →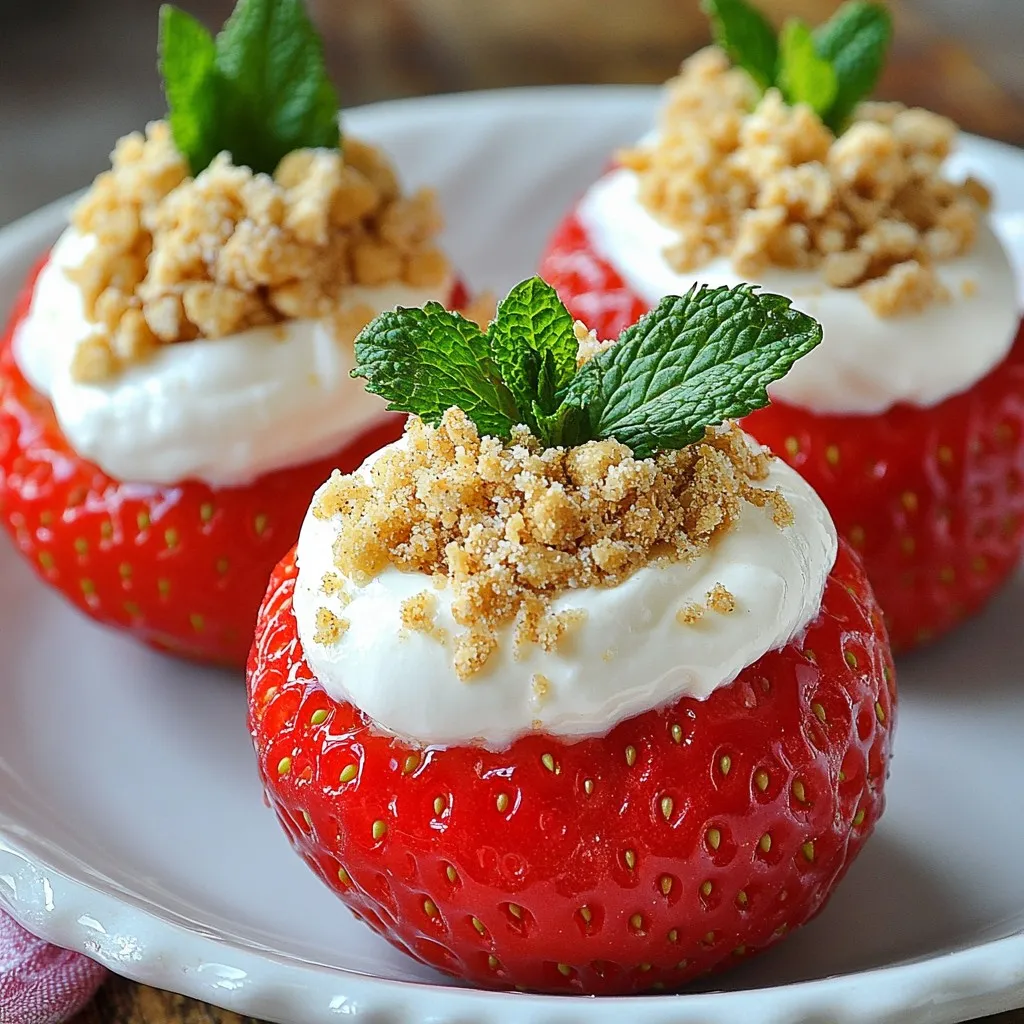
Looking for a fun and yummy dessert? Cheesecake Deviled Strawberries are an easy treat! With just a few simple ingredients,...
READ MORE →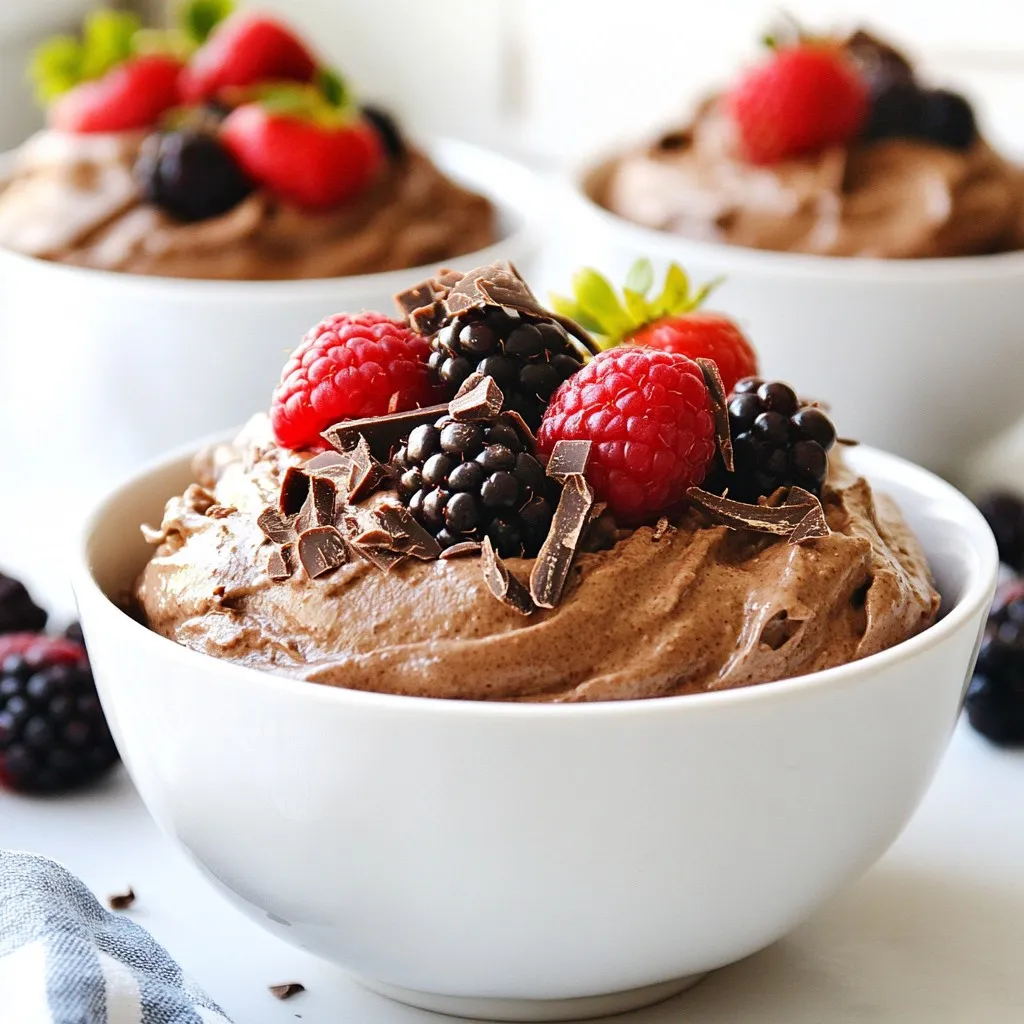
Craving a dessert that’s both fluffy and packed with protein? You’ve come to the right place! My Fluffy Chocolate Protein...
READ MORE →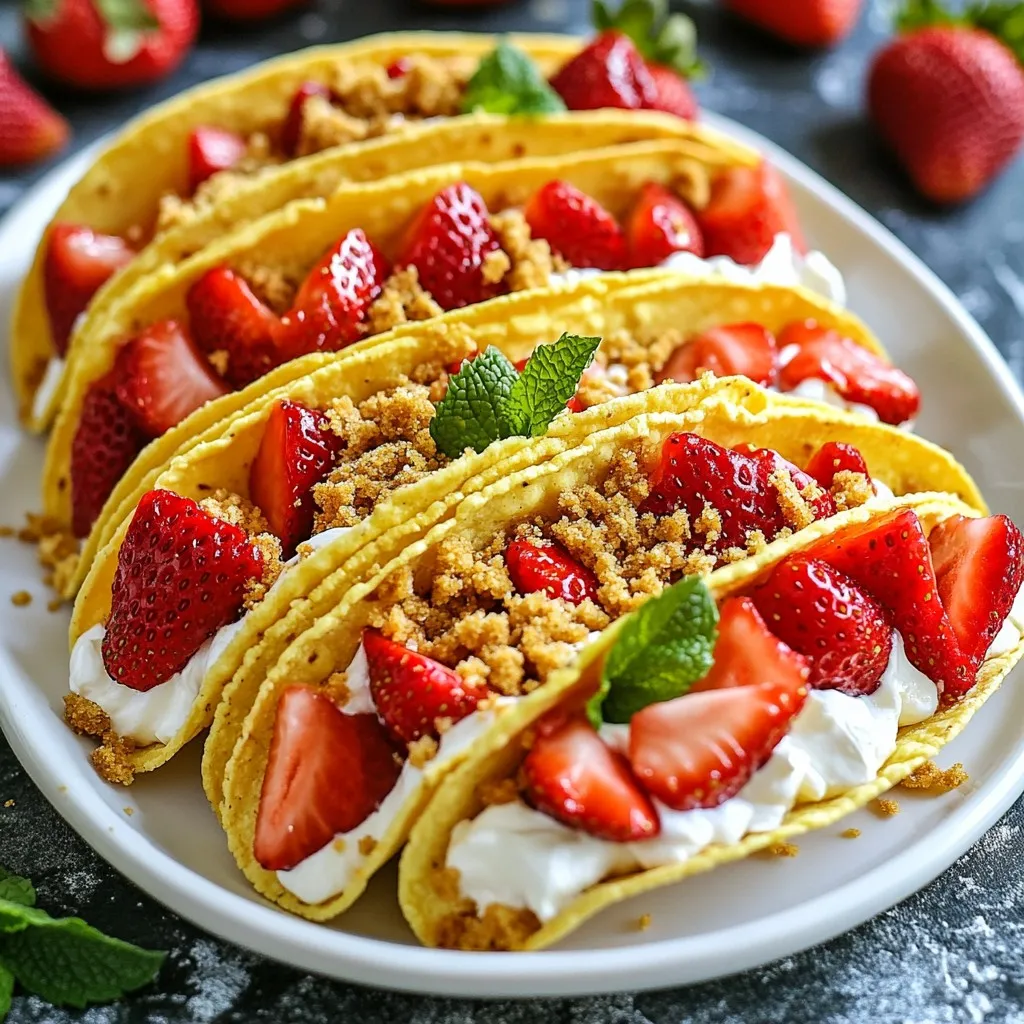
Are you ready to satisfy your sweet tooth? Strawberry Crunch Cheesecake Tacos are a fun twist on dessert! Imagine creamy...
READ MORE →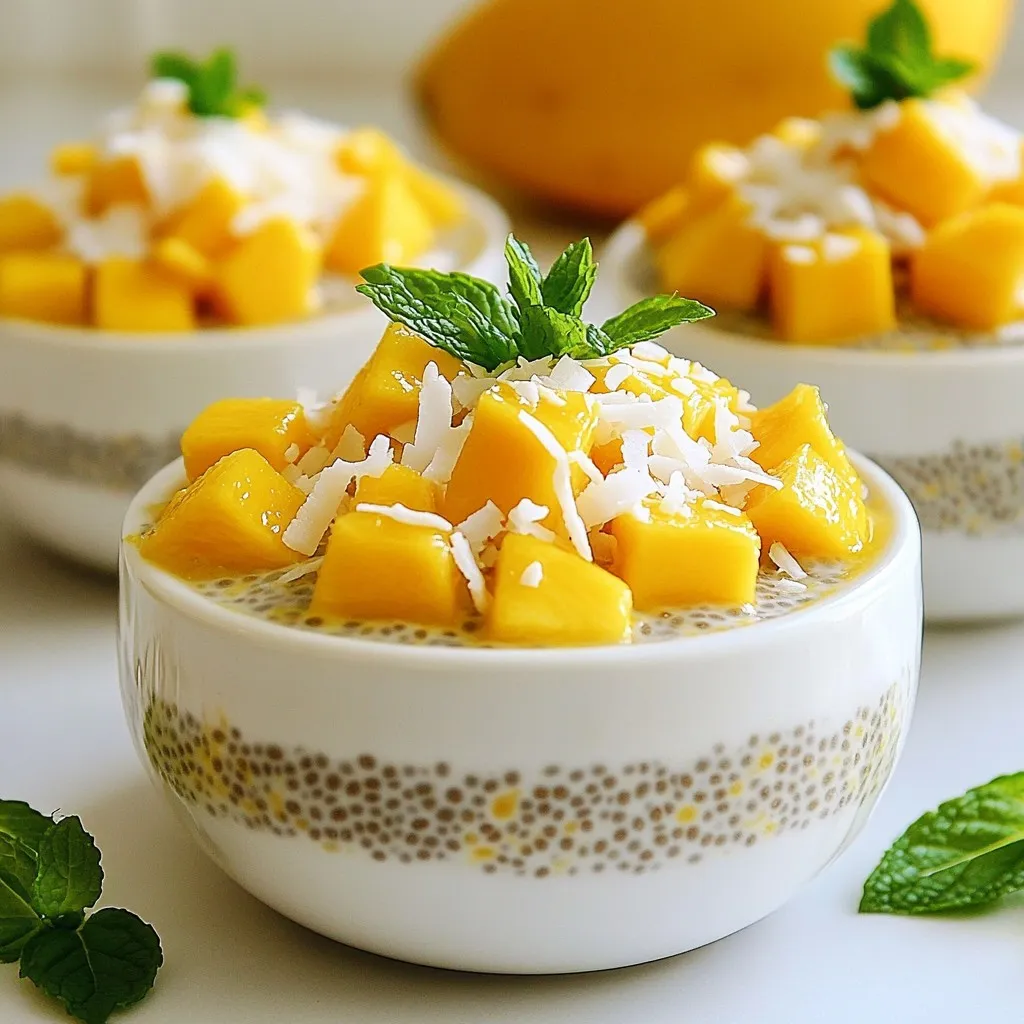
Are you ready to treat yourself to a healthy dessert? Mango Coconut Chia Pudding is your answer! This recipe combines...
READ MORE →
Looking for a sweet treat that’s both simple and delicious? My Chewy Chocolate Chip Banana Bars are just the answer!...
READ MORE →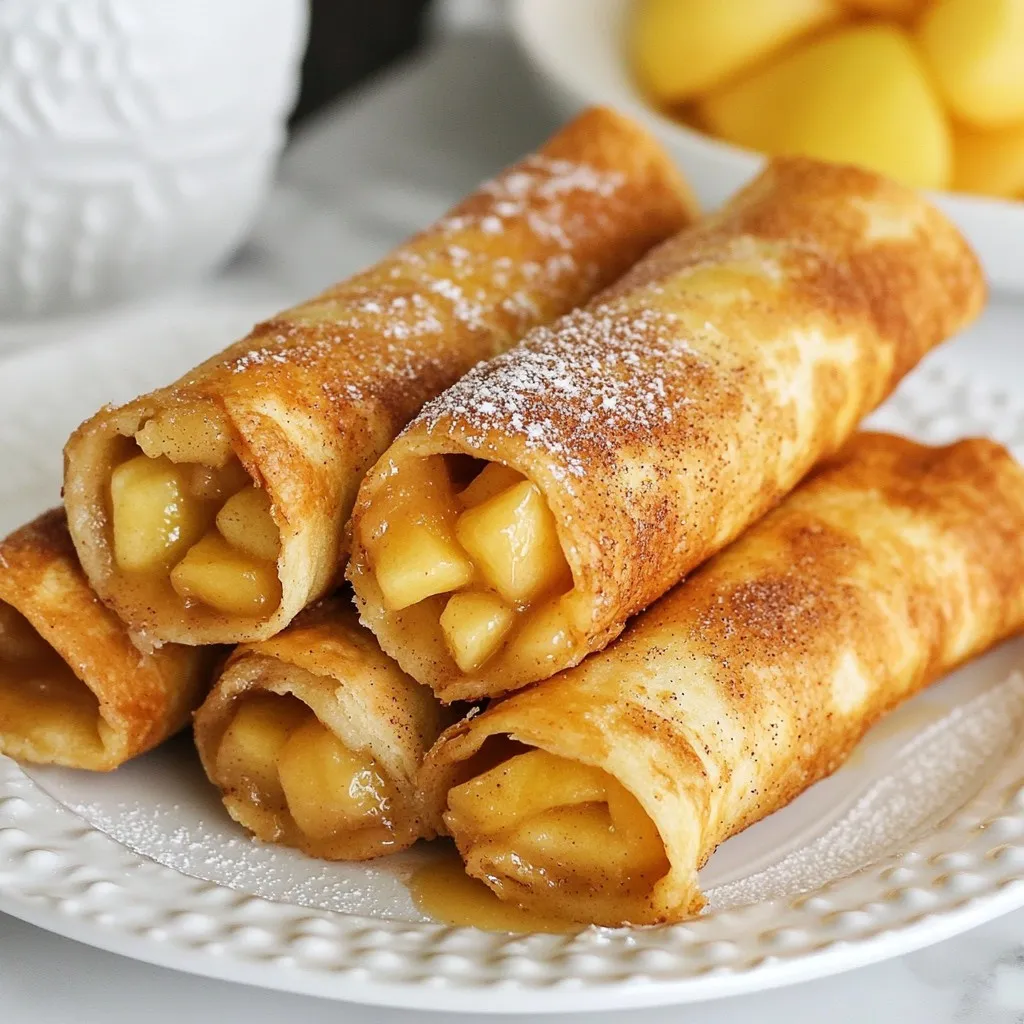
Craving a sweet, crunchy treat that’s both easy and delicious? Look no further! Air Fryer Apple Pie Taquitos are your...
READ MORE →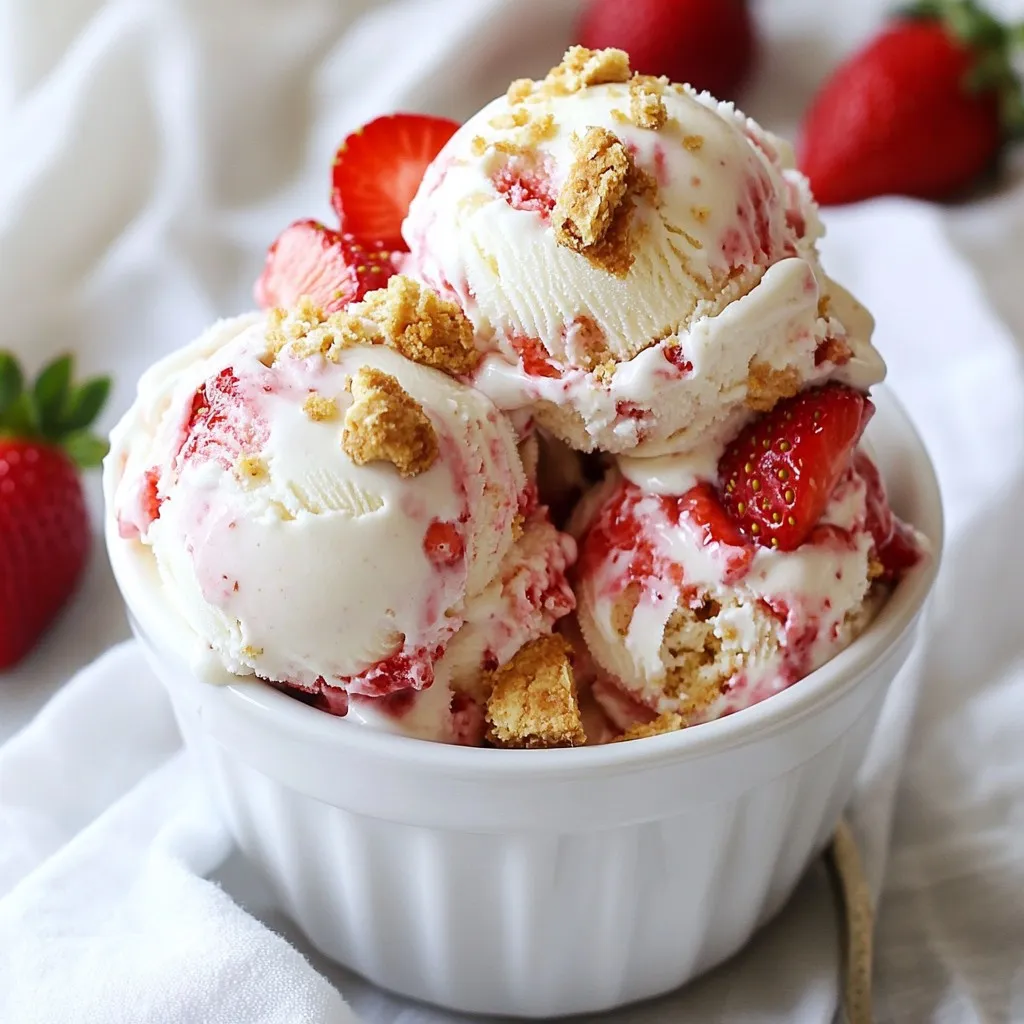
Craving a cool, sweet treat? You’ll love my No-Churn Strawberry Shortcake Ice Cream Delight! This easy recipe blends fresh strawberries,...
READ MORE →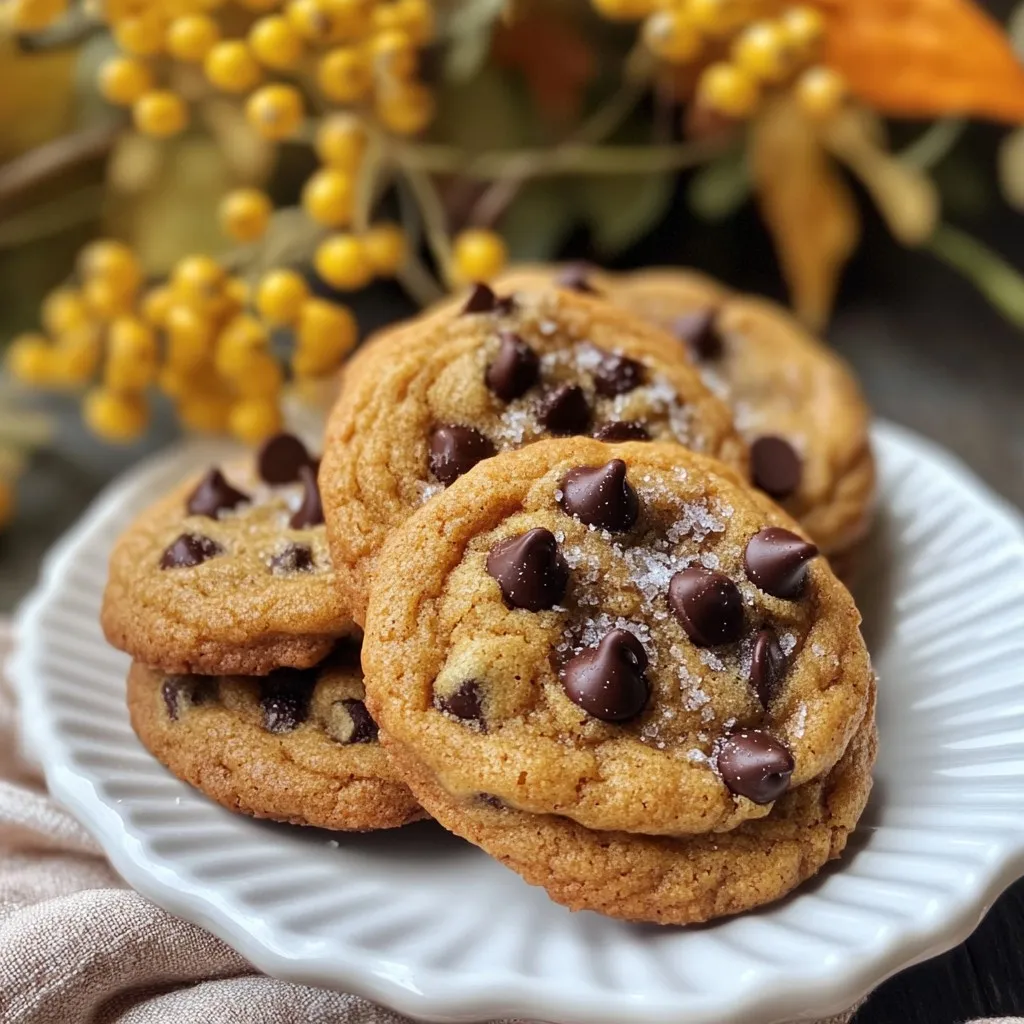
Get ready to fall in love with baking! My Brown Butter Pumpkin Chocolate Chip Cookies combine rich flavors and cozy...
READ MORE →