DESSERTS
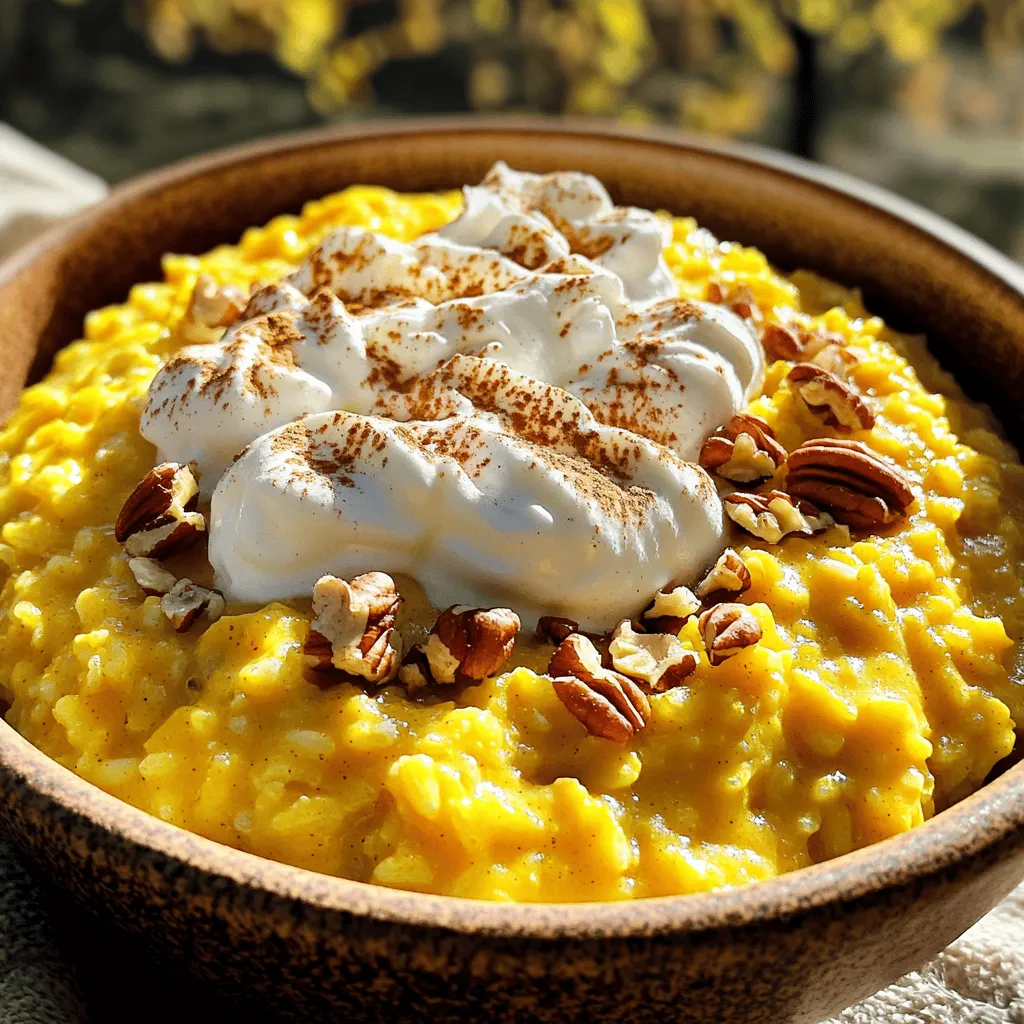
Pumpkin Spice Rice Pudding Creamy Comfort Food
Craving a warm, creamy treat that screams fall? My Pumpkin Spice Rice Pudding is just what you need! Made with...
READ MORE →Explore our collection of desserts recipes
Craving a warm, creamy treat that screams fall? My Pumpkin Spice Rice Pudding is just what you need! Made with...
READ MORE →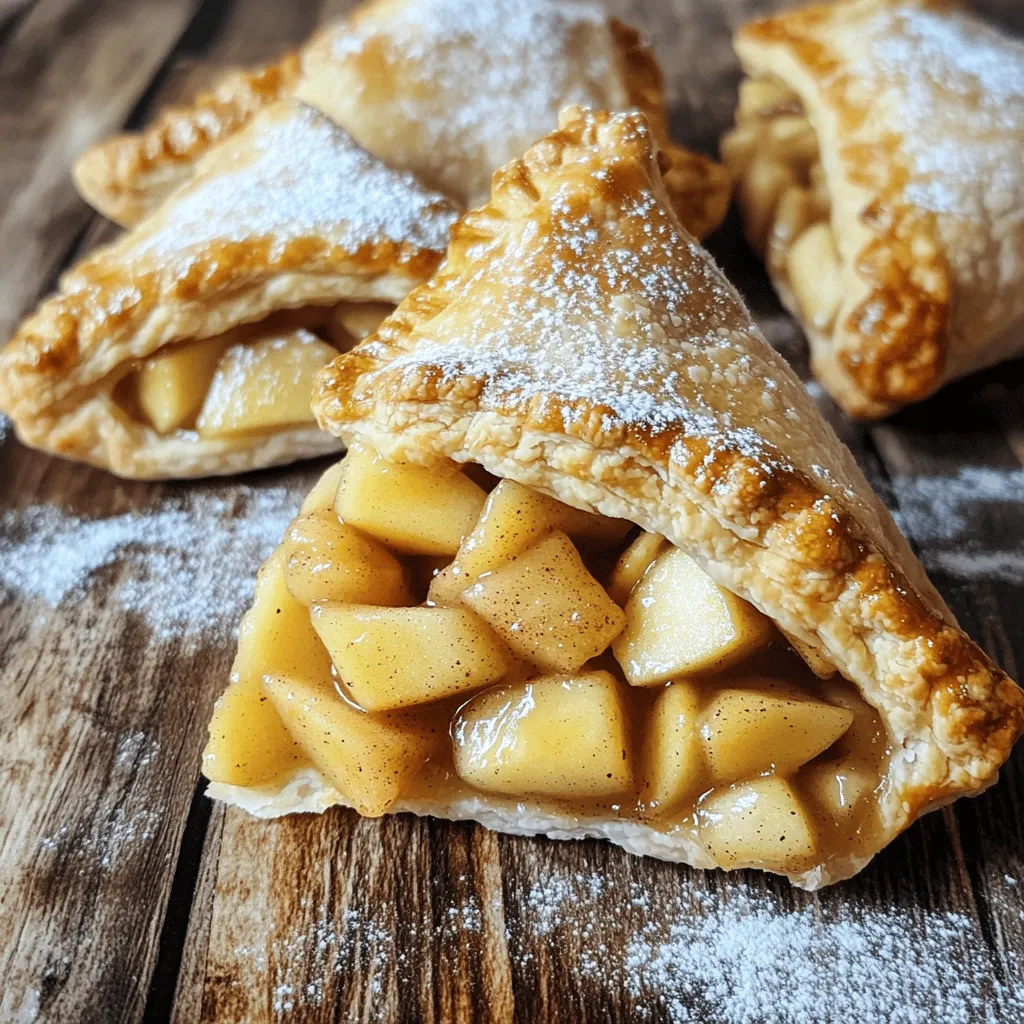
If you’re craving a warm, sweet treat, these Air Fryer Apple Hand Pies are your answer! With just a few...
READ MORE →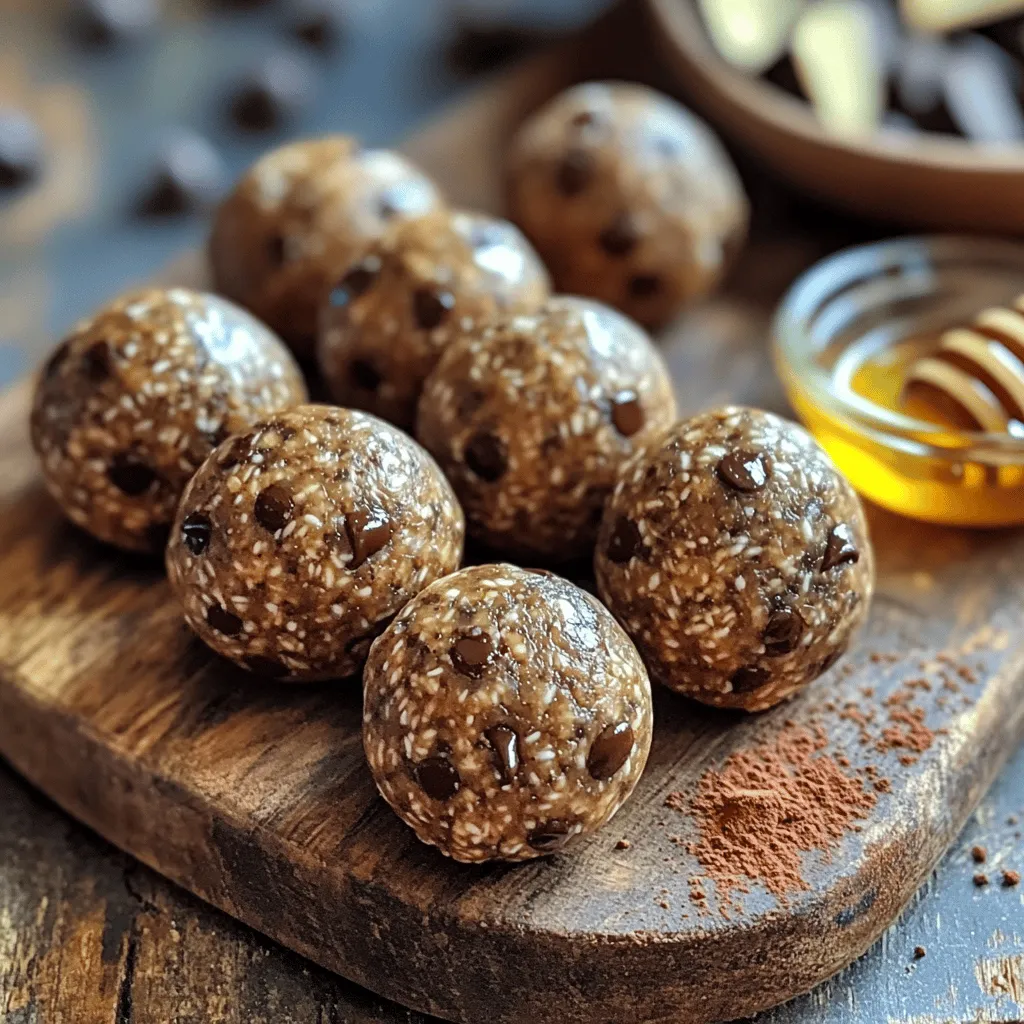
Looking for a quick and easy snack that packs a punch? These Mocha Chocolate Chip Energy Balls are perfect! They...
READ MORE →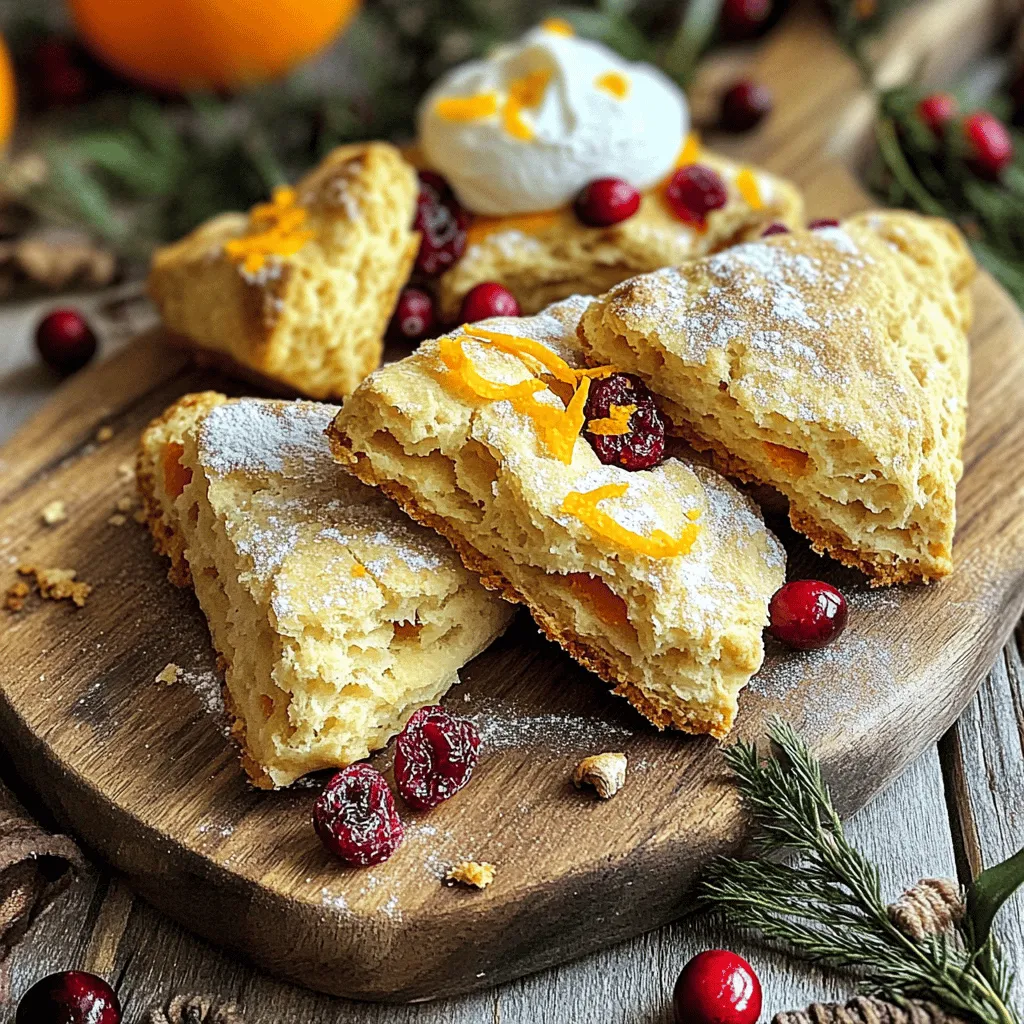
Are you ready to bake a treat that will brighten your day? Cranberry orange scones are a delicious mix of...
READ MORE →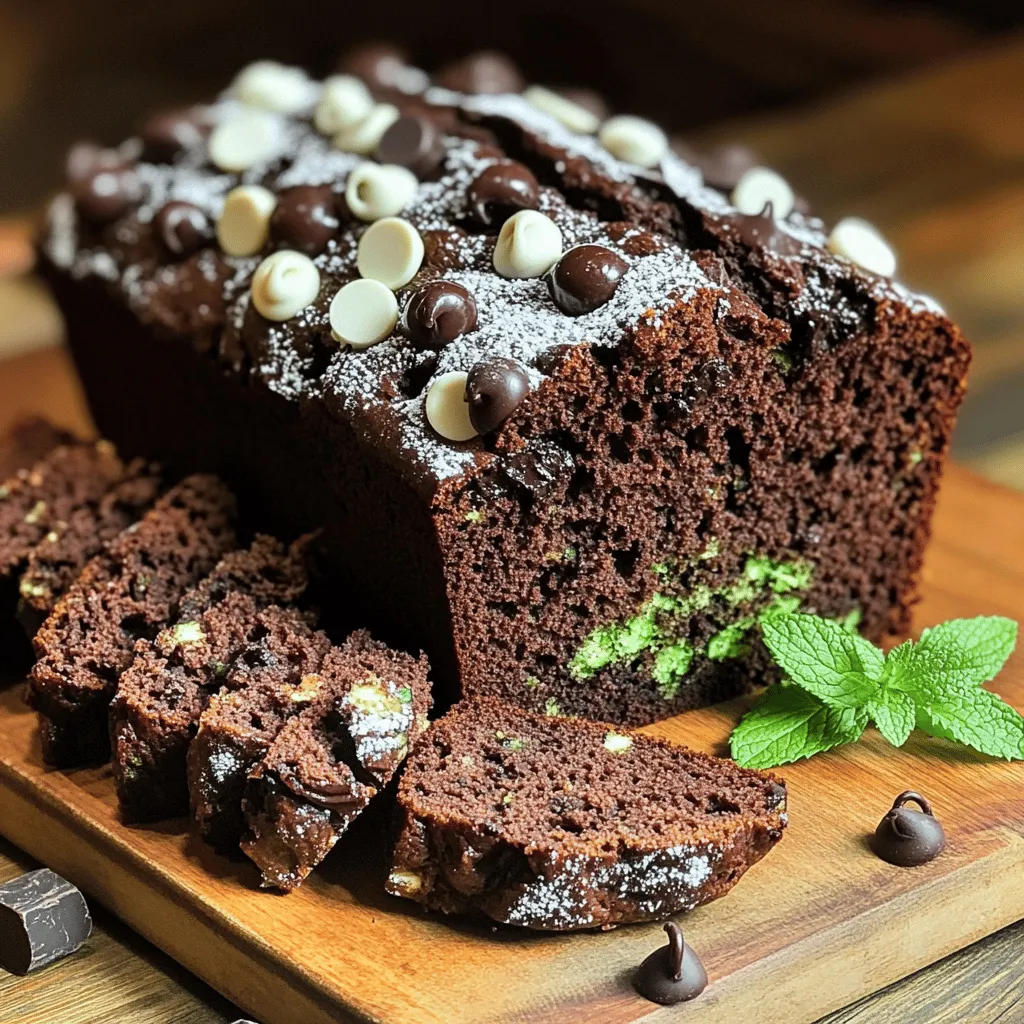
If you love rich, chocolatey treats, get ready to be amazed! My Triple Chocolate Zucchini Bread is a game-changer. Packed...
READ MORE →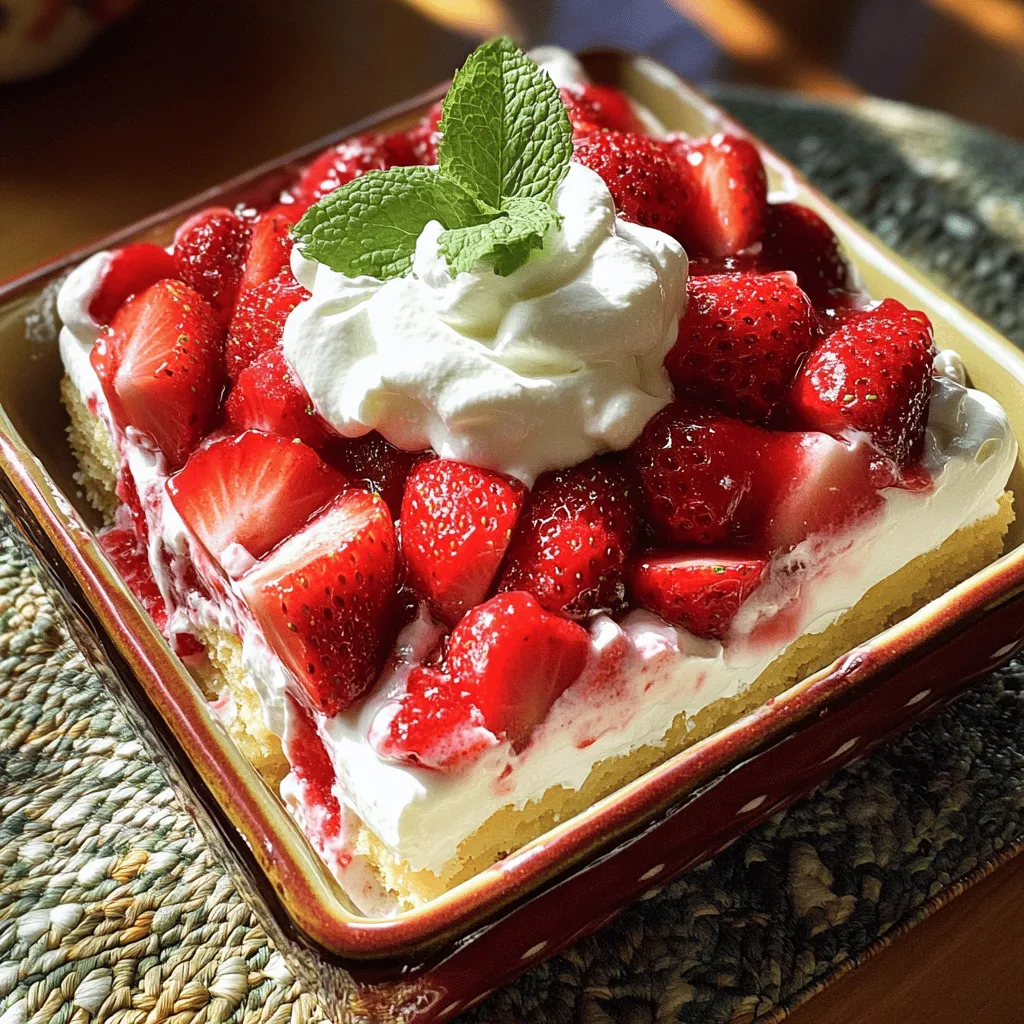
Are you ready for a delightful dessert that’s simple and delicious? Strawberry Shortcake Icebox Cake combines fresh strawberries, whipped cream,...
READ MORE →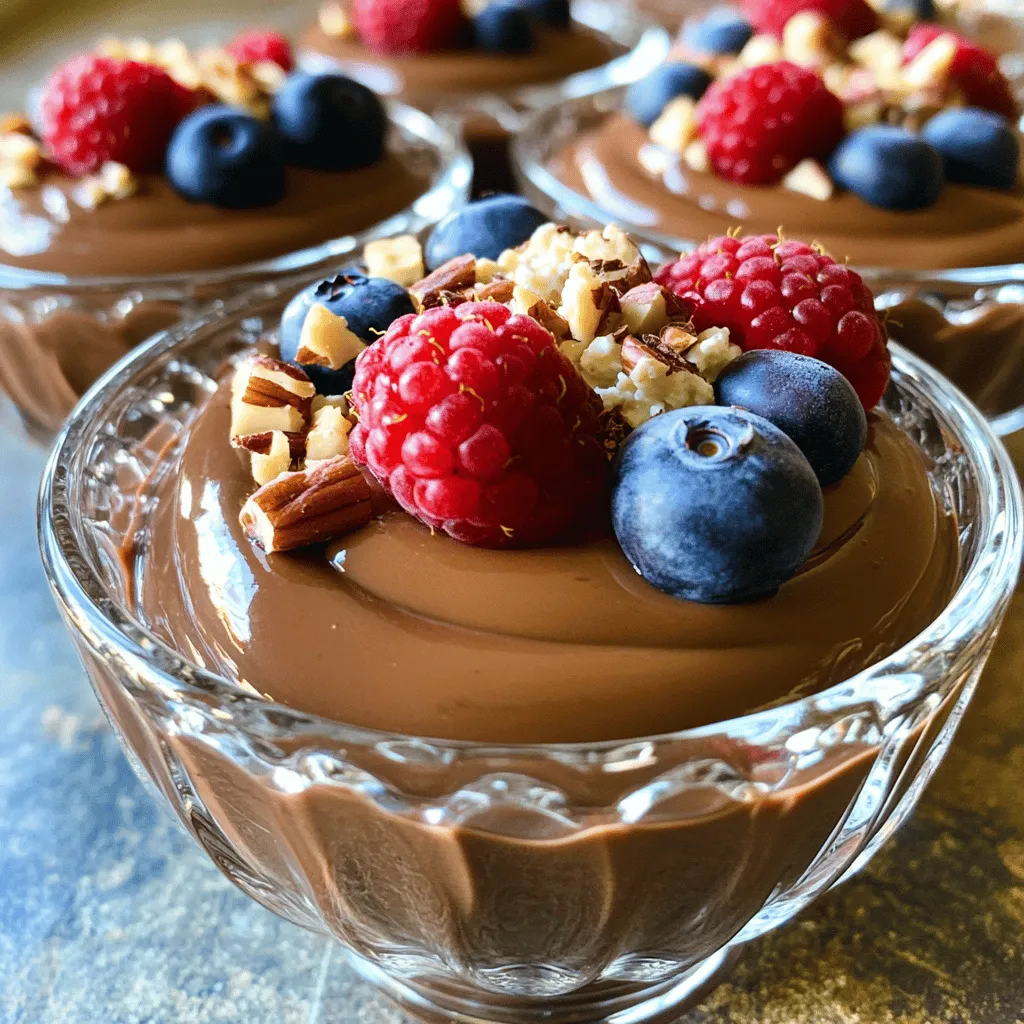
If you’re looking for a tasty and healthy dessert, you’ll love this Chocolate Cottage Cheese Pudding recipe. It’s creamy, rich,...
READ MORE →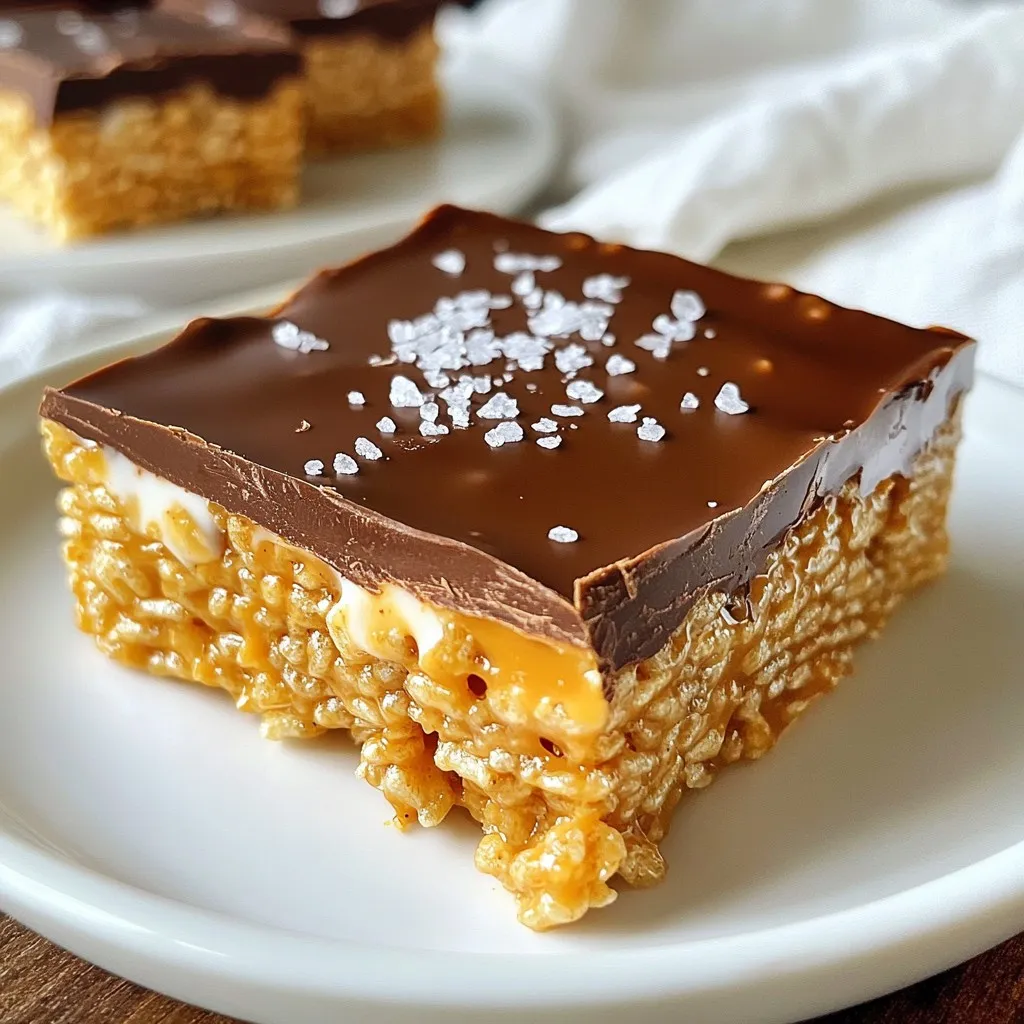
If you crave a quick and easy treat, you need the Best Ever Scotcheroos. These simple bars combine sweet and...
READ MORE →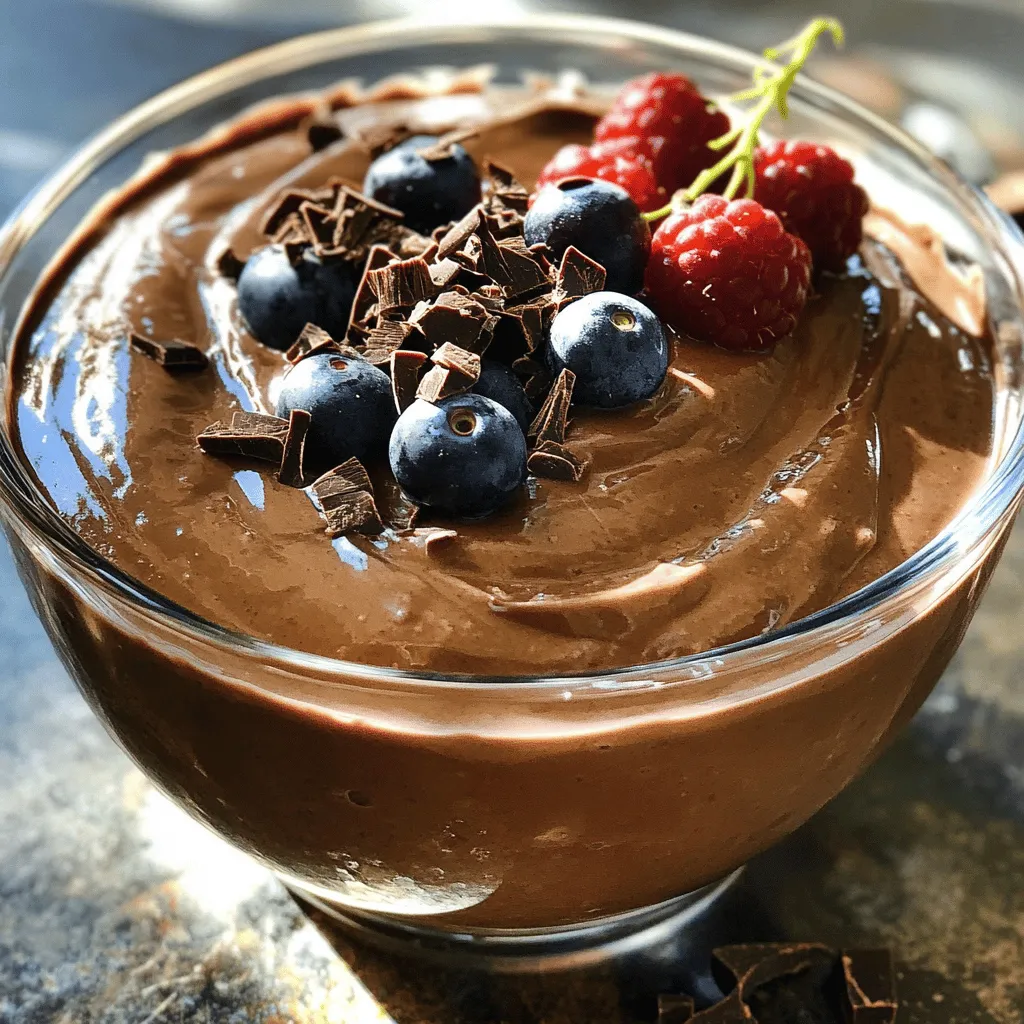
Looking for a tasty way to boost your protein intake? This Cottage Cheese Chocolate Protein Pudding Delight is your answer....
READ MORE →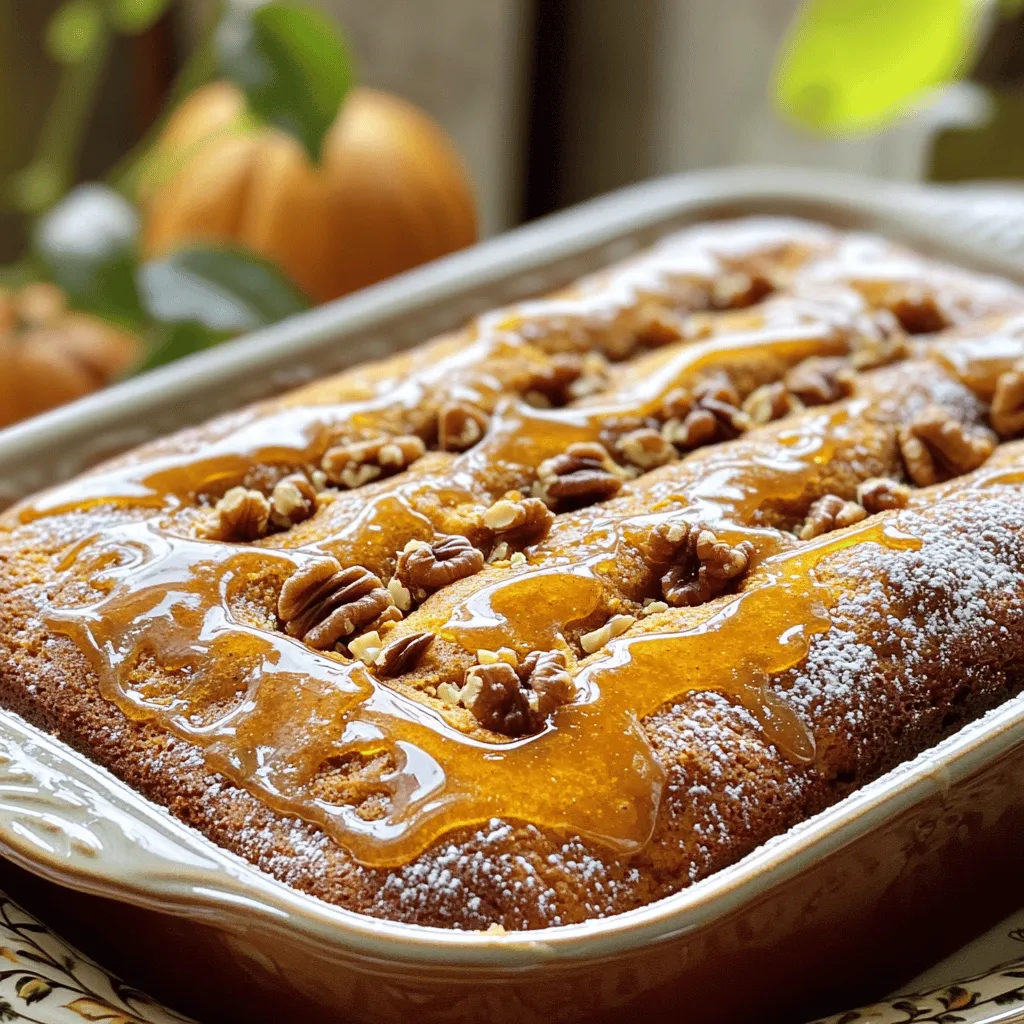
Are you ready to fall in love with a delightful treat? The Pumpkin Honey Bun Cake is the perfect dessert...
READ MORE →