DESSERTS
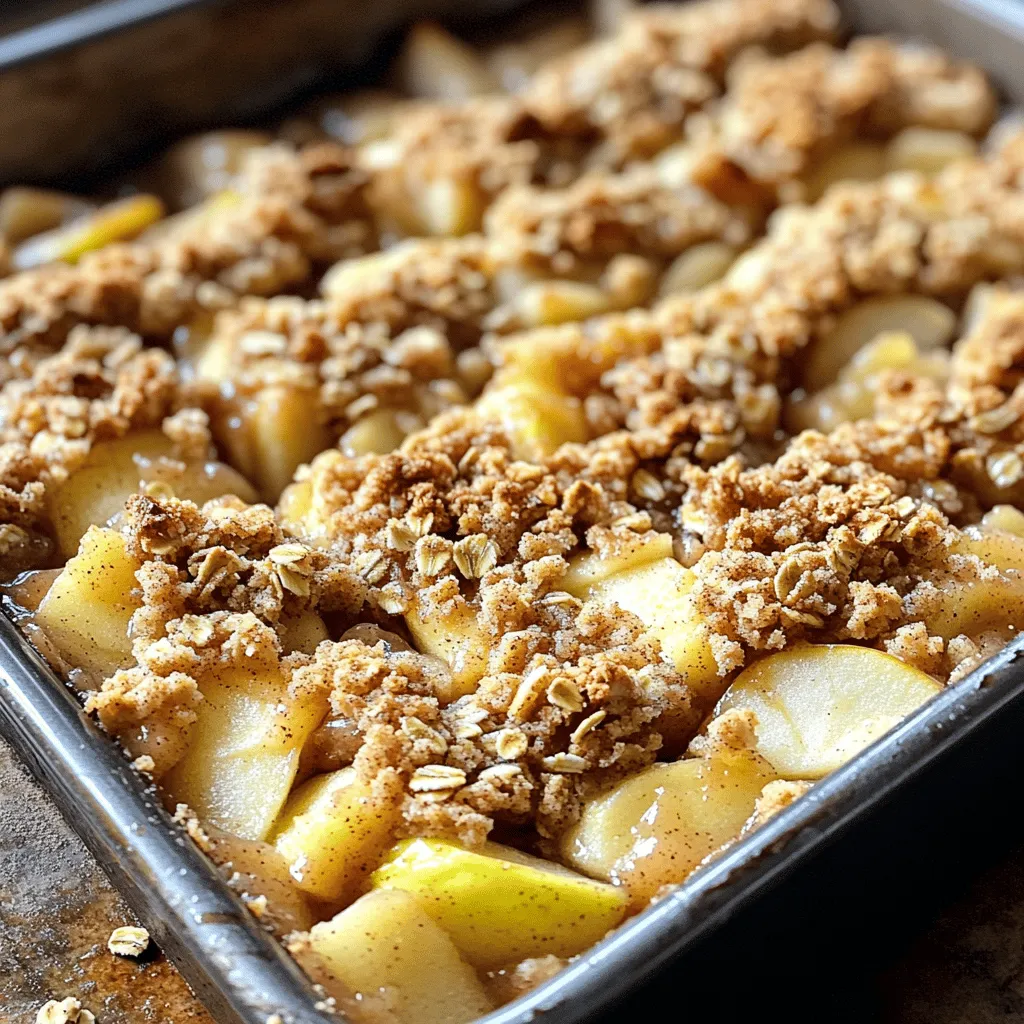
Apple Crisp Bars Tasty and Simple Dessert Recipe
Are you ready to whip up a sweet treat that’s both tasty and easy? My Apple Crisp Bars are the...
READ MORE →Explore our collection of desserts recipes
Are you ready to whip up a sweet treat that’s both tasty and easy? My Apple Crisp Bars are the...
READ MORE →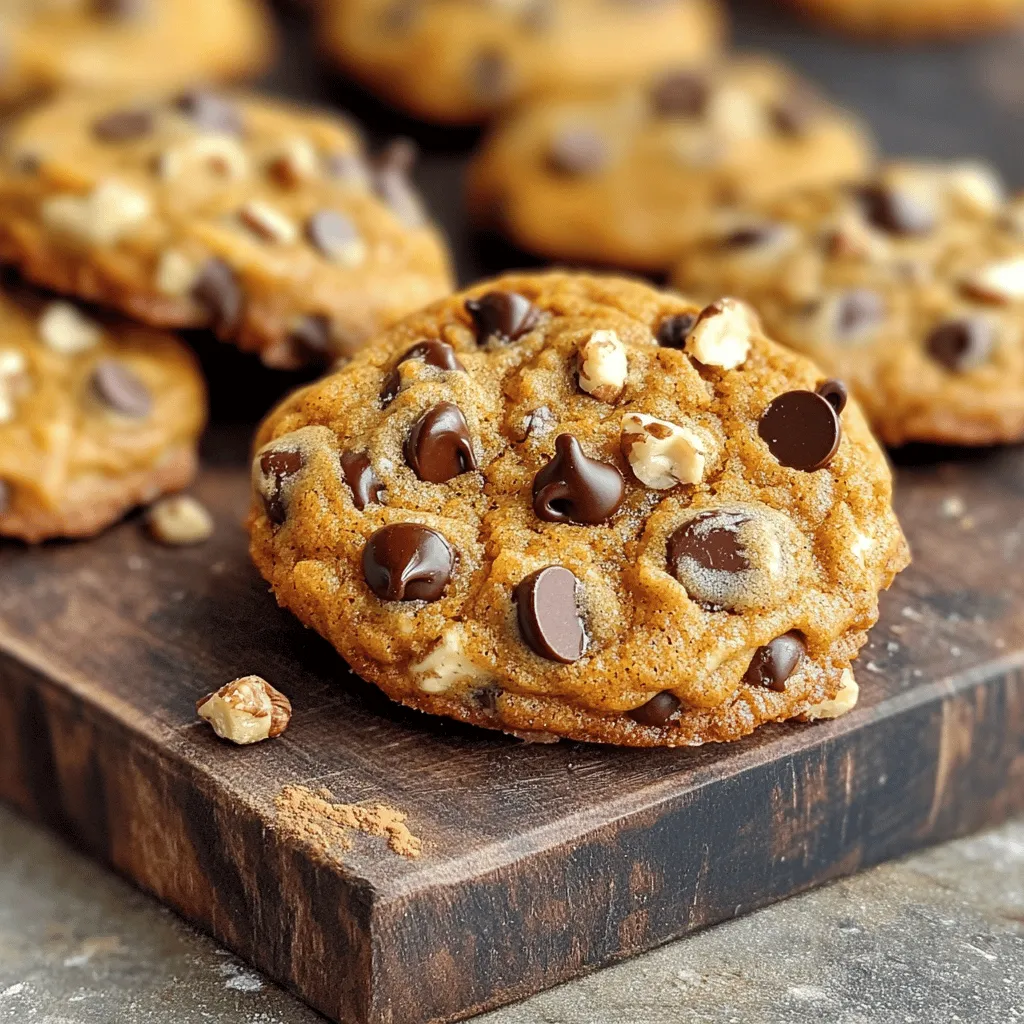
Get ready for a treat that screams fall! My Chewy Pumpkin Chocolate Chip Cookies are easy to make and incredibly...
READ MORE →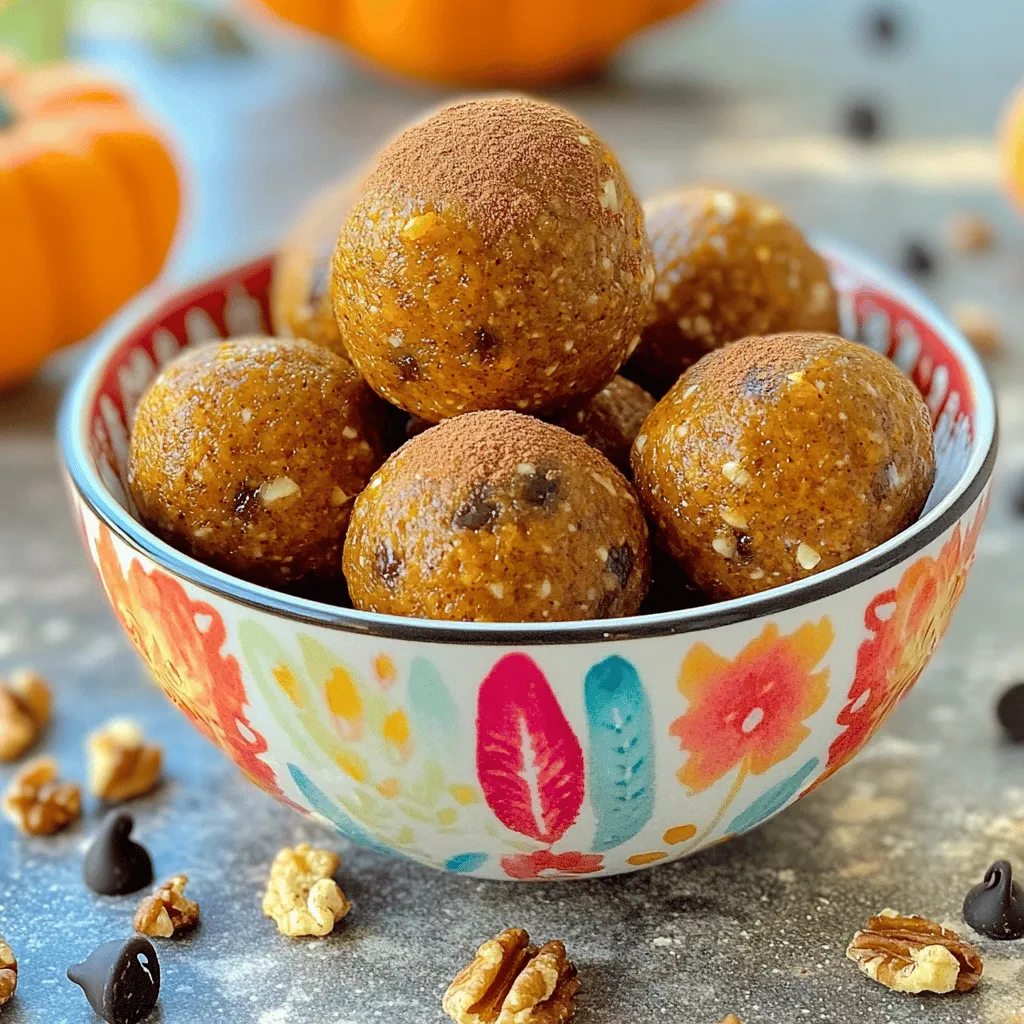
Looking for a tasty yet healthy snack? Try my easy Cinnamon Pumpkin Energy Balls! Packed with oats, pumpkin puree, and...
READ MORE →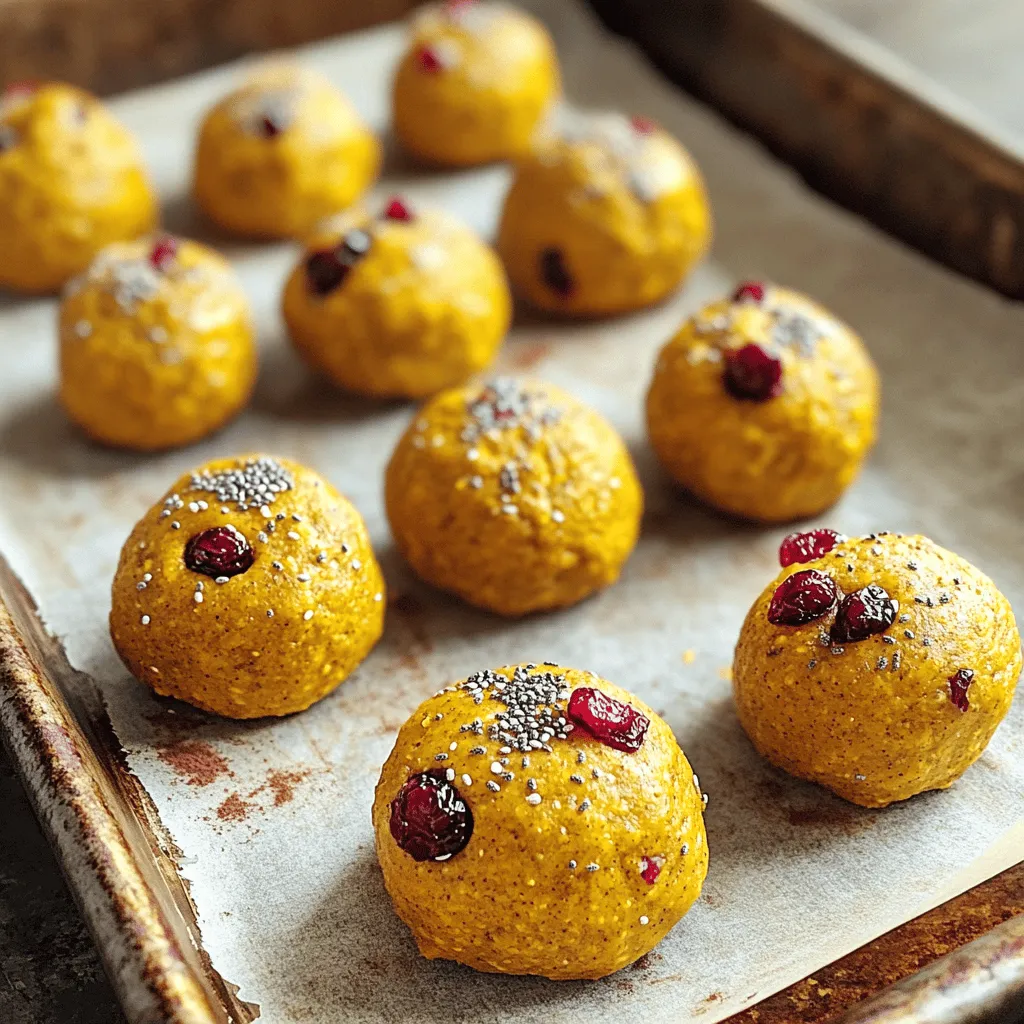
Looking for a tasty and healthy snack? You’ve come to the right place! These Pumpkin Cranberry Energy Bites are not...
READ MORE →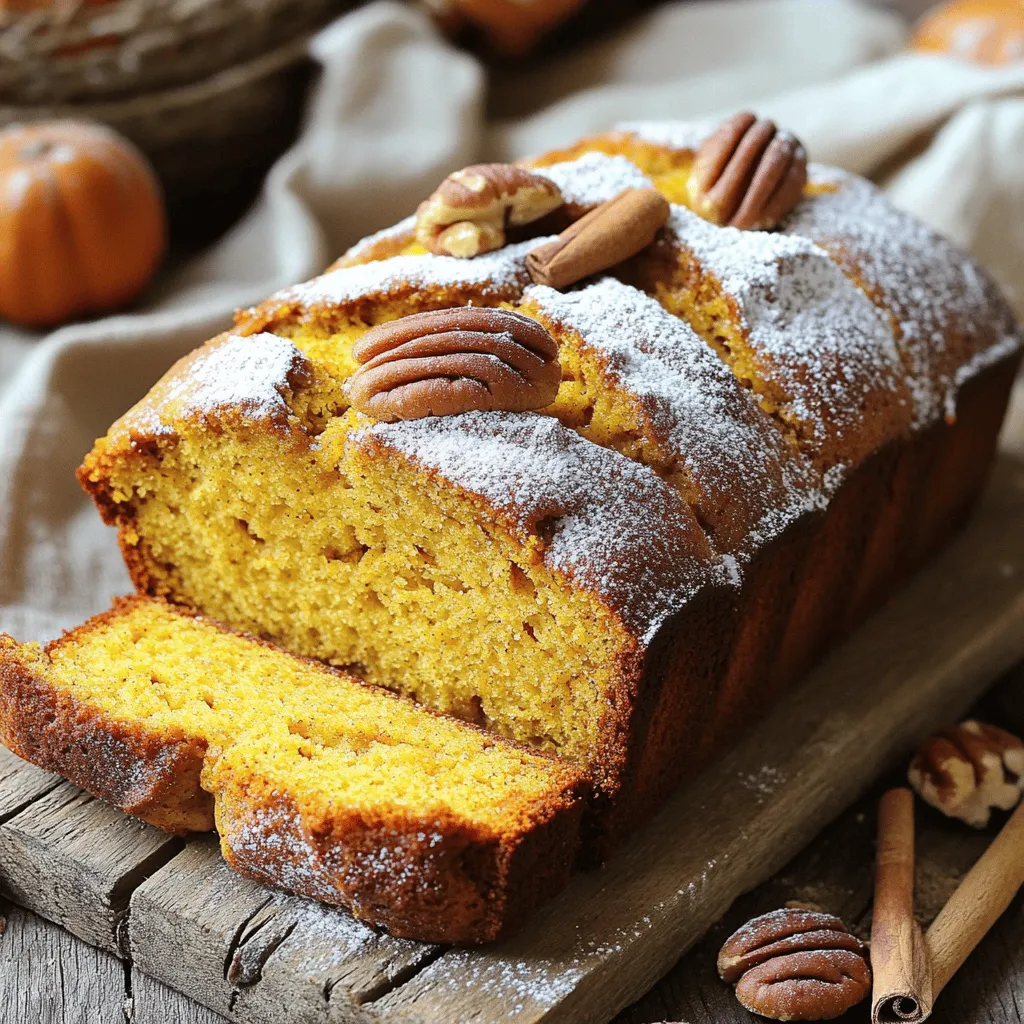
Welcome to your new favorite fall recipe: One-Bowl Pumpkin Bread! There’s nothing quite like warm, sweet pumpkin bread on a...
READ MORE →
Looking for a tasty treat that won’t derail your healthy eating goals? Let me introduce you to my Healthy Greek...
READ MORE →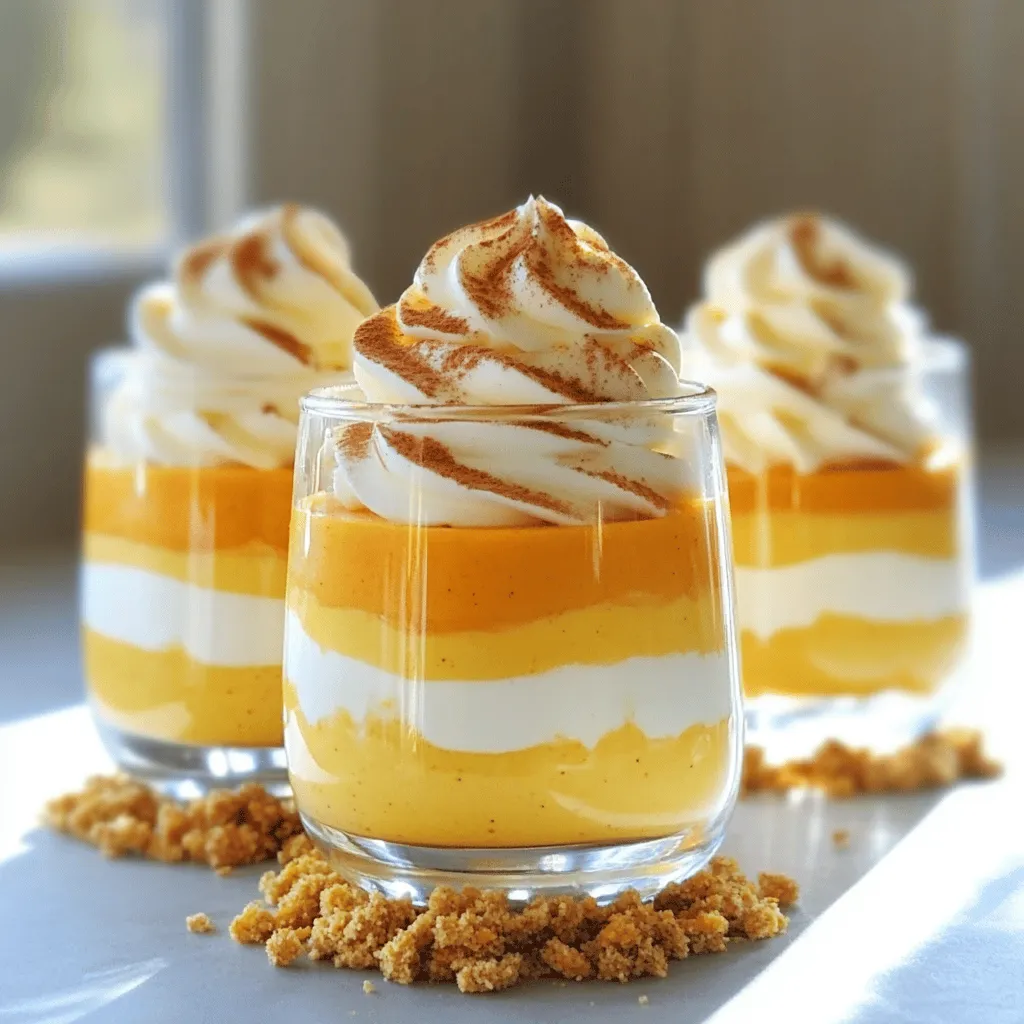
Fall is here, and it’s time to indulge in the rich flavors of the season! My Pumpkin Cheesecake Mousse Parfaits...
READ MORE →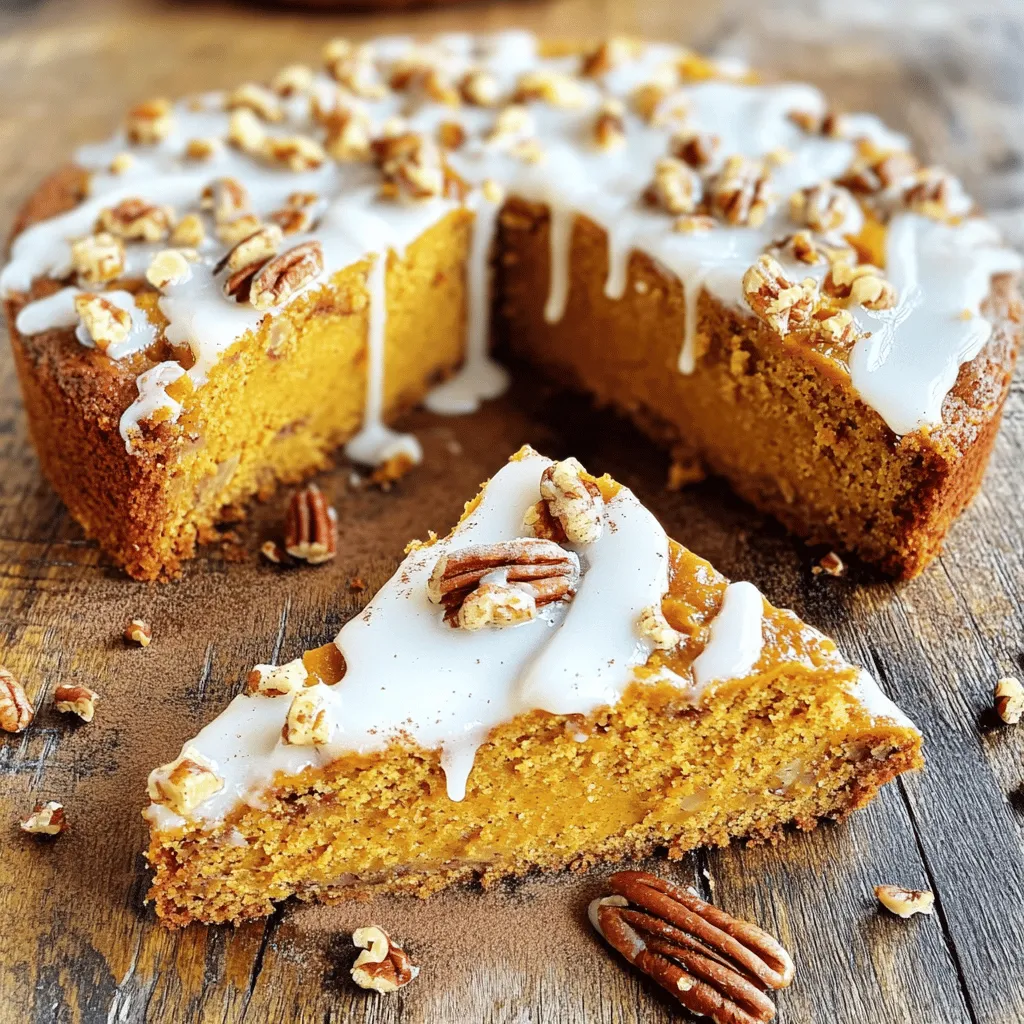
Are you ready to savor a delightful twist on a classic coffee cake? This Pumpkin Pecan Coffee Cake is not...
READ MORE →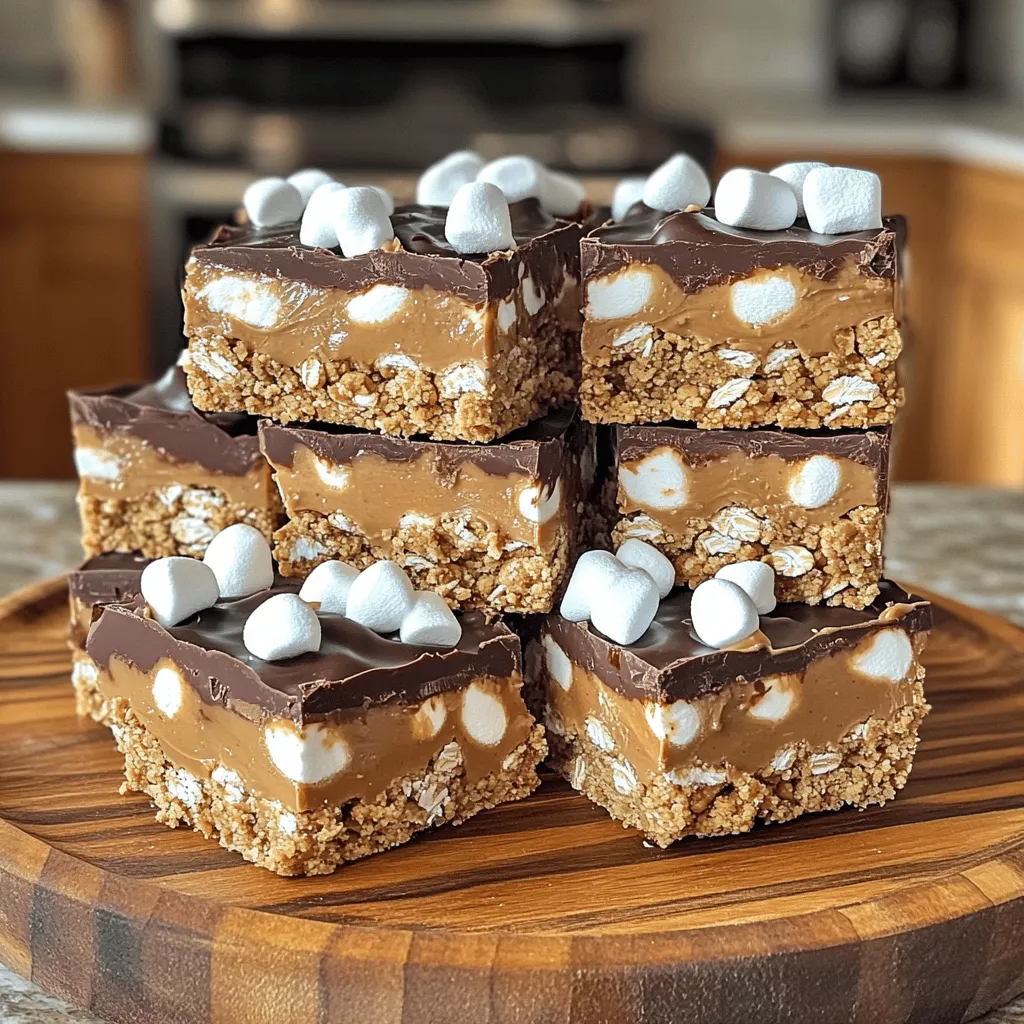
Are you ready to create a sweet treat that requires no baking? With my No Bake S’mores Peanut Butter Bars,...
READ MORE →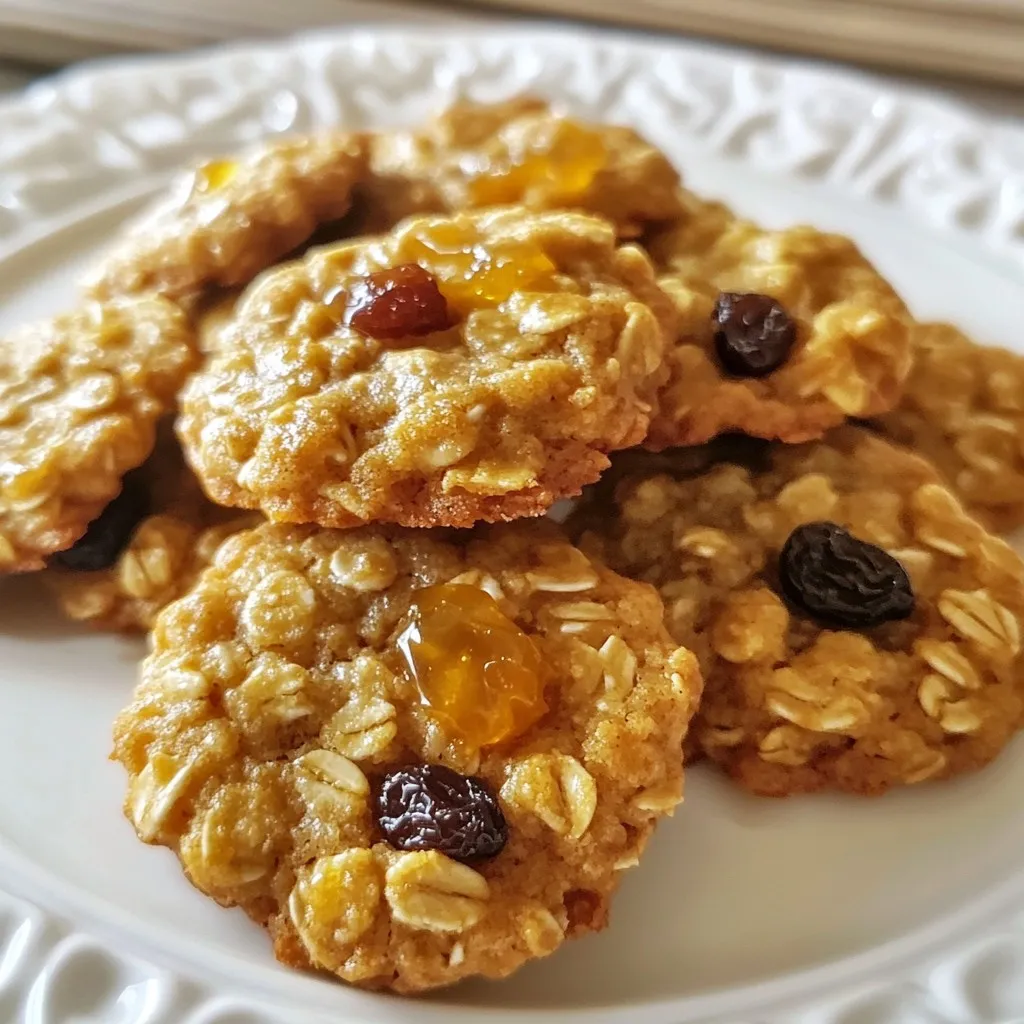
Get ready to enjoy soft, chewy, and delicious Honey Oatmeal Cookies! In this article, I’ll show you how simple it...
READ MORE →