DESSERTS
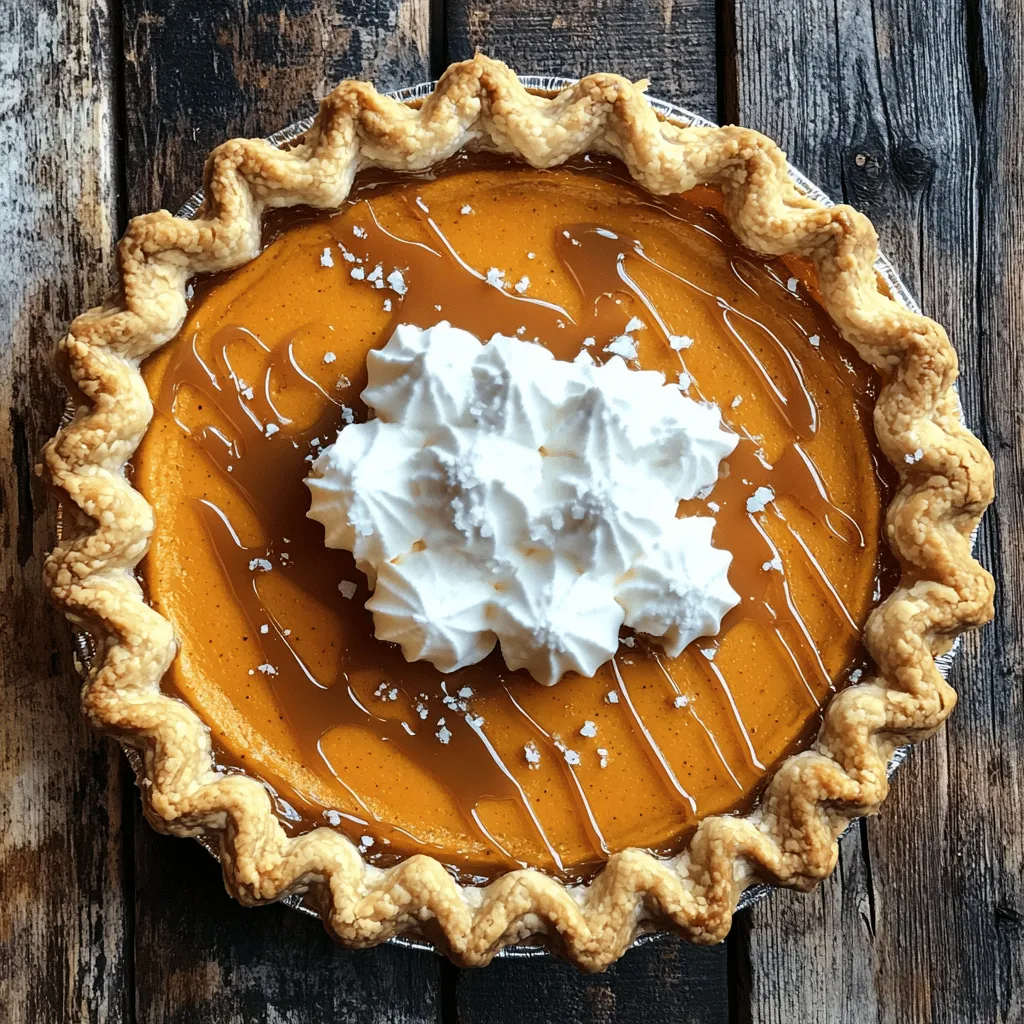
Salted Caramel Pumpkin Pie Irresistible Fall Dessert
Fall is here, and nothing beats a Salted Caramel Pumpkin Pie. You’ll love the mix of sweet pumpkin and rich...
READ MORE →Explore our collection of desserts recipes
Fall is here, and nothing beats a Salted Caramel Pumpkin Pie. You’ll love the mix of sweet pumpkin and rich...
READ MORE →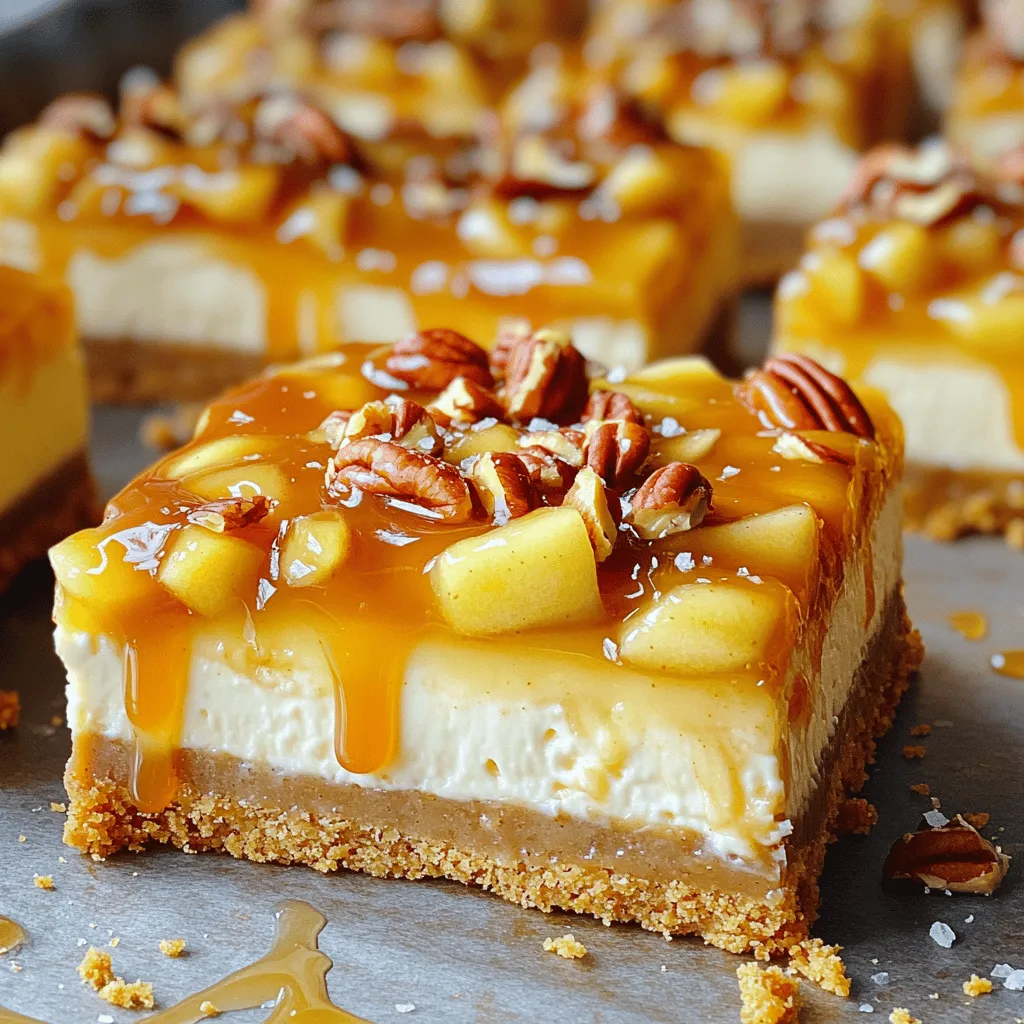
Craving a sweet treat that combines creamy cheesecake with the irresistible flavors of caramel and apple? Look no further! These...
READ MORE →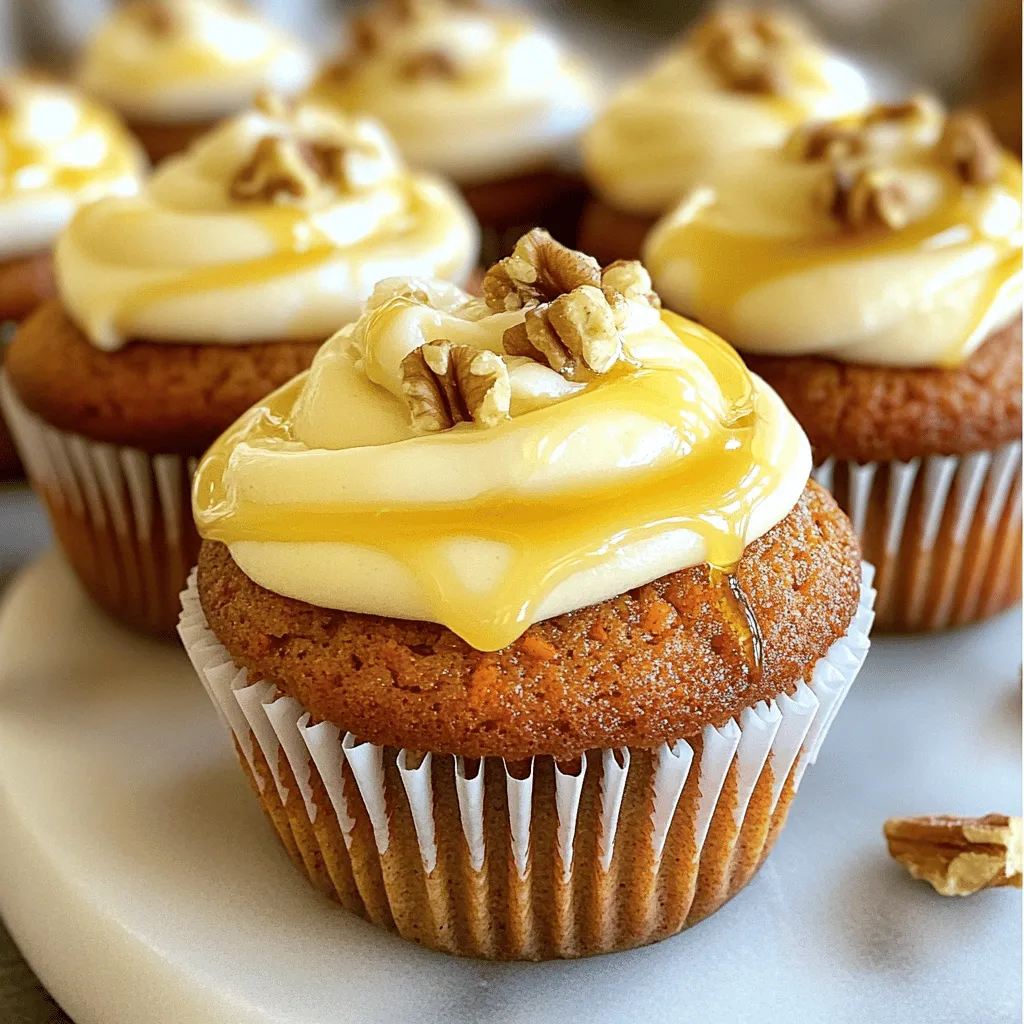
Craving a sweet yet wholesome treat? You’re in the right place! These Maple Glazed Carrot Cupcakes blend rich flavors with...
READ MORE →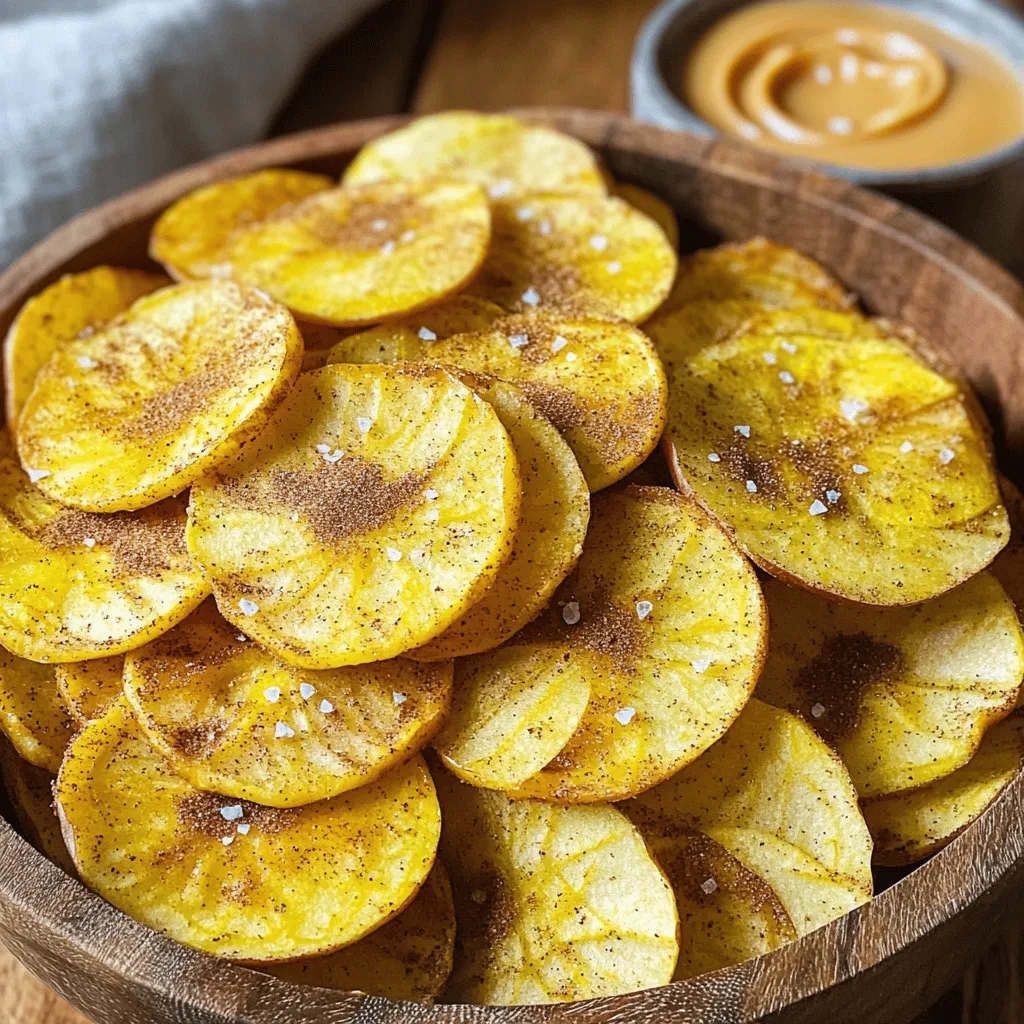
Looking for a tasty, healthy snack? Let’s make Air Fryer Apple Chips! These crunchy chips are easy to prepare and...
READ MORE →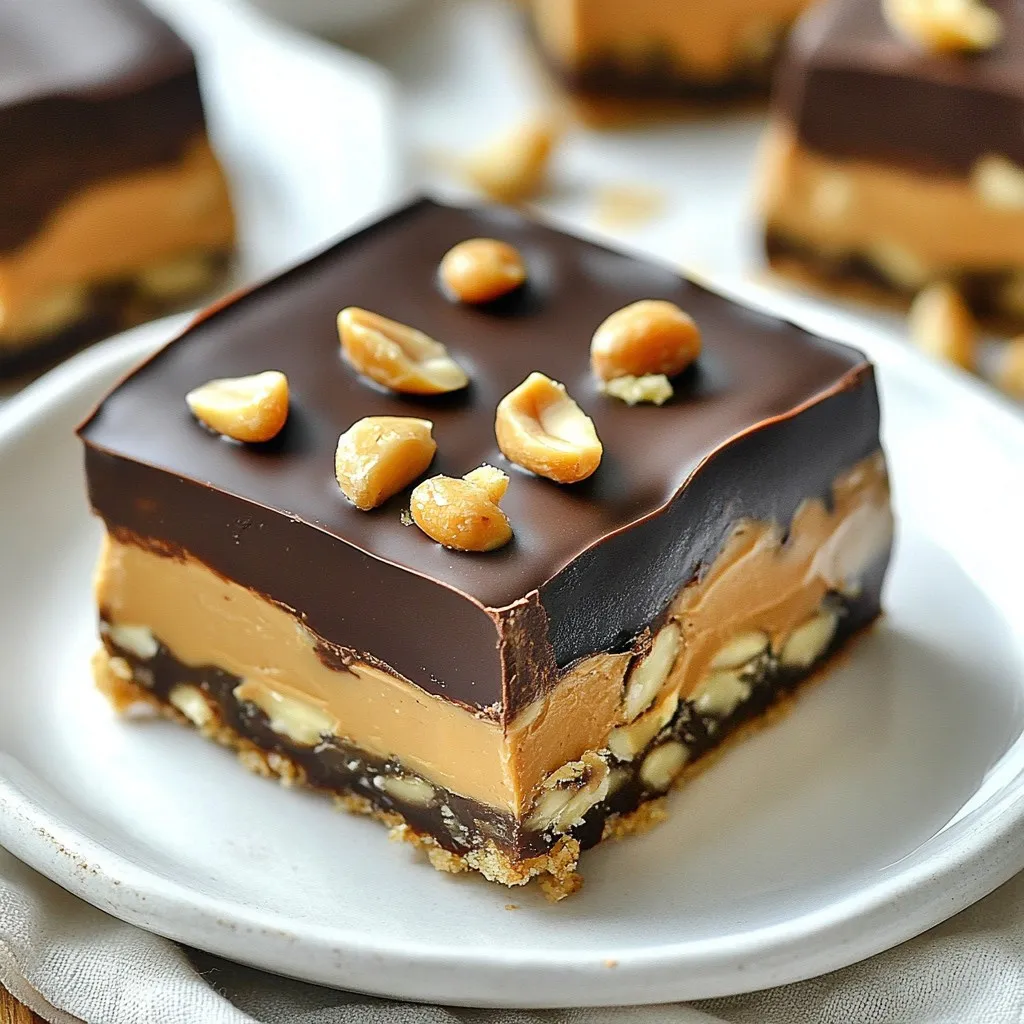
Are you looking for a sweet treat that’s both delicious and healthy? I’ve got you covered with my Ingredient Date...
READ MORE →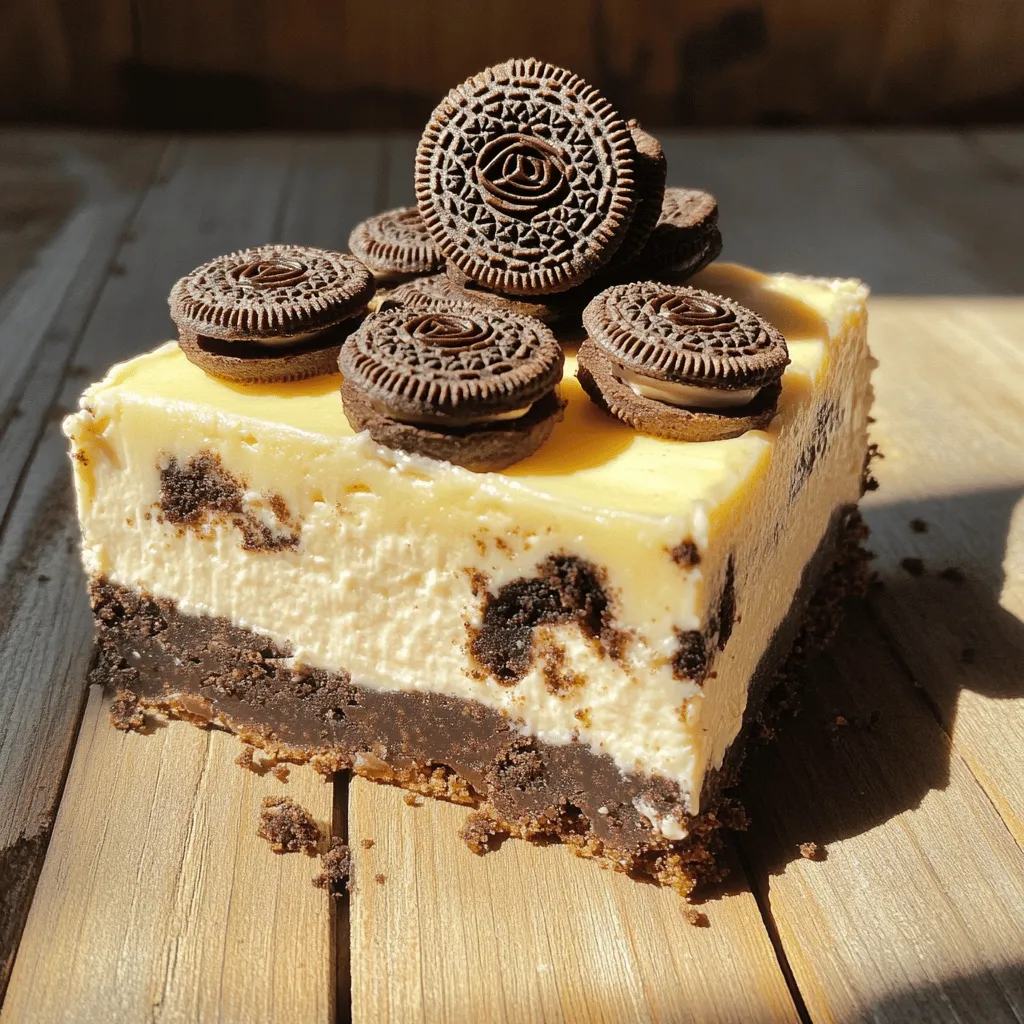
Are you ready for a delicious treat that’s easy to make and perfect for any occasion? Today, I’ll show you...
READ MORE →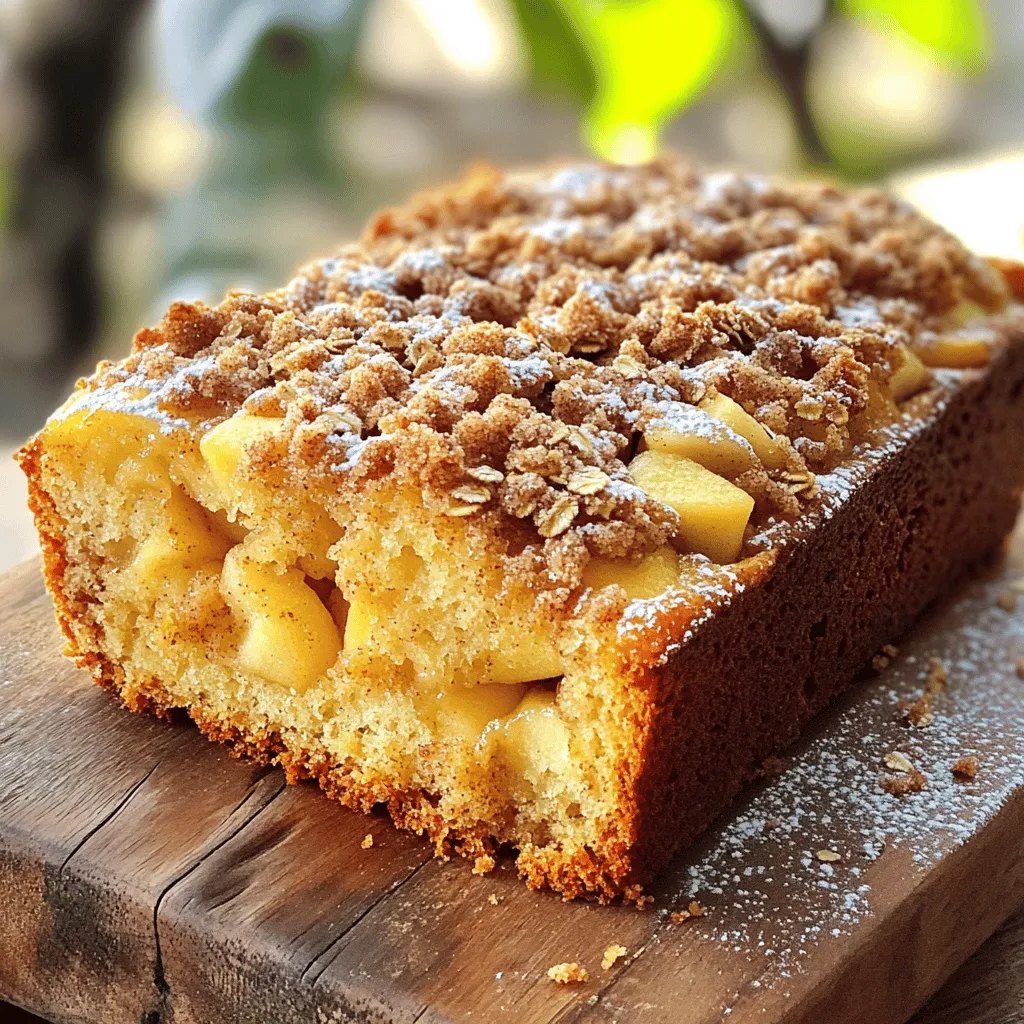
Are you ready to experience the warm and cozy flavors of Cinnamon Apple Bread? This rich treat blends sweet apples...
READ MORE →
Craving a sweet treat that’s both easy to make and delicious? Try my Super Moist Chocolate Chip Banana Bread! This...
READ MORE →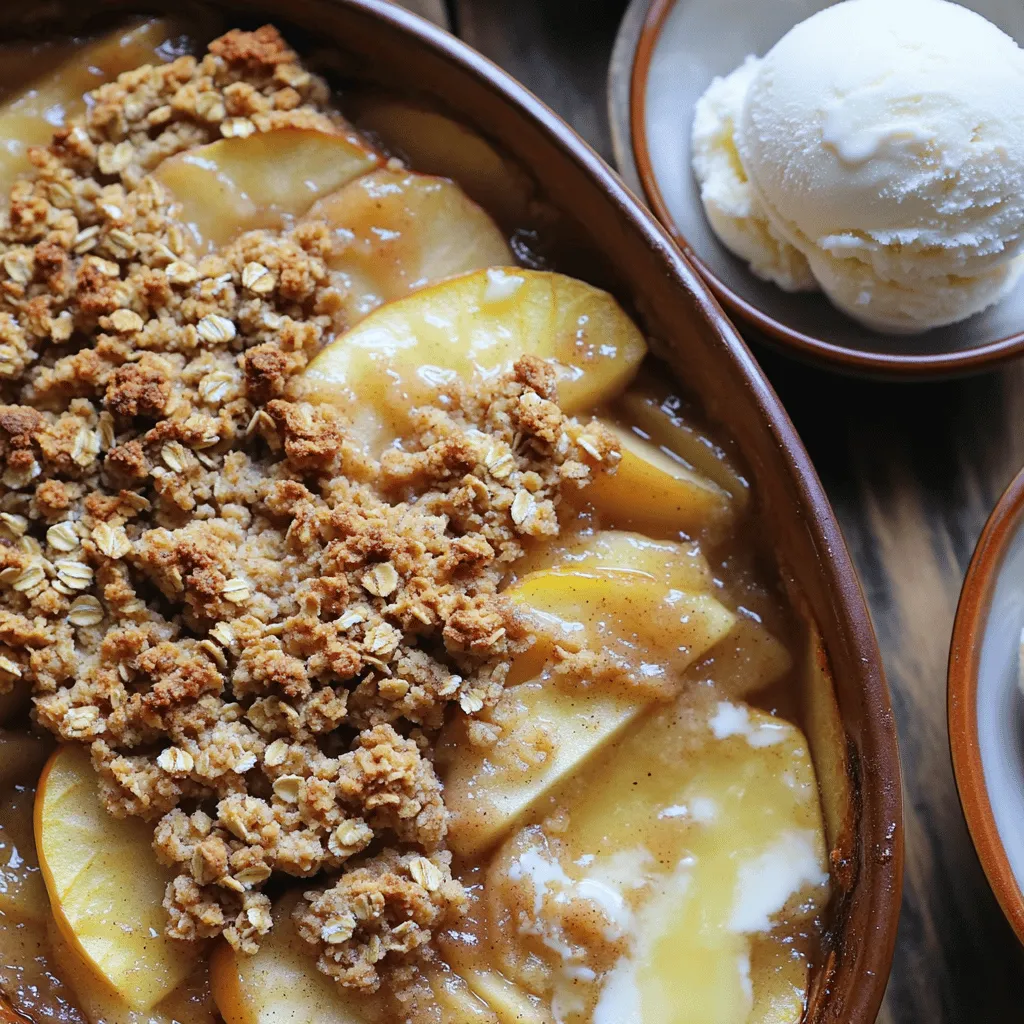
Welcome to my kitchen, where I’m excited to share my simple and delicious Oatmeal Streusel Apple Crisp! This warm dessert...
READ MORE →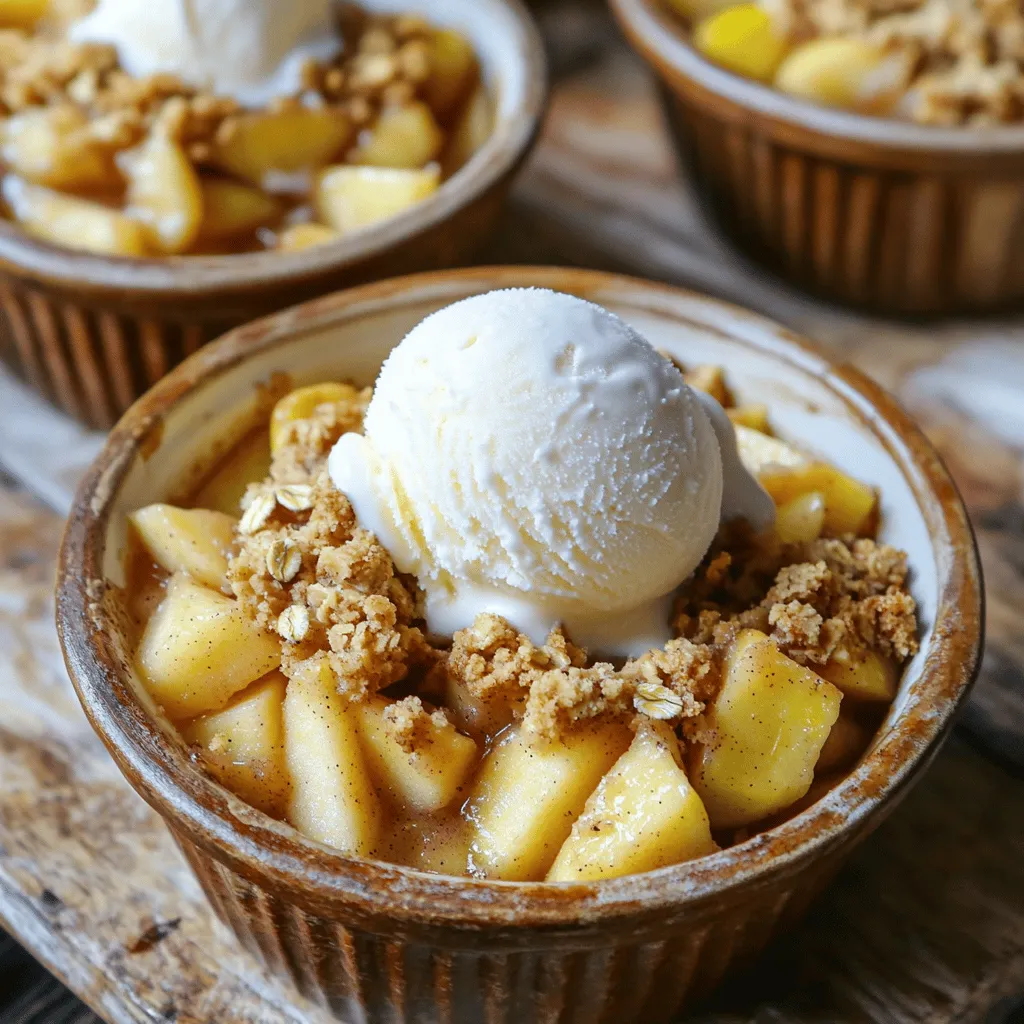
Craving a warm dessert but don’t want to bake a whole batch? Try my simple and delicious apple crumble for...
READ MORE →