DESSERTS
Ingredient Sugar Cookies Simple and Sweet Joy
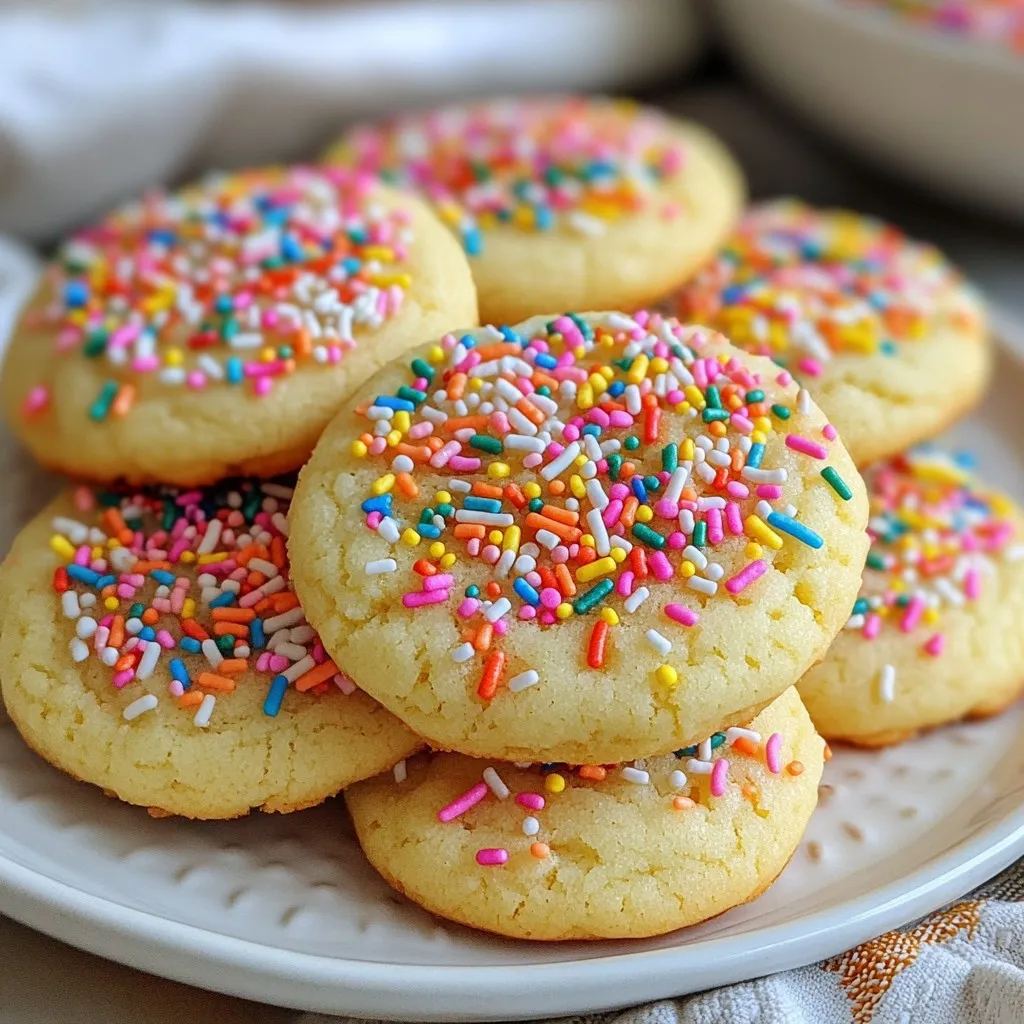
Welcome to the world of sugar cookies, where simple ingredients mix to create sweet joy! As you dive into this...
READ MORE →Explore our collection of desserts recipes
Welcome to the world of sugar cookies, where simple ingredients mix to create sweet joy! As you dive into this...
READ MORE →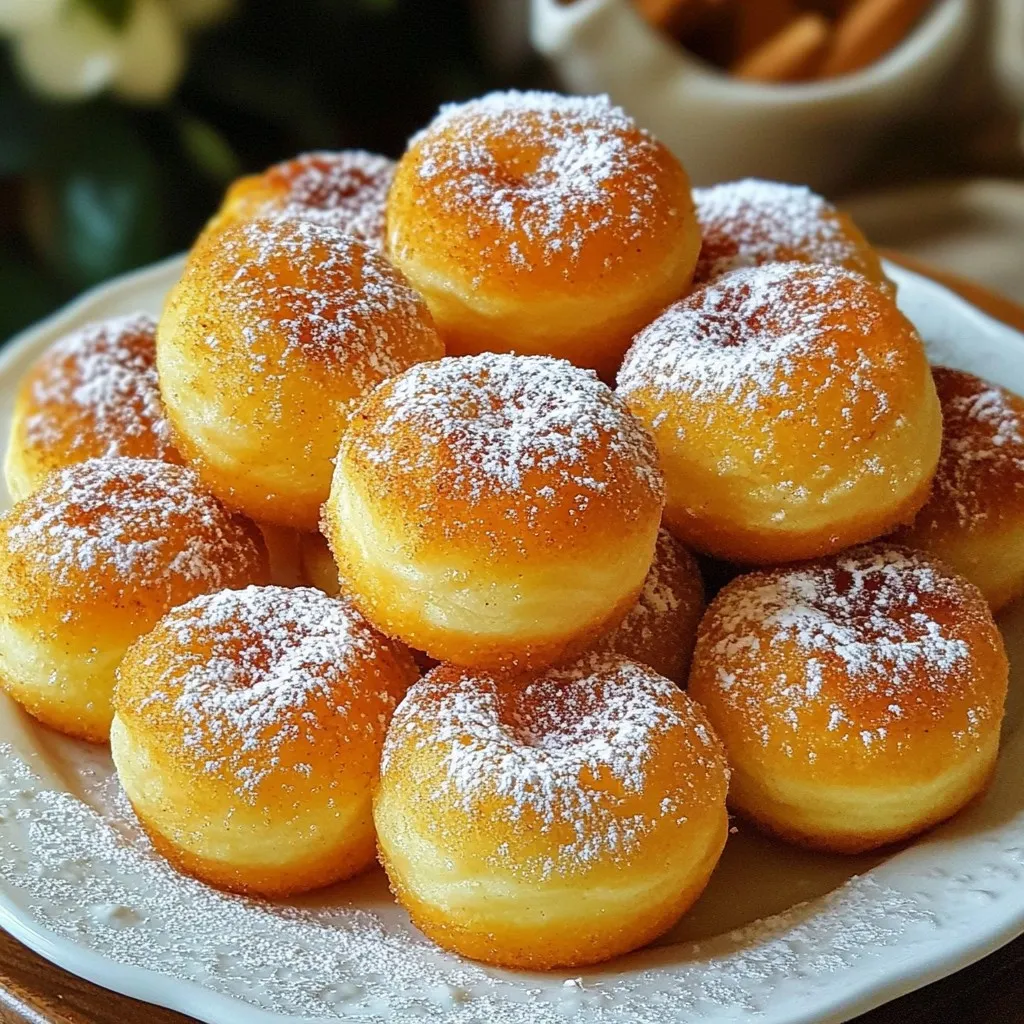
Want a quick and tasty snack that’s easy to make? You’re in the right place! Air Fryer Donut Bites are...
READ MORE →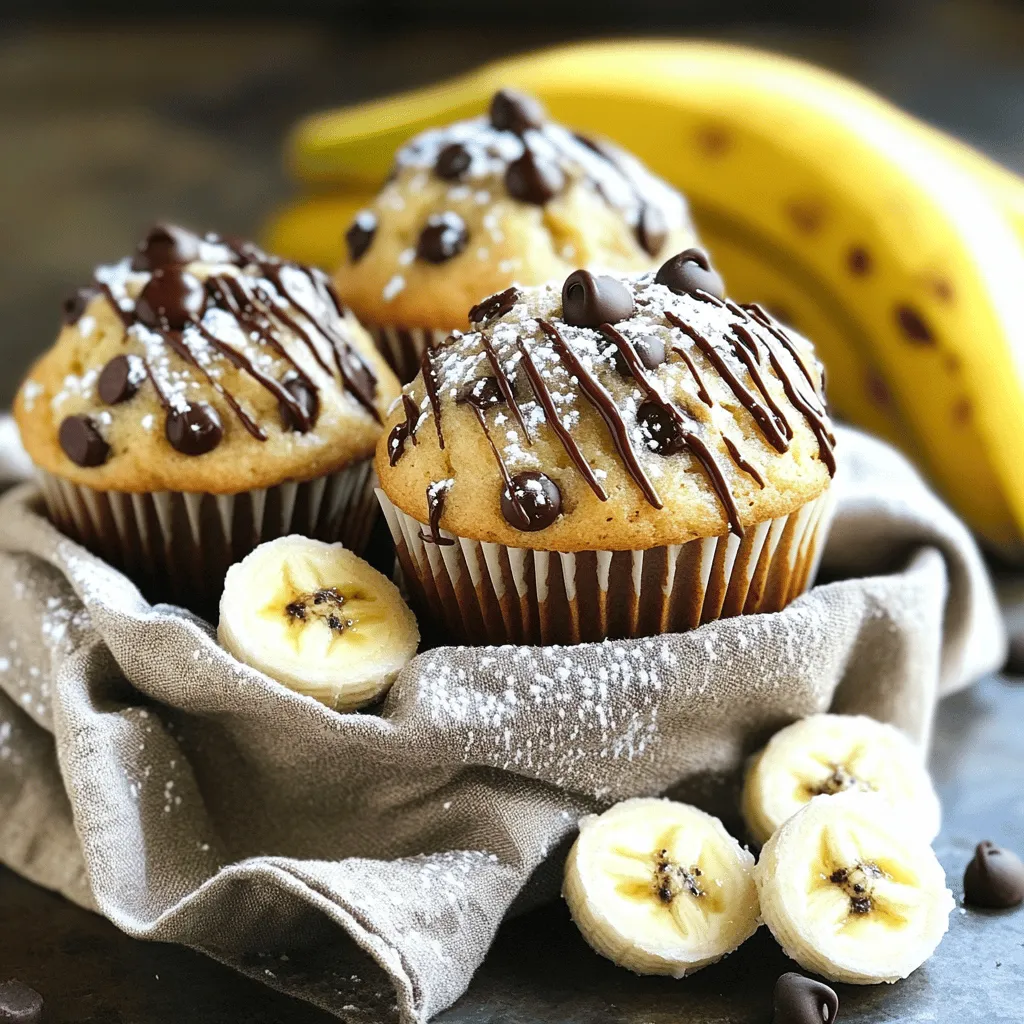
Craving a tasty treat that’s quick and easy? You’ll love these One-Bowl Banana Chocolate Chip Muffins! In just a few...
READ MORE →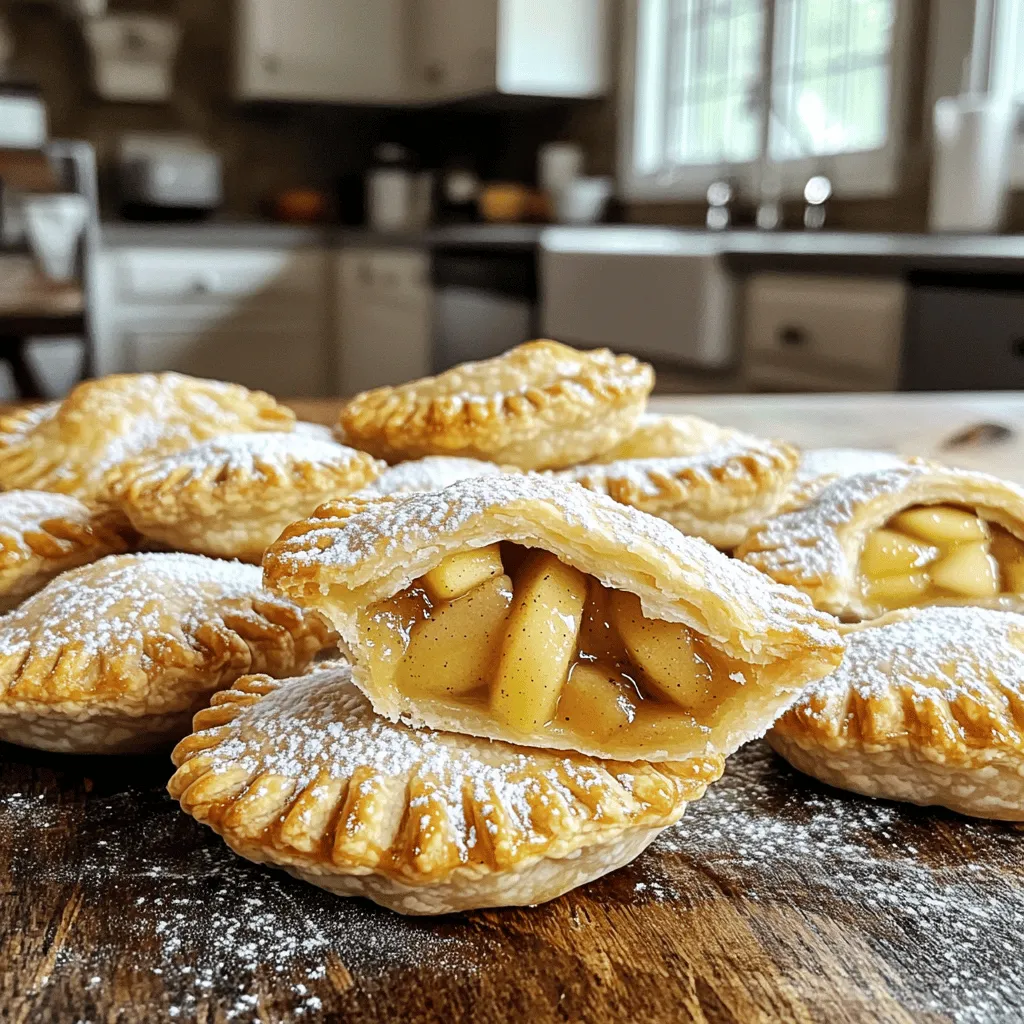
Craving a sweet treat that’s both fun and easy to make? Mini Apple Hand Pies are your answer! These delightful...
READ MORE →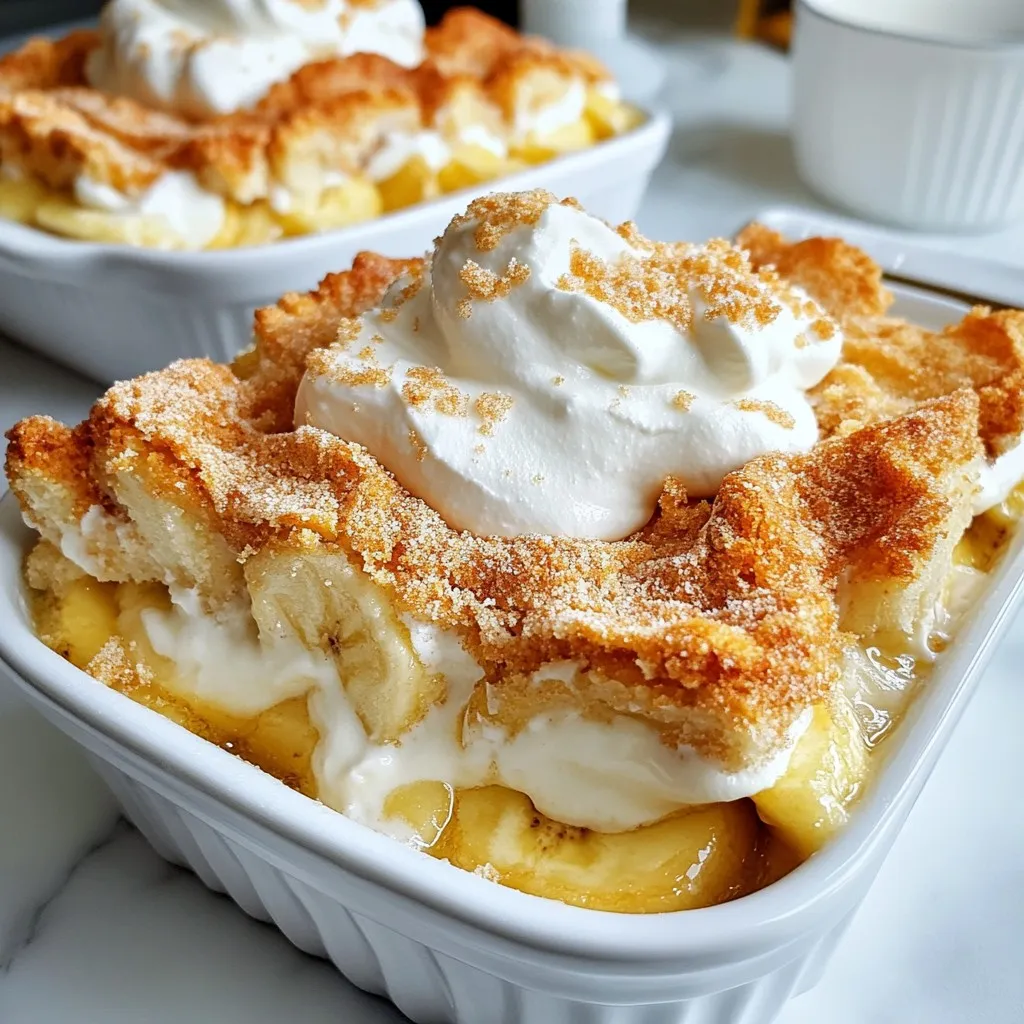
Looking for a dessert that sings Southern comfort? Meet the Southern Banana Pudding Cobbler! This easy, layered treat combines warm...
READ MORE →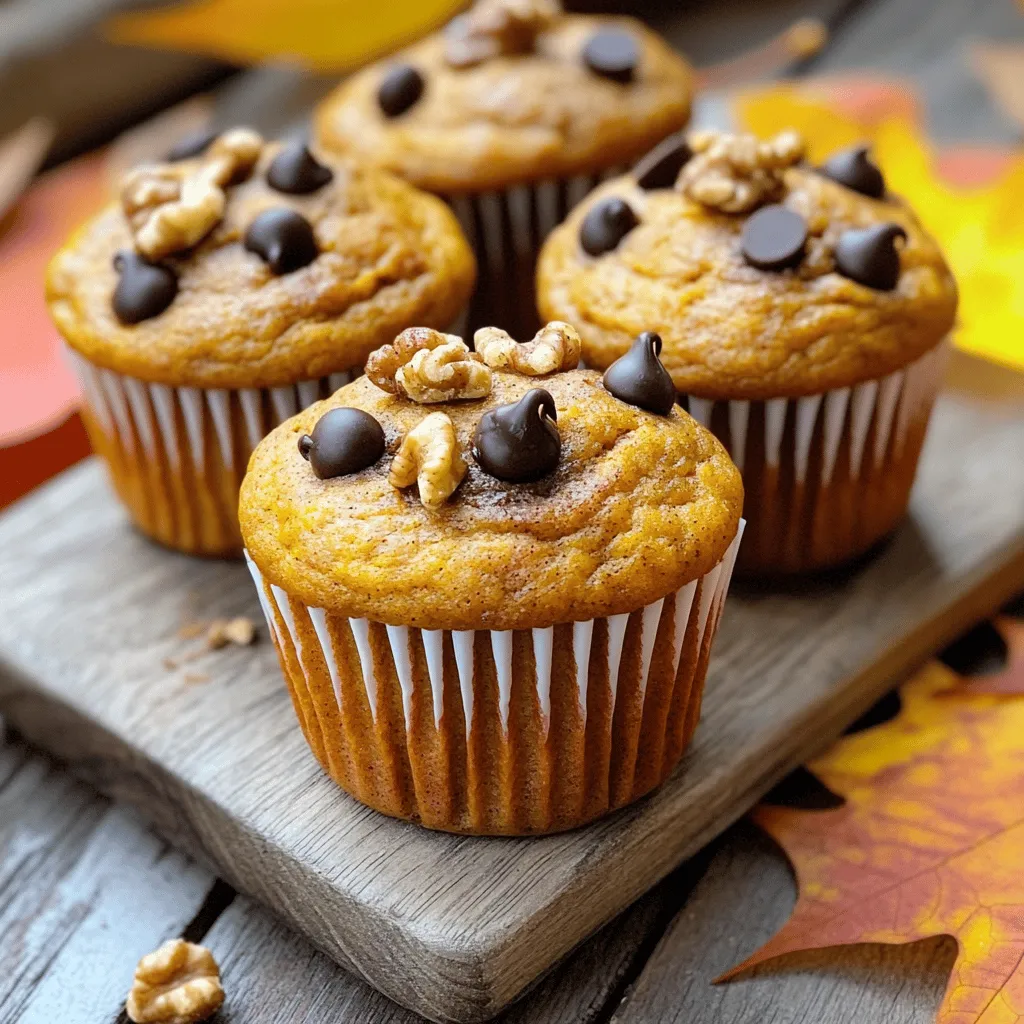
Are you ready to bake some delicious Healthy Pumpkin Muffins? This simple and tasty recipe is packed with nutrients. You’ll...
READ MORE →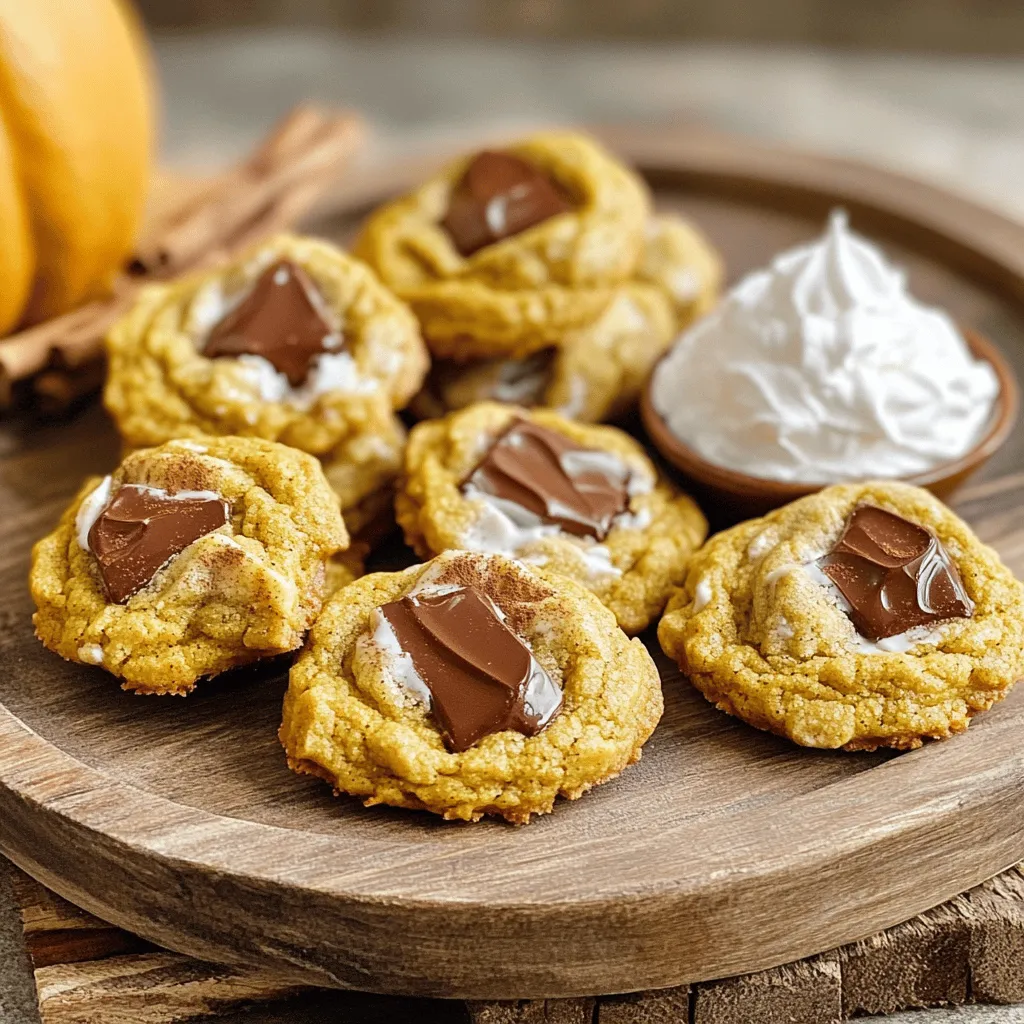
Fall is the perfect time for a sweet treat, and these Vegan Pumpkin Pie Cookies are a must-try! Made with...
READ MORE →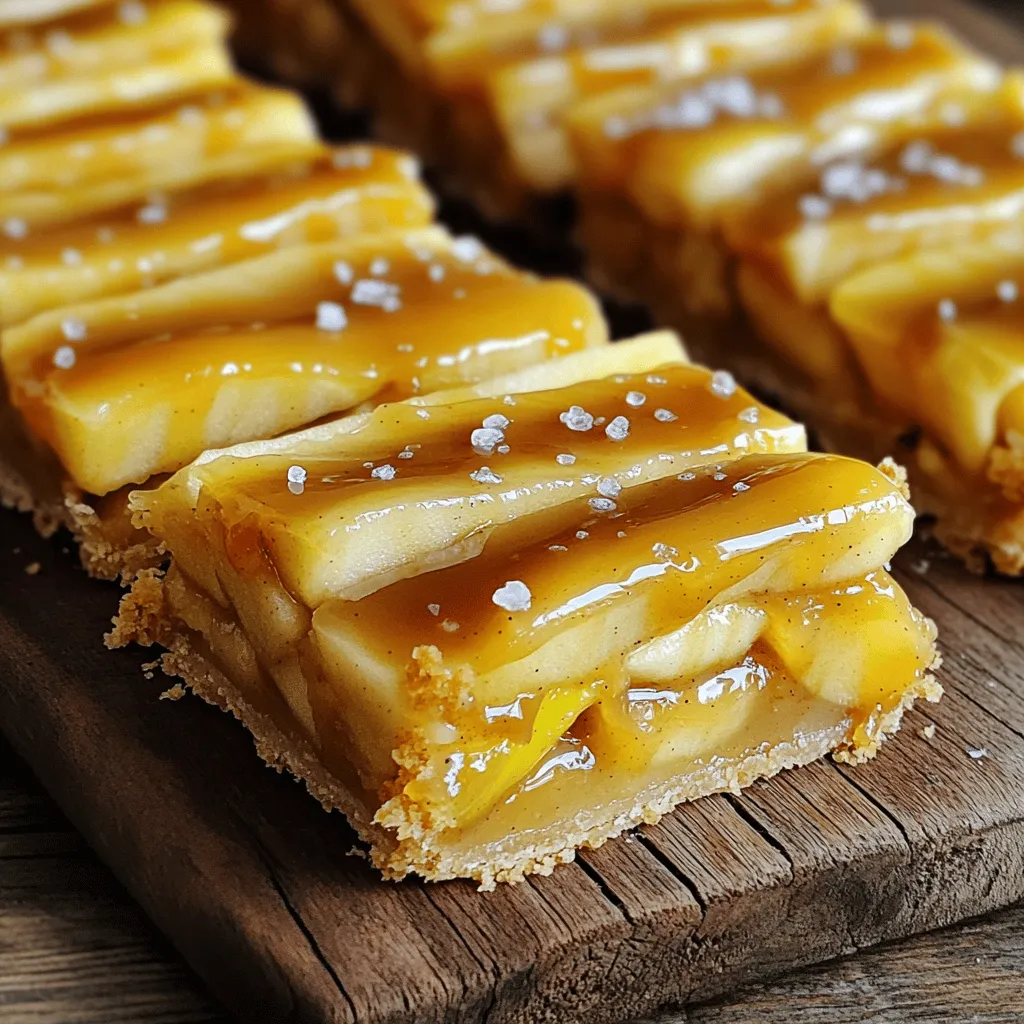
If you crave a treat that combines sweet apples, rich caramel, and a buttery crust, you’re in for a delight!...
READ MORE →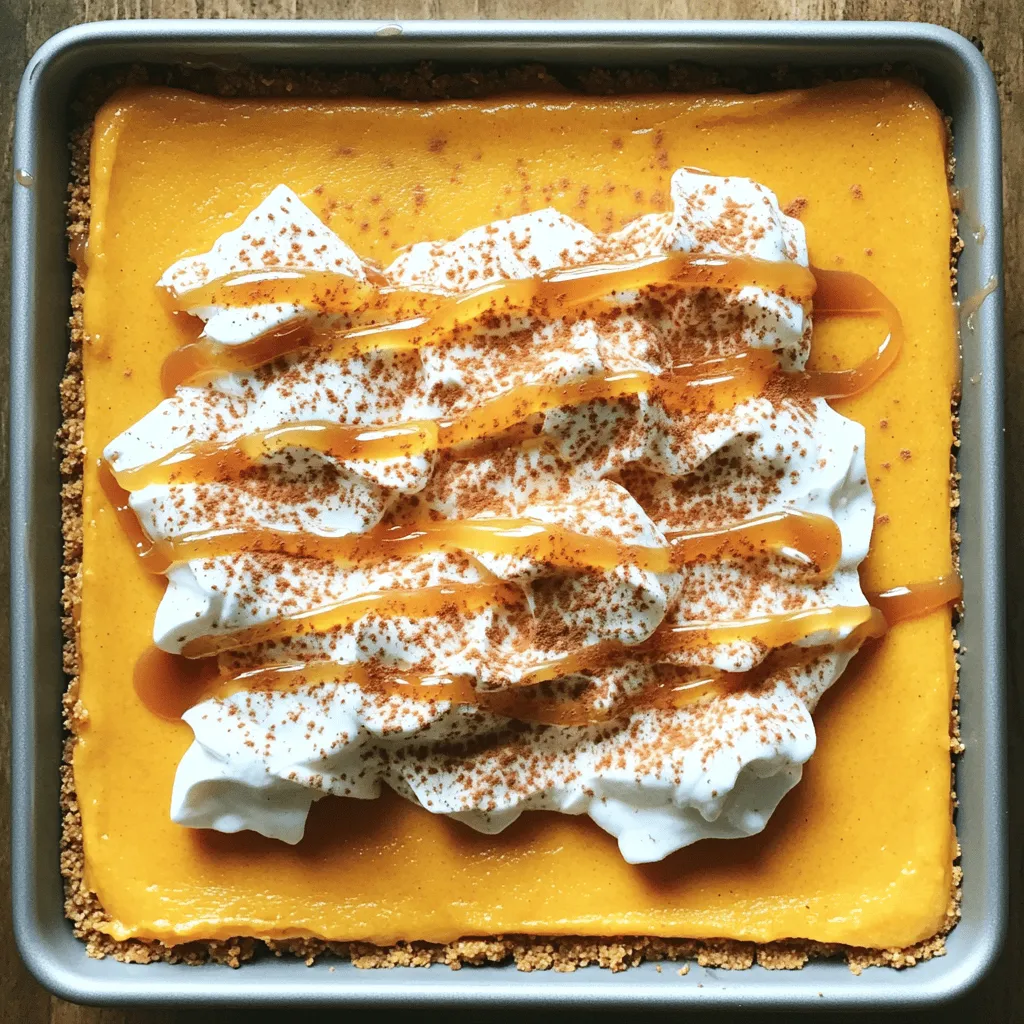
Craving a dessert that’s both easy and delicious? Look no further than these No-Bake Pumpkin Cheesecake Bars! With creamy layers...
READ MORE →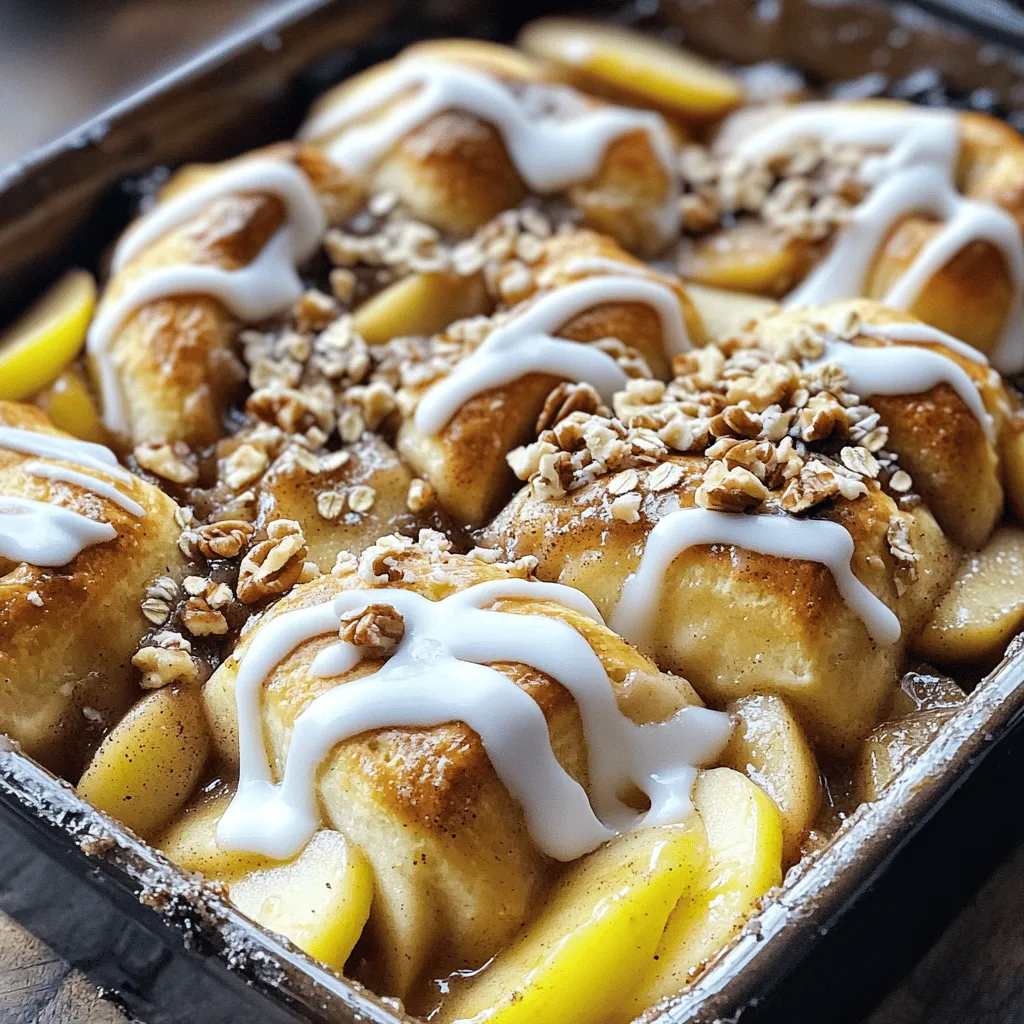
If you crave a quick and easy dessert that bursts with flavor, you’re in the right place! This Cinnamon Roll...
READ MORE →