
DESSERTS
Cinnamon Roll Oatmeal Bars Tasty and Easy Treat
Craving a sweet and satisfying treat? Try out these Cinnamon Roll Oatmeal Bars! They combine warm, gooey flavors with a...
READ MORE →Explore our collection of desserts recipes
Craving a sweet and satisfying treat? Try out these Cinnamon Roll Oatmeal Bars! They combine warm, gooey flavors with a...
READ MORE →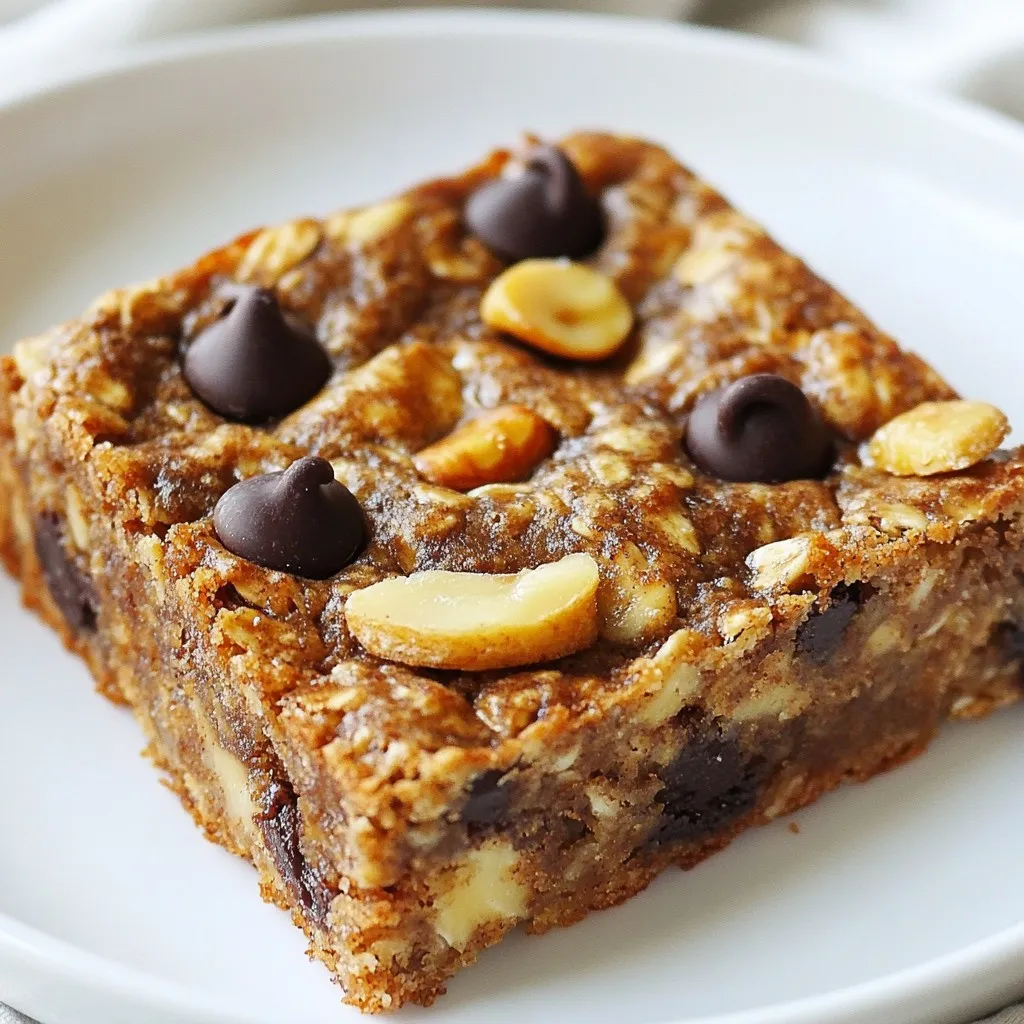
Looking for a tasty snack that’s both healthy and easy to make? You’ve found it! These Healthy Banana Oatmeal Bars...
READ MORE →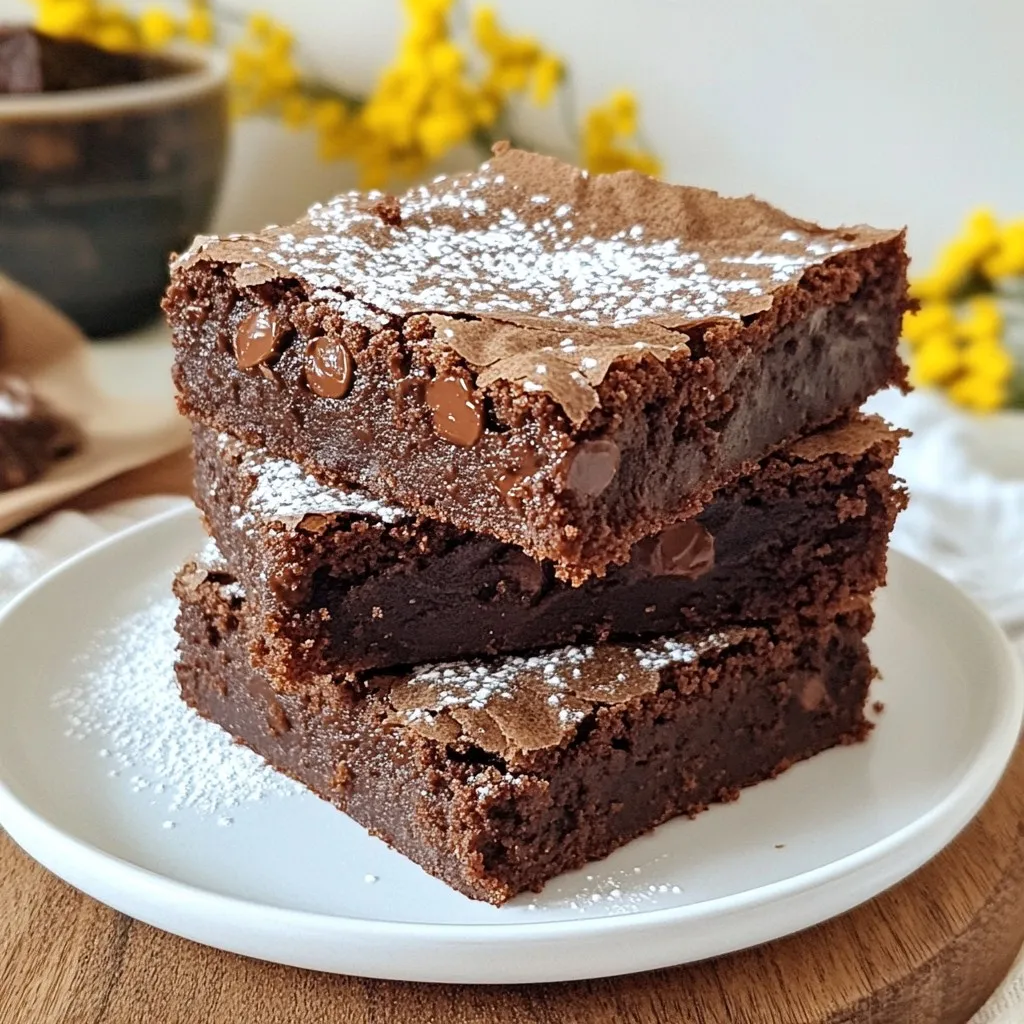
If you crave a quick and delicious dessert, these one bowl brownies are just for you. With just a few...
READ MORE →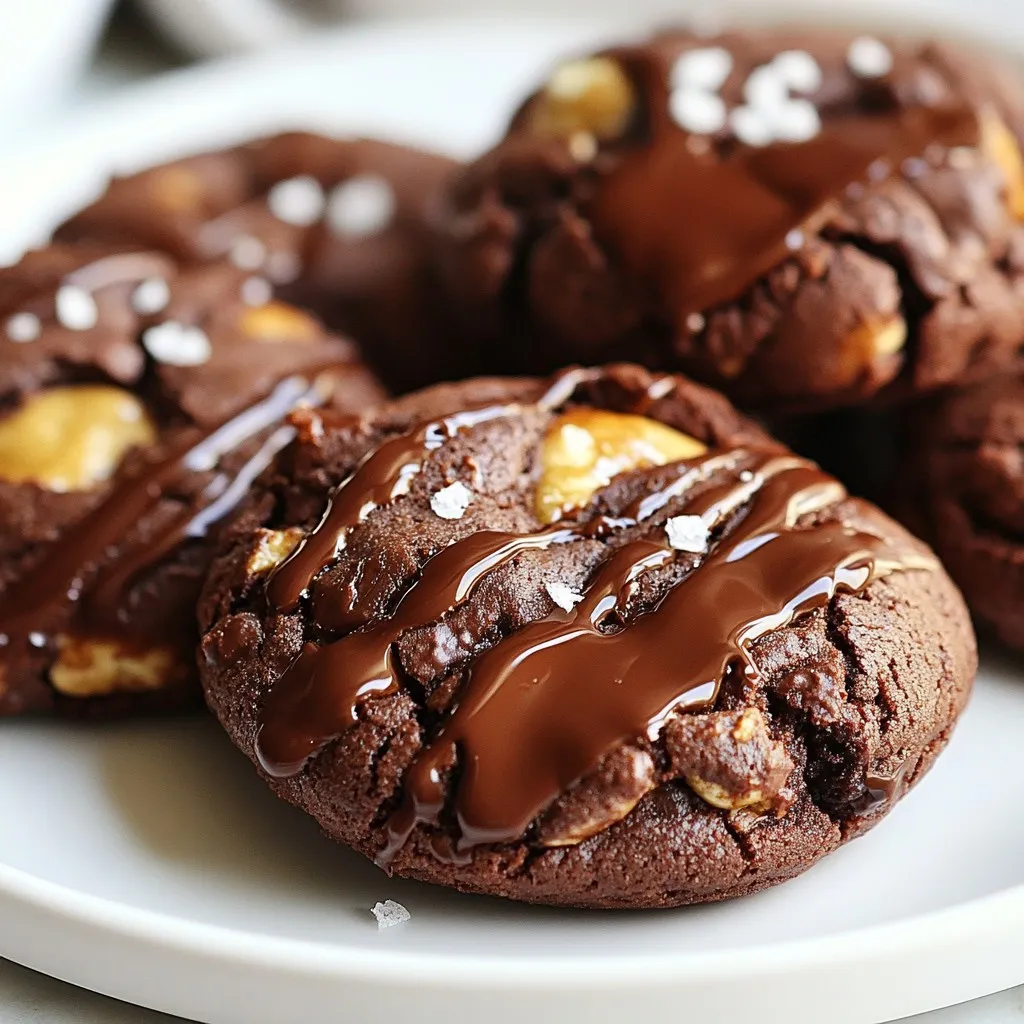
Are you ready for a sweet treat that combines brownies and cookies? Fudgy Brookie Cookies blend the best of both...
READ MORE →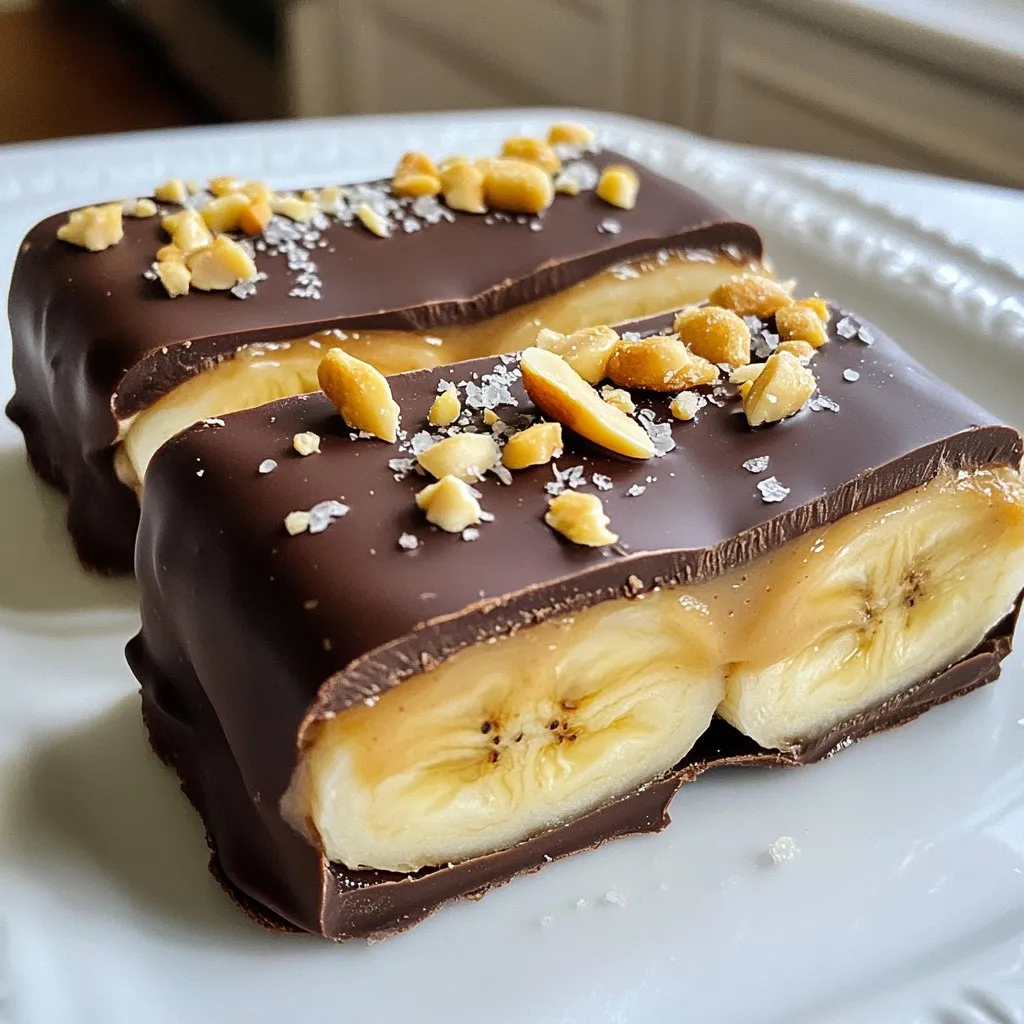
Craving a sweet treat that won’t ruin your diet? Let me introduce you to Low-Cal Frozen Banana Snickers! This simple...
READ MORE →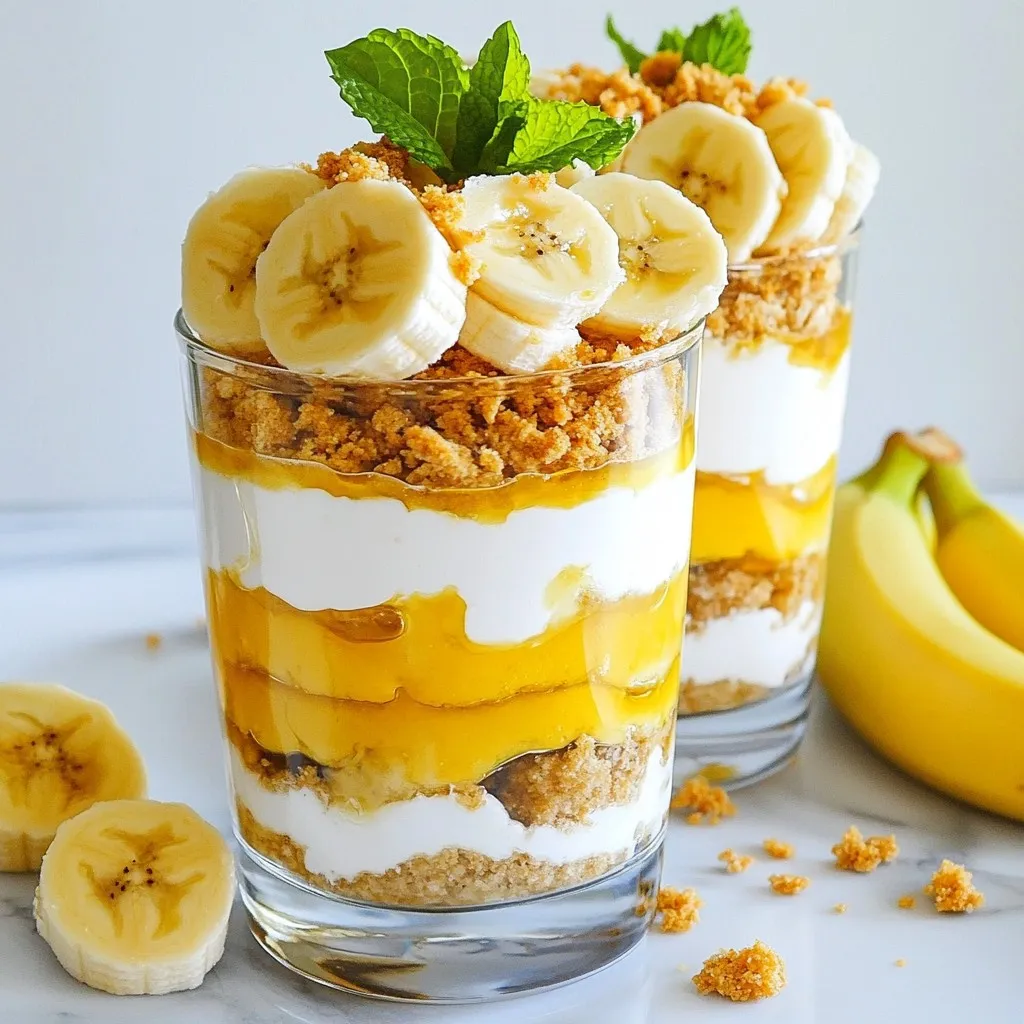
Looking for a sweet yet healthy treat? Cottage Cheese Banana Pudding is your answer! I’ll show you how to whip...
READ MORE →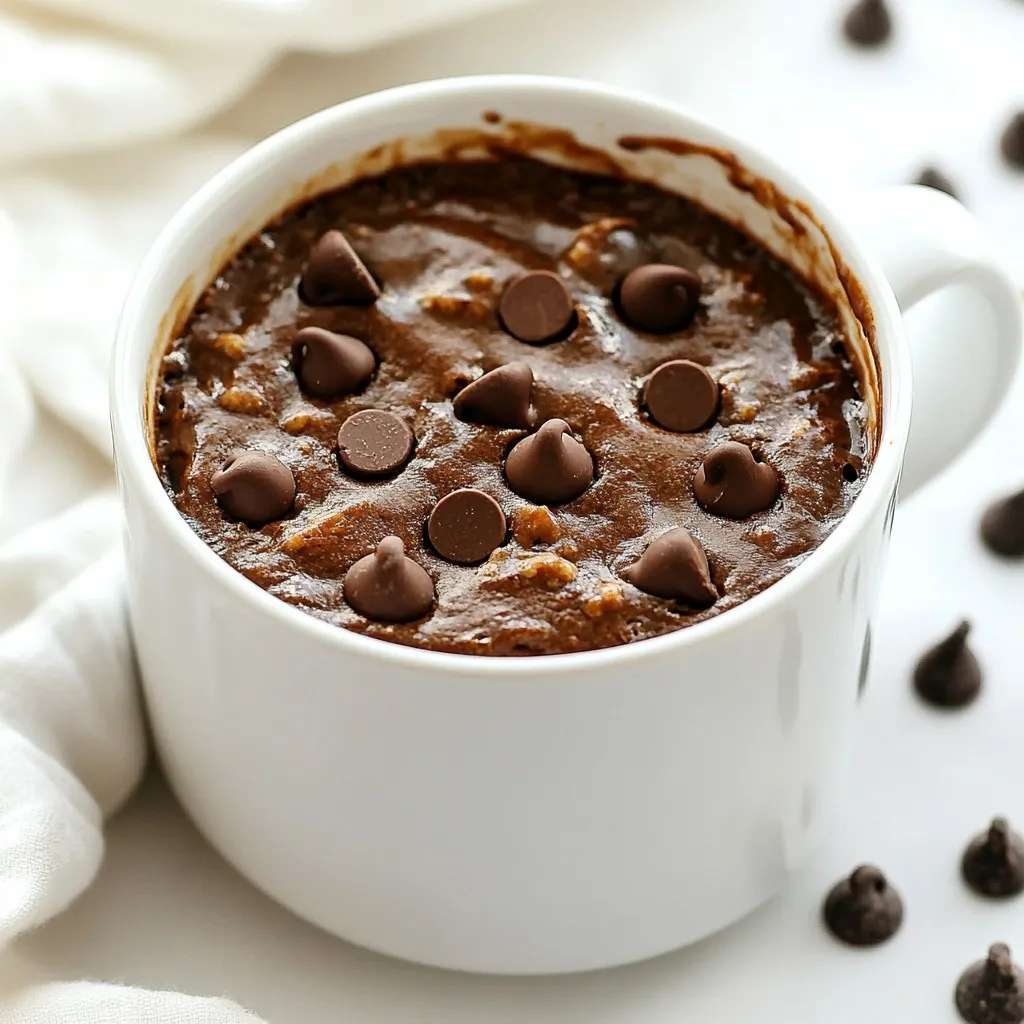
Craving a quick and tasty treat? Let me introduce you to the Secret Cookie Mug Cake! This delightful dessert combines...
READ MORE →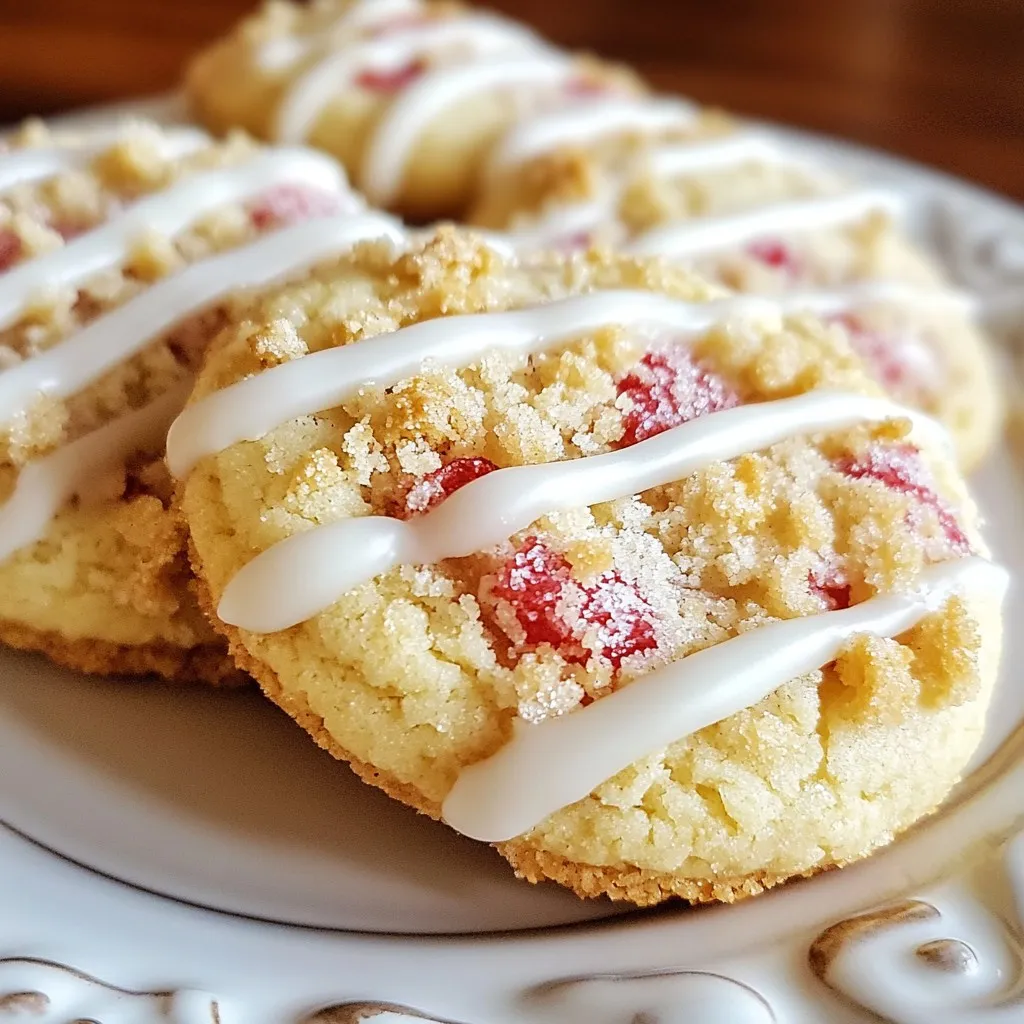
Get ready to treat your taste buds with my Strawberry Crunch Shortcake Cookies! This recipe blends sweet, crunchy, and creamy...
READ MORE →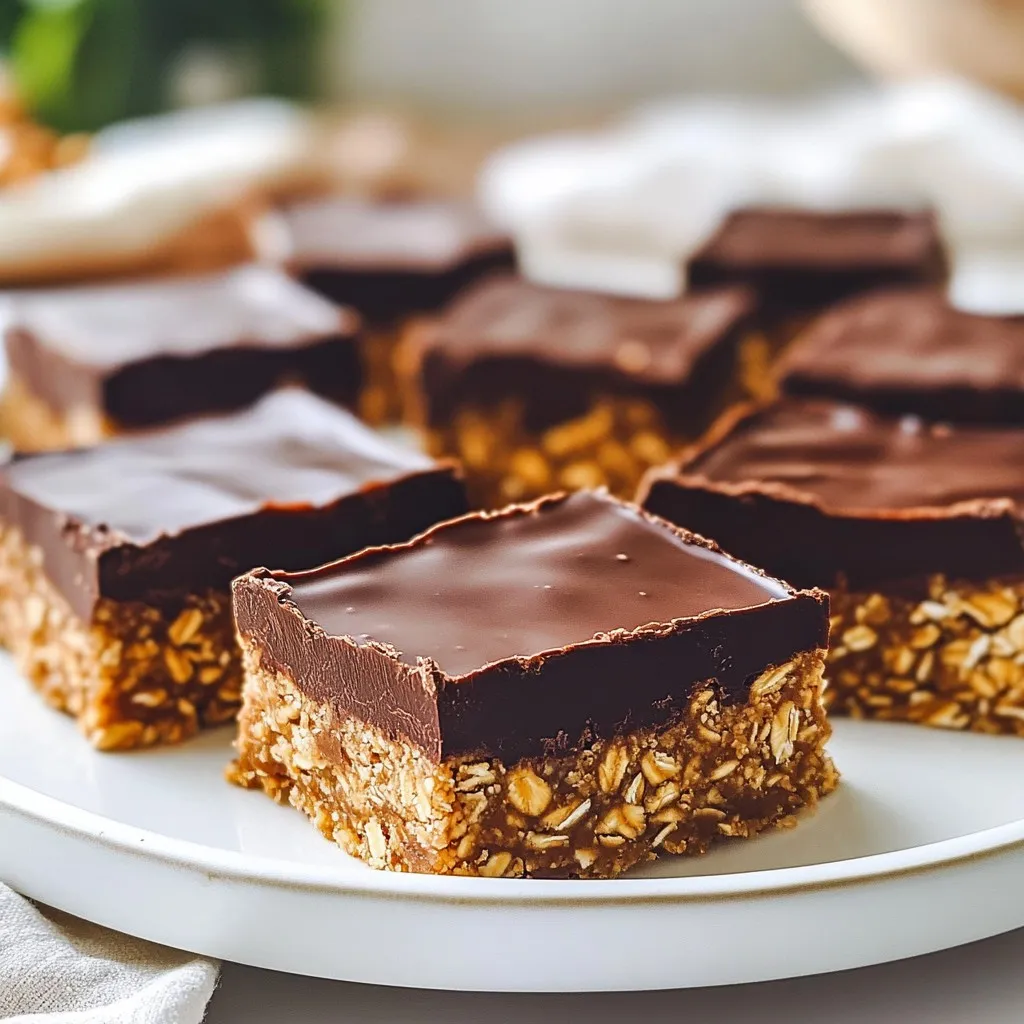
Craving something sweet but short on time? These No Bake Chocolate Peanut Butter Bars are the answer! With simple ingredients...
READ MORE →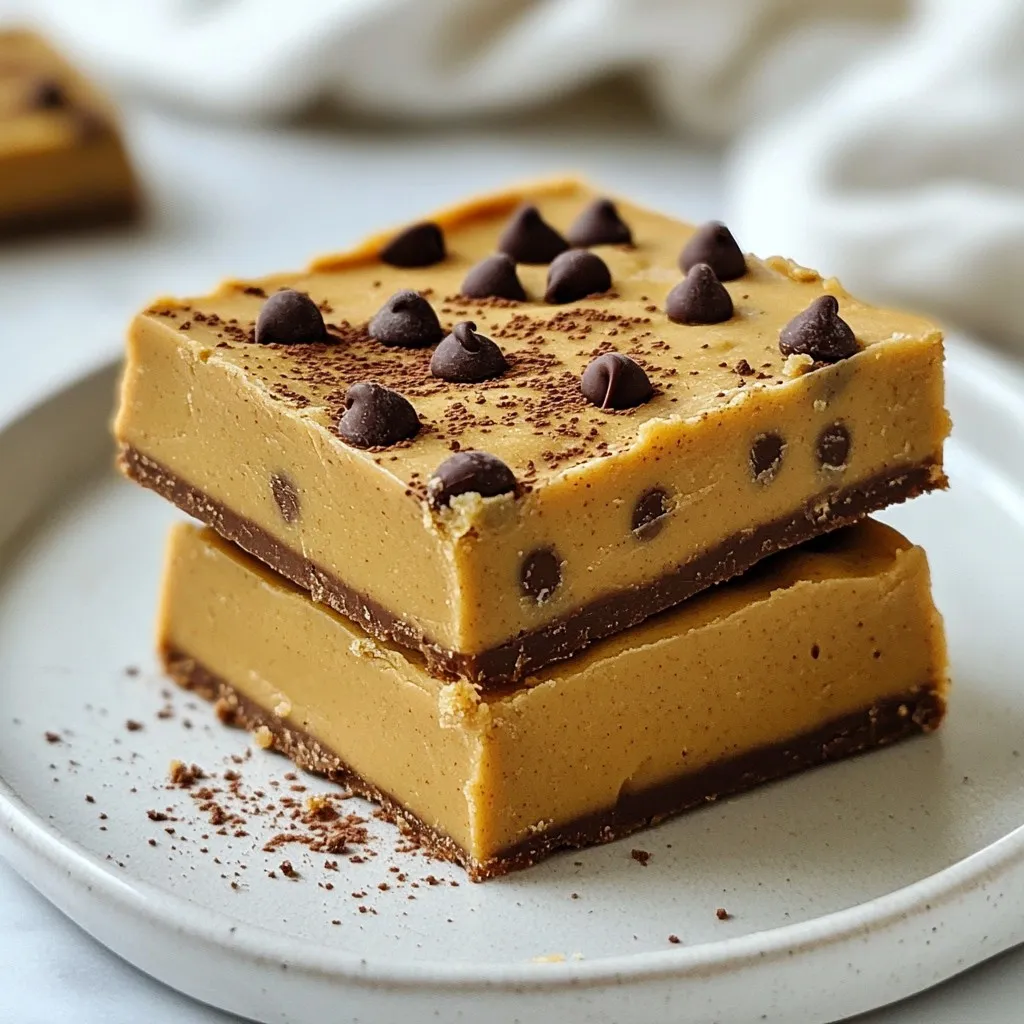
Who doesn’t love cookie dough? Today, I’m excited to share my easy no-bake cookie dough bars that pack flavor in...
READ MORE →