DESSERTS
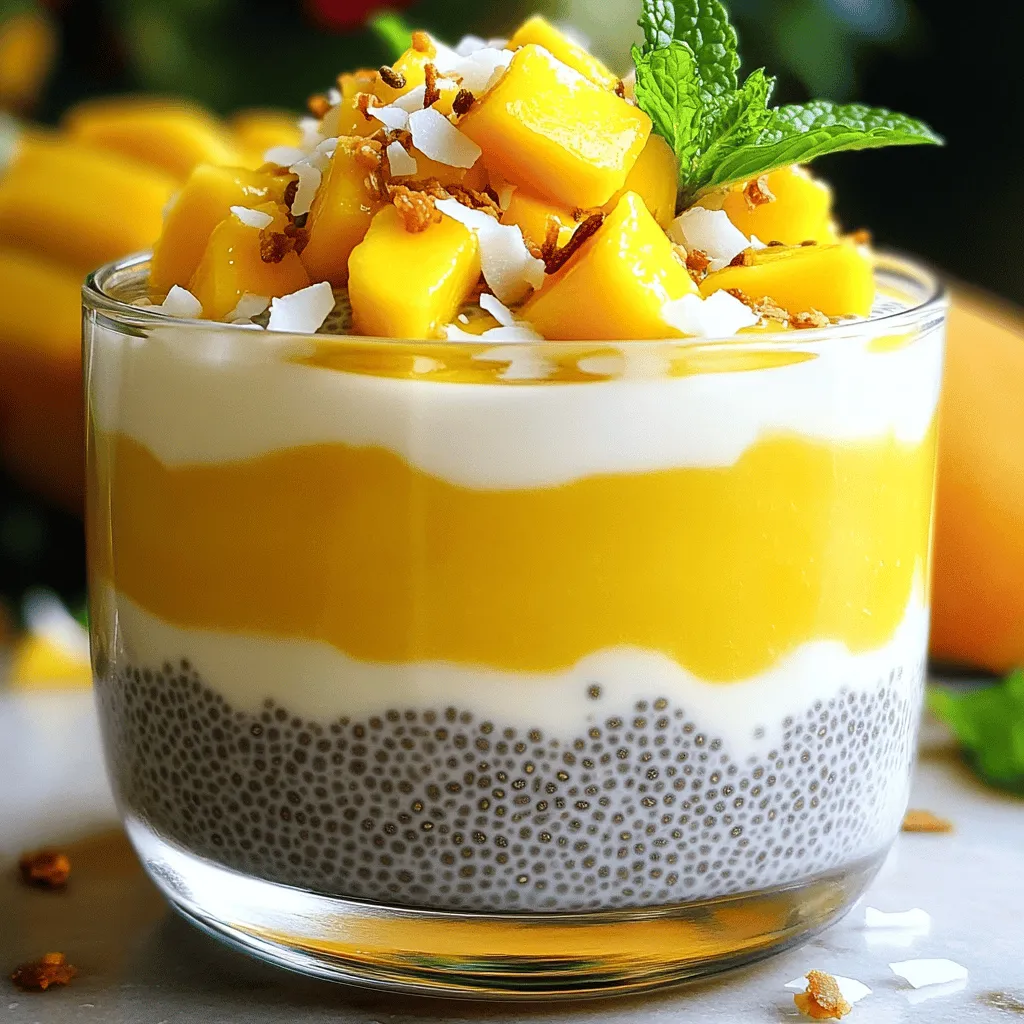
Mango Coconut Chia Pudding Creamy Delight Recipe
Ready to indulge in a creamy delight? This Mango Coconut Chia Pudding is a perfect mix of flavors and textures....
READ MORE →Explore our collection of desserts recipes
Ready to indulge in a creamy delight? This Mango Coconut Chia Pudding is a perfect mix of flavors and textures....
READ MORE →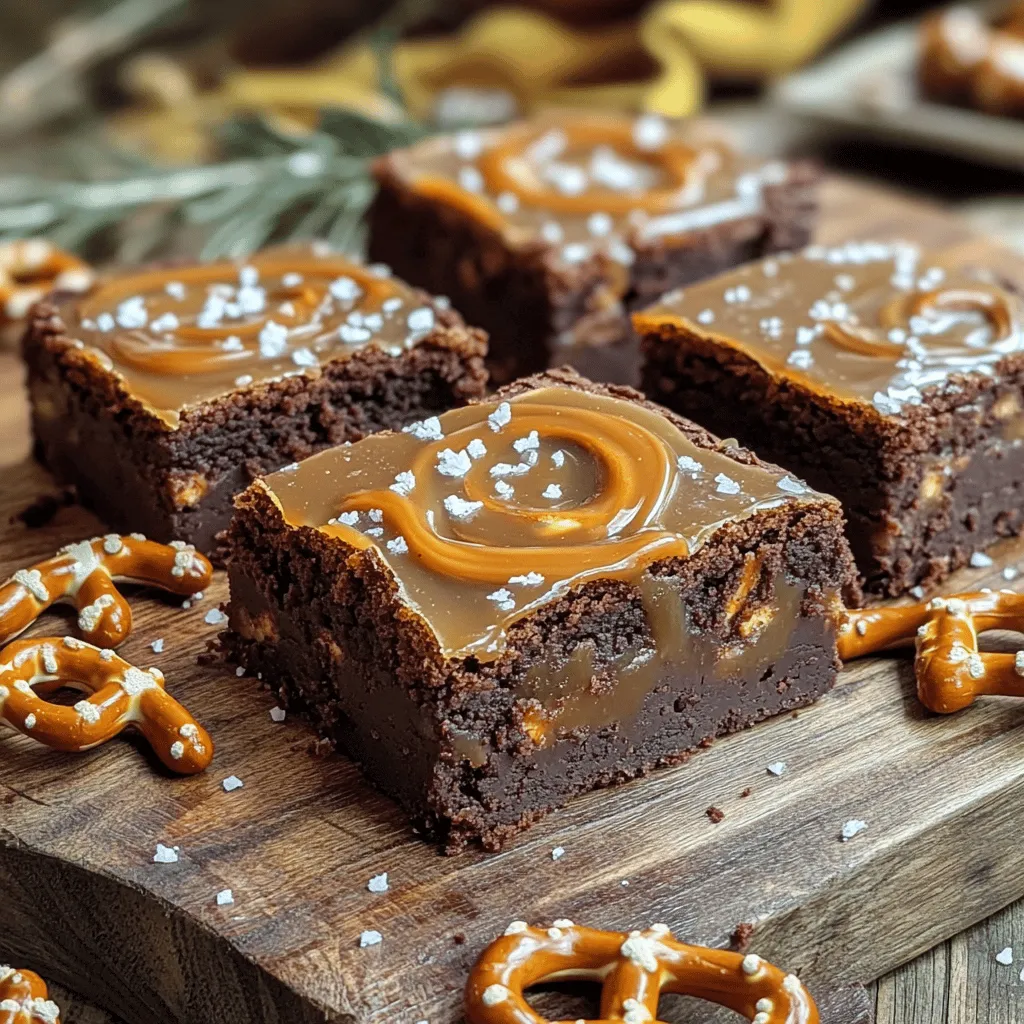
Are you ready to indulge in a sweet, salty treat? Salted Caramel Pretzel Brownies are the perfect mix of rich...
READ MORE →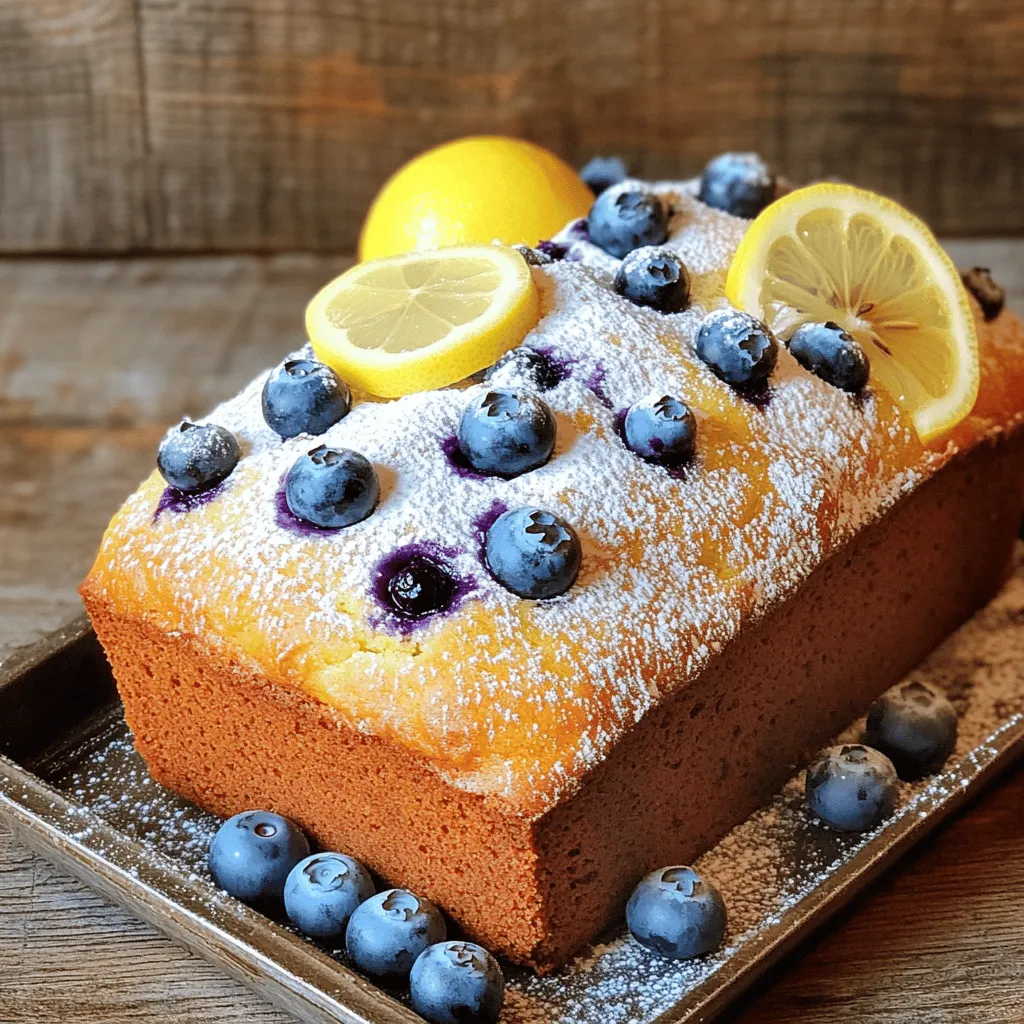
If you’re craving a bright and tasty treat, look no further than this Lemon Blueberry Yogurt Loaf! Packed with fresh...
READ MORE →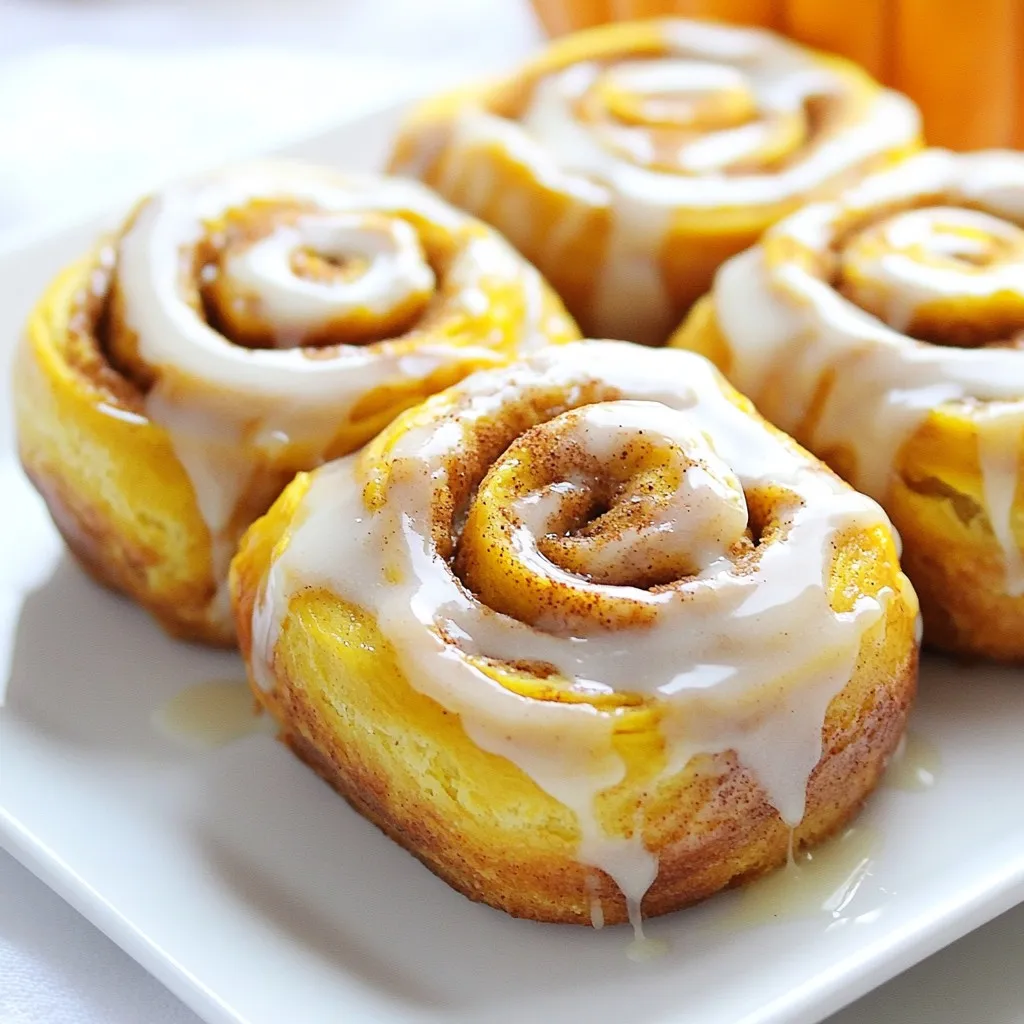
Fall is here, and it’s the perfect time to bake something sweet! Imagine warm, fluffy Pumpkin Cinnamon Rolls, bursting with...
READ MORE →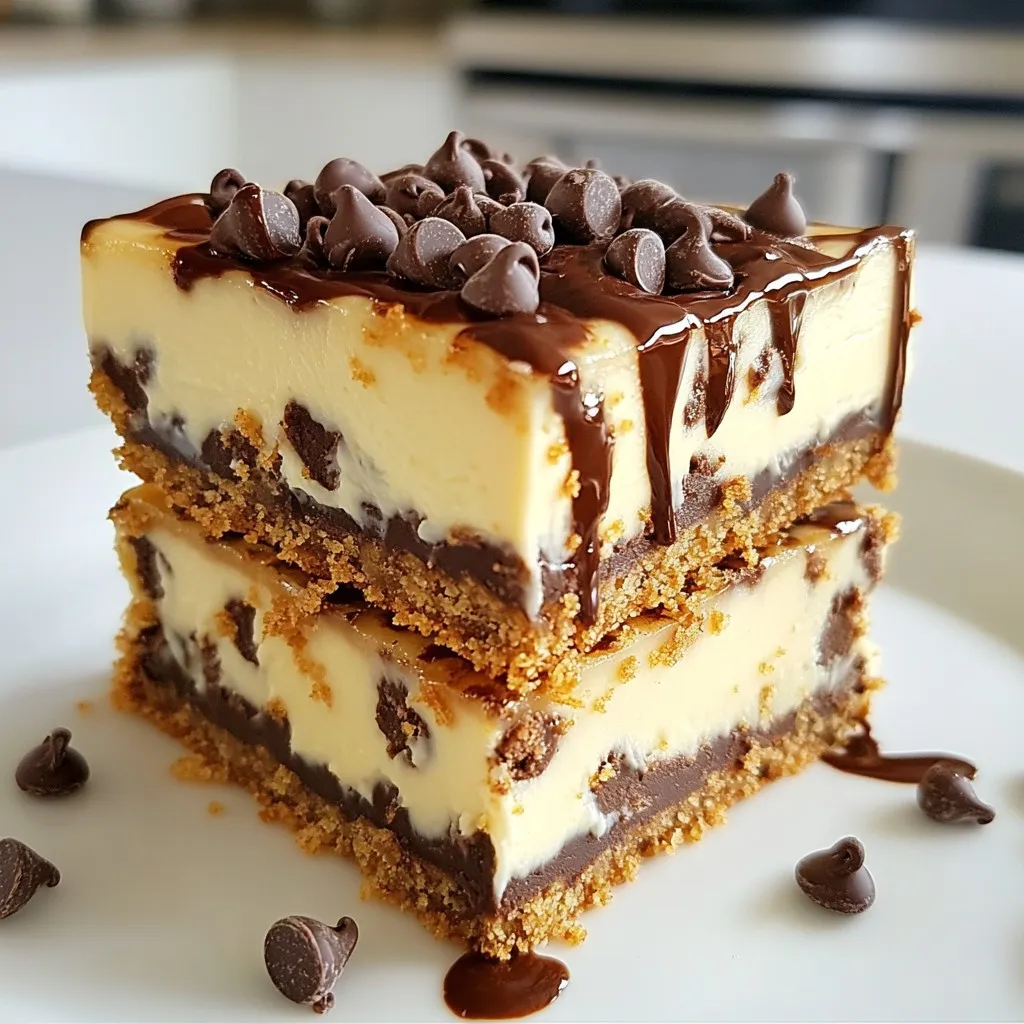
Are you looking for a dessert that combines creamy cheesecake with the joy of chocolate chips? Look no further! These...
READ MORE →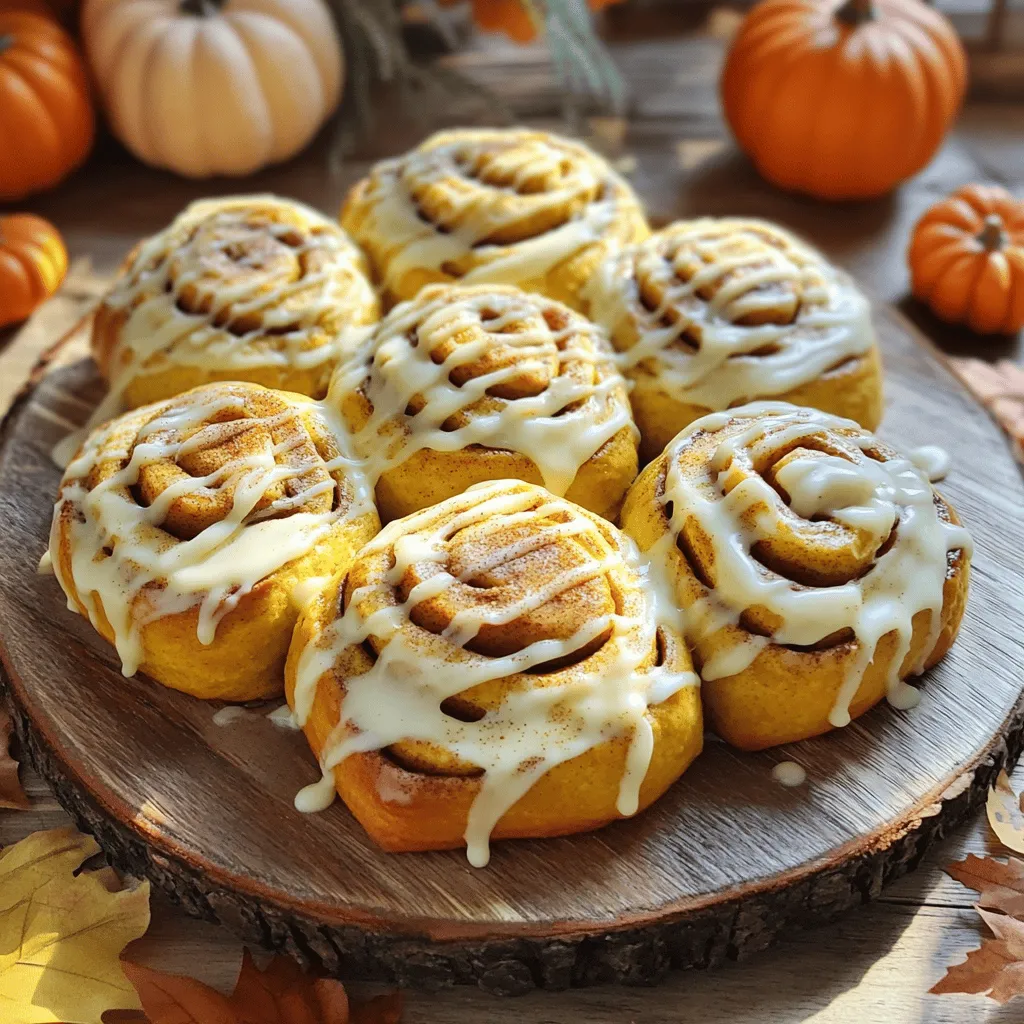
If you love cozy treats, pumpkin cinnamon rolls are a must-try. Imagine soft, warm rolls swirled with sweet pumpkin and...
READ MORE →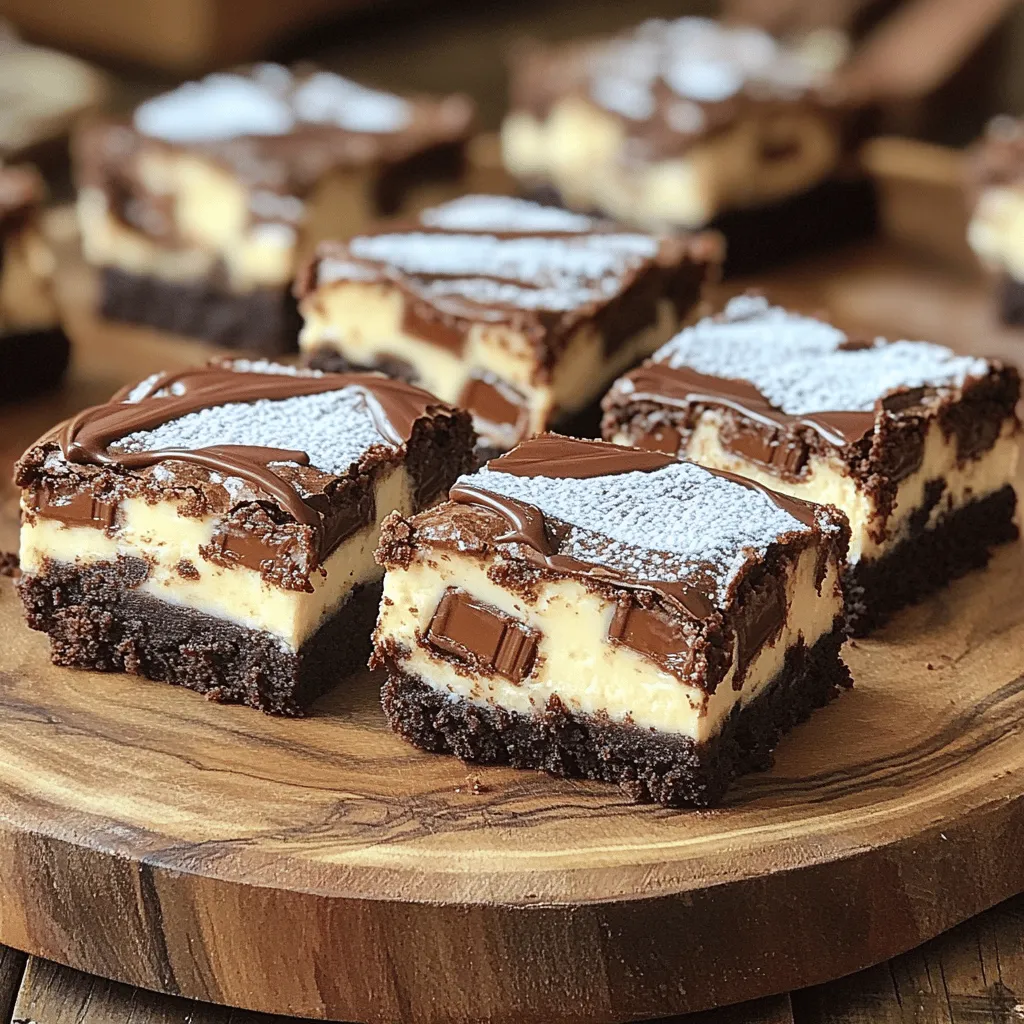
Are you ready to take dessert to the next level? These Milky Way Cheesecake Brownies are rich, creamy, and full...
READ MORE →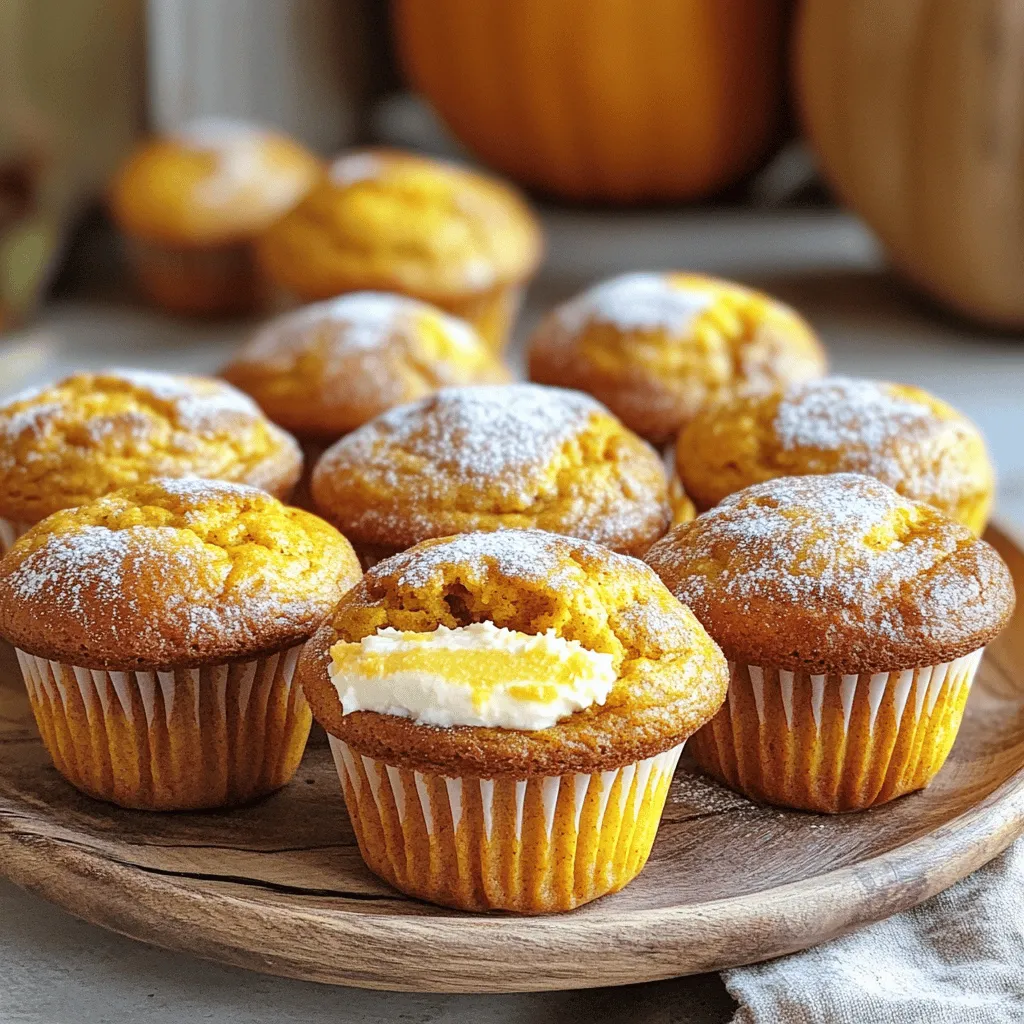
Fall is the season for cozy flavors, and there’s nothing better than Pumpkin Cream Cheese Muffins! These tasty treats blend...
READ MORE →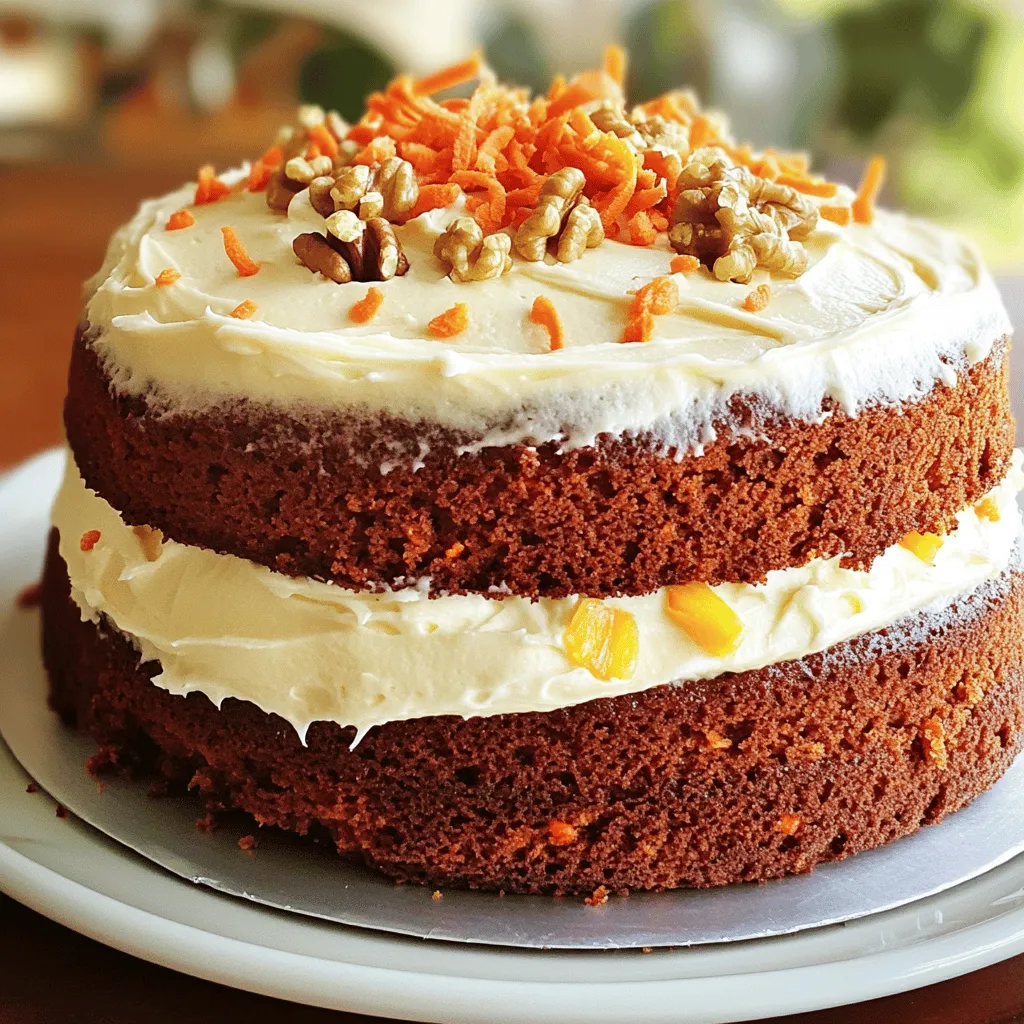
Craving a dessert that combines rich flavors with moist texture? Look no further! In this blog post, I’ll guide you...
READ MORE →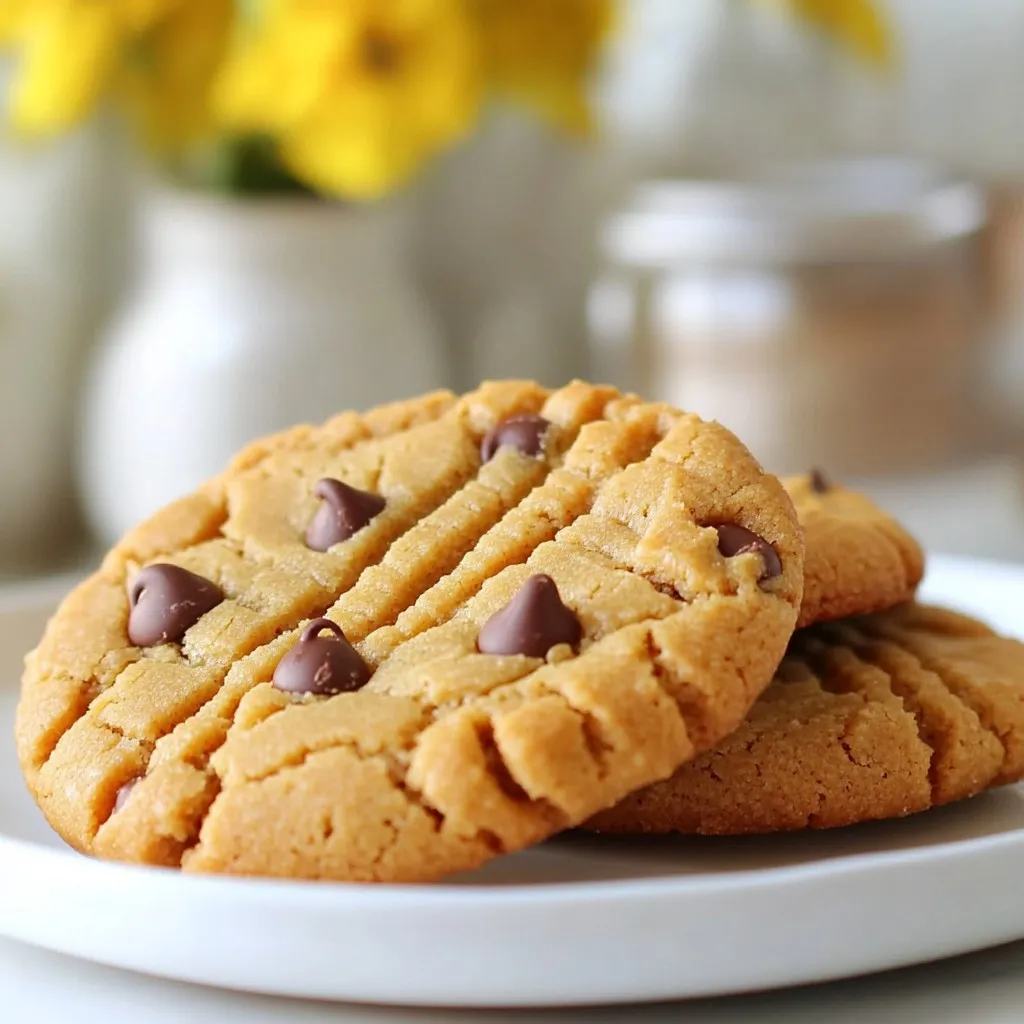
If you’re craving a sweet treat that fits your gluten-free lifestyle, you’re in the right place! I’ll show you how...
READ MORE →