DESSERTS
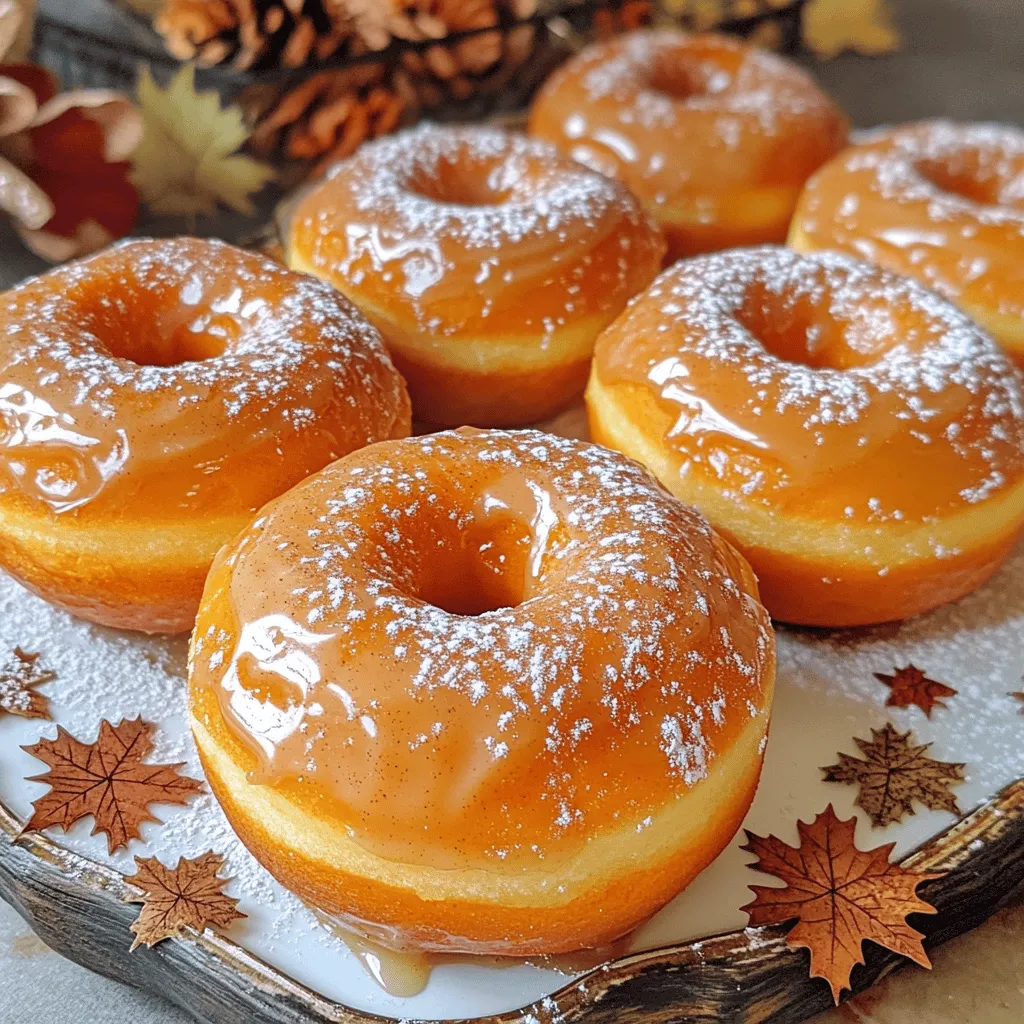
Maple Glazed Sweet Potato Donuts Simple Delight
Craving a sweet treat that’s also wholesome? You’re in the right place! My Maple Glazed Sweet Potato Donuts are simple...
READ MORE →Explore our collection of desserts recipes
Craving a sweet treat that’s also wholesome? You’re in the right place! My Maple Glazed Sweet Potato Donuts are simple...
READ MORE →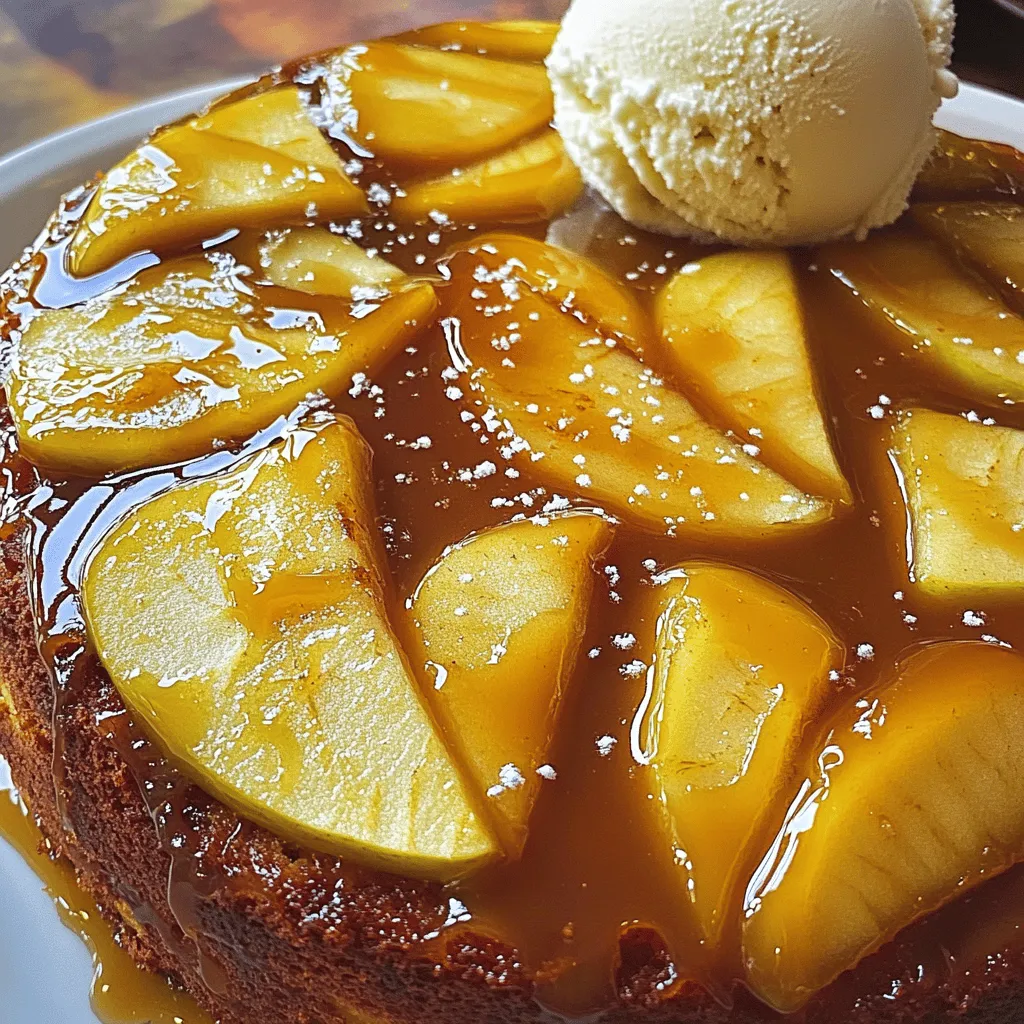
Are you ready to impress your friends and family with a mouthwatering dessert? Let’s make a Salted Caramel Apple Upside-Down...
READ MORE →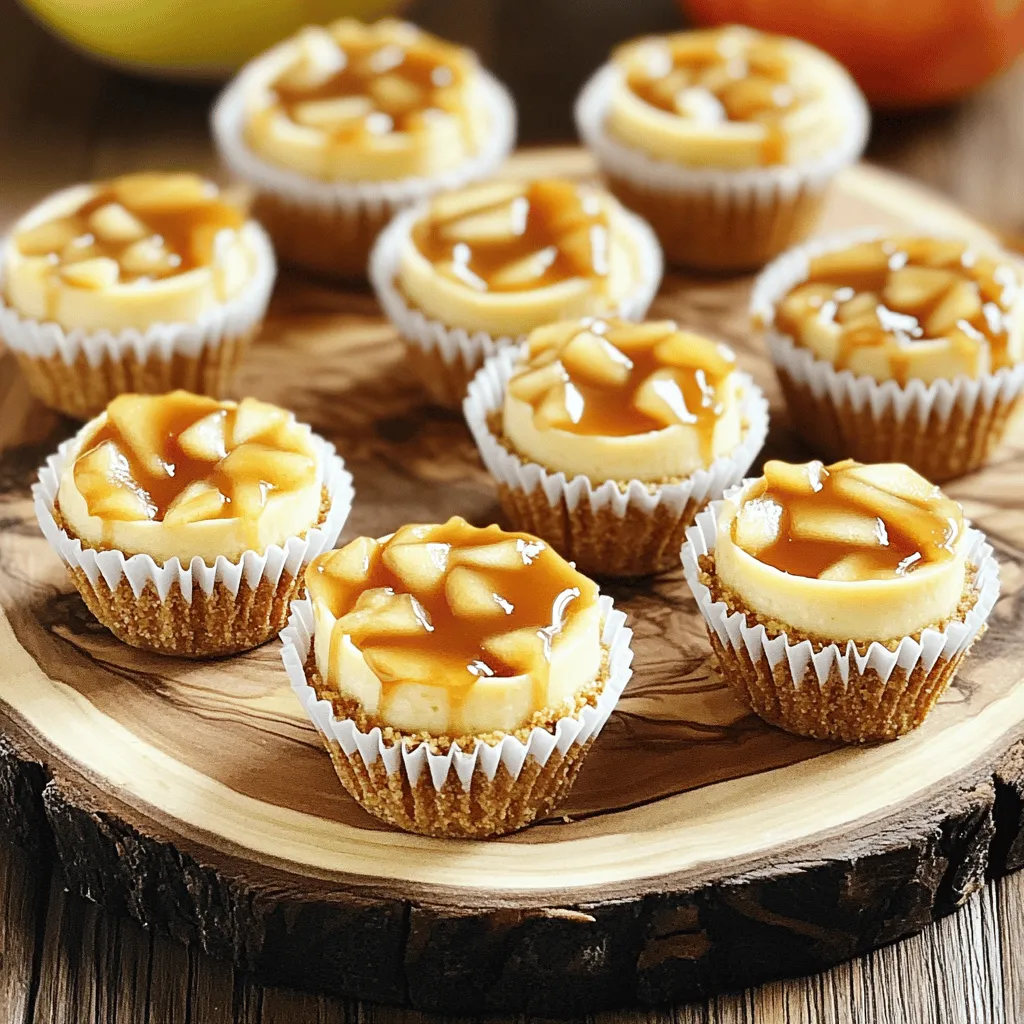
Are you ready to enjoy a dessert that combines the best of two worlds? These Apple Pie Cheesecake Bites will...
READ MORE →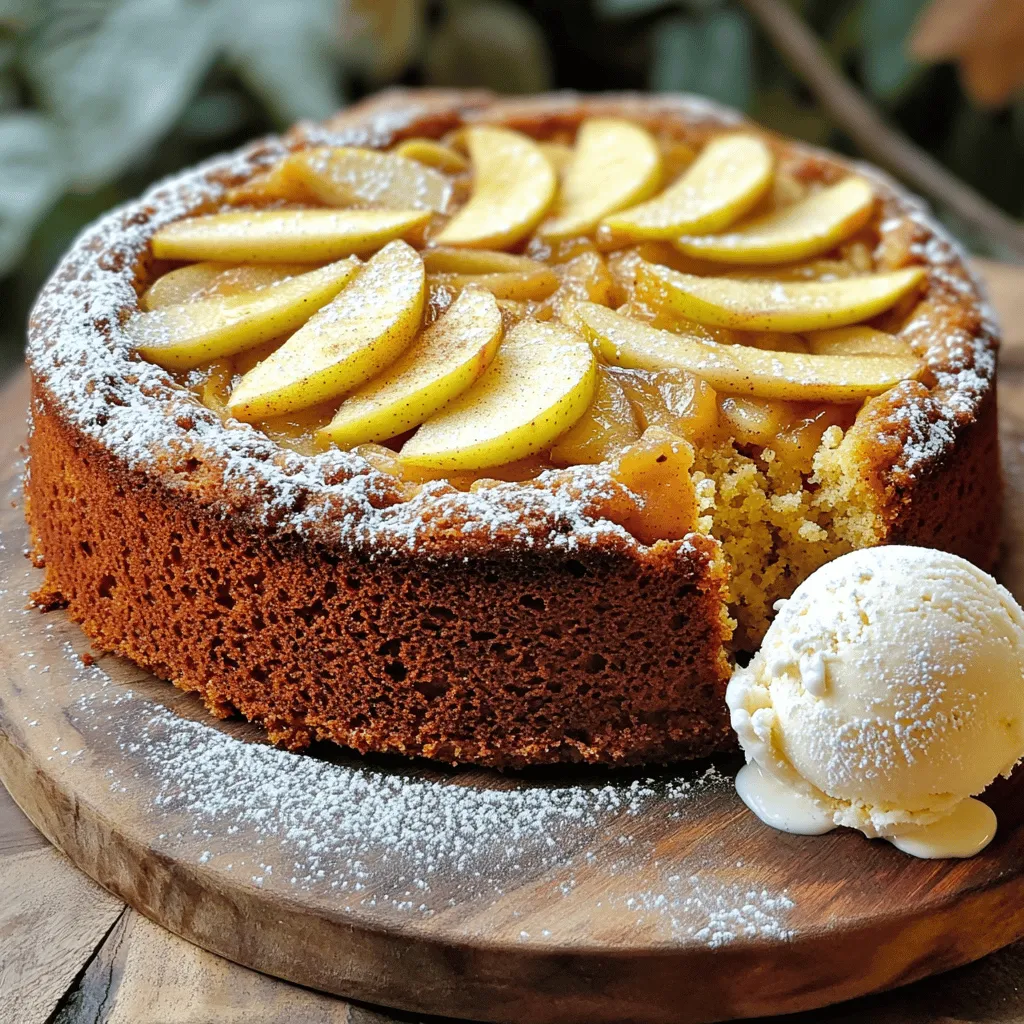
Amish Applesauce Cake is a tasty treat you won’t want to miss! Packed with flavor and easy to make, this...
READ MORE →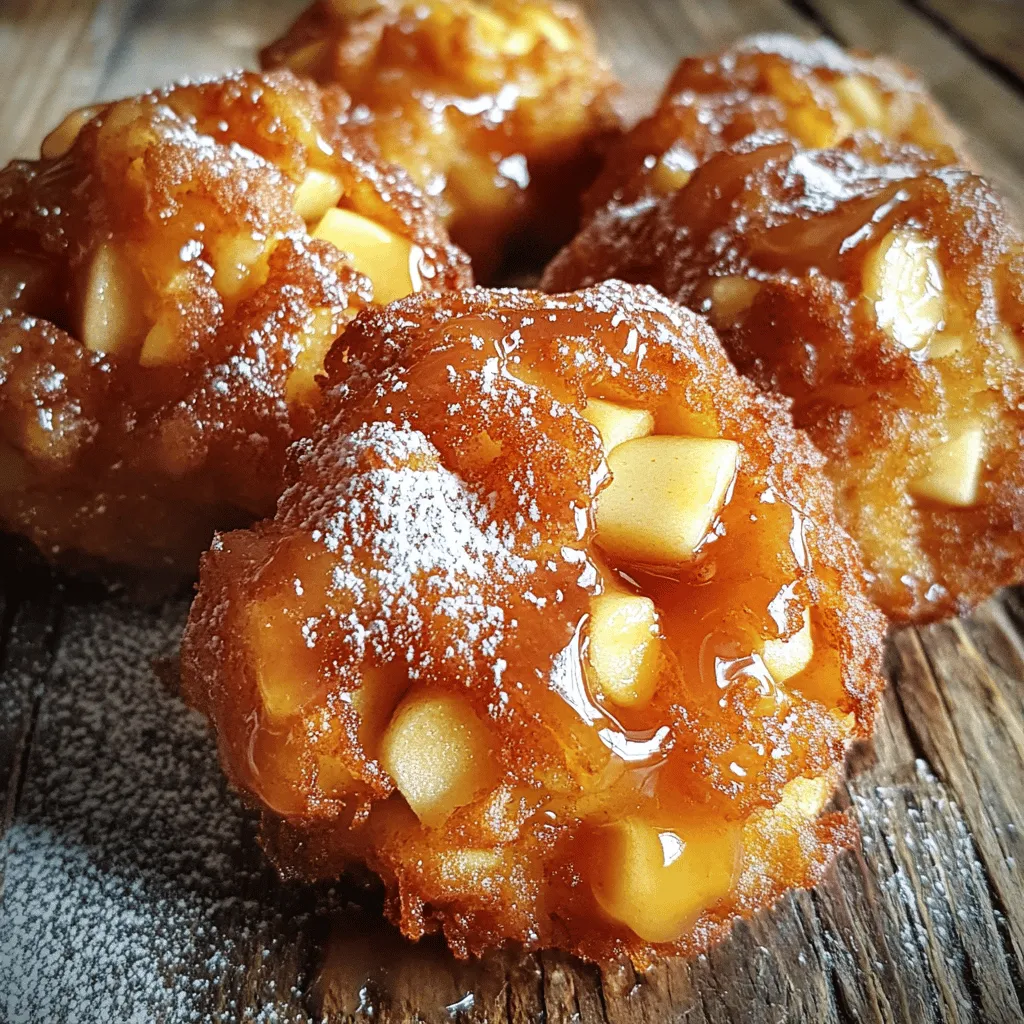
If you crave a sweet and warm treat, these Maple Glazed Apple Fritters hit the spot! They are soft, fluffy,...
READ MORE →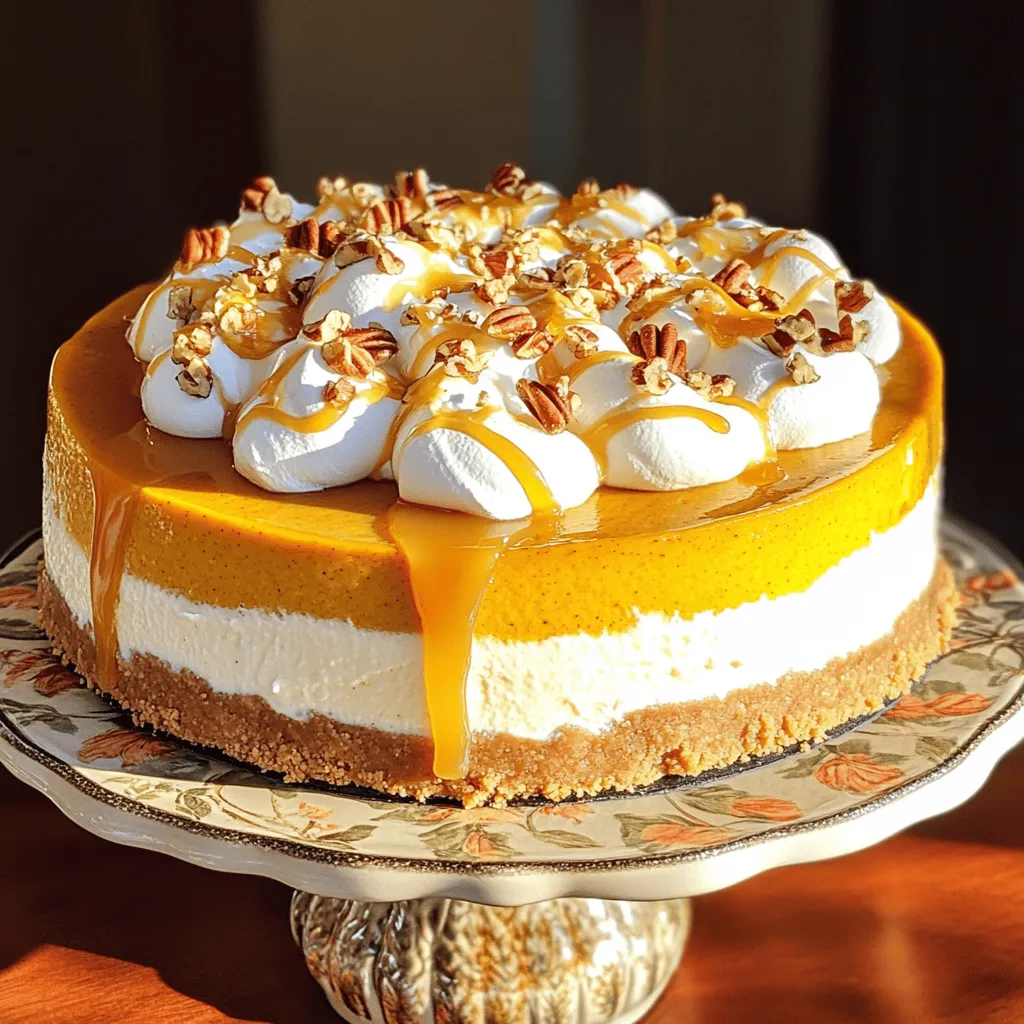
Fall brings cooler weather and cozy treats, making it the perfect time for a No-Bake Pumpkin Cheesecake. This dessert is...
READ MORE →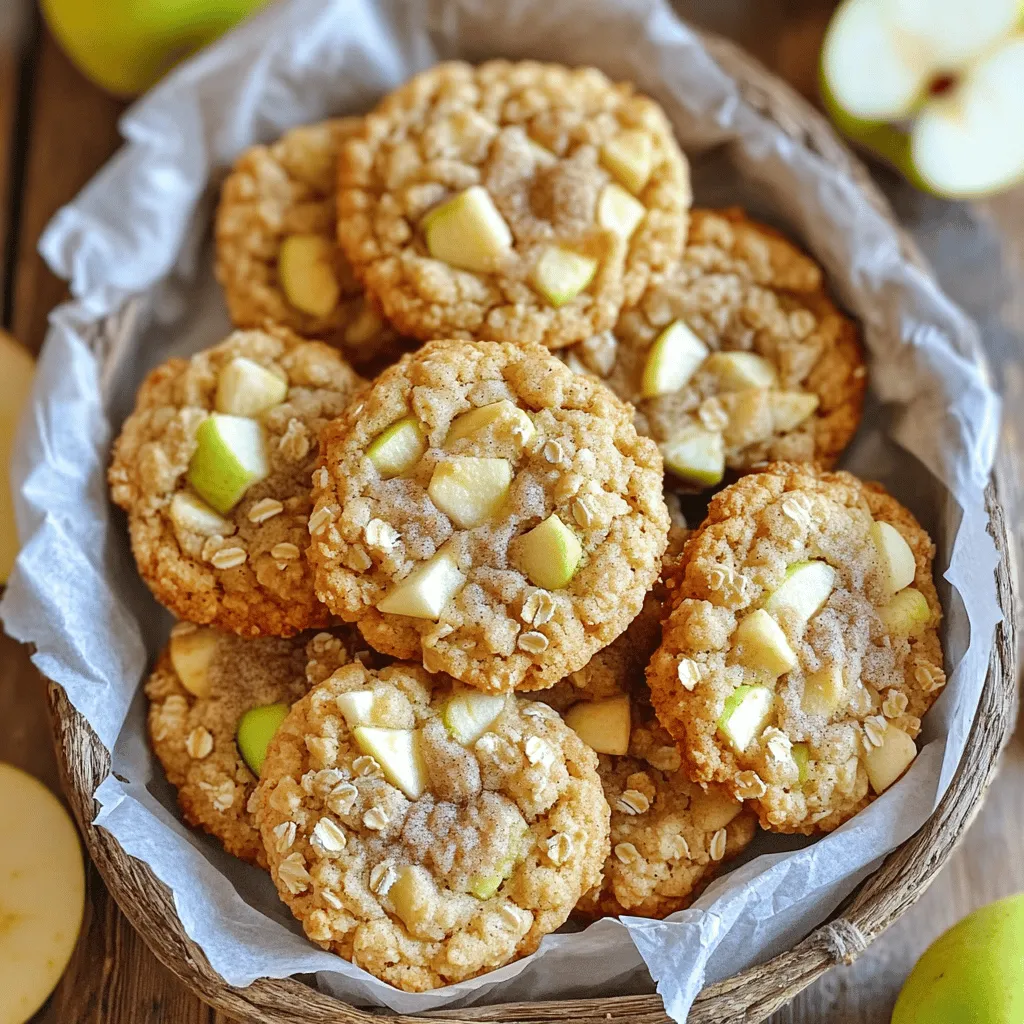
Get ready to bake something delicious with my simple recipe for Irresistible Apple Crumb Cookies! These treats mix soft apples...
READ MORE →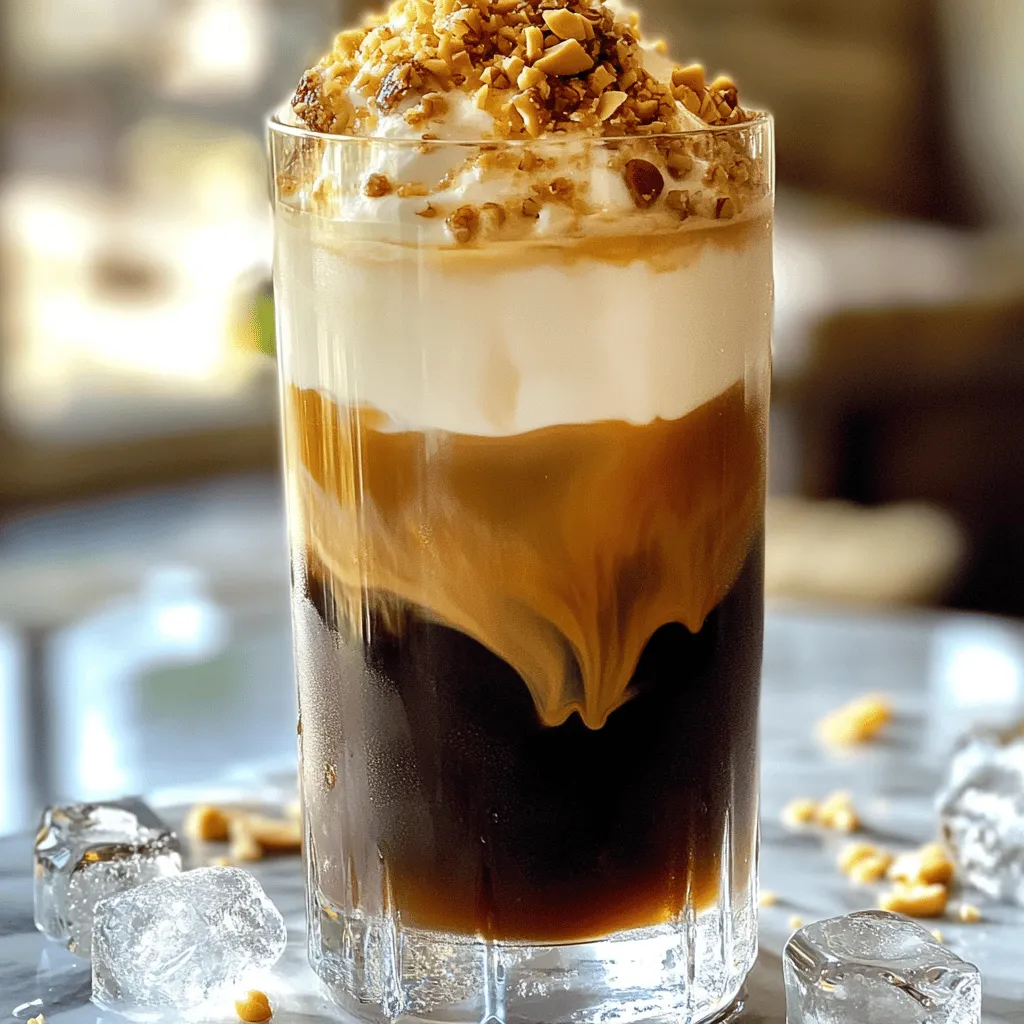
Summer is all about cool drinks, and the Fig and Mascarpone Cold Brew is one you’ll love! This refreshing blend...
READ MORE →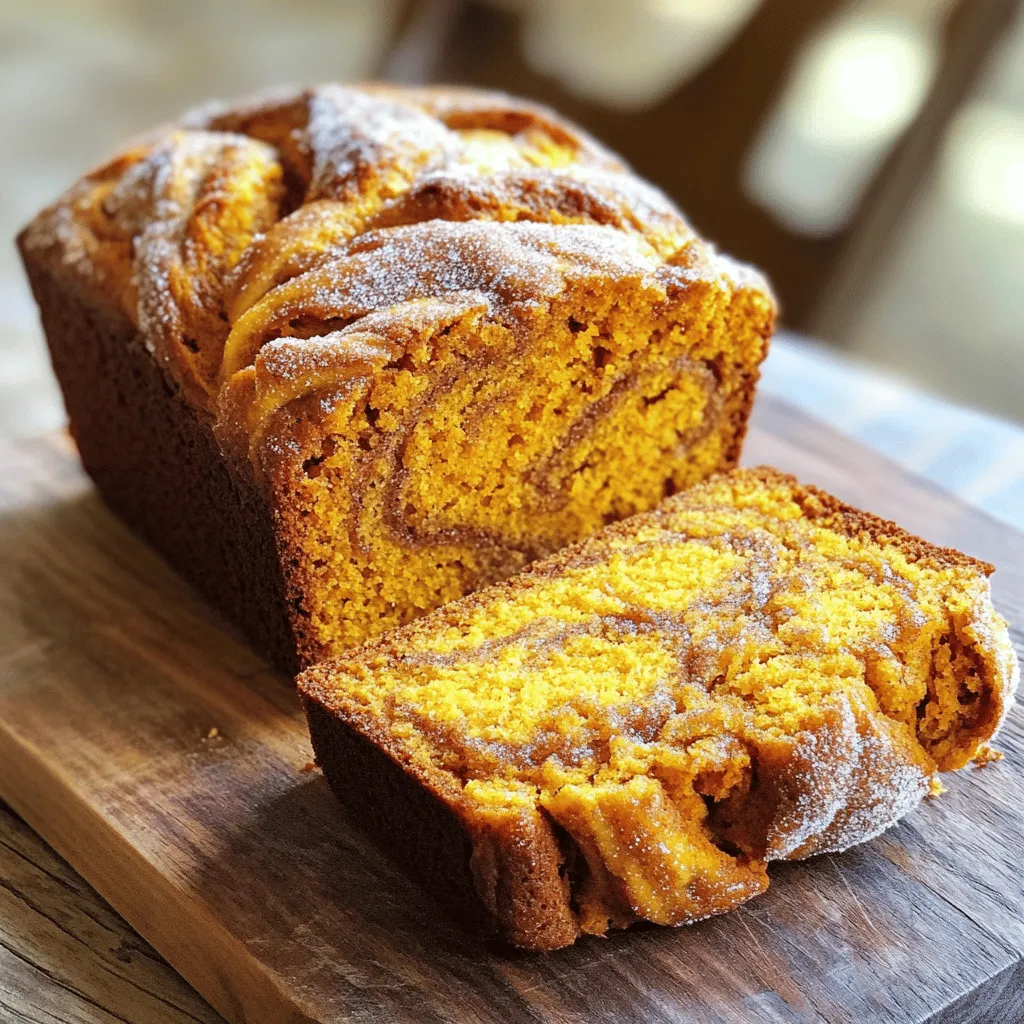
Cinnamon Sugar Swirl Pumpkin Bread is a treat you can’t resist! This easy recipe blends warm spices with sweet pumpkin,...
READ MORE →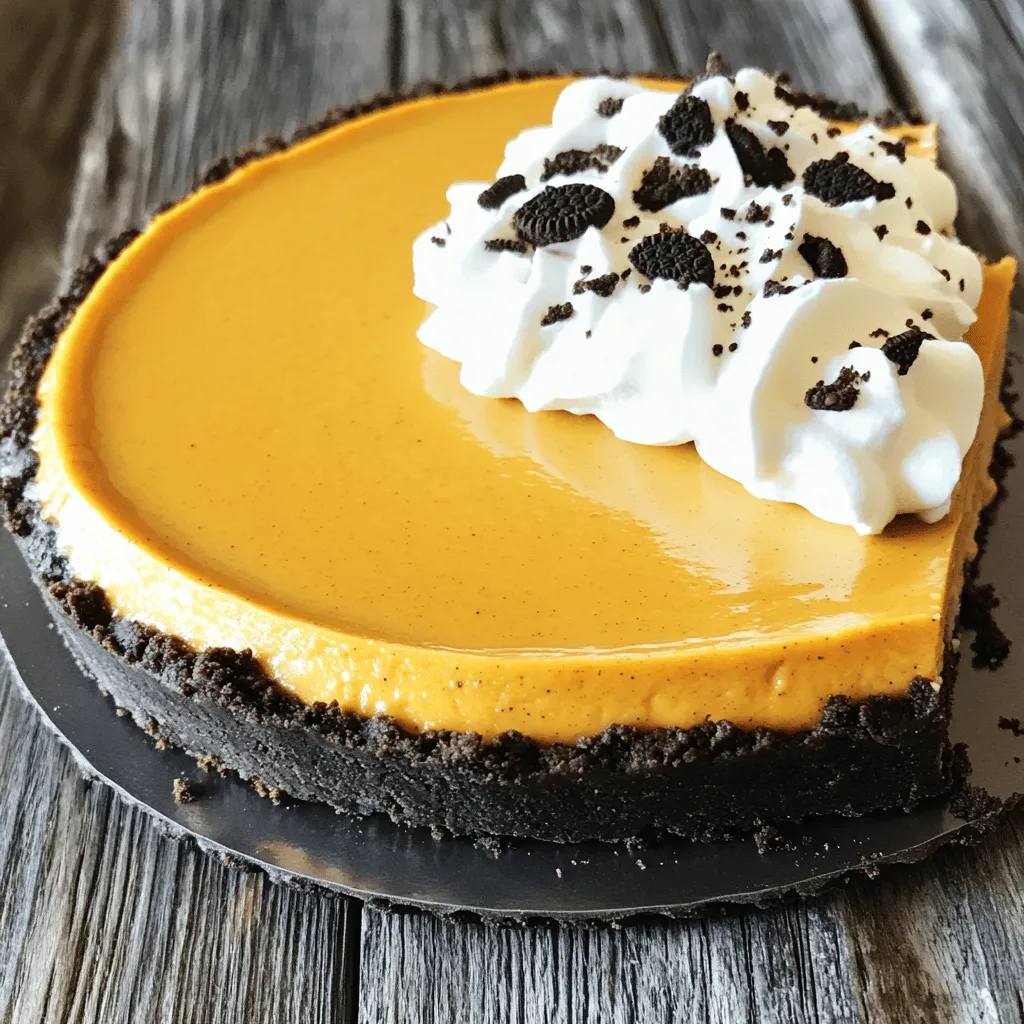
Are you ready to impress your friends and family with a treat that’s both easy and delicious? My No-Bake Oreo...
READ MORE →