DESSERTS
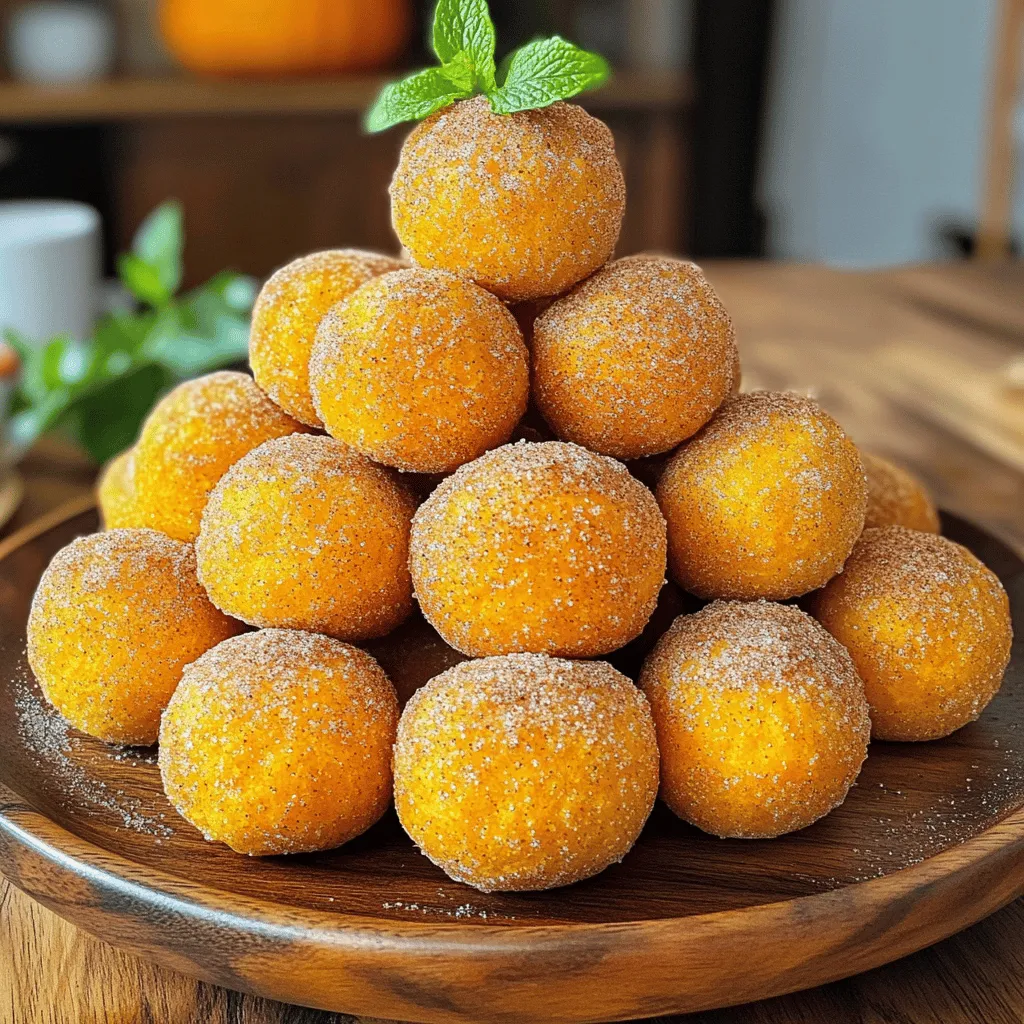
Air Fryer Pumpkin Donut Holes Simple and Tasty Treat
Craving a sweet treat that’s perfect for fall? Try my simple air fryer pumpkin donut holes! These soft, fluffy bites...
READ MORE →Explore our collection of desserts recipes
Craving a sweet treat that’s perfect for fall? Try my simple air fryer pumpkin donut holes! These soft, fluffy bites...
READ MORE →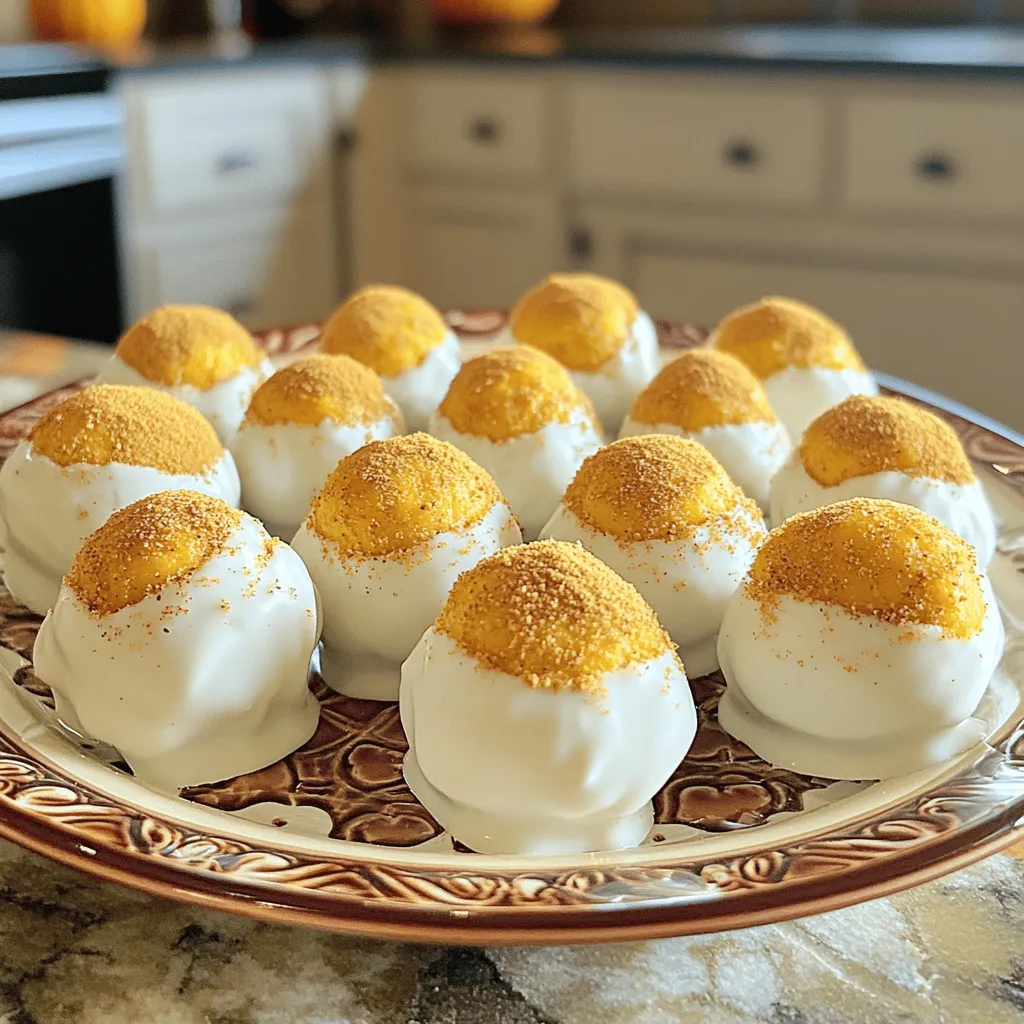
Are you ready to indulge in a sweet treat that brings fall flavors to life? These Pumpkin Cheesecake Truffles are...
READ MORE →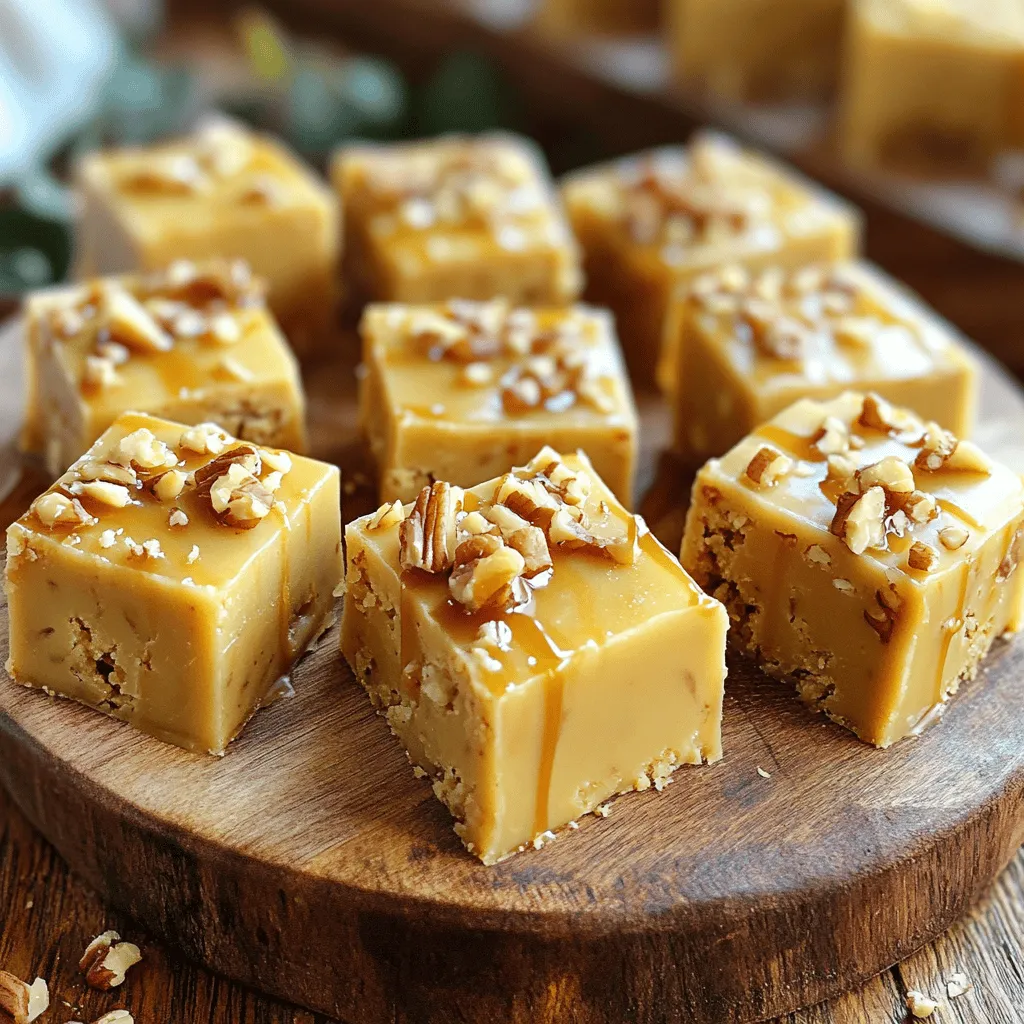
Craving a sweet treat that’s super easy to make? You’ve landed in the right spot! This Two Ingredient Caramel Apple...
READ MORE →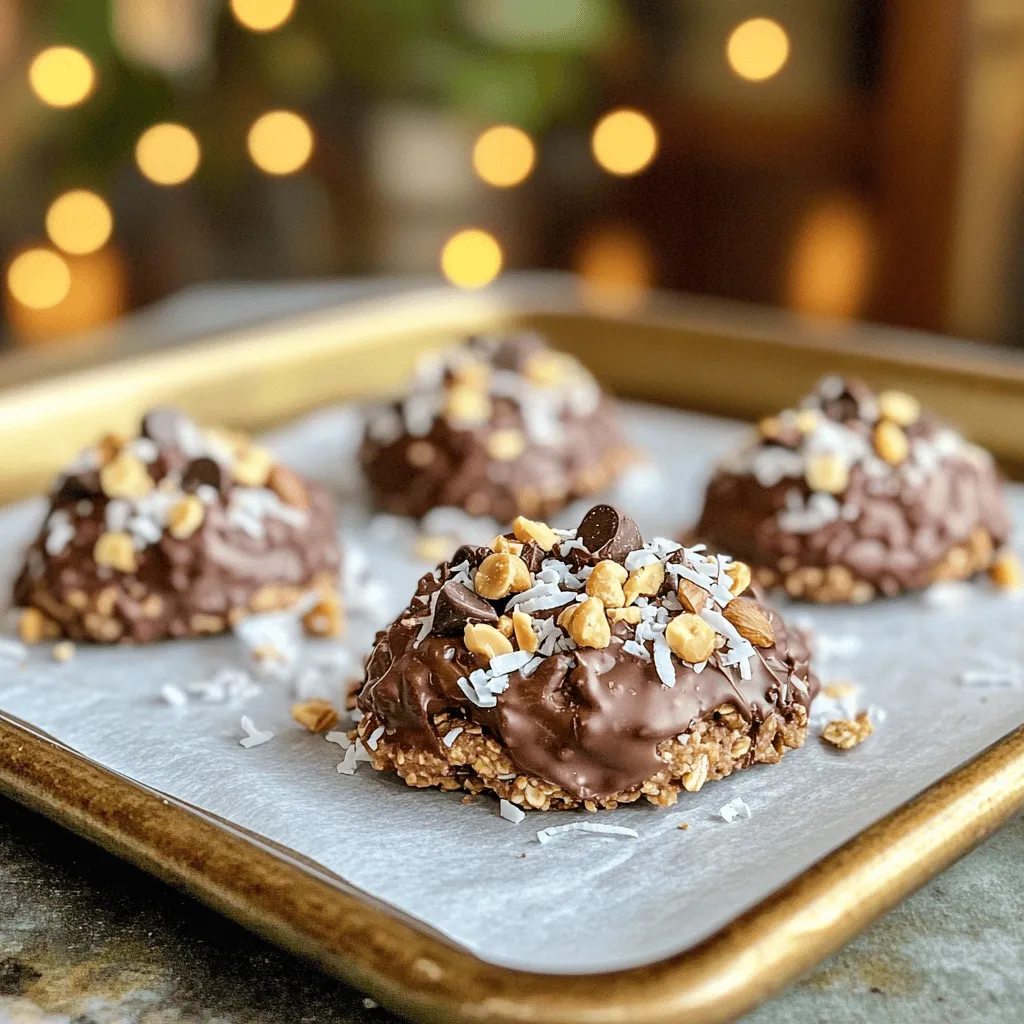
Are you ready to delight your taste buds with a quick and easy treat? These Chocolate Peanut Butter No-Bake Cookies...
READ MORE →
If you love cookies and brownies, you’re in for a treat! Imagine a rich brownie hugging a creamy Oreo—yes, it’s...
READ MORE →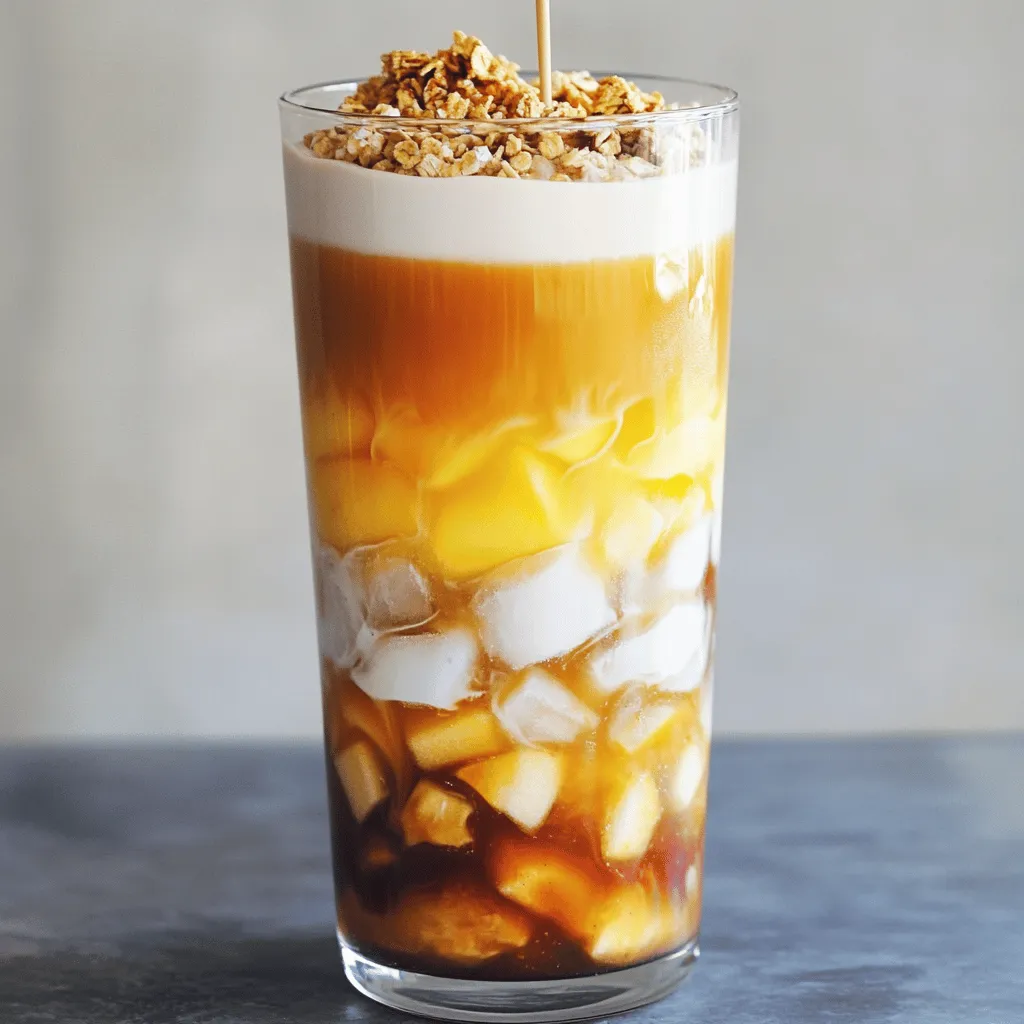
Looking to treat yourself to a refreshing drink? The Iced Apple Crisp Oatmilk Macchiato is just what you need! This...
READ MORE →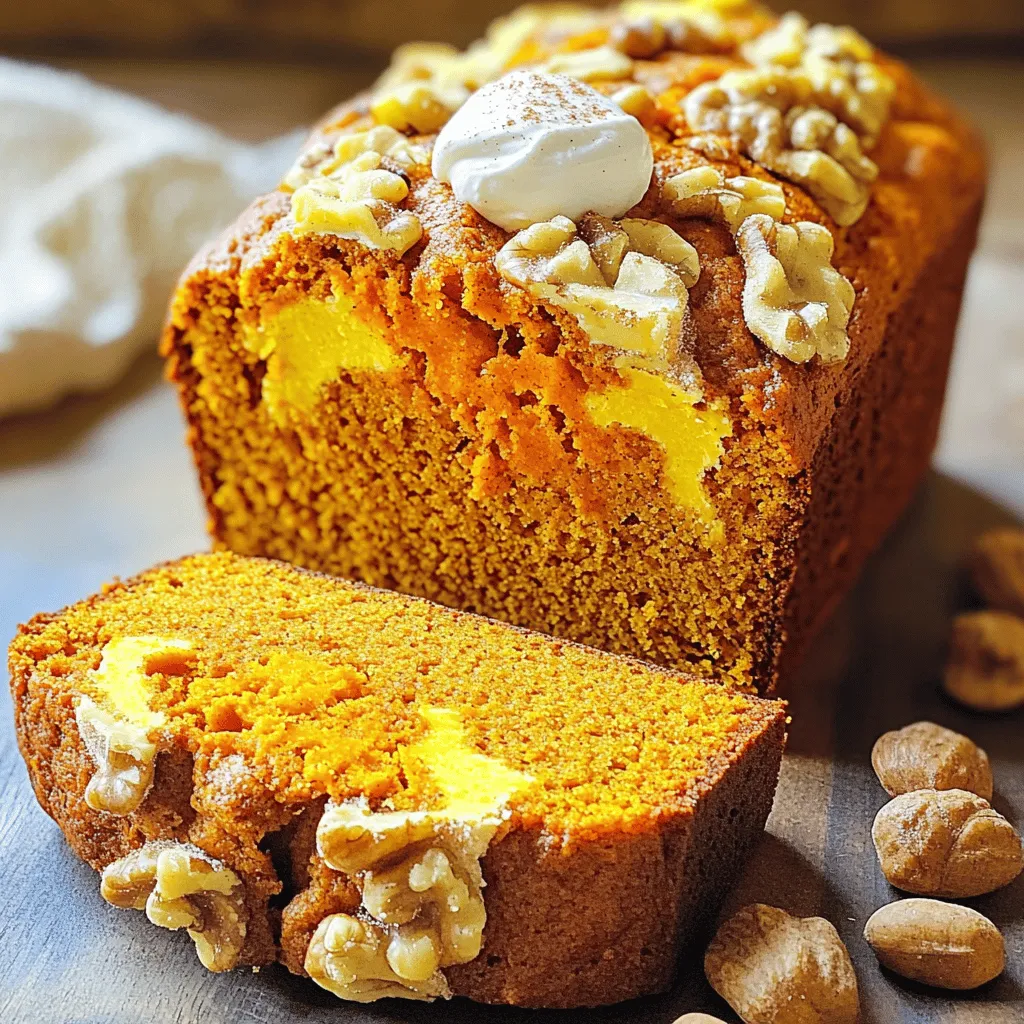
Fall is the perfect time for comfort food, and nothing beats my Spiced Pumpkin Walnut Bread. This easy recipe combines...
READ MORE →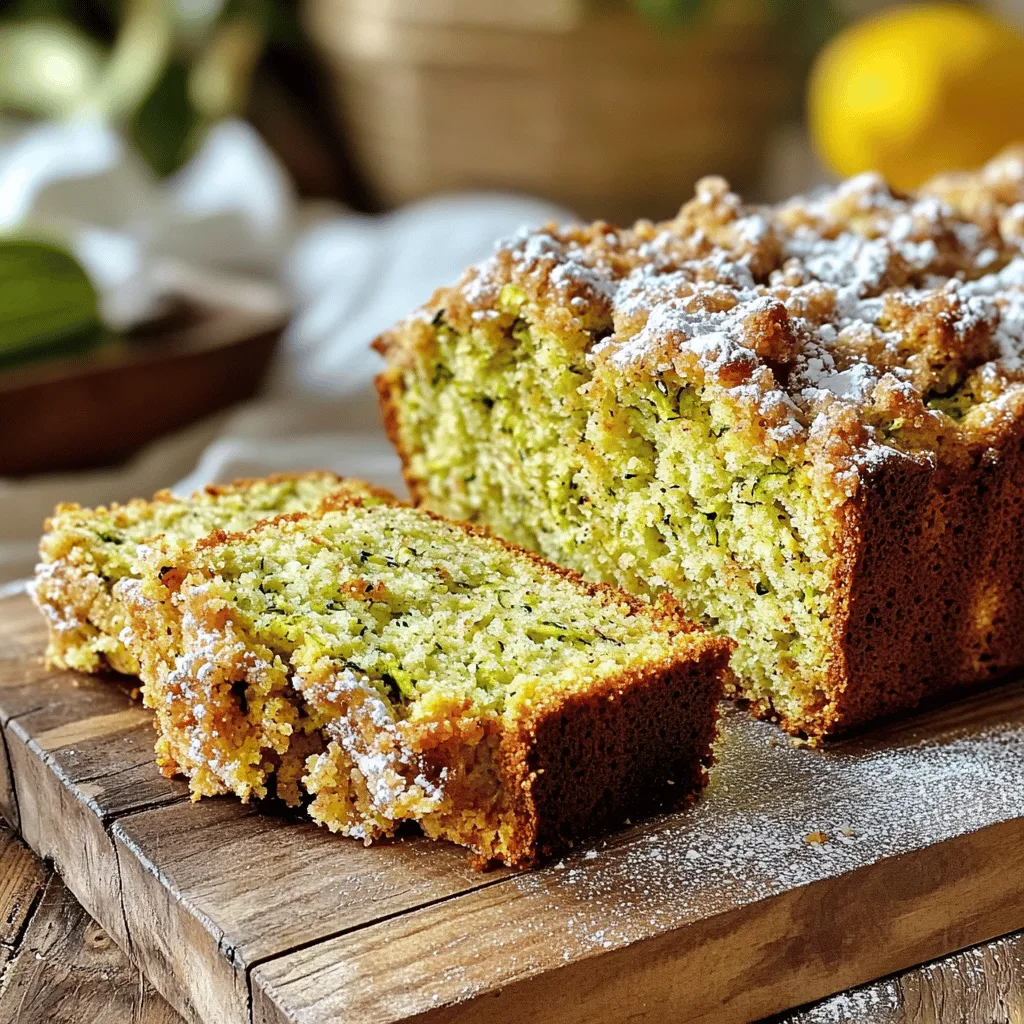
Are you ready to elevate your baking game with a delicious twist? This Bakery-Style Zucchini Bread with Streusel is rich...
READ MORE →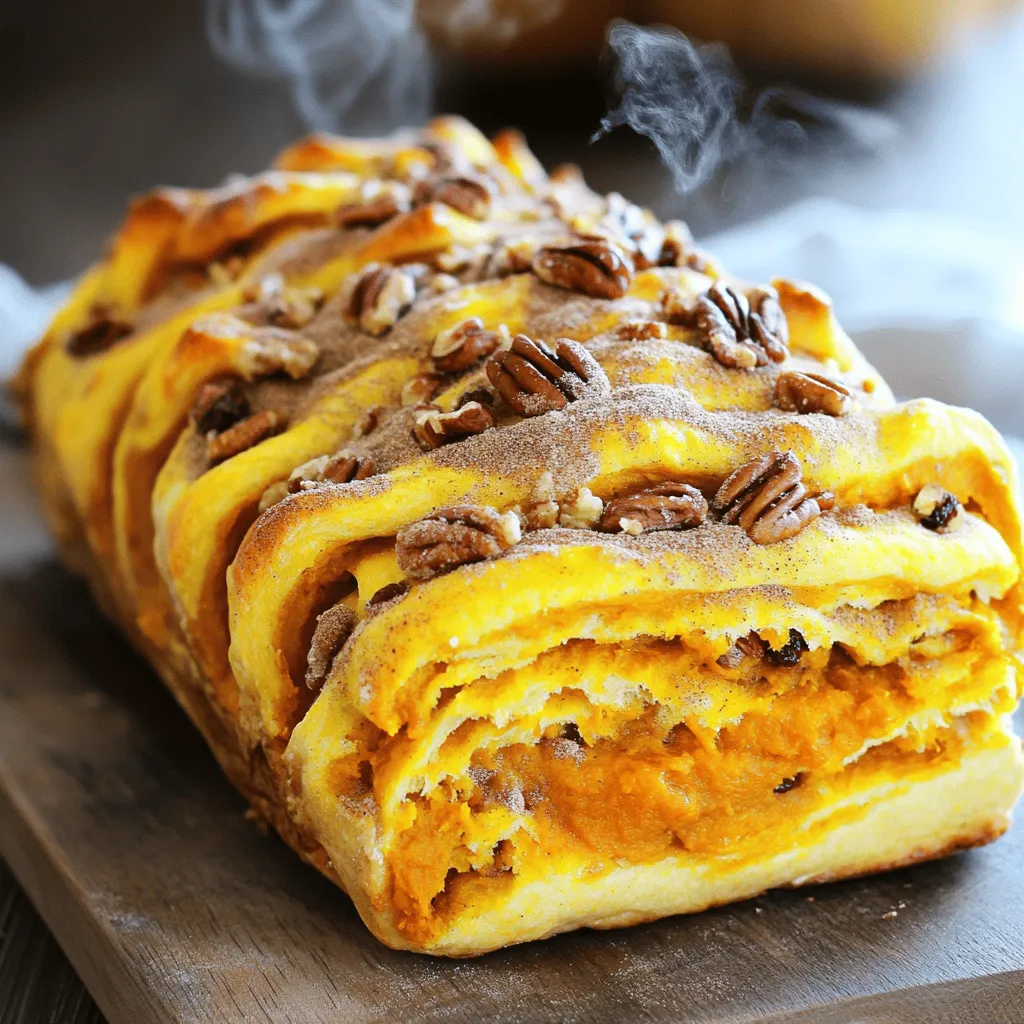
Get ready to make the most delicious Pumpkin Pull-Apart Loaf! This bread is soft, fluffy, and full of warm pumpkin...
READ MORE →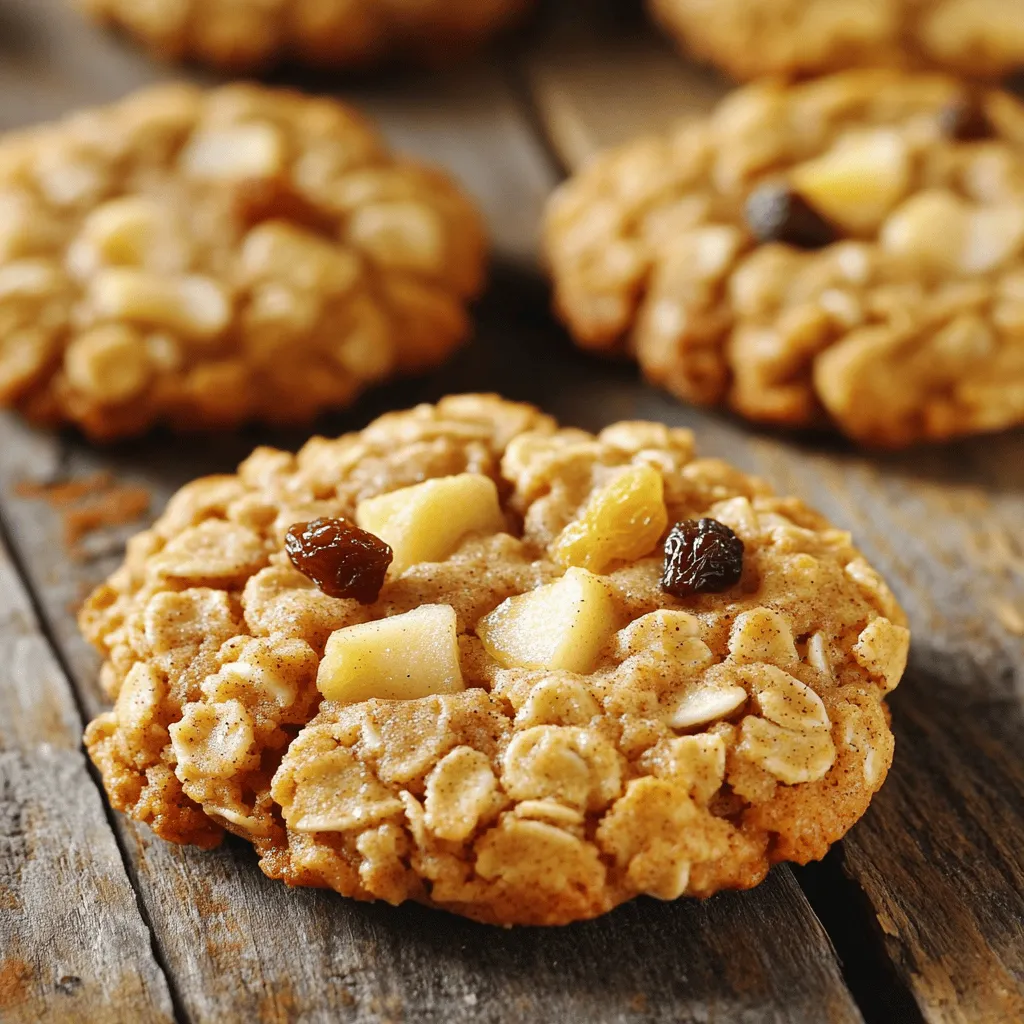
Craving a sweet treat that’s simple and delicious? Apple cinnamon oatmeal cookies are the answer! With a perfect blend of...
READ MORE →