DESSERTS
Baked Apple Cider Donuts Tasty Fall Treat Idea
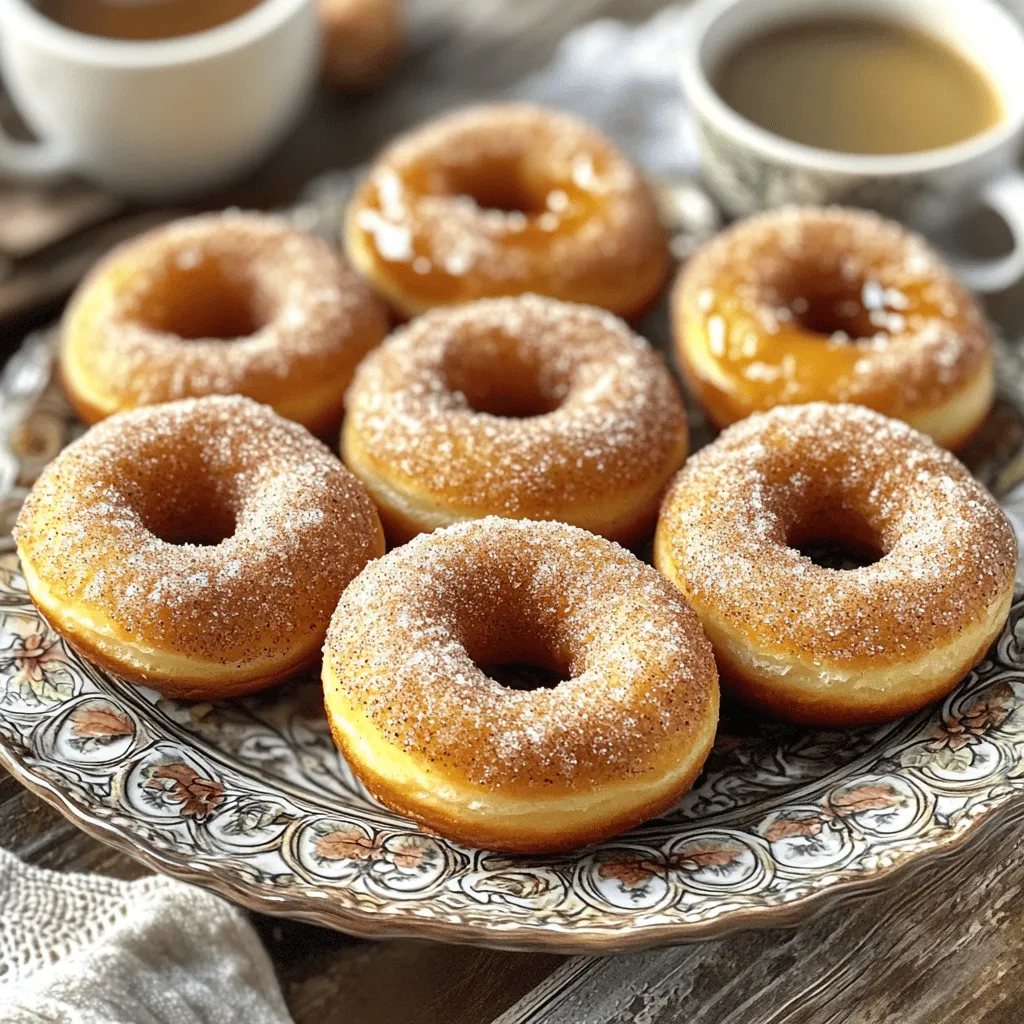
Fall is the perfect time to enjoy the warm, cozy flavors of baked apple cider donuts! These donuts are not...
READ MORE →Explore our collection of desserts recipes
Fall is the perfect time to enjoy the warm, cozy flavors of baked apple cider donuts! These donuts are not...
READ MORE →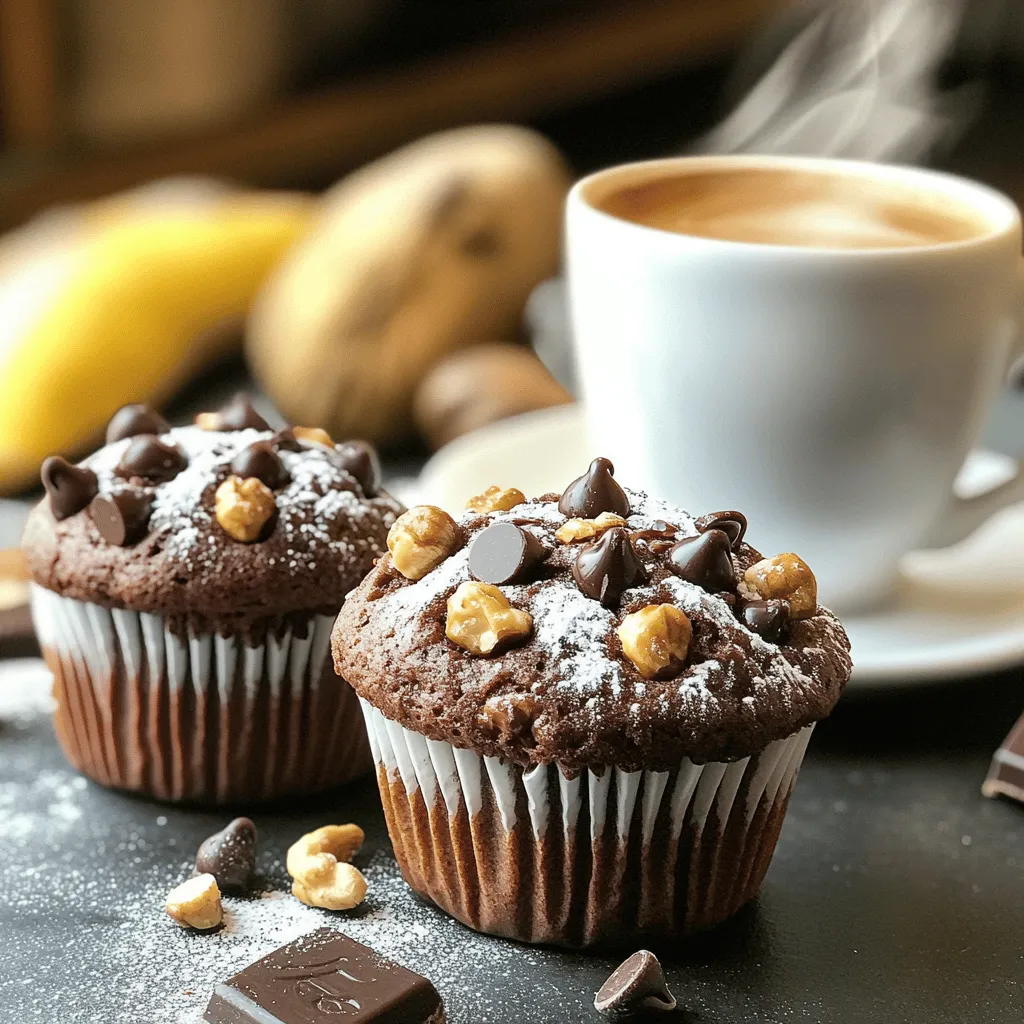
If you’re craving a rich, chocolatey treat that offers a kick of coffee flavor, you’re in the right place! My...
READ MORE →
Welcome to your new favorite fall treat: Chewy Pumpkin Cookies with Brown Butter Delight! These cookies are soft, packed with...
READ MORE →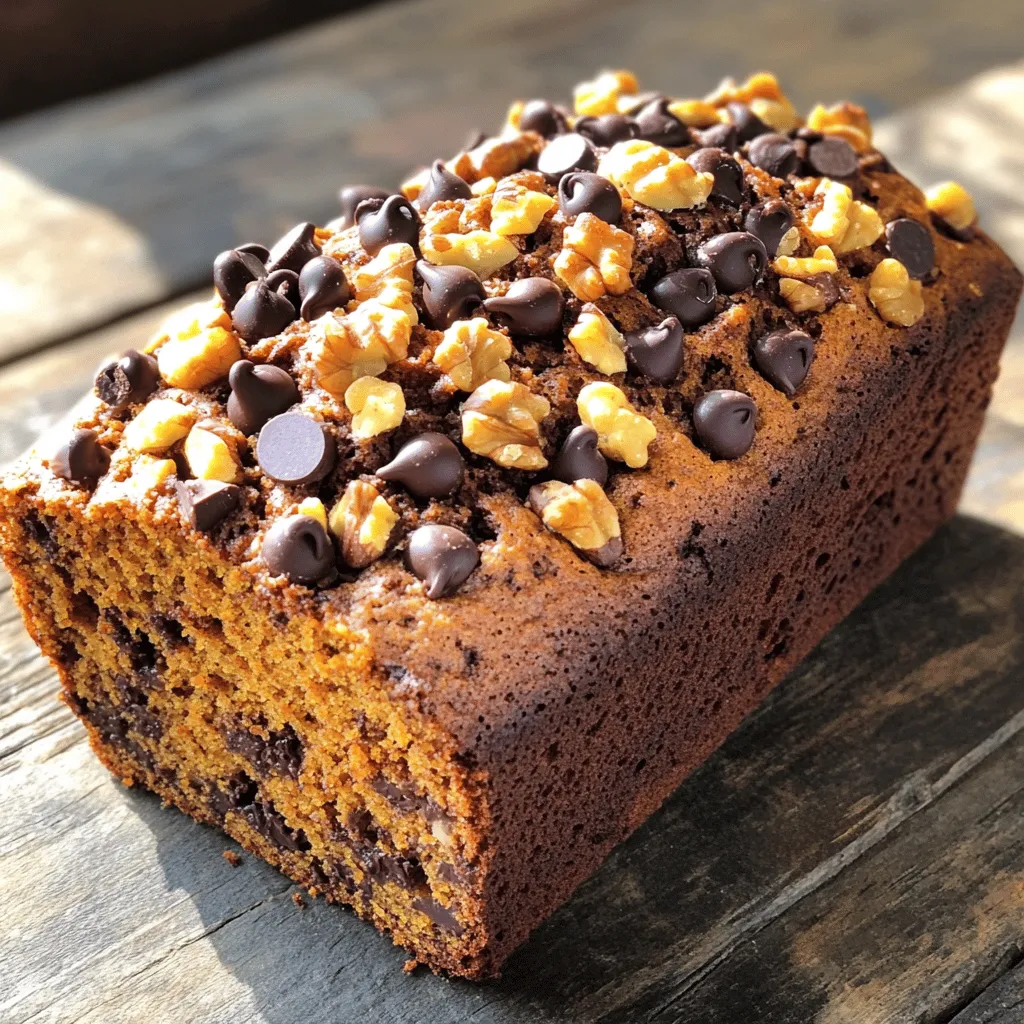
Are you looking for a cozy treat that combines the flavors of fall with the sweetness of chocolate? This Chocolate...
READ MORE →
Are you ready to whip up a delightful treat that everyone loves? This Best Ever Apple Crisp recipe is my...
READ MORE →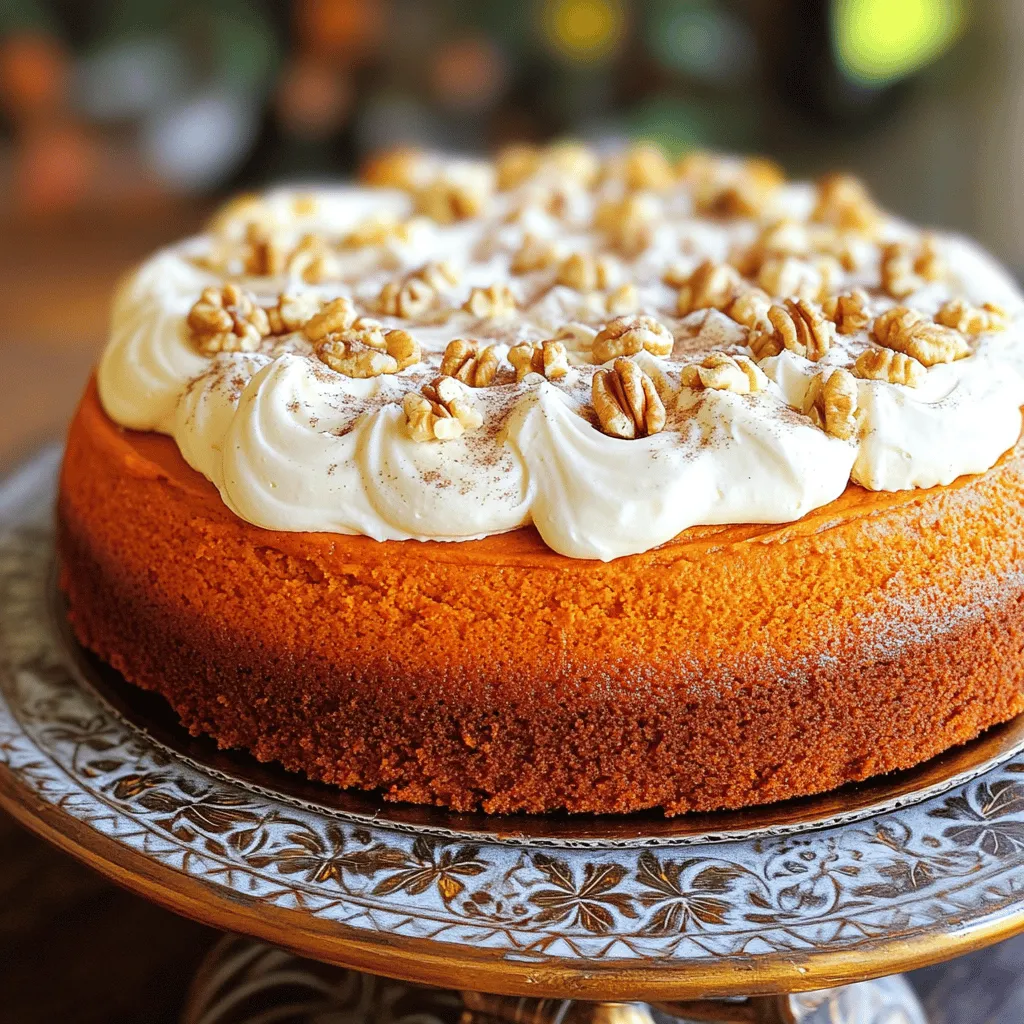
Fall is here, and what better way to celebrate than with my mom’s famous pumpkin cake? This delightful dessert bursts...
READ MORE →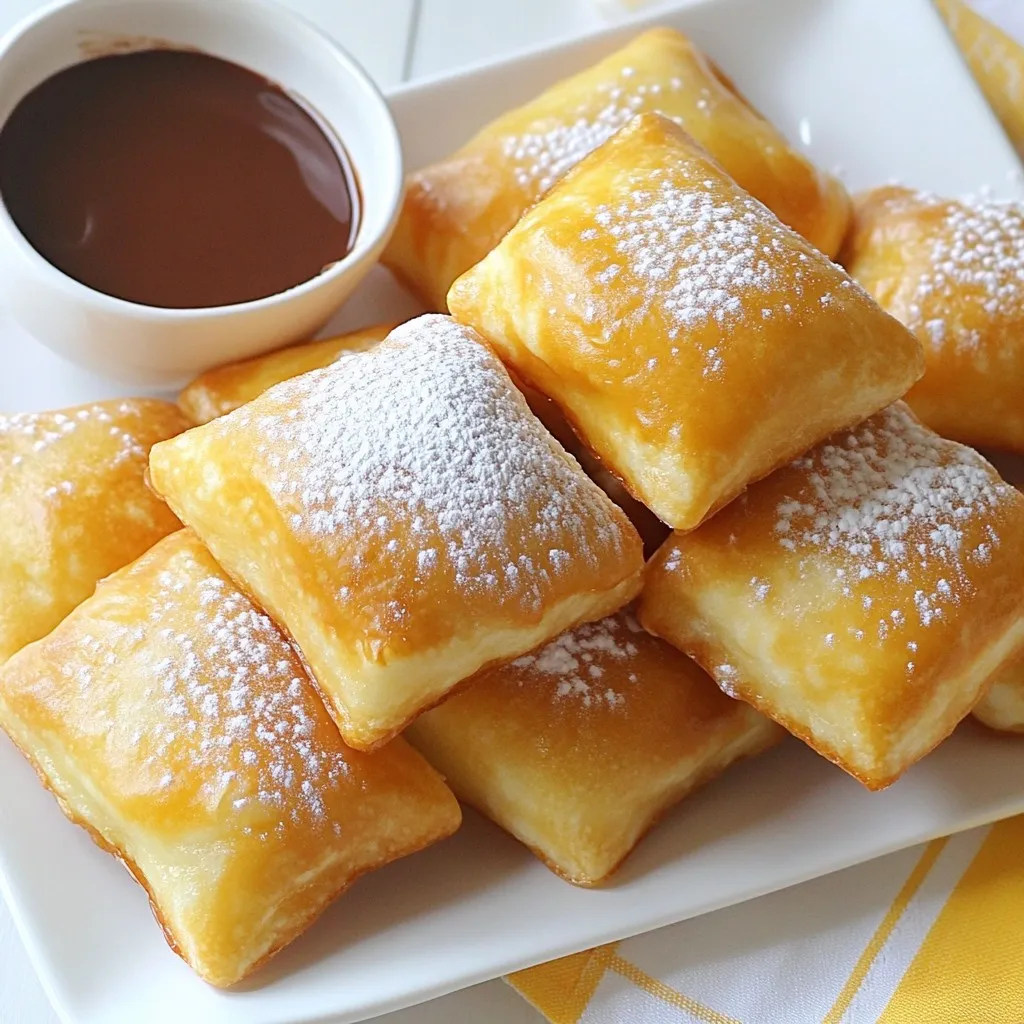
Have you ever tasted the joy of a soft, warm Vanilla French beignet? If not, you’re in for a delightful...
READ MORE →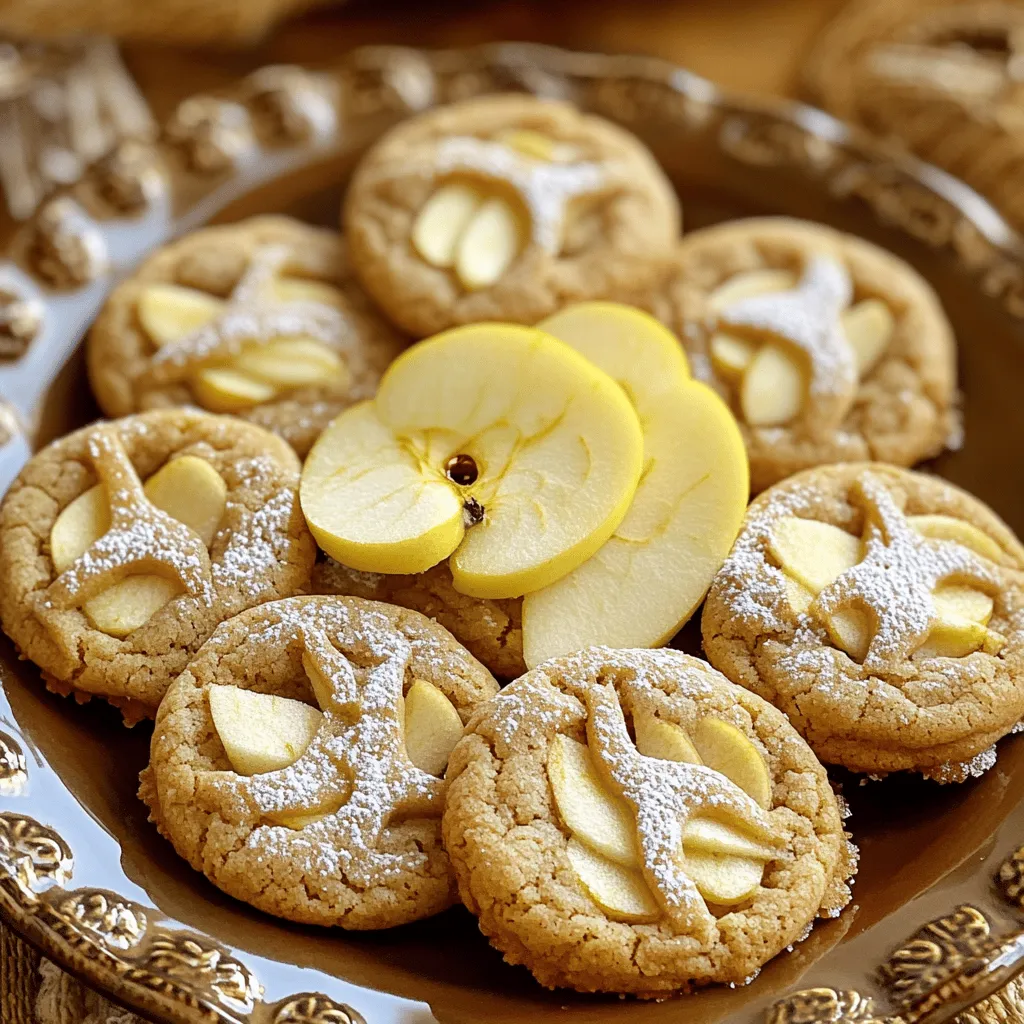
Fall brings the cozy scent of apple cider, and what better way to celebrate than with Apple Cider Cookies? These...
READ MORE →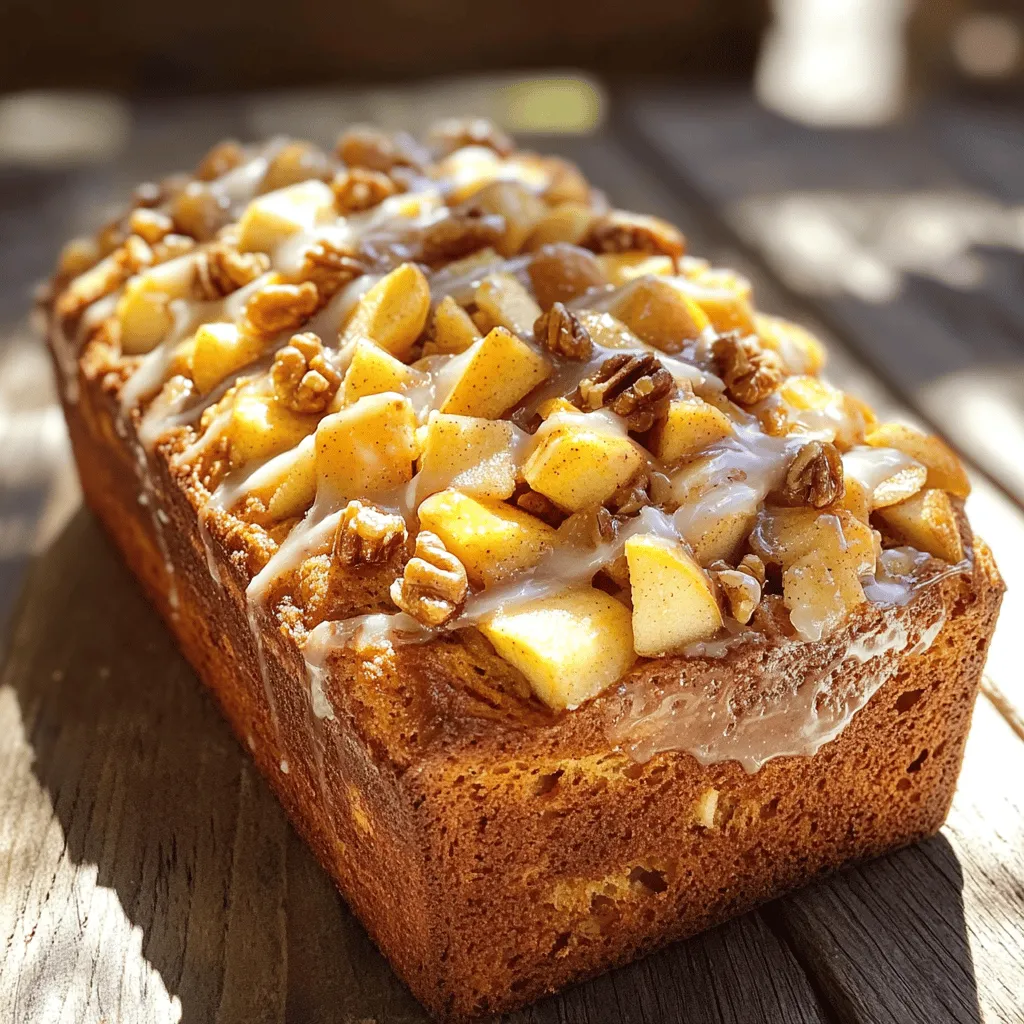
If you love warm, fresh desserts, you’re in for a treat! This delightful Country Apple Fritter Bread recipe brings the...
READ MORE →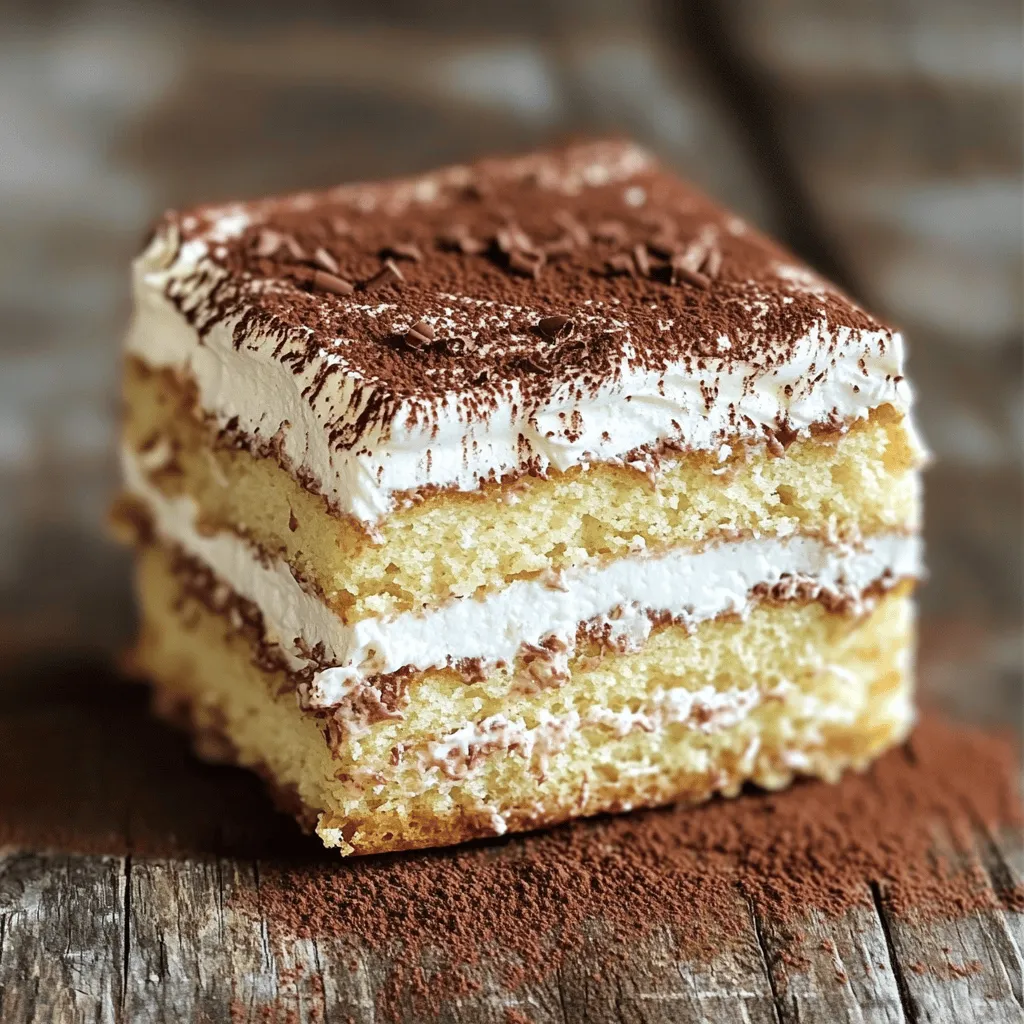
Get ready to indulge in a fluffy tiramisu cake that will make your taste buds dance! This dessert combines rich...
READ MORE →