DESSERTS
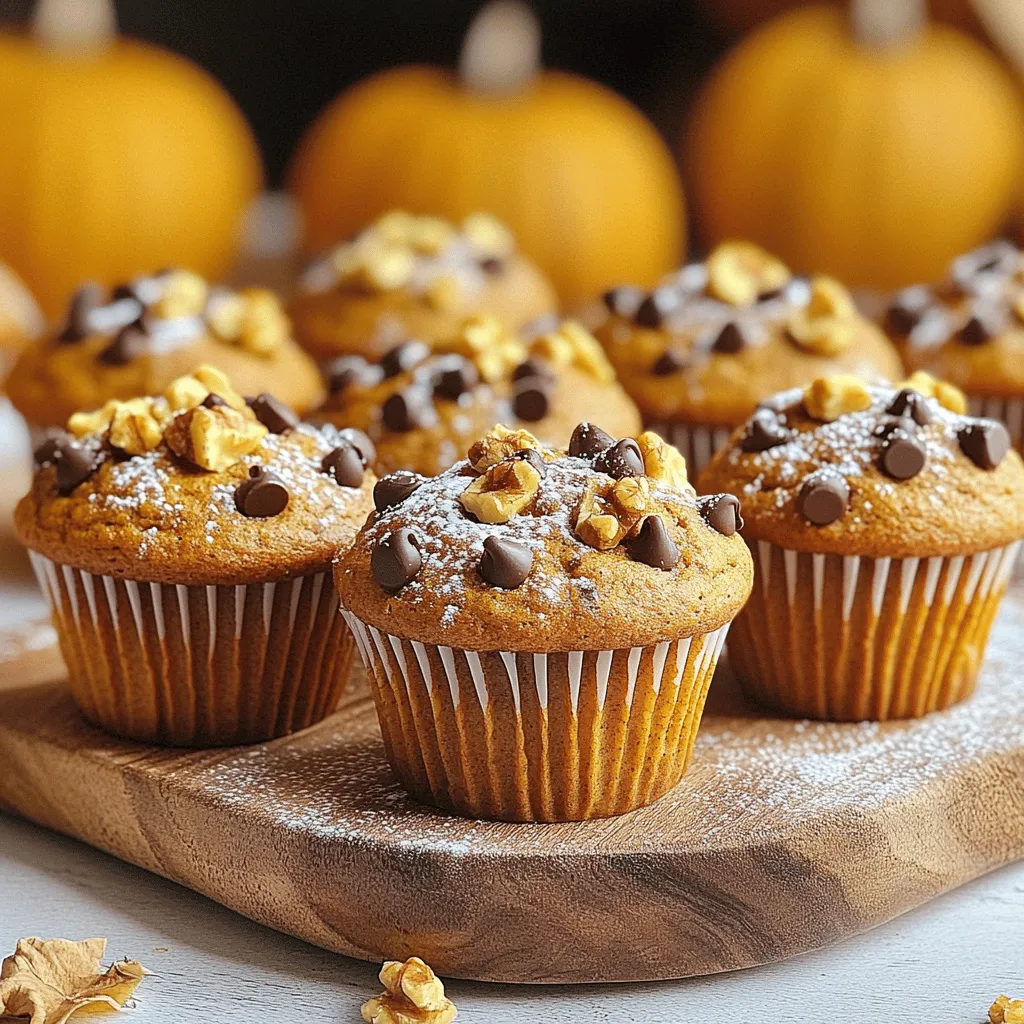
Pumpkin Cinnamon Muffins Simple and Tasty Treat
Craving a warm, sweet treat that’ll fill your kitchen with fall aromas? Look no further than these simple and tasty...
READ MORE →Explore our collection of desserts recipes
Craving a warm, sweet treat that’ll fill your kitchen with fall aromas? Look no further than these simple and tasty...
READ MORE →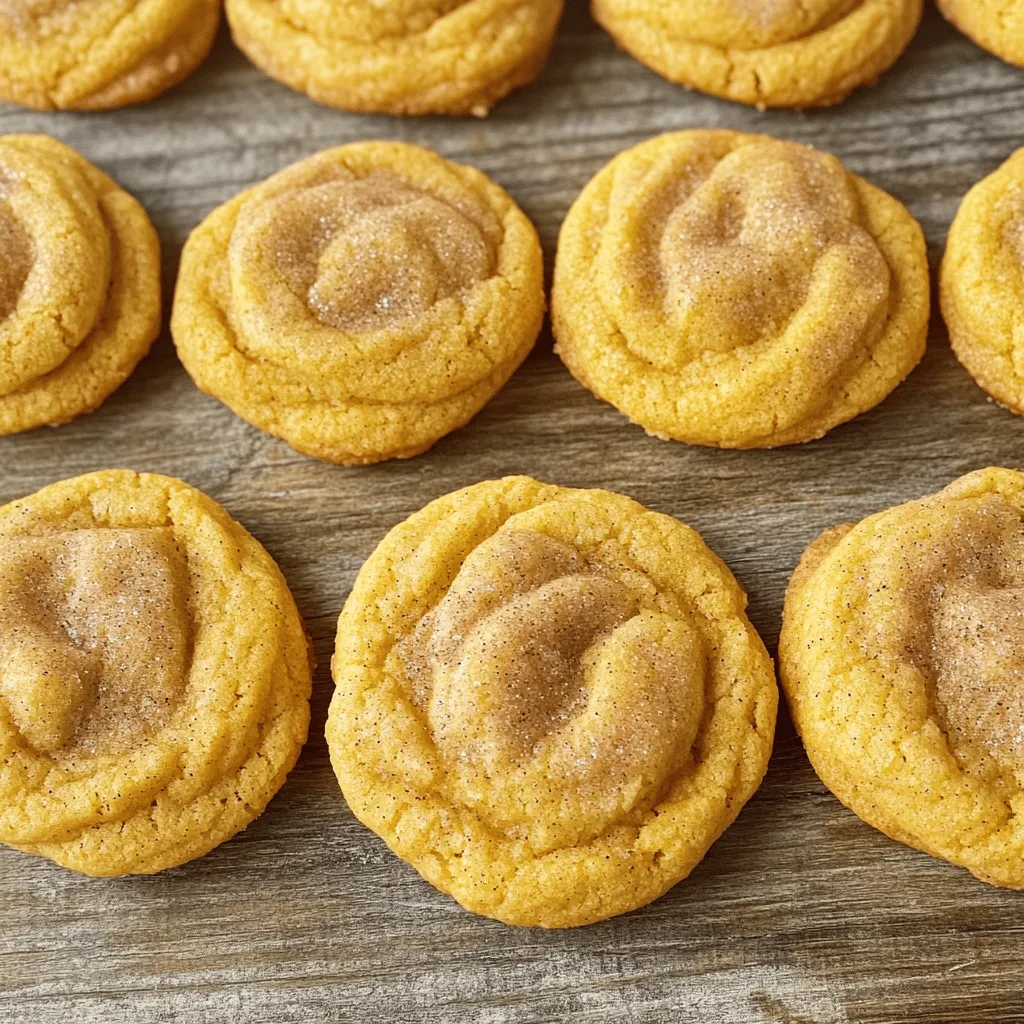
Are you ready to elevate your baking game this fall? In this post, I’ll show you how to make Soft...
READ MORE →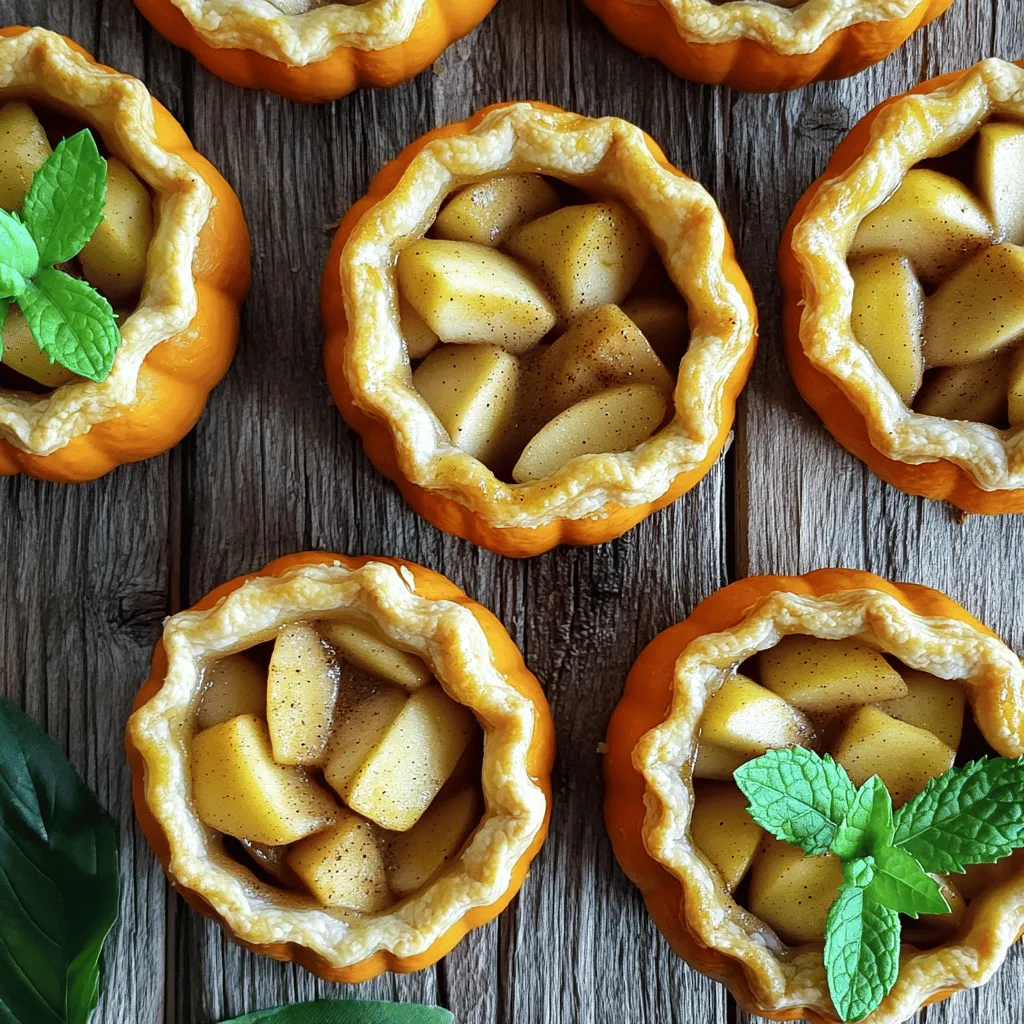
Fall is here, and it’s the perfect time to bake something delightful! These Pumpkin Shaped Mini Apple Pies are not...
READ MORE →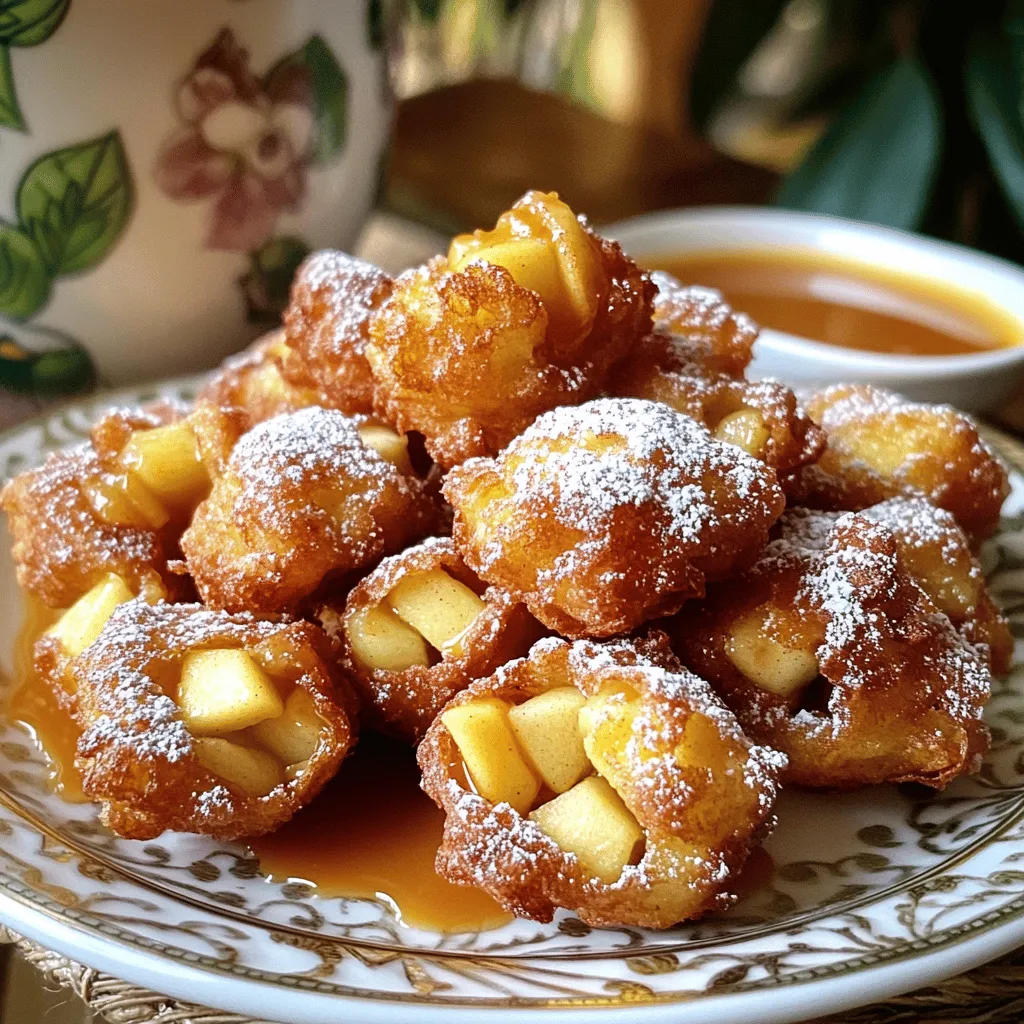
Craving a sweet treat that’s easy to make? You’re in for a treat! My Irresistible Apple Fritter Bites are simple...
READ MORE →
Get ready to delight in the creamy goodness of these Pumpkin Swirl Cheesecake Bars! If you love the rich taste...
READ MORE →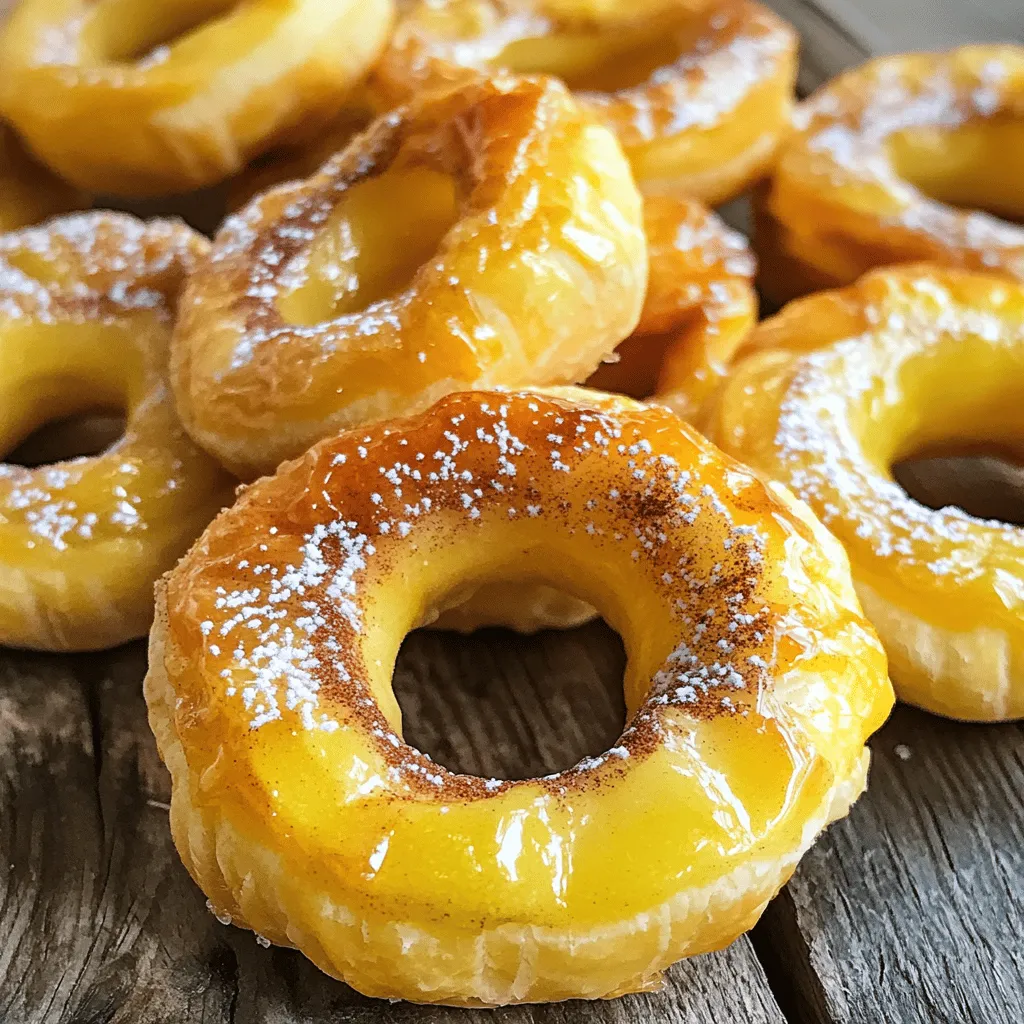
Get ready for a deliciously sweet treat with my Puff Pastry Apple Rings! These delightful pastries are easy to make...
READ MORE →
Get ready for the ultimate fall treat: Soft Pumpkin Snickerdoodles! These cookies combine the warm flavors of pumpkin and spices...
READ MORE →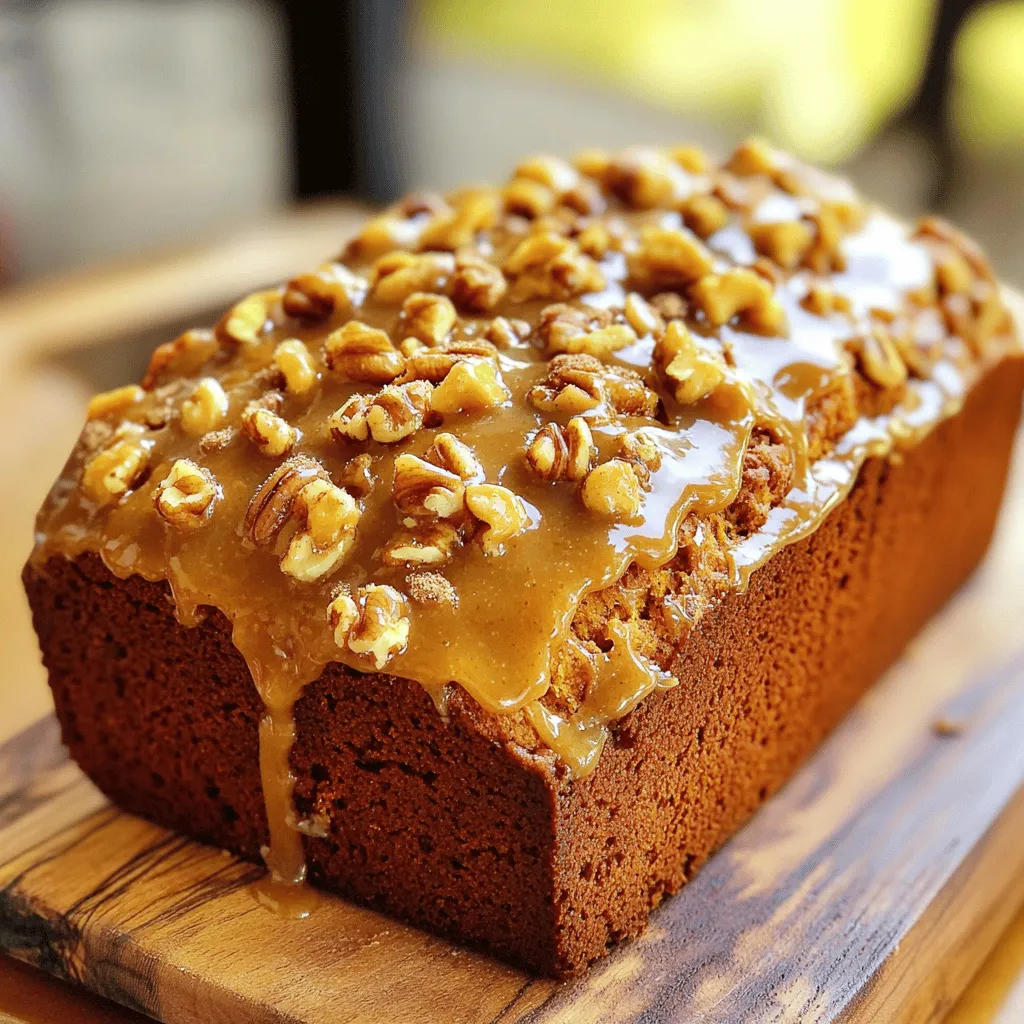
Get ready to savor the rich flavors of fall with my Butter Pumpkin Bread, topped with a delightful maple brown...
READ MORE →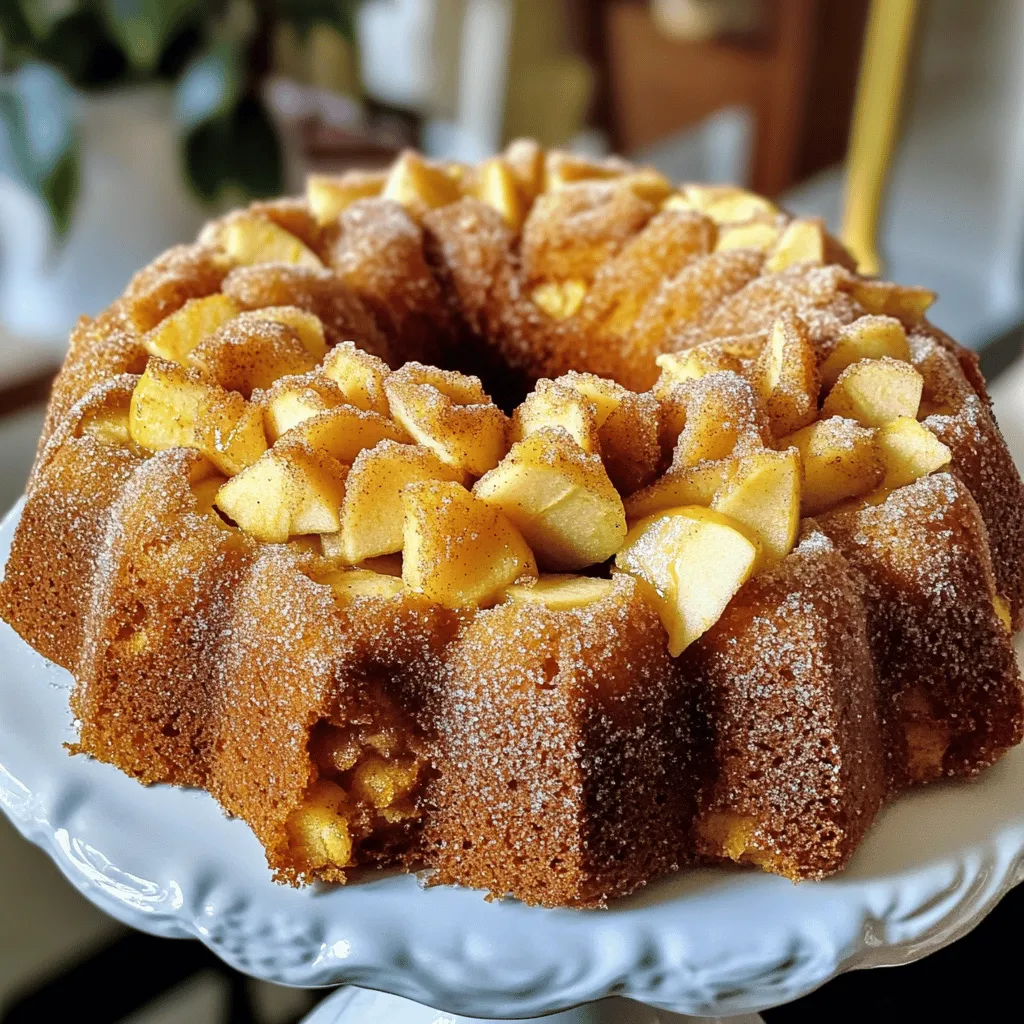
Are you ready to enjoy the amazing taste of fall? Today, I’m excited to share my easy and flavorful Apple...
READ MORE →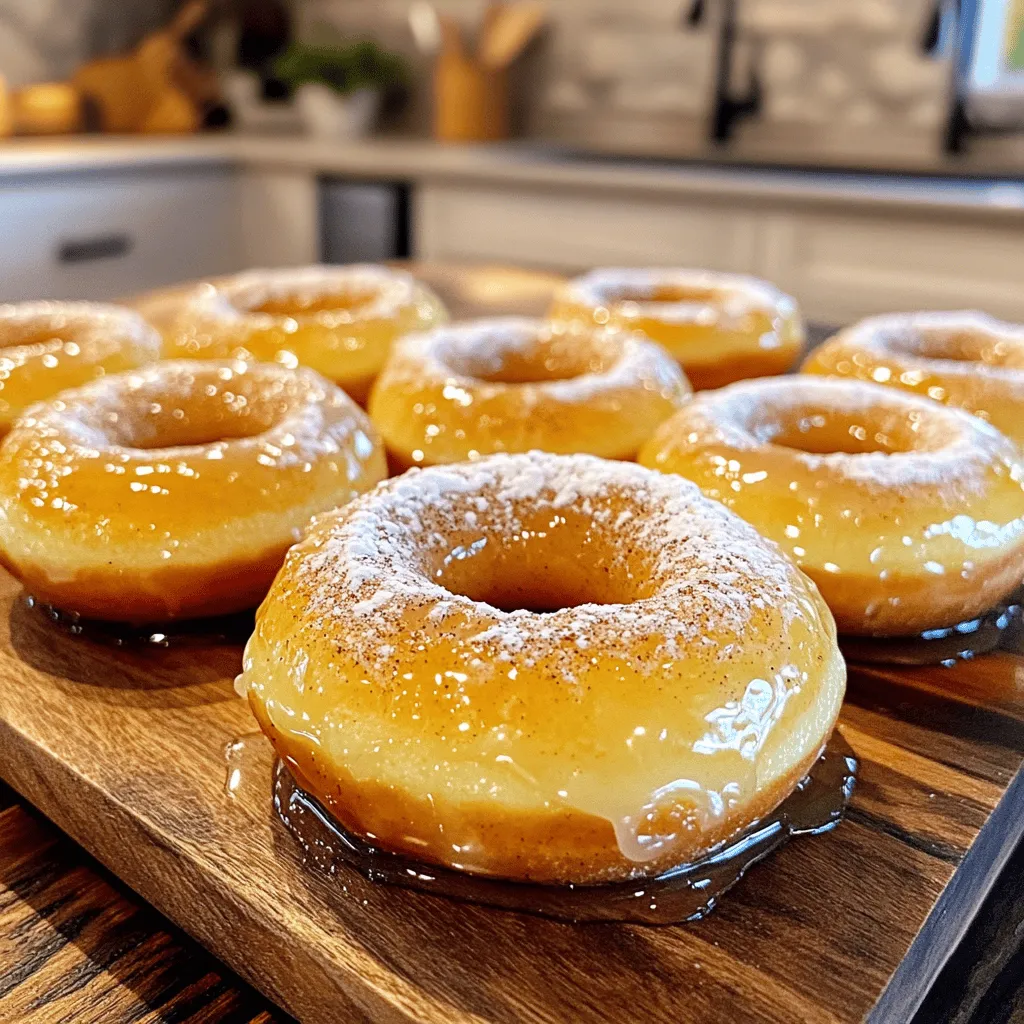
Are you craving a sweet treat that warms your heart? Let me introduce you to spiced maple doughnuts! These doughnuts...
READ MORE →