
DESSERTS
Apple Cinnamon Loaf Rich and Flavorful Delight
Welcome to the world of baking! If you’re craving a cozy treat, my Apple Cinnamon Loaf is a rich and...
READ MORE →Explore our collection of desserts recipes
Welcome to the world of baking! If you’re craving a cozy treat, my Apple Cinnamon Loaf is a rich and...
READ MORE →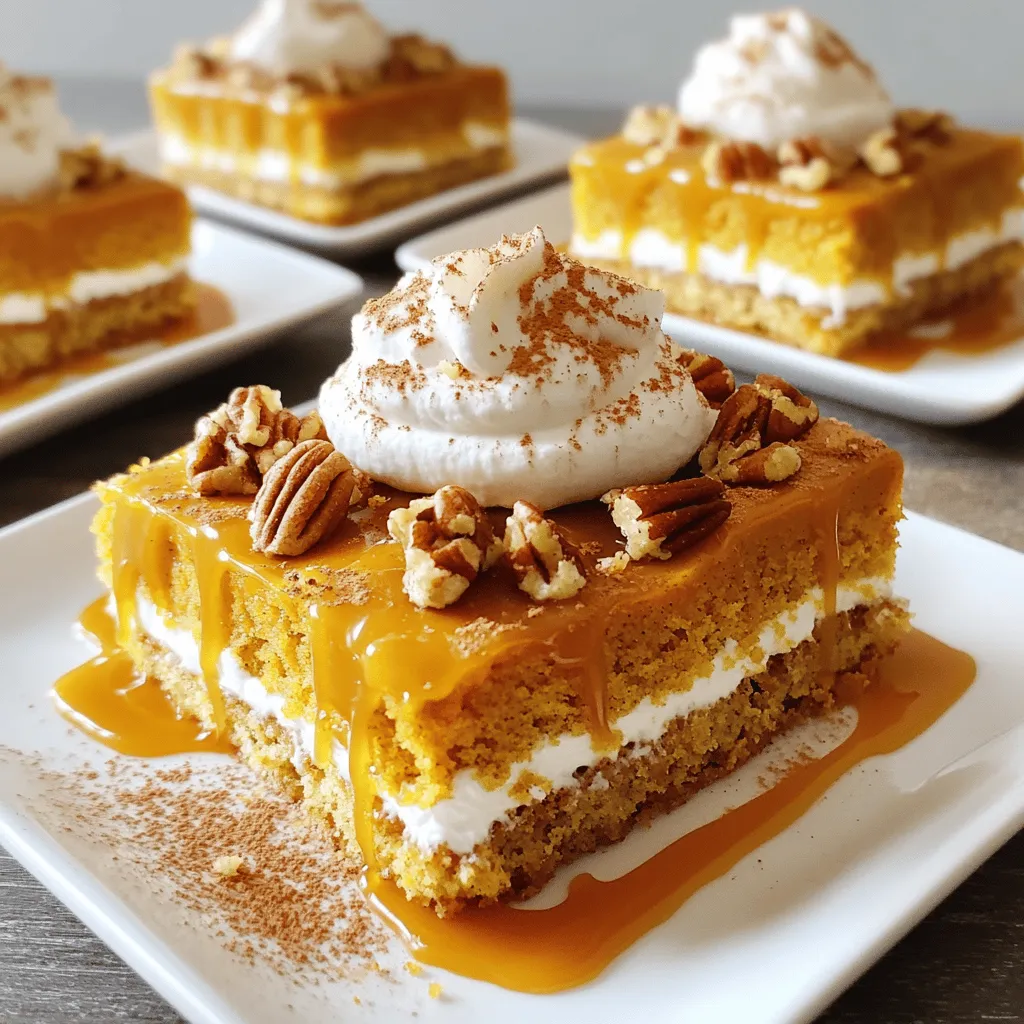
Autumn is here, and nothing says cozy like a Pumpkin Crunch Cake! Imagine the warm spices, creamy pumpkin, and a...
READ MORE →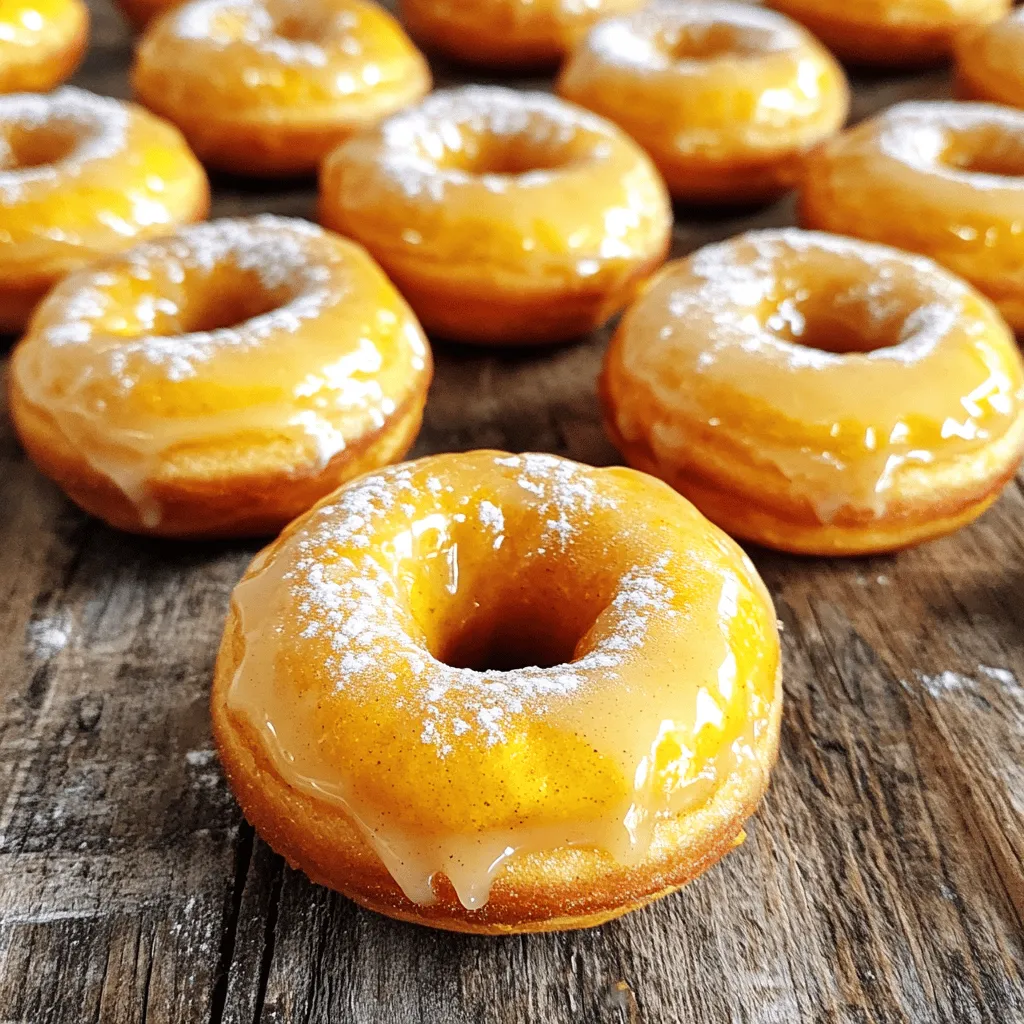
Fall flavors are calling! If you love pumpkin treats, you’re in for a tasty surprise with these Easy Baked Pumpkin...
READ MORE →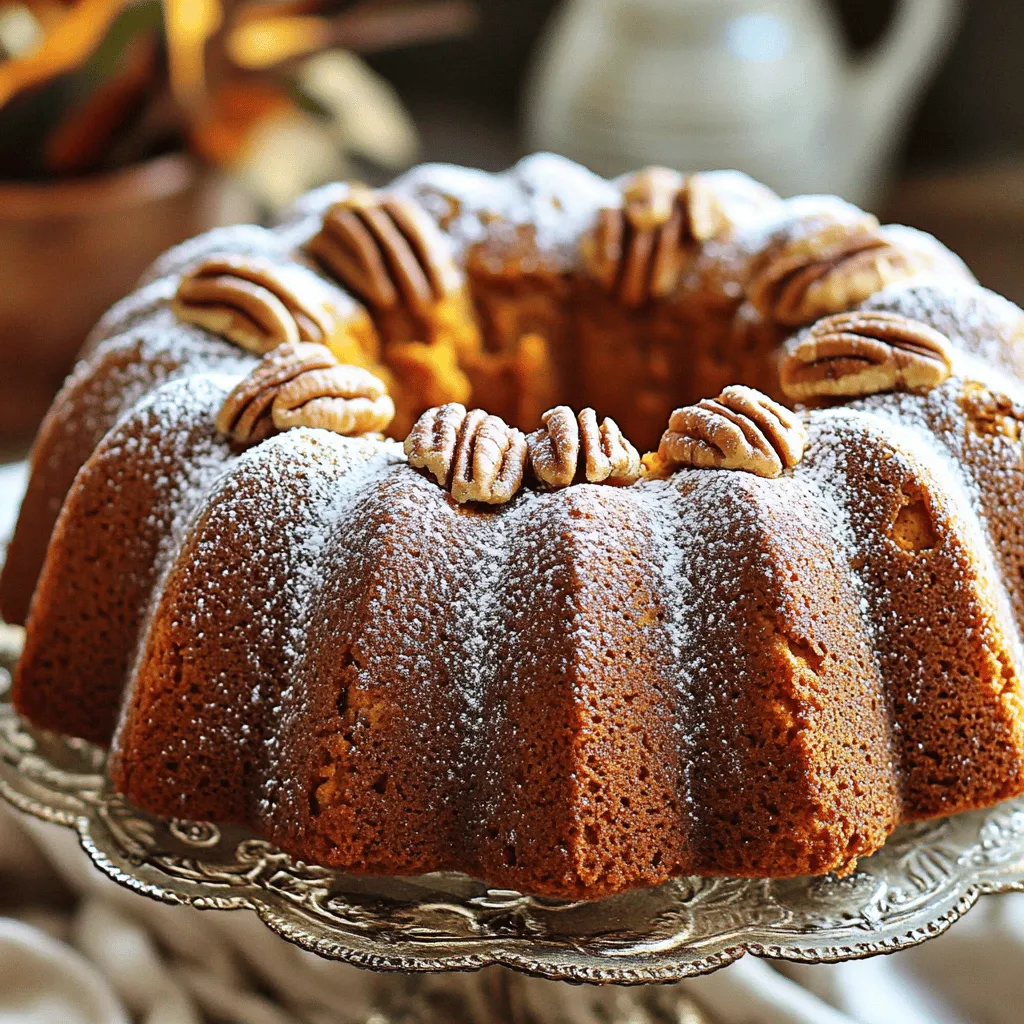
Looking for a tasty fall treat? This Easy Pumpkin Bundt Cake is fluffy and full of flavor. With just a...
READ MORE →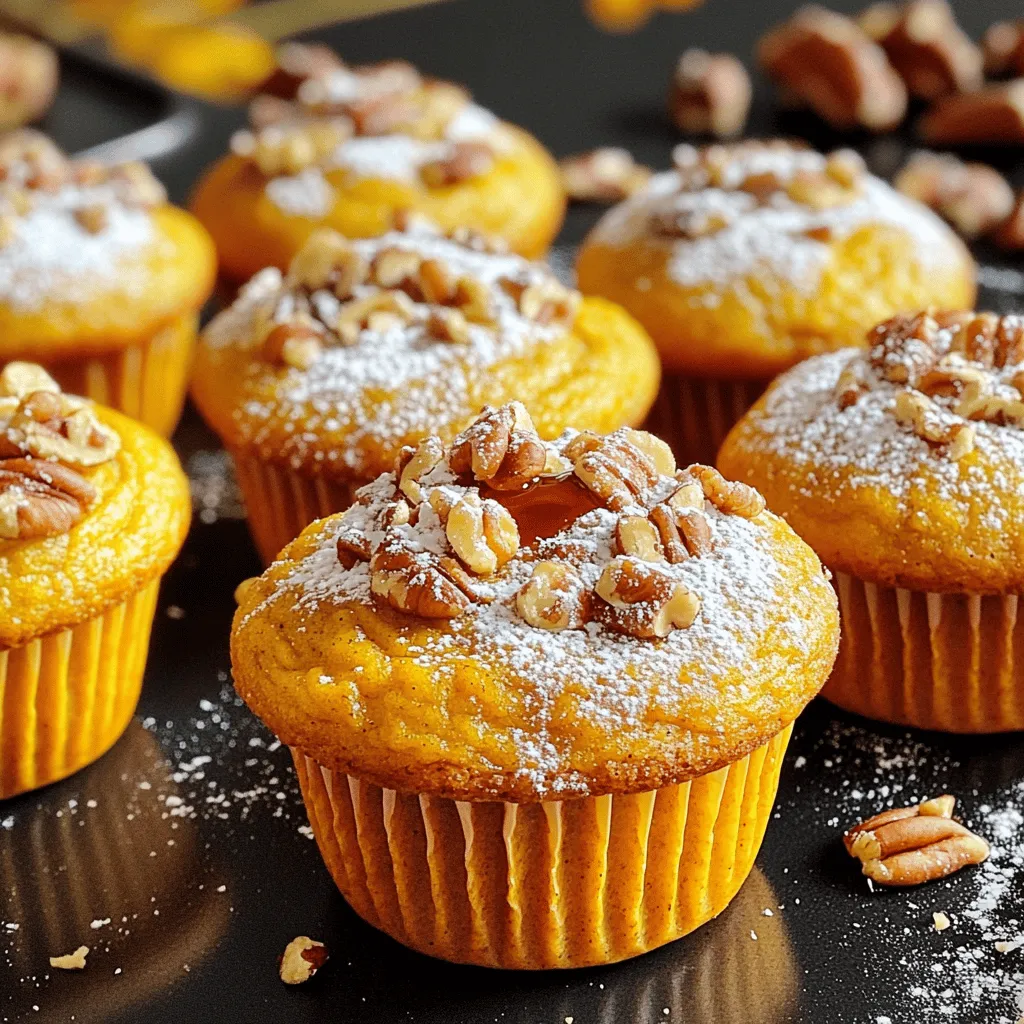
Looking for a delicious fall treat? These pumpkin muffins with maple filling are perfect! This recipe blends warm spices with...
READ MORE →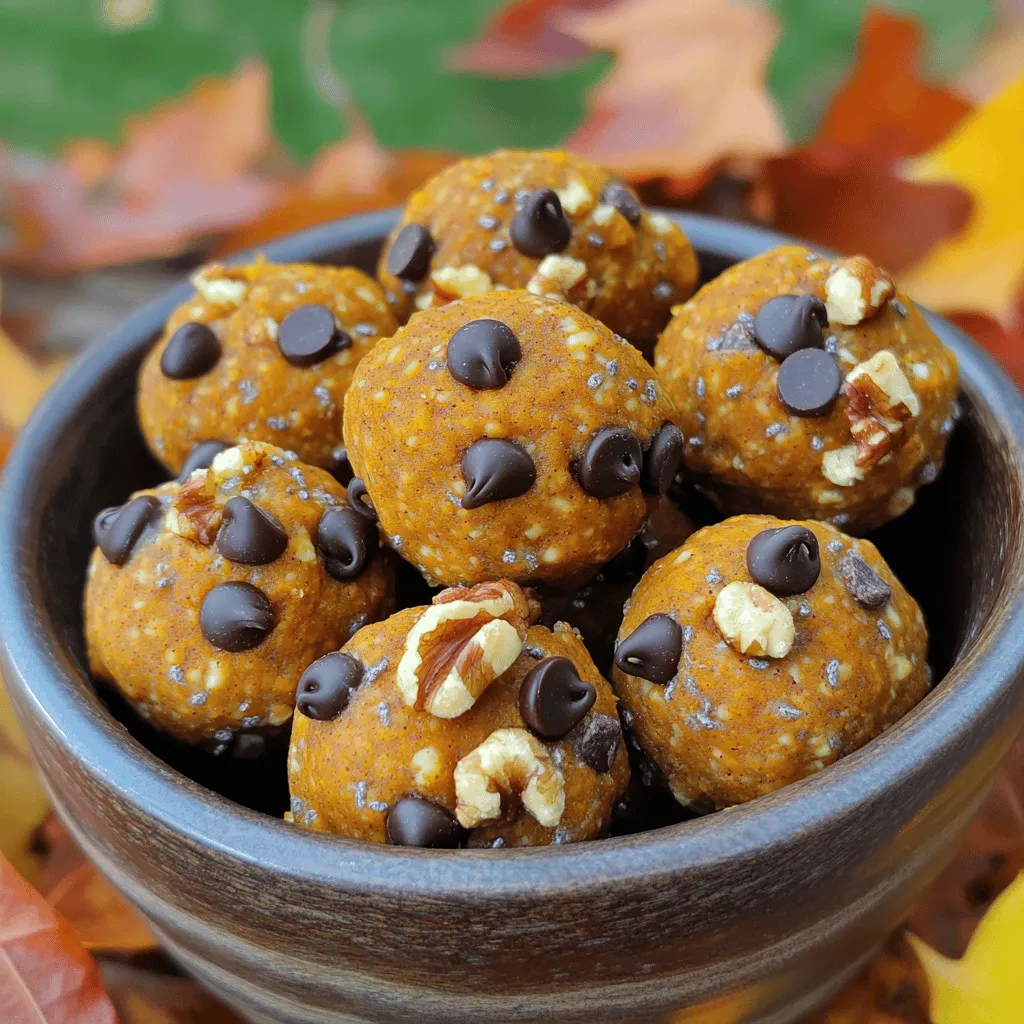
Fall is here, and I’m excited to share a simple and tasty treat! These Delightful Pumpkin Energy Bites are perfect...
READ MORE →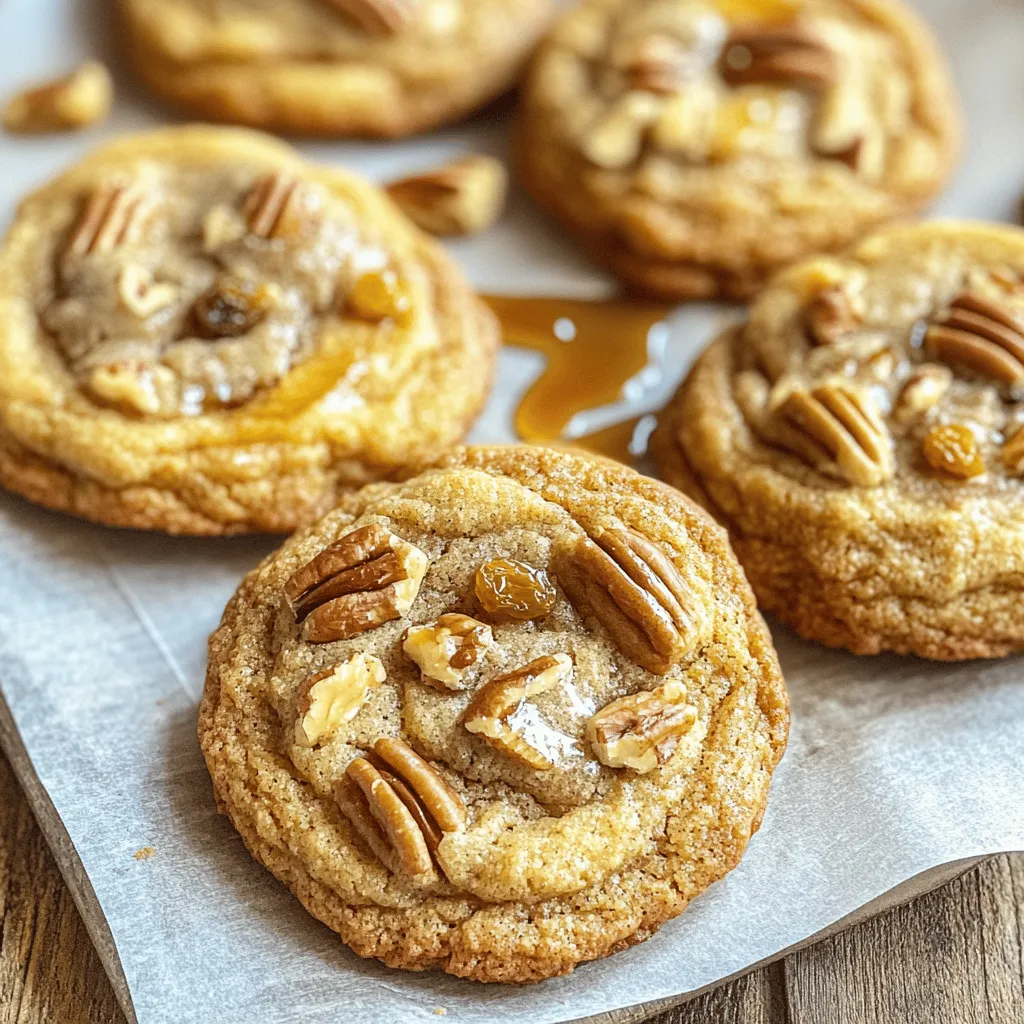
Get ready to indulge in a sweet treat that merges breakfast and dessert! These Chewy French Toast Cookies deliver all...
READ MORE →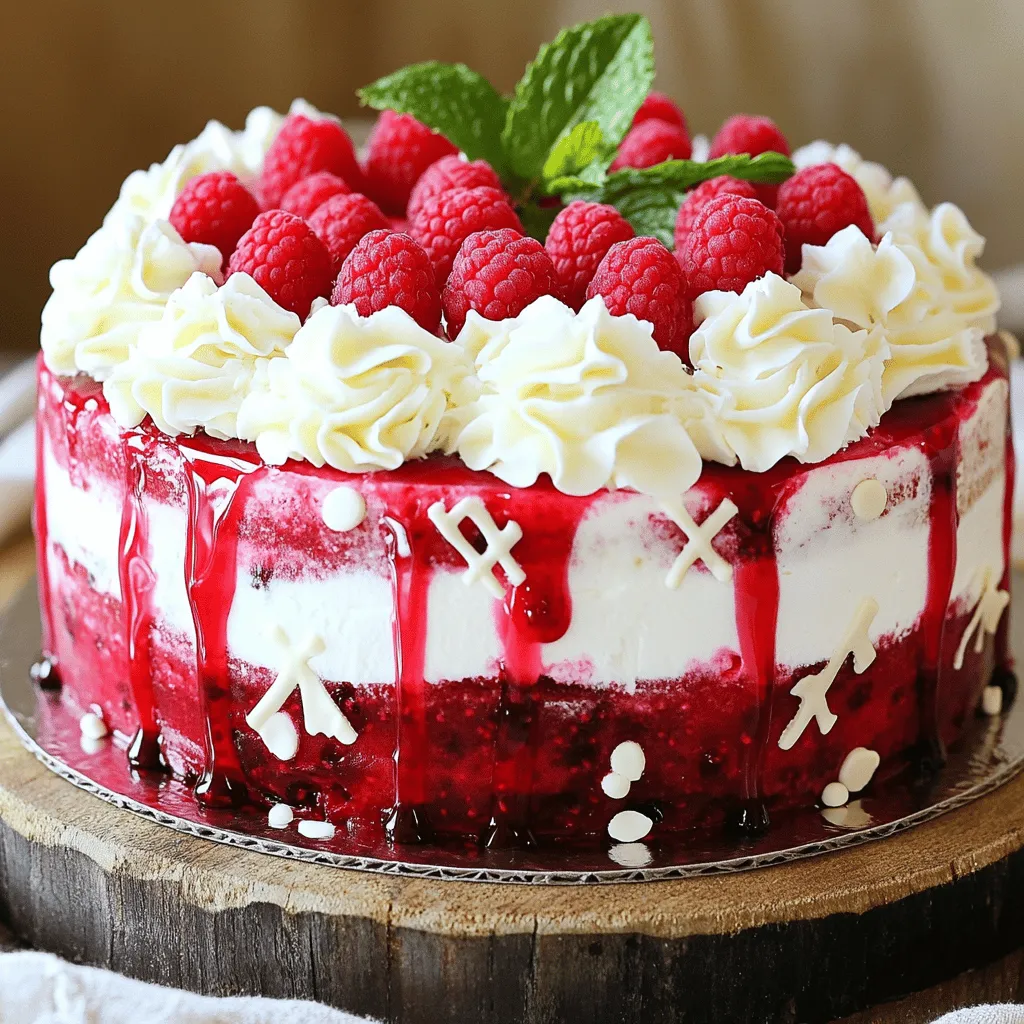
Welcome to a sweet adventure! Today, I’ll show you how to make a White Chocolate Raspberry Cake that’s as easy...
READ MORE →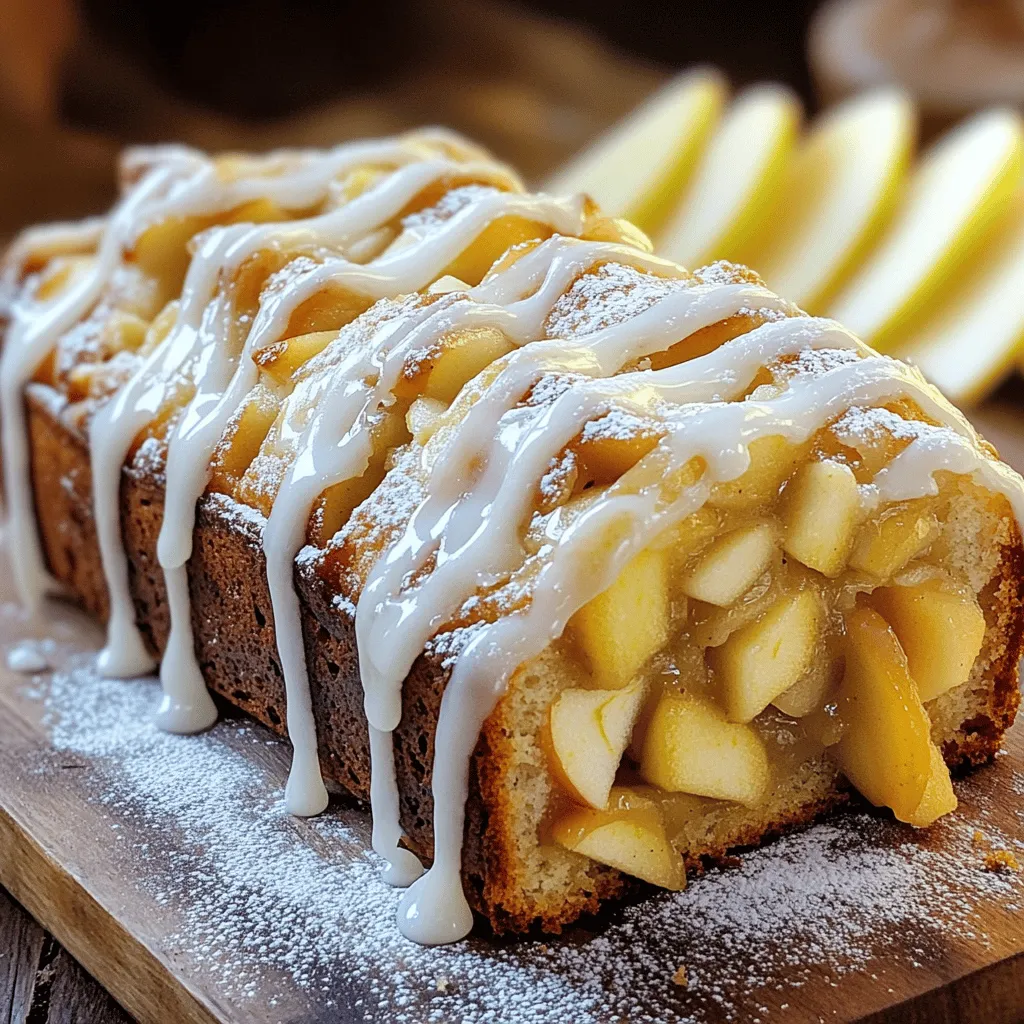
Are you ready to bake something delicious? This Apple Fritter Bread is a fun way to enjoy fall flavors all...
READ MORE →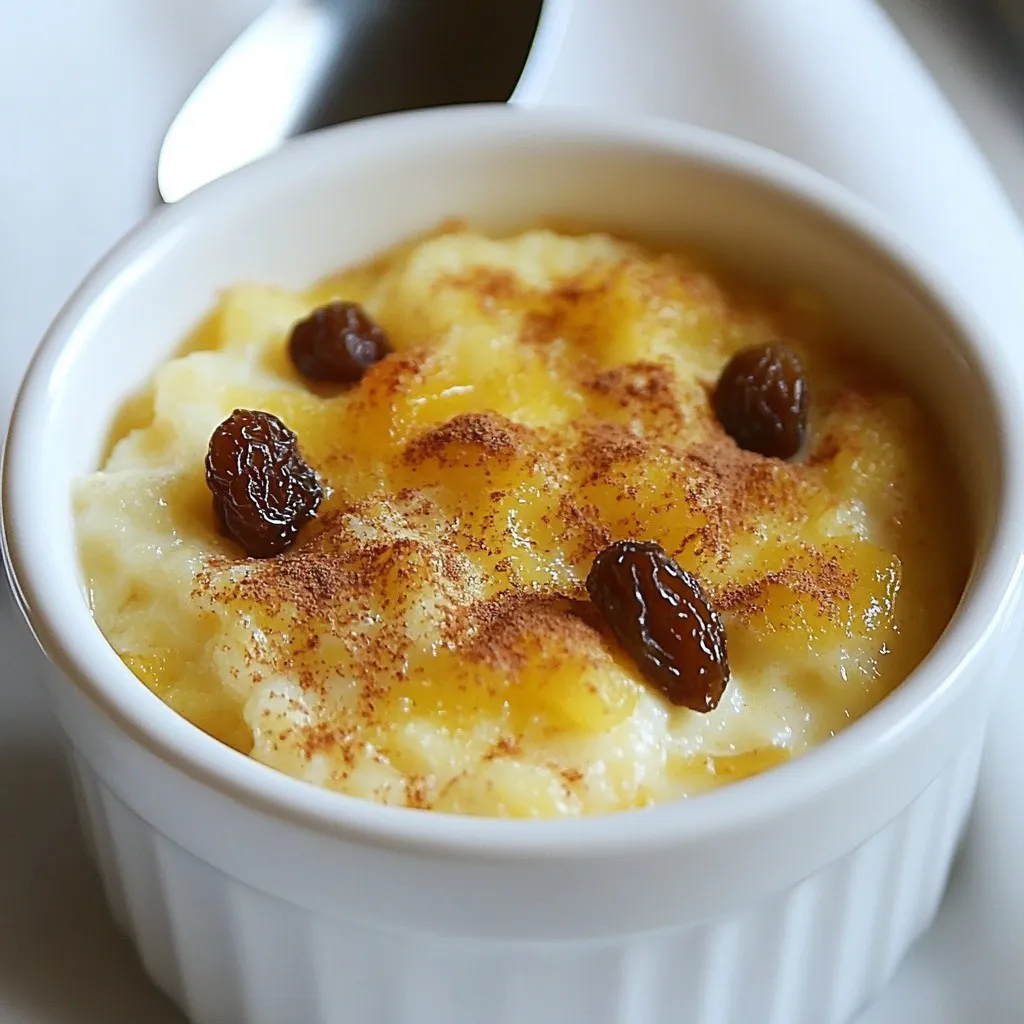
If you crave a warm, creamy dessert that’s easy to make, you’re in the right place! My Condensed Milk Baked...
READ MORE →