DESSERTS
Brownie Batter Milkshake Delight in Every Sip
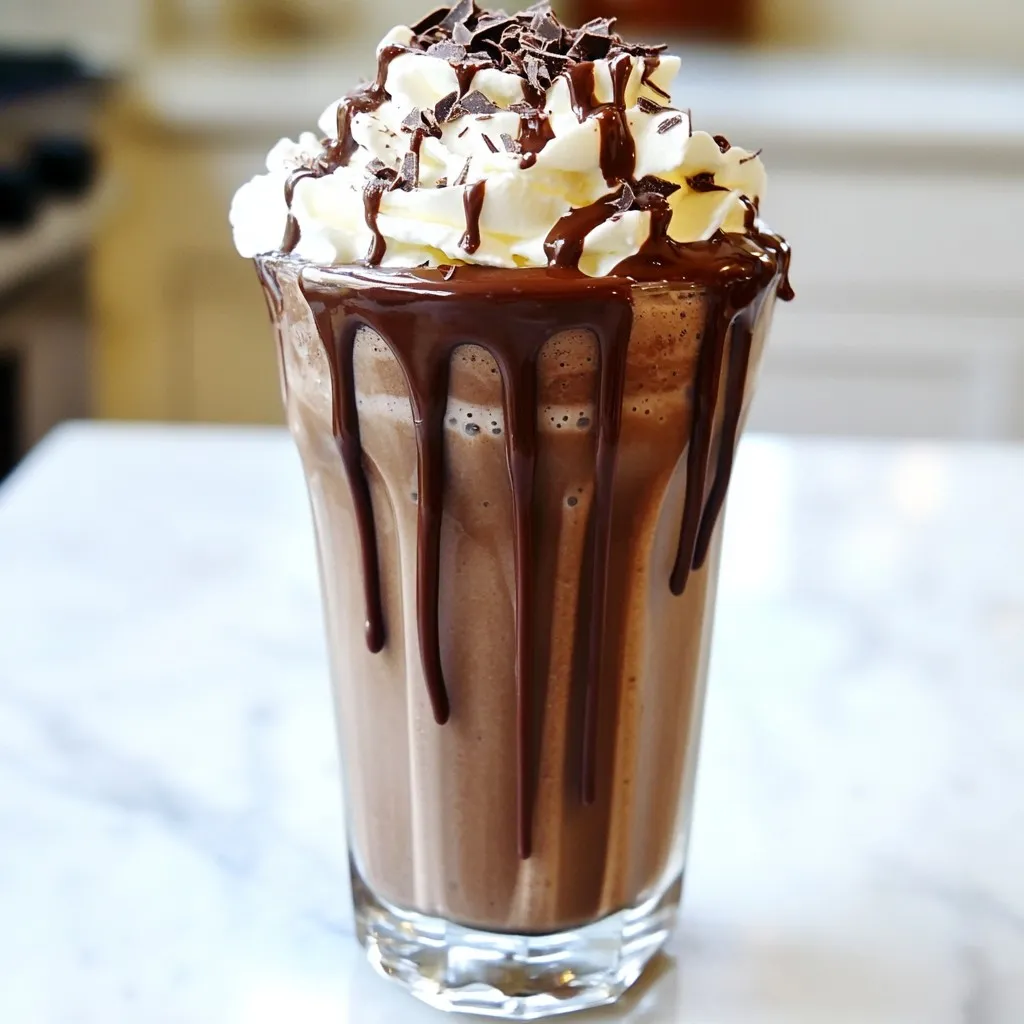
Treat yourself to a tasty delight with my Brownie Batter Milkshake! This rich, creamy drink brings the joy of brownie...
READ MORE →Explore our collection of desserts recipes
Treat yourself to a tasty delight with my Brownie Batter Milkshake! This rich, creamy drink brings the joy of brownie...
READ MORE →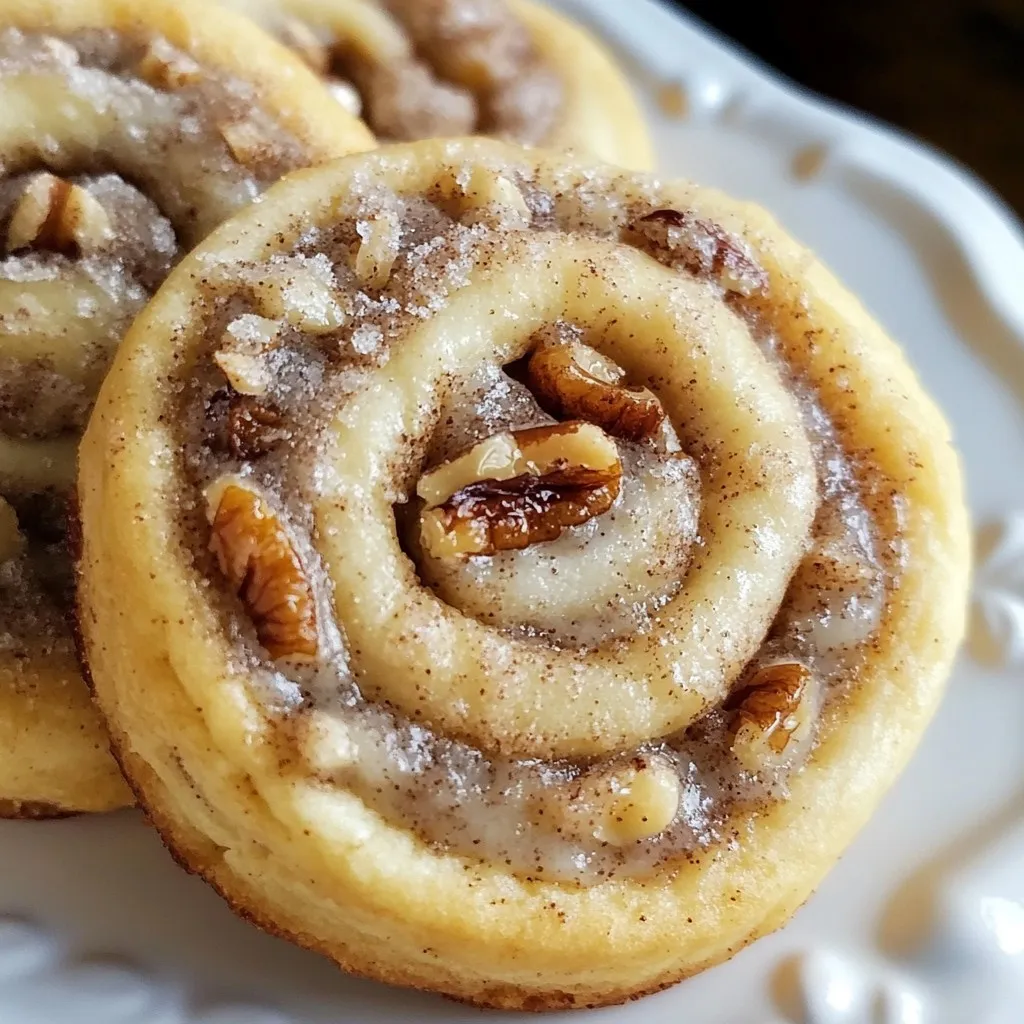
Are you ready for a sweet treat that combines the best of cinnamon rolls and cookies? I’m talking about Cinnamon...
READ MORE →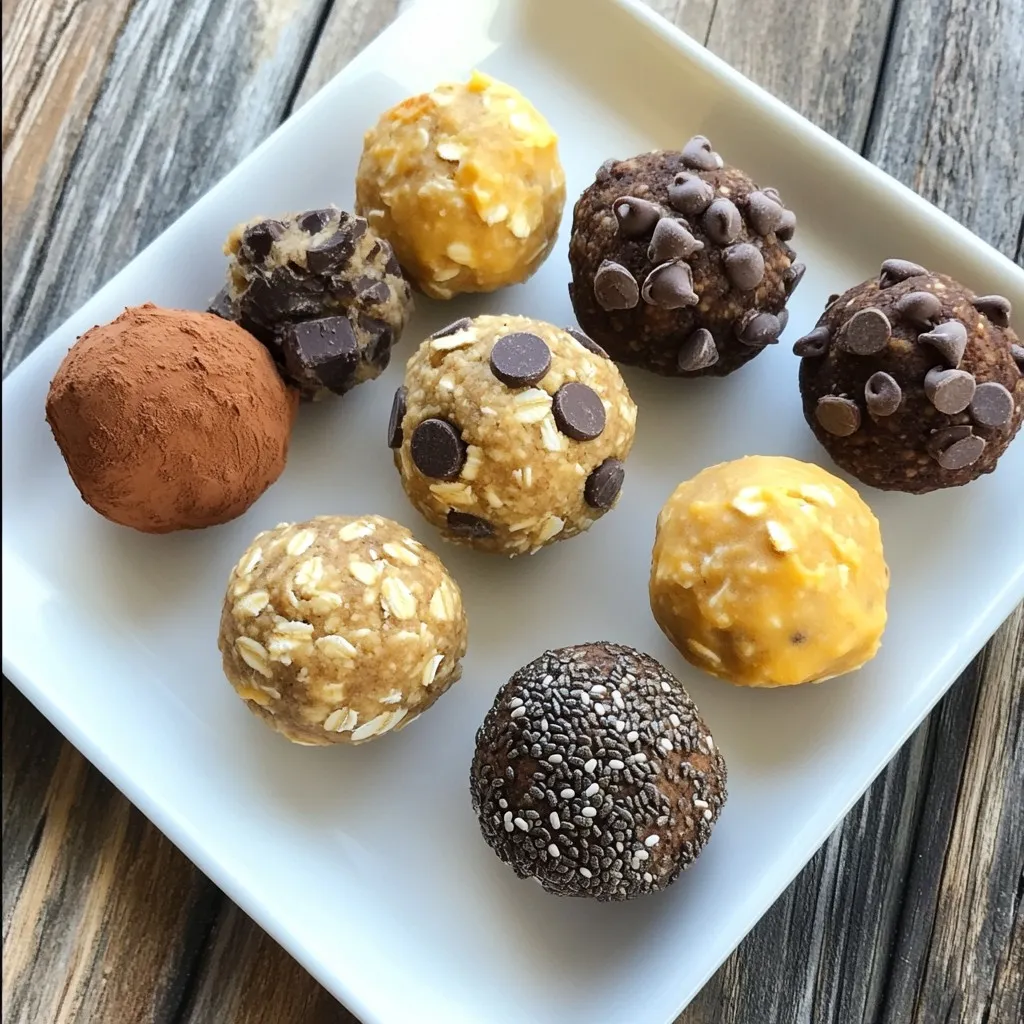
Looking for a tasty treat that won’t ruin your health goals? You’ve come to the right place! These Healthy Cookie...
READ MORE →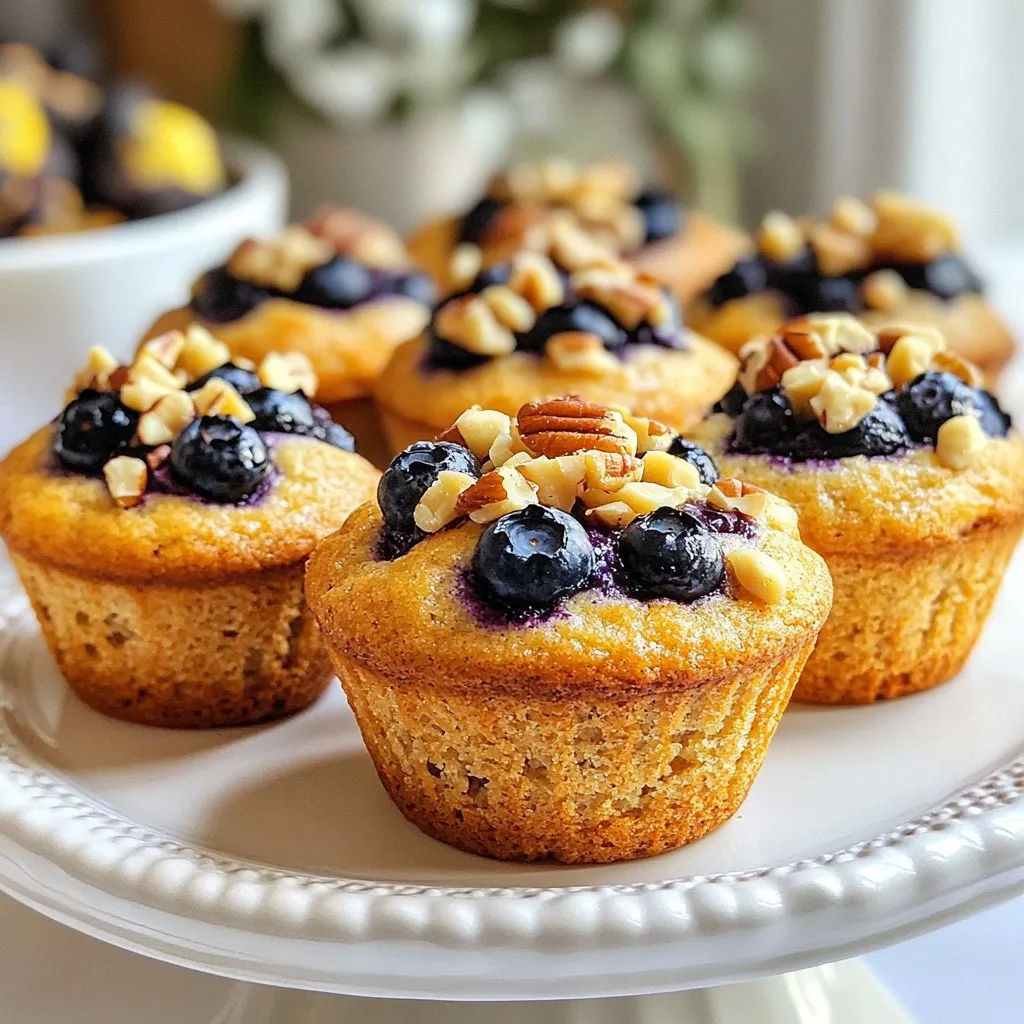
Looking for a tasty treat without the sugar? I’ve got the perfect recipe for you! These Sugar-Free Blueberry Muffins are...
READ MORE →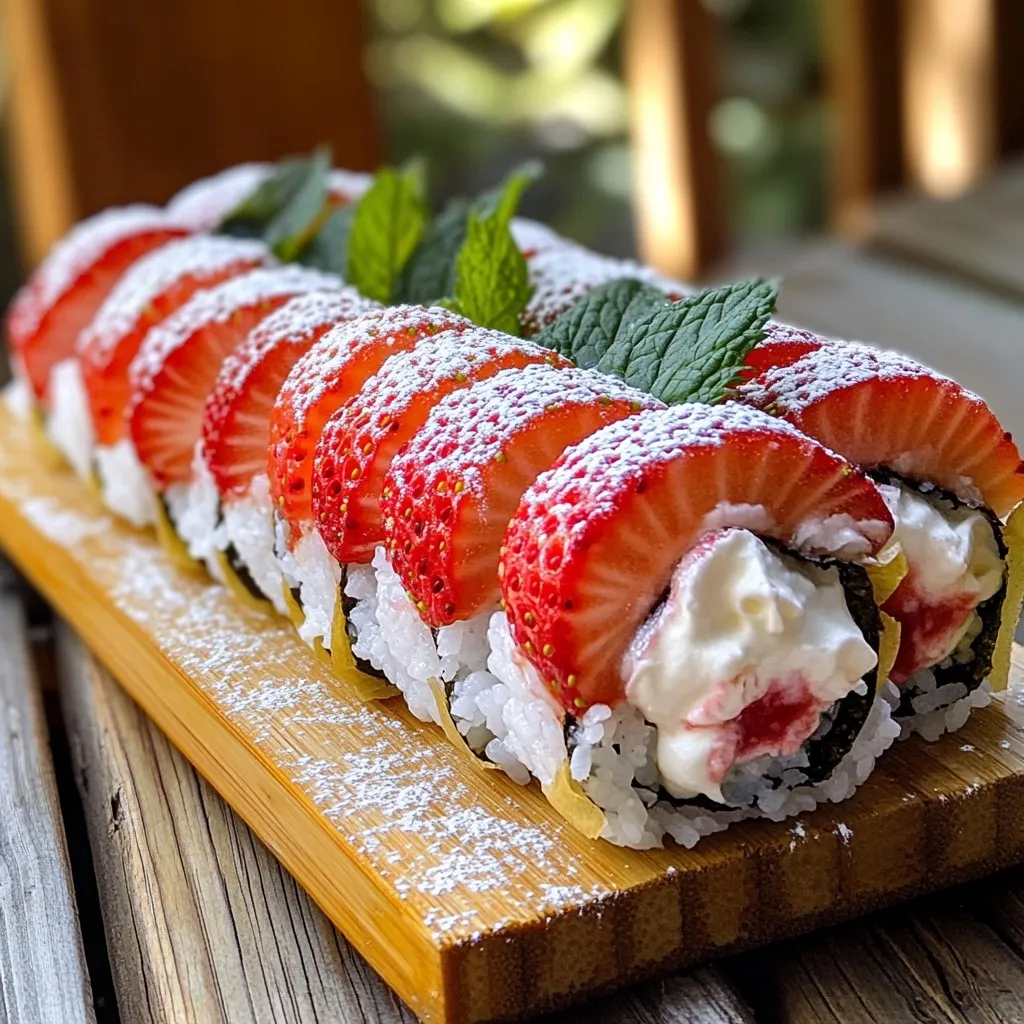
Looking for a fun summer treat? Strawberry Shortcake Sushi Rolls are the perfect blend of fresh flavors and creative presentation....
READ MORE →
Are you craving a tasty snack that packs a protein punch? Look no further! Protein cookie dough bites are simple...
READ MORE →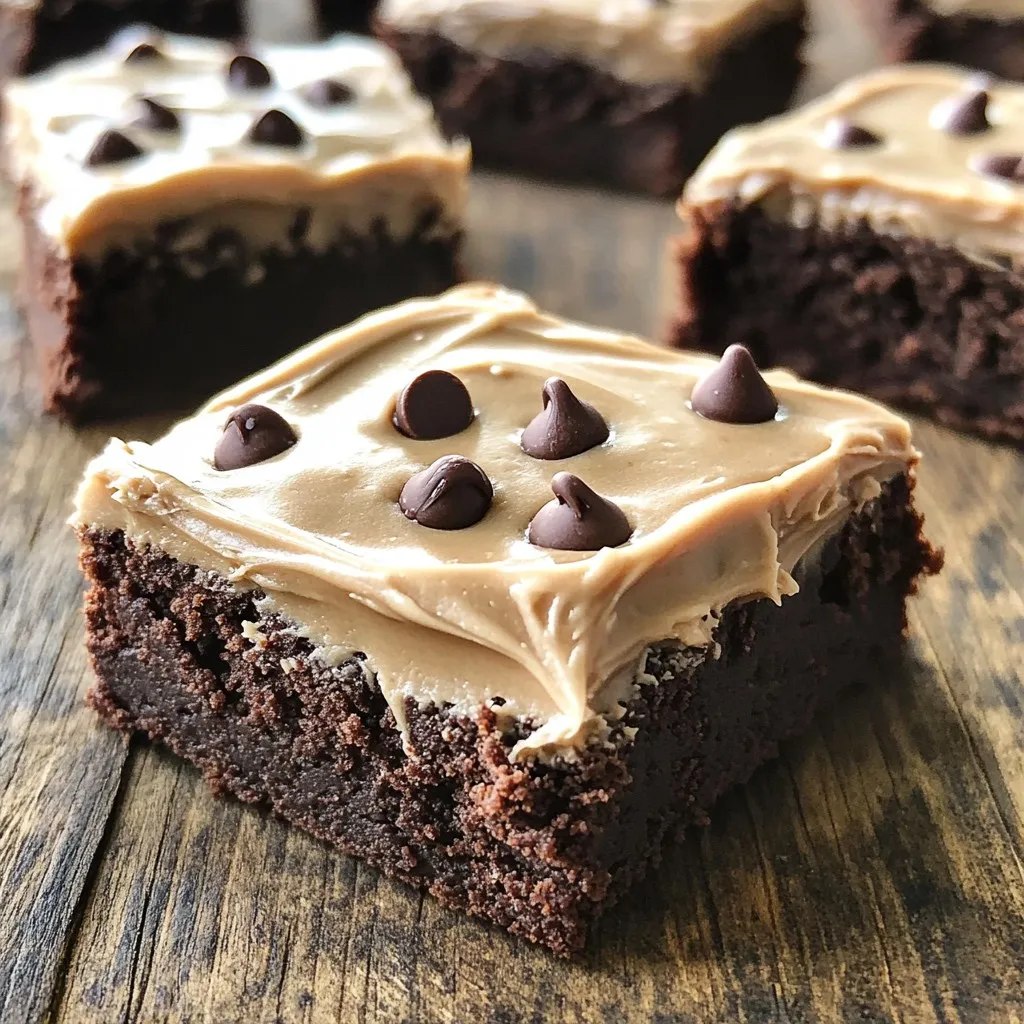
Craving a dessert that brings rich chocolate and coffee together? Try my frosted coffee brownies! These treats are soft, rich,...
READ MORE →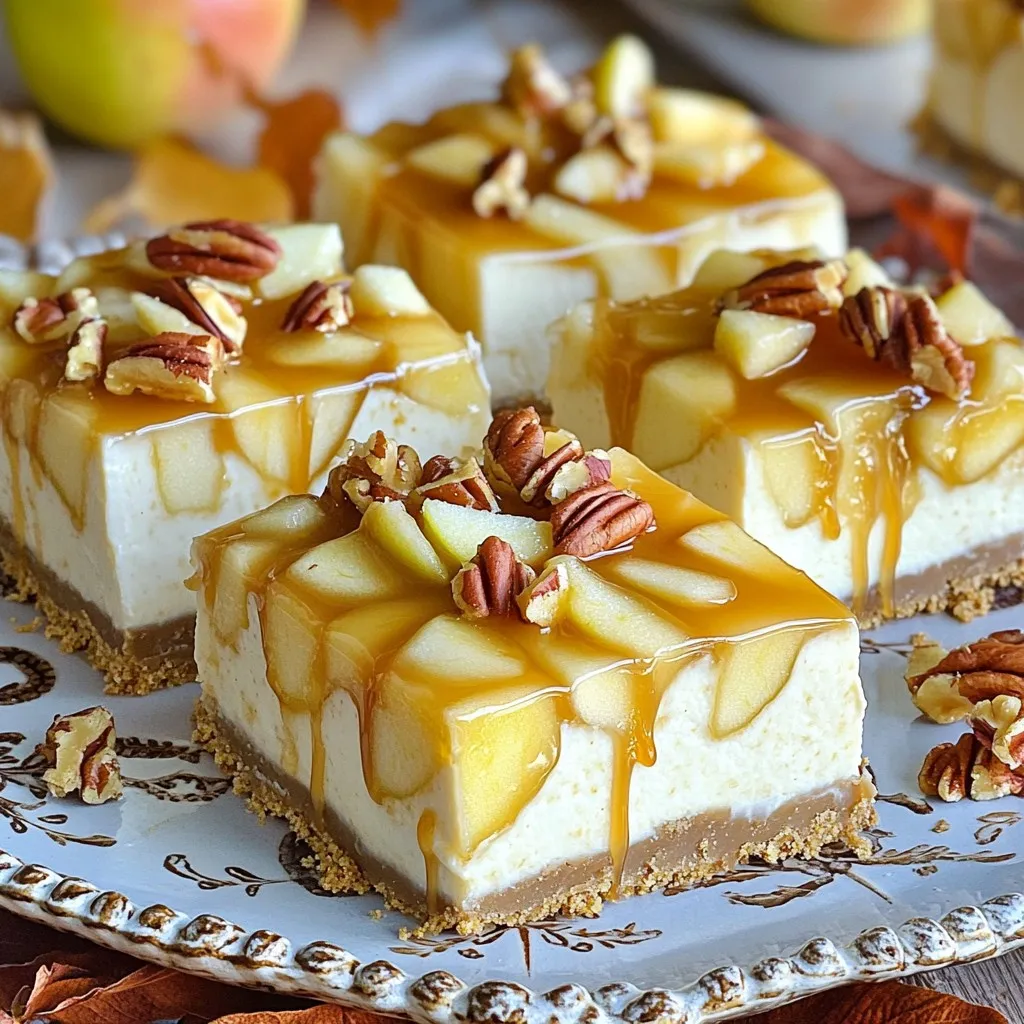
Craving a sweet treat that combines creamy cheesecake with the classic flavors of caramel and apple? Look no further! These...
READ MORE →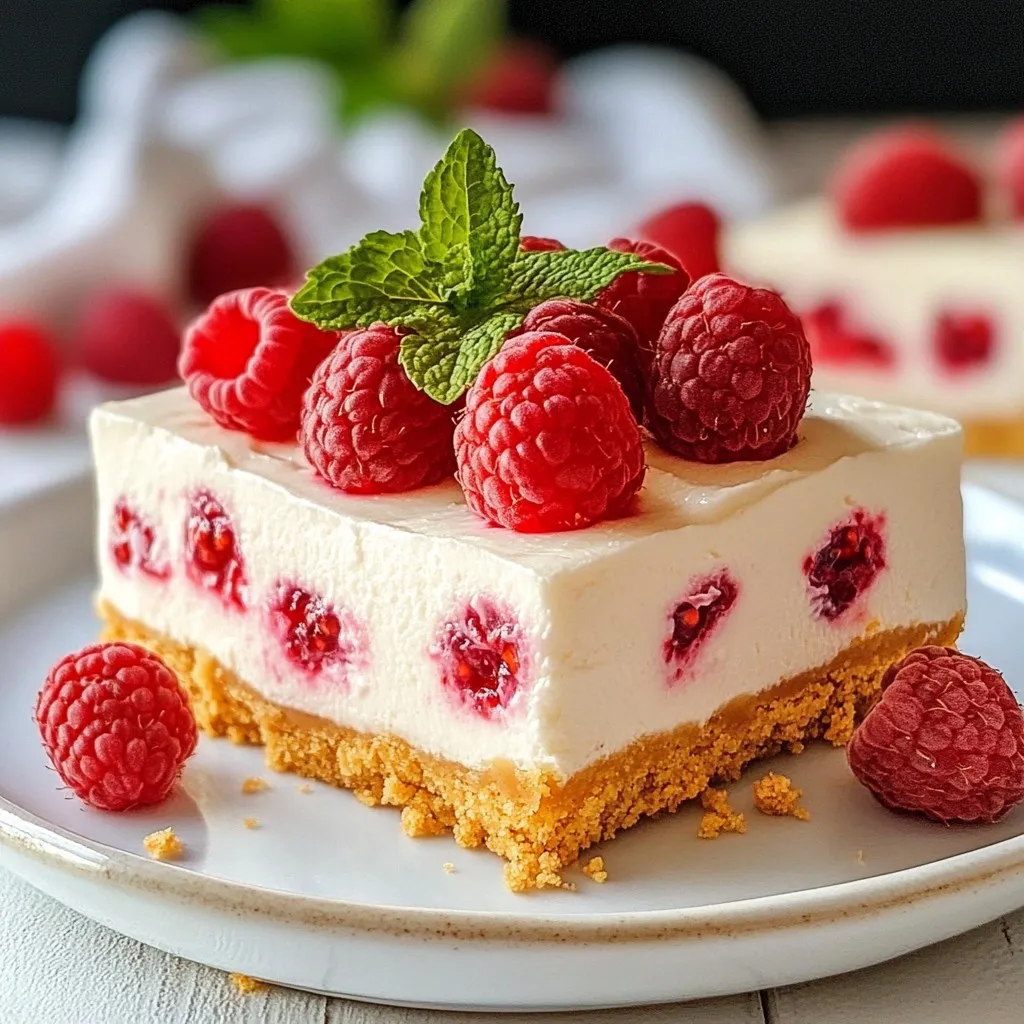
Craving a sweet treat that’s easy and delicious? Look no further! These No-Bake Raspberry Cheesecake Bars combine creamy cheesecake with...
READ MORE →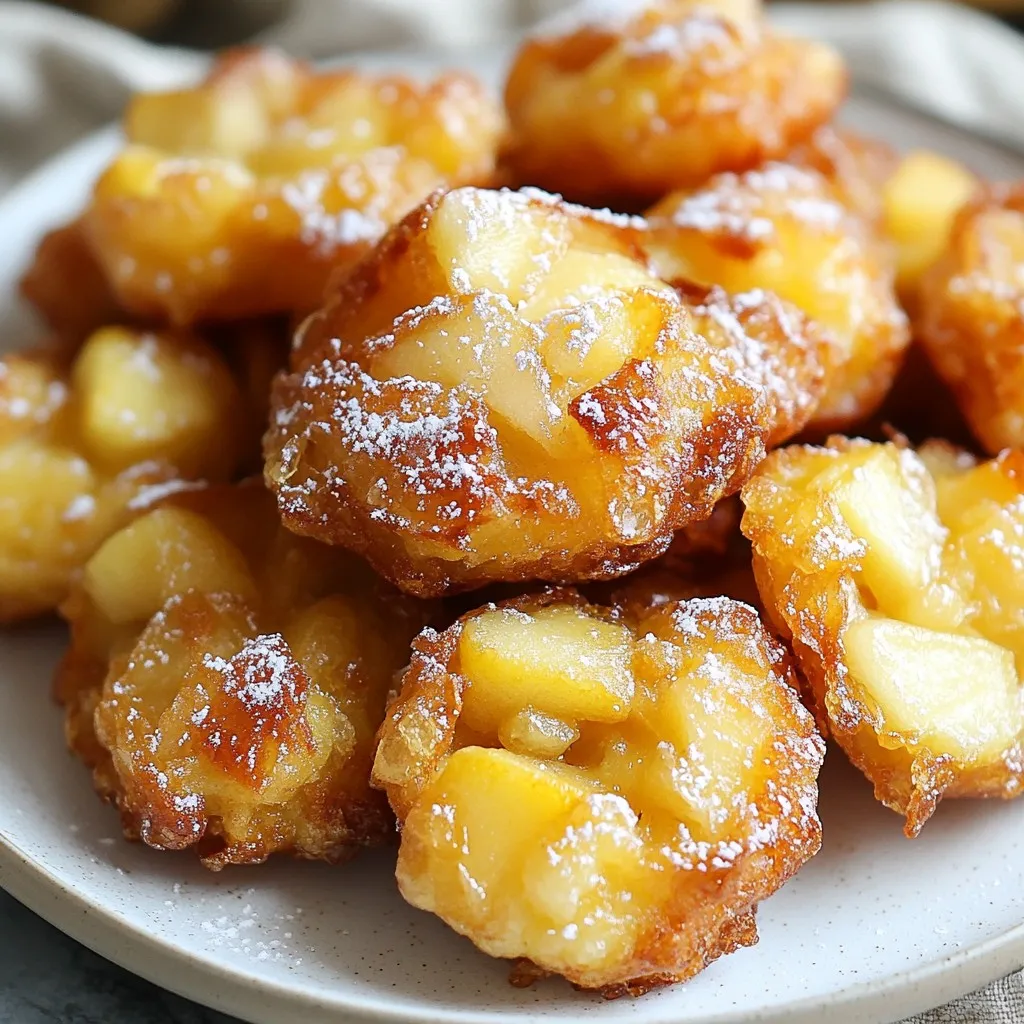
Craving a sweet treat? Let me show you how to make Air Fryer Apple Fritters! This easy recipe combines tender...
READ MORE →