DESSERTS
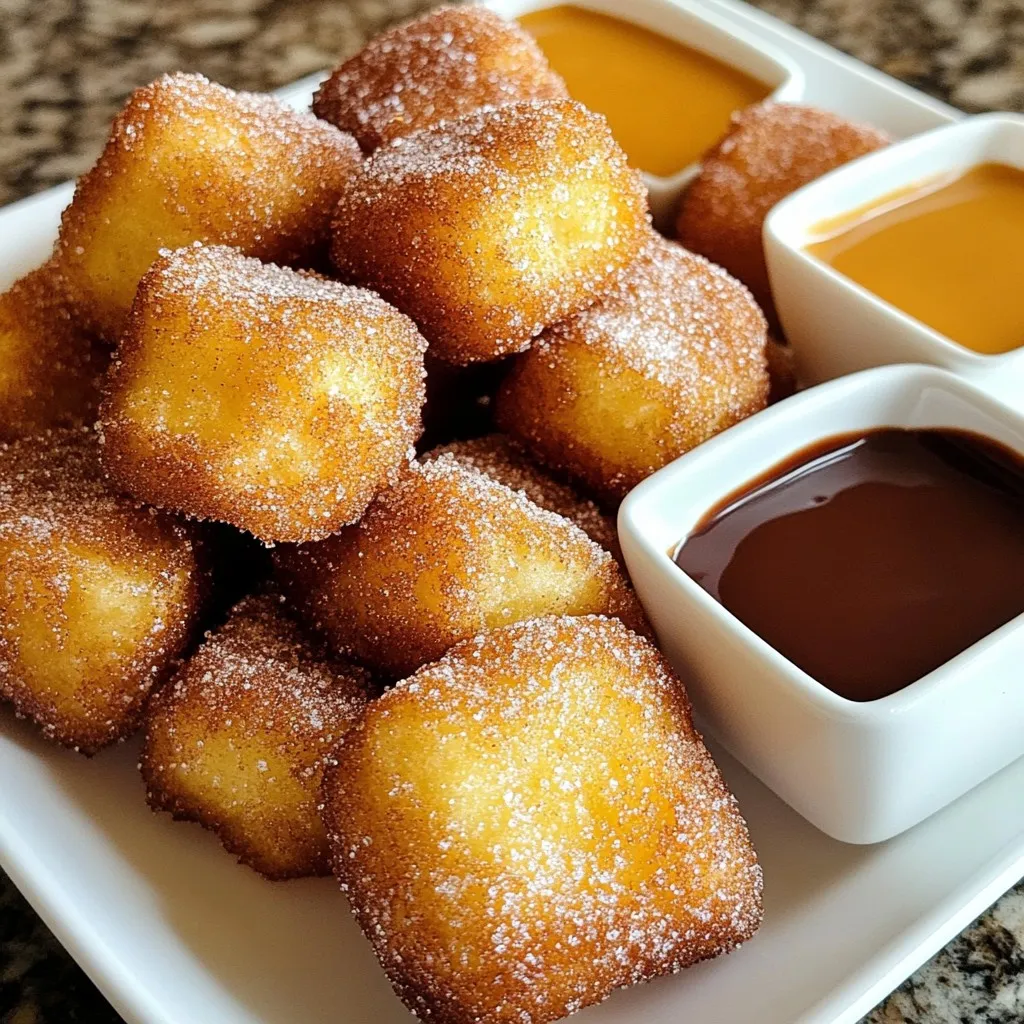
Churro Poppers Irresistible Treat for Everyone
Are you ready for a sweet treat that everyone will love? Churro poppers are bite-sized delights that are crispy on...
READ MORE →Explore our collection of desserts recipes
Are you ready for a sweet treat that everyone will love? Churro poppers are bite-sized delights that are crispy on...
READ MORE →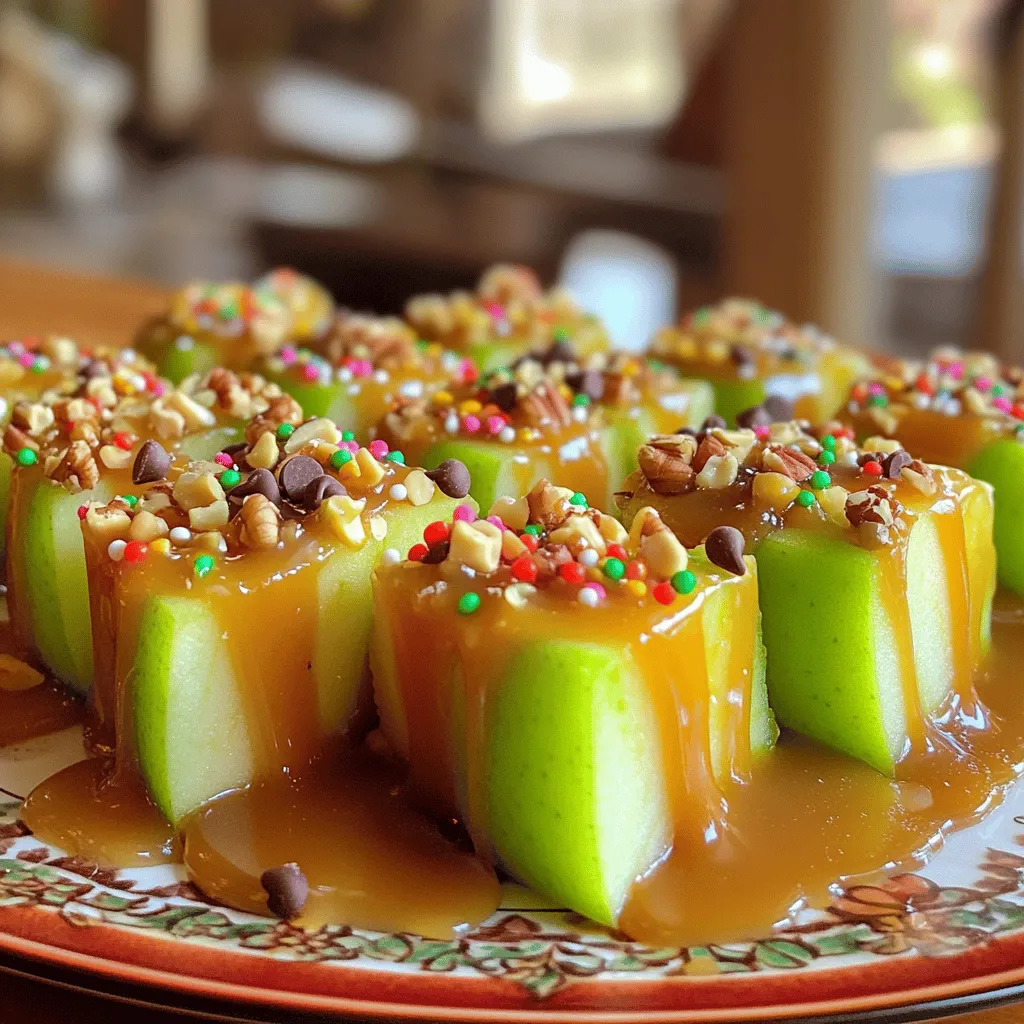
Are you ready for a delicious treat that’s super easy to make? These Easy Caramel Apple Bites are a fun...
READ MORE →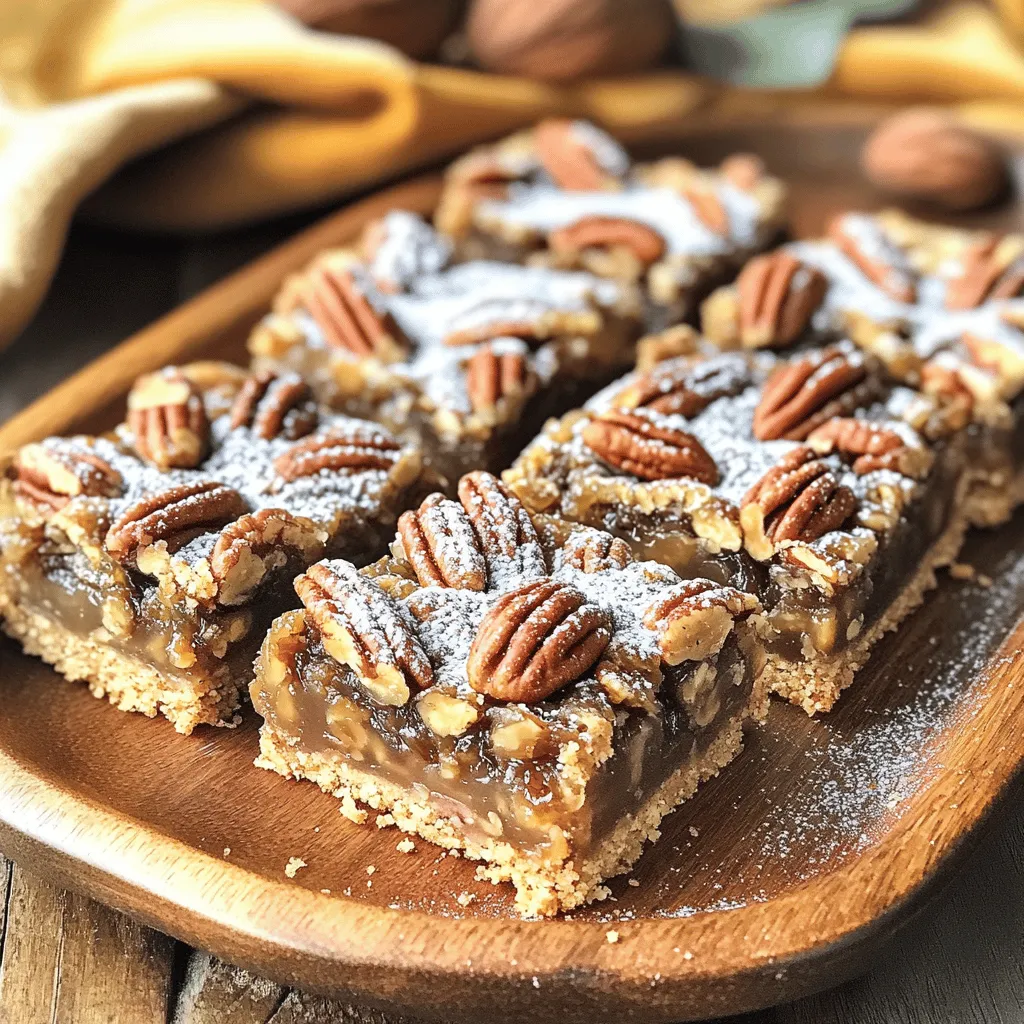
Looking for a tasty and guilt-free snack? These Healthy Vegan Pecan Pie Bars are just what you need! With simple...
READ MORE →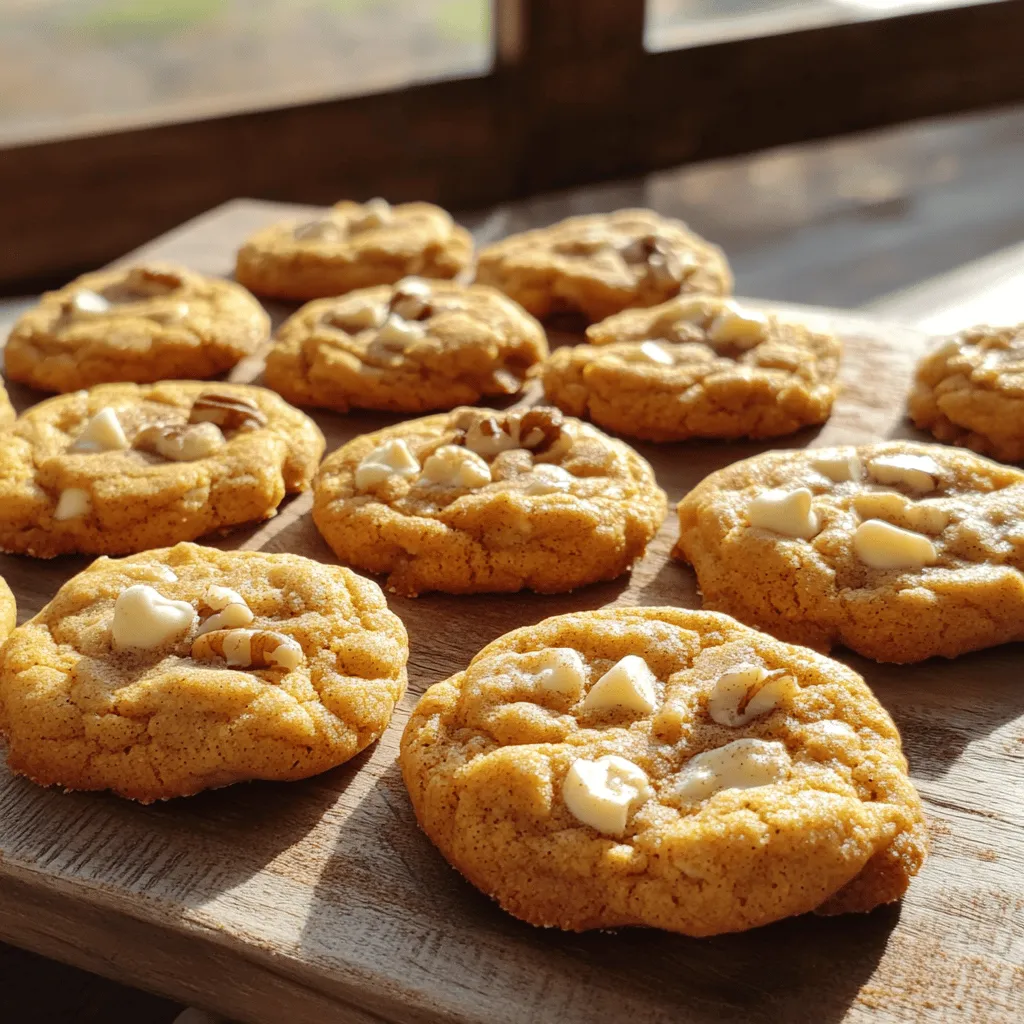
Fall is here, and so is the perfect cookie to warm your heart: Pumpkindoodle Cookies! This tasty treat mixes the...
READ MORE →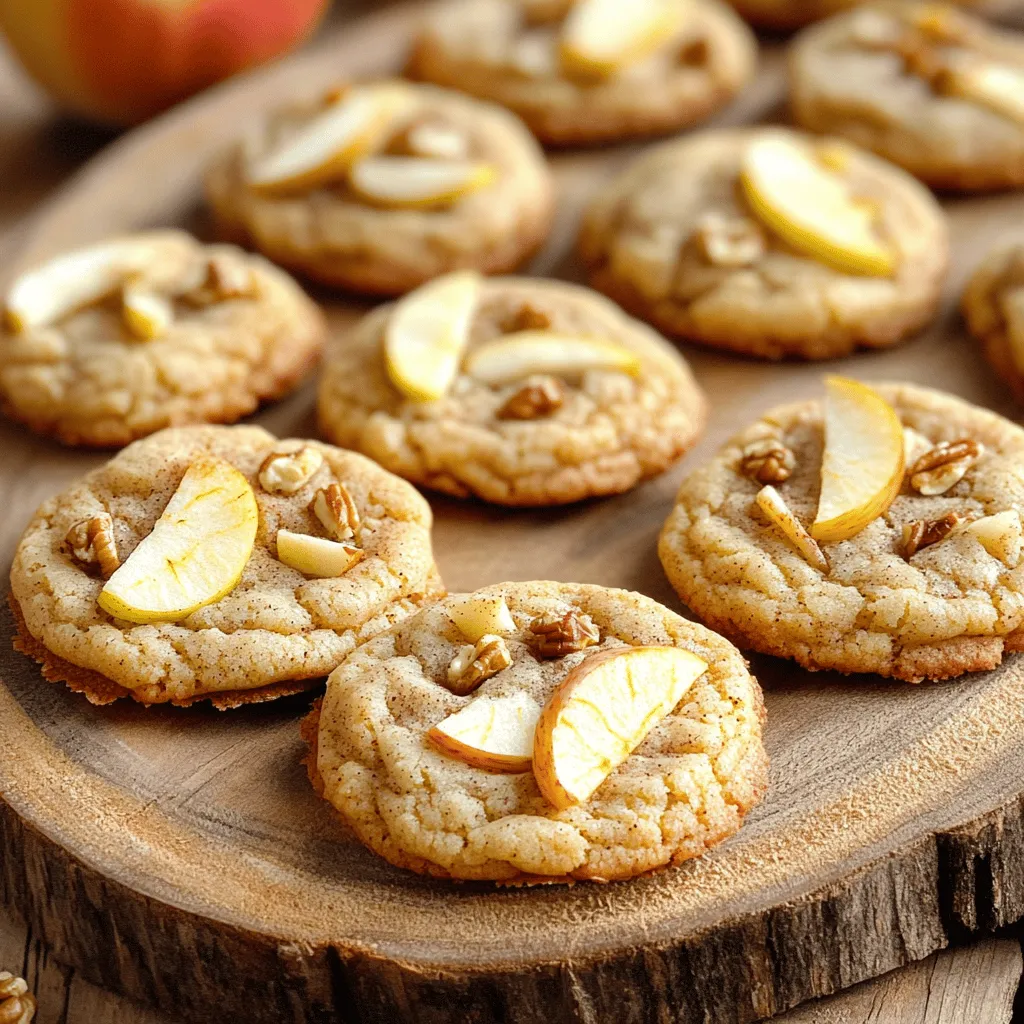
Fall is here, and so is the perfect treat: Chewy Apple Cider Cookies! These cookies are soft, sweet, and packed...
READ MORE →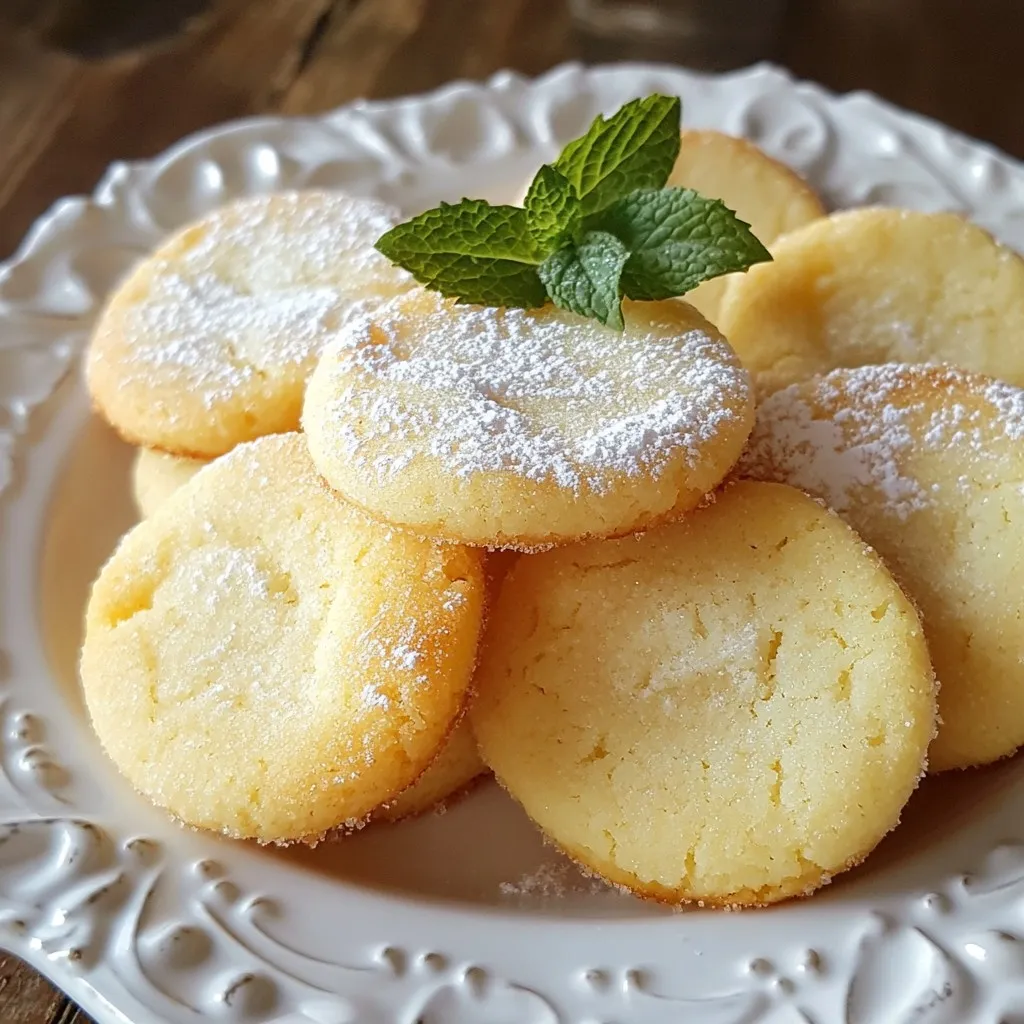
Are you ready to bake some soft and chewy sugar cookies that will steal the show? In this guide, I’ll...
READ MORE →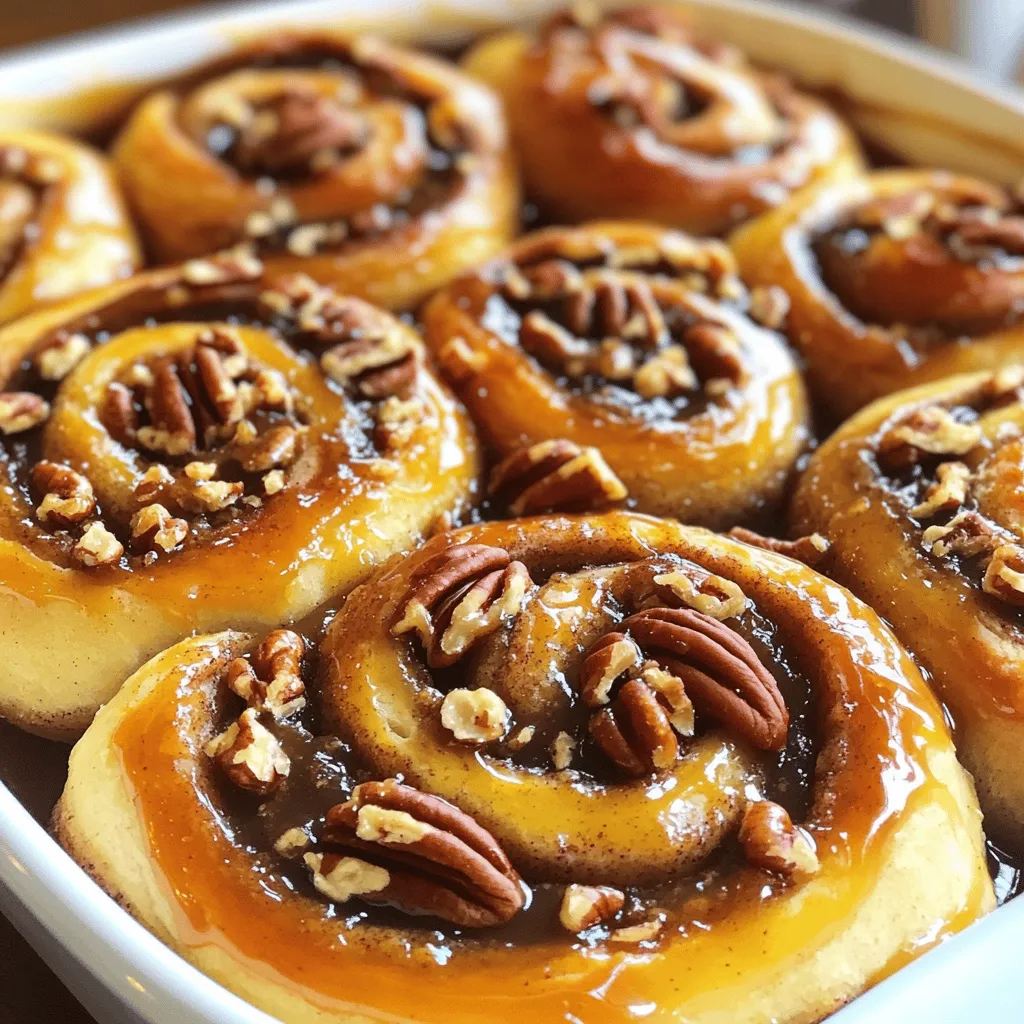
Welcome to your new favorite recipe for Sticky Pecan Cinnamon Buns! This easy and flavorful treat will delight your taste...
READ MORE →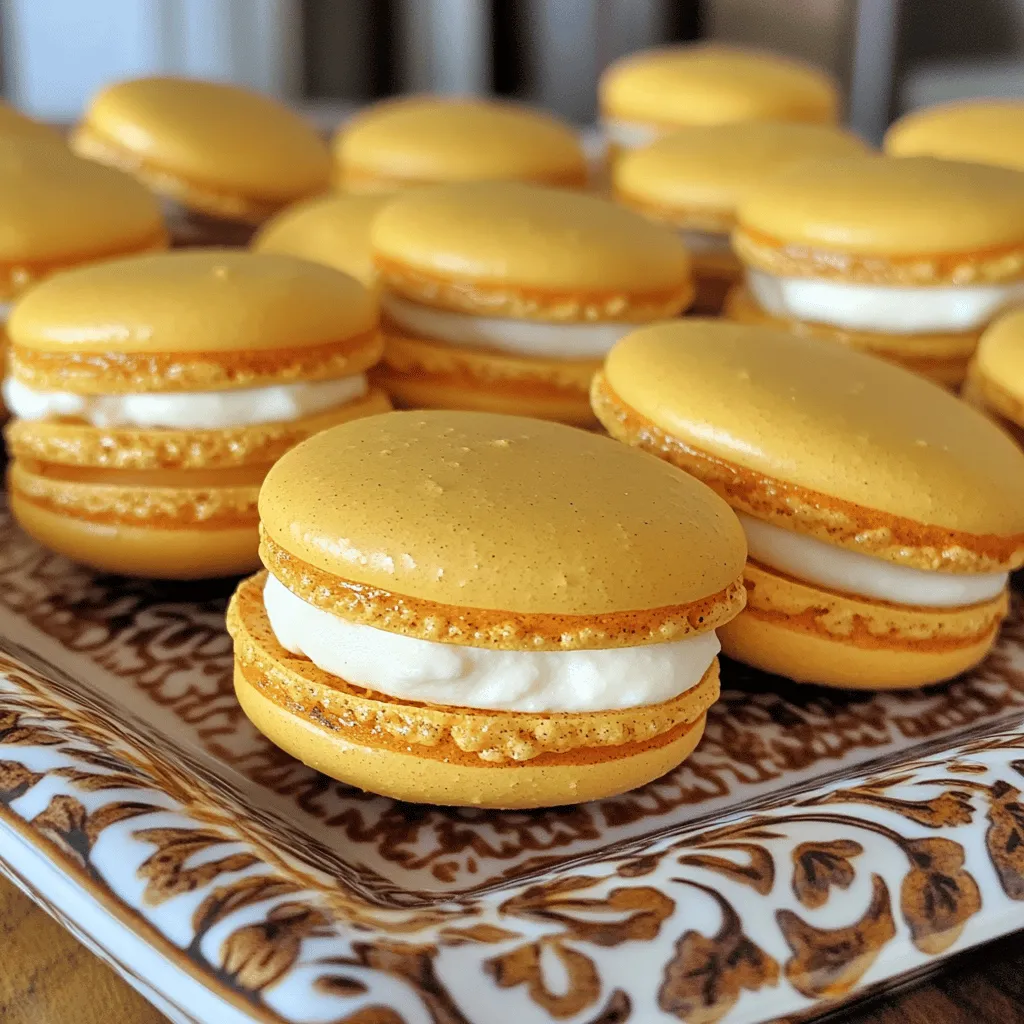
Fall is here, and it’s time to enjoy the cozy flavors of the season! You’ll love making these Pumpkin Spice...
READ MORE →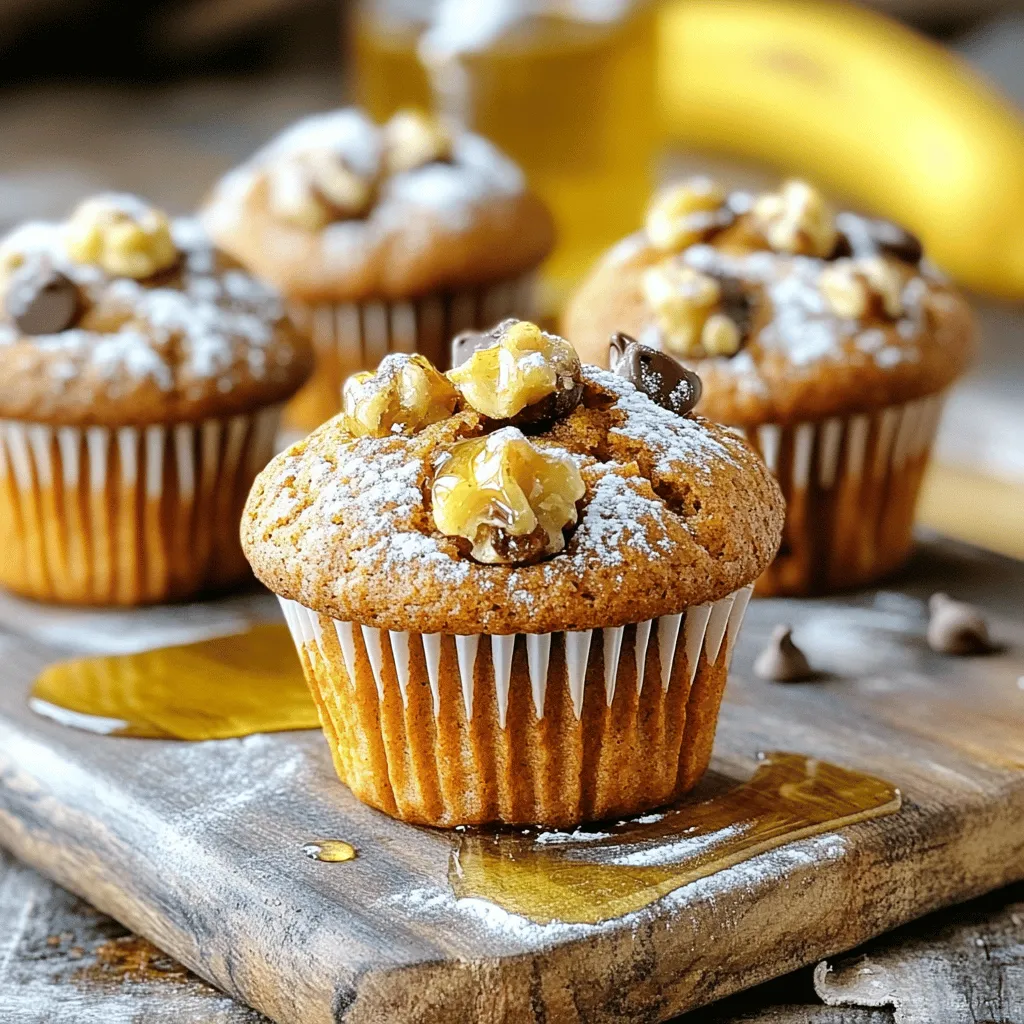
Craving a tasty treat that’s easy to make? You’re in the right place! These moist pumpkin banana muffins blend sweet...
READ MORE →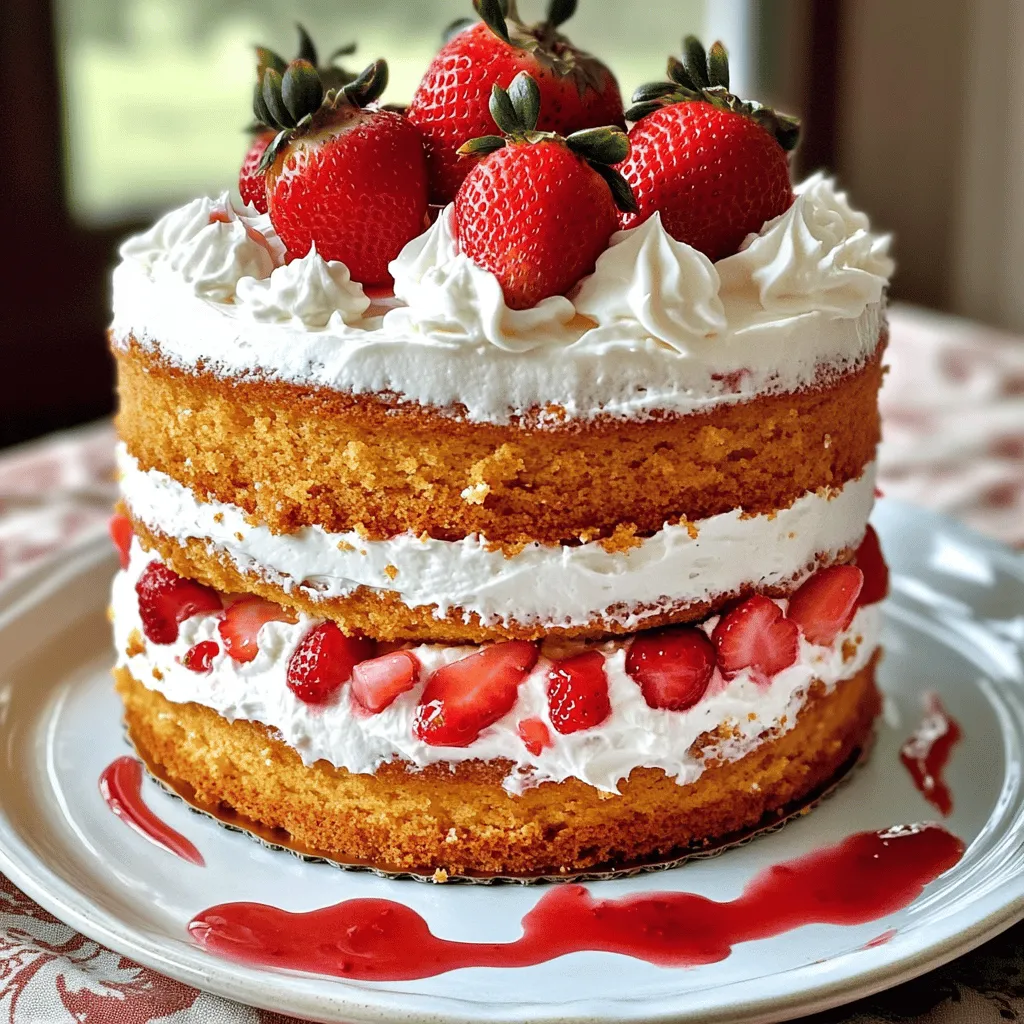
Are you ready to treat yourself to a sweet delight? In this blog post, I’ll share my easy recipe for...
READ MORE →