DESSERTS
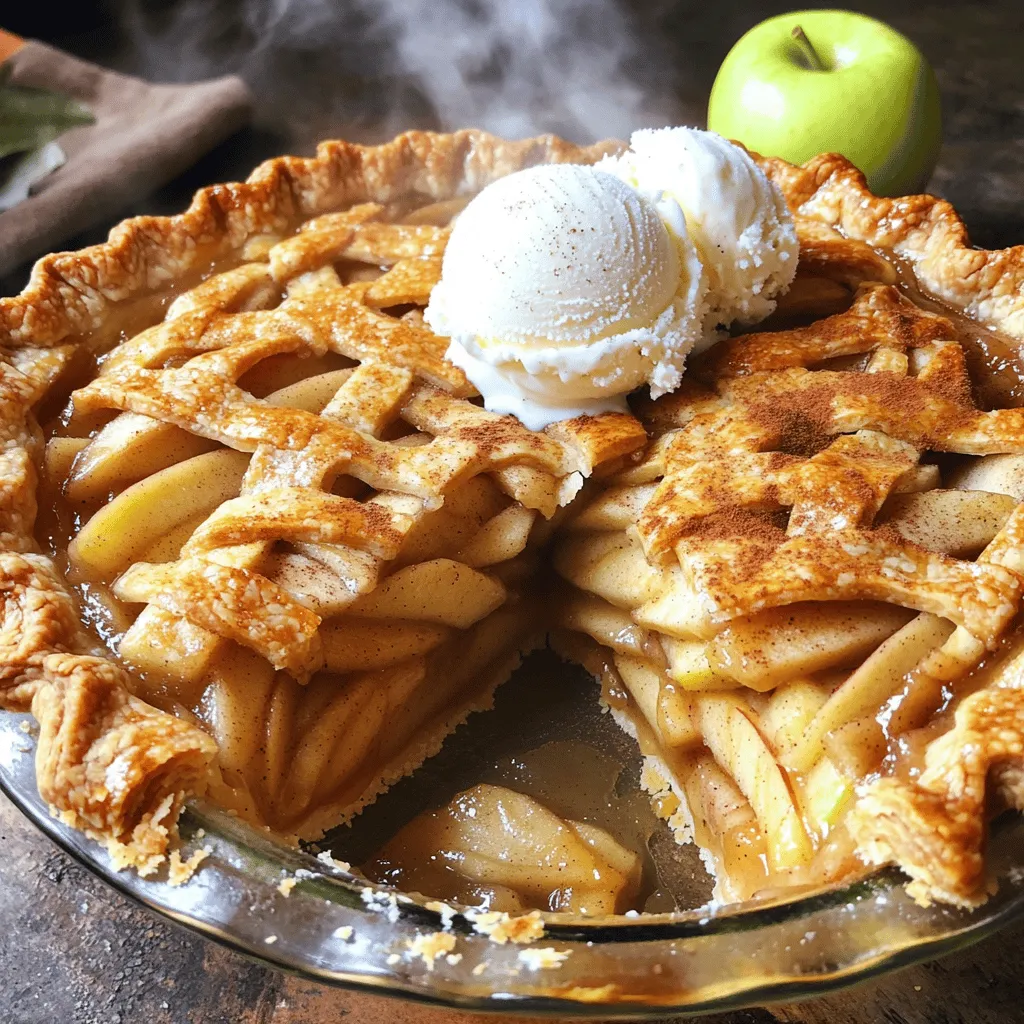
Disappearing Apple Pie Delightfully Simple Recipe
Are you ready to impress your family and friends with a dessert that vanishes in minutes? This Disappearing Apple Pie...
READ MORE →Explore our collection of desserts recipes
Are you ready to impress your family and friends with a dessert that vanishes in minutes? This Disappearing Apple Pie...
READ MORE →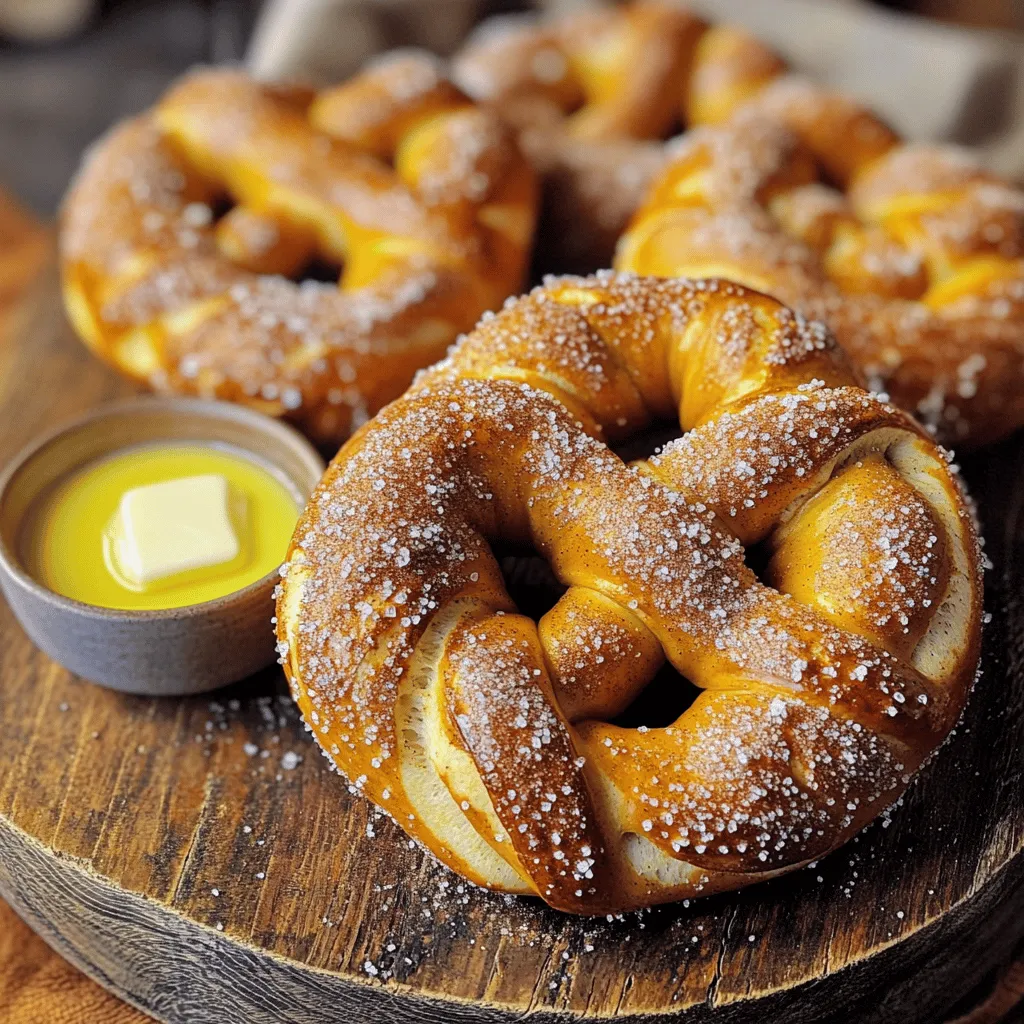
Craving a sweet treat that’s soft, warm, and oh-so-delicious? You’ve come to the right place! I’m excited to share my...
READ MORE →
Get ready to warm your soul with my Gingerbread Oatmilk Chai Tea Latte! This cozy drink combines spicy gingerbread and...
READ MORE →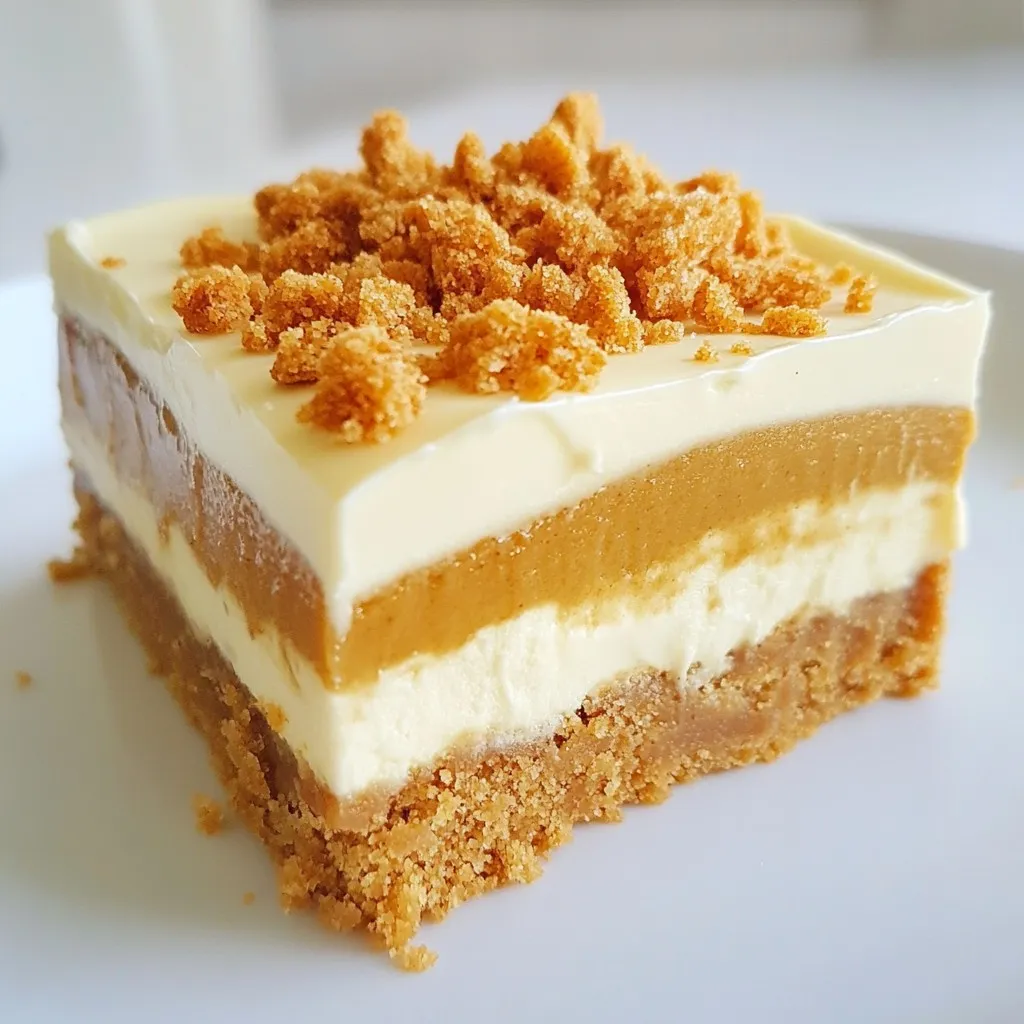
If you’re craving a sweet treat that requires no baking and delivers pure bliss, you’re in for a treat! This...
READ MORE →
Looking for a sweet treat that’s both yummy and easy to make? You’re in for a delight! These caramel apple...
READ MORE →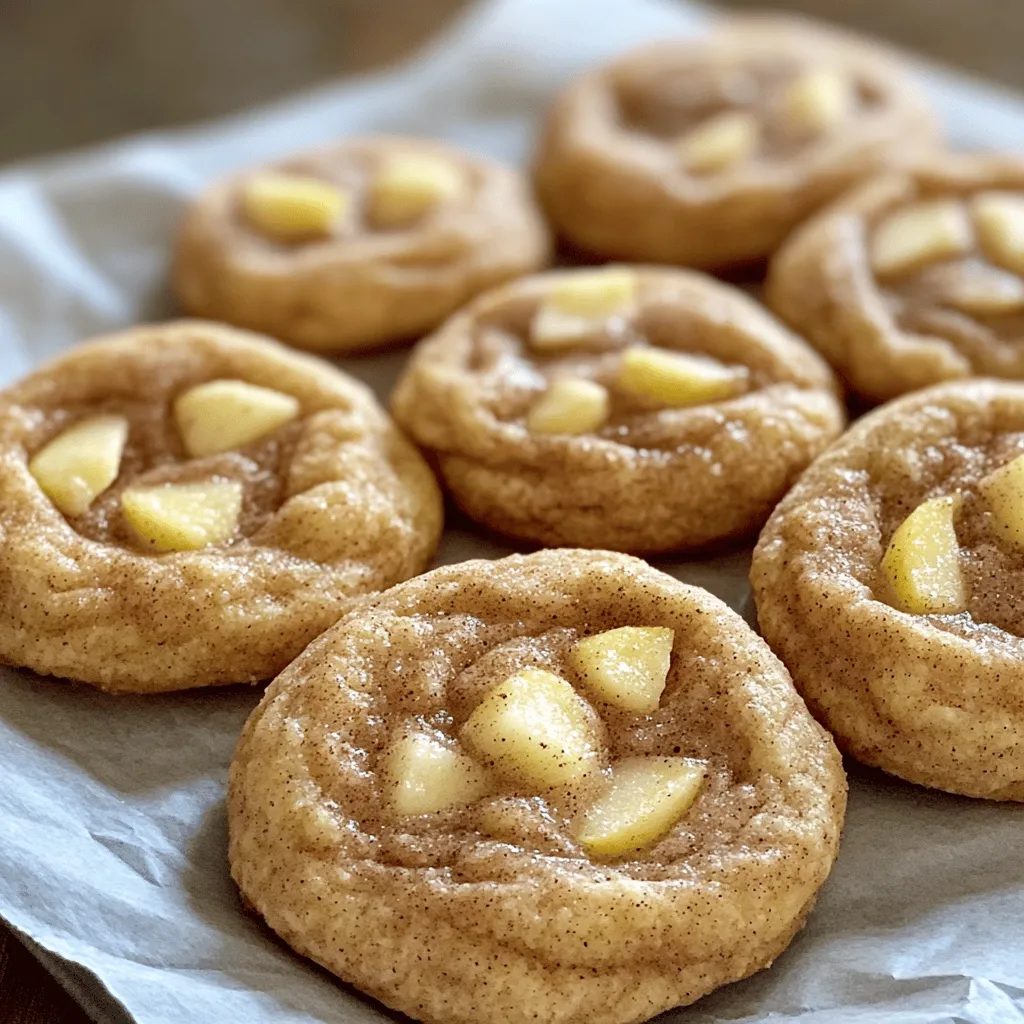
Are you ready to enjoy a delightful twist on a classic favorite? Apple Pie Snickerdoodles combine the warm, rich flavors...
READ MORE →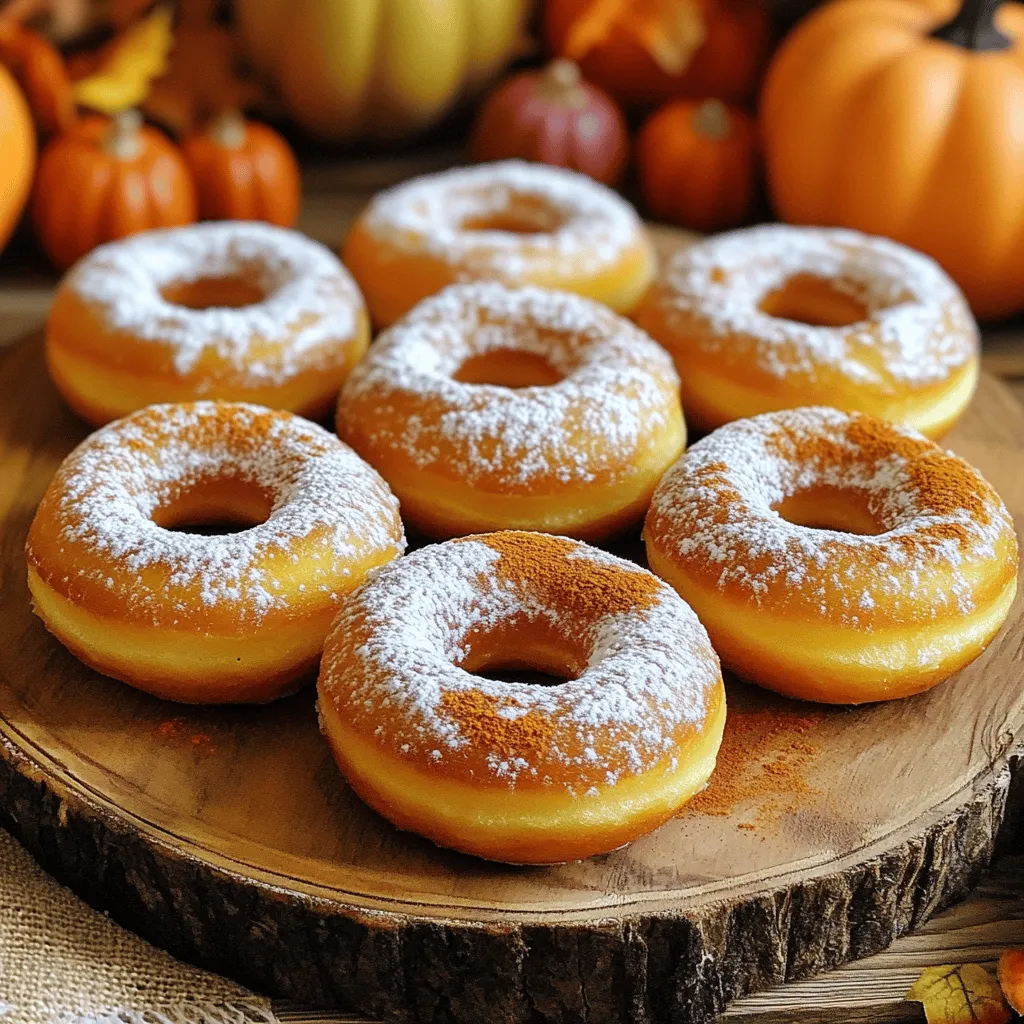
Fall is here, and that means it’s time for tasty pumpkin spice donuts! I’ll show you how to bake these...
READ MORE →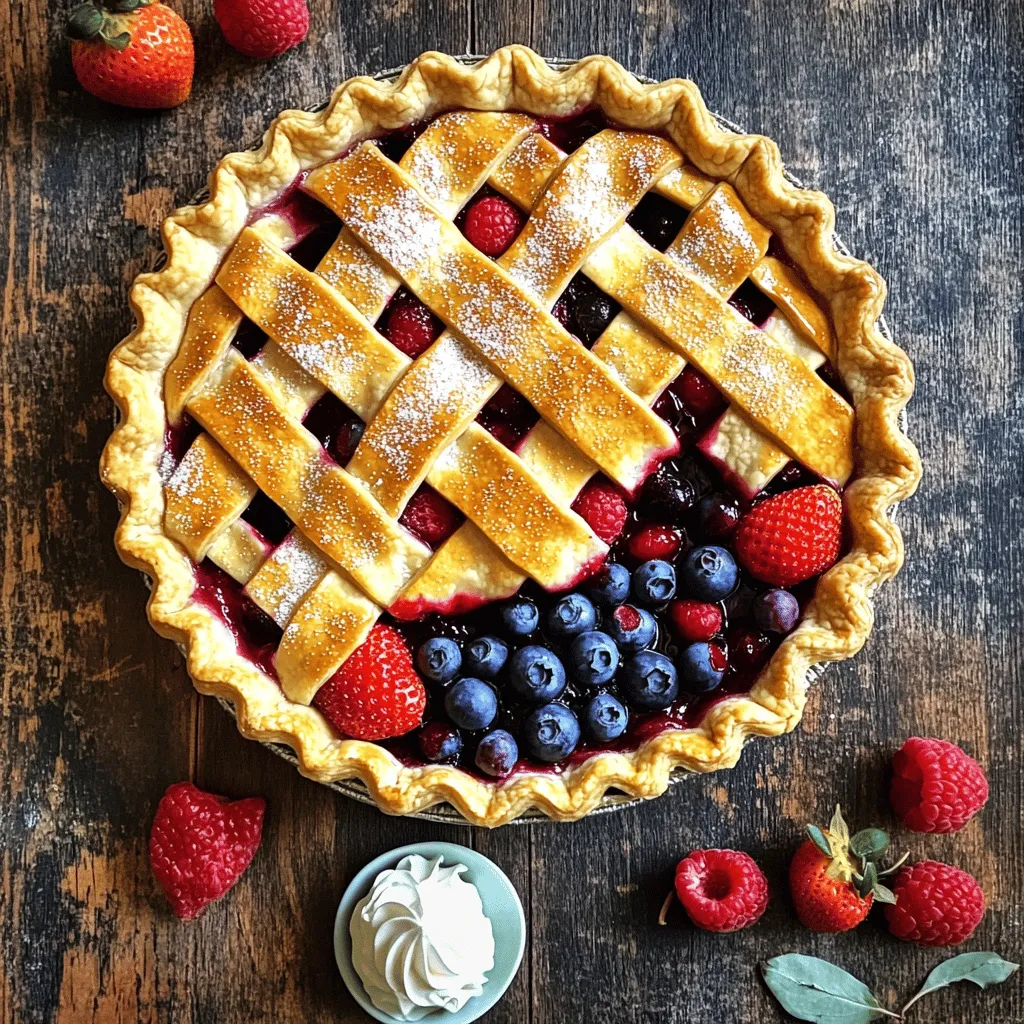
Are you ready to bake a delicious Triple Berry Pie? This sweet and tart dessert is easy to make and...
READ MORE →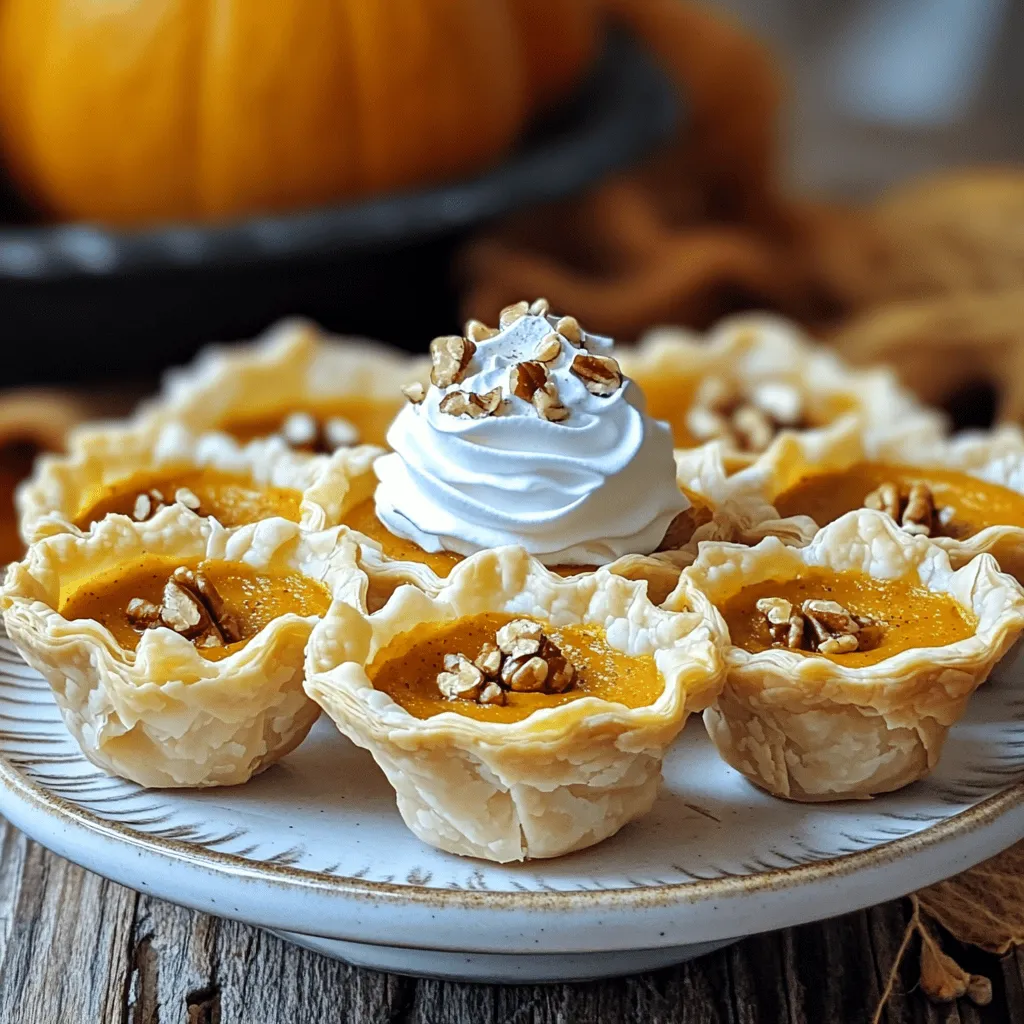
Fall is here, and what better way to celebrate than with mini pumpkin pies? These bite-sized treats are easy to...
READ MORE →
Want to impress your family this Thanksgiving? These Brioche Donuts are the perfect treat! Fluffy, sweet, and packed with fall...
READ MORE →