DESSERTS
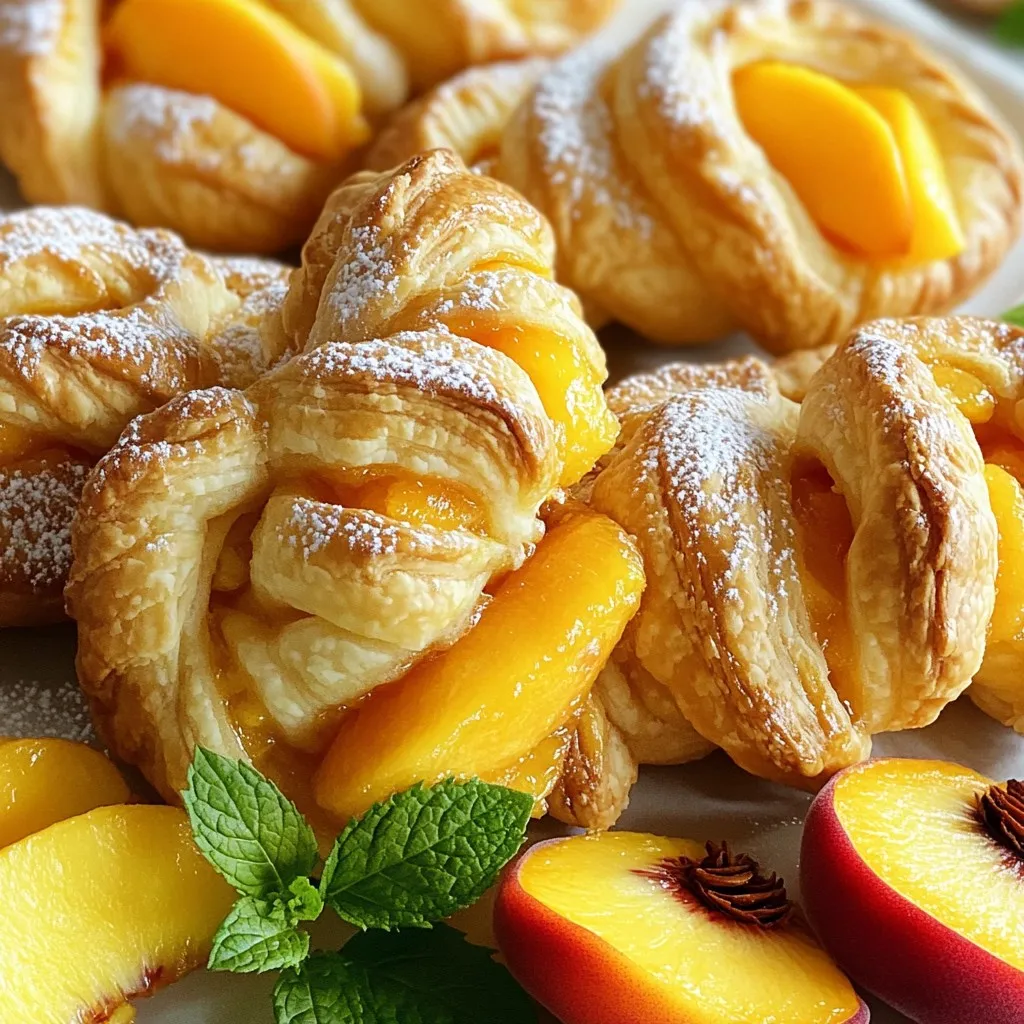
Peach Pie Cruffins Delightful and Tasty Treat
Are you ready to indulge in a sweet twist on a classic dessert? Peach Pie Cruffins blend the best of...
READ MORE →Explore our collection of desserts recipes
Are you ready to indulge in a sweet twist on a classic dessert? Peach Pie Cruffins blend the best of...
READ MORE →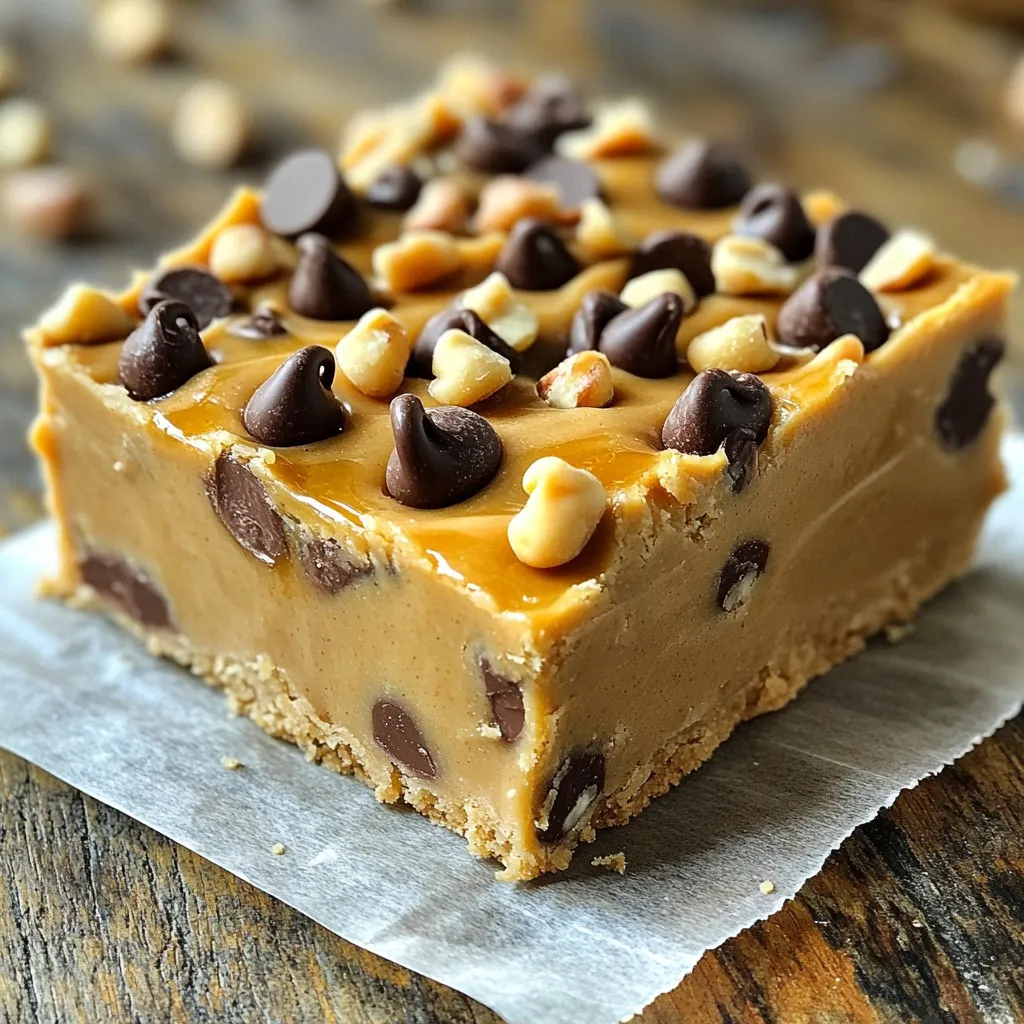
Craving a sweet treat that’s quick and easy? Try these no-bake peanut butter cookie dough bars! With a creamy texture...
READ MORE →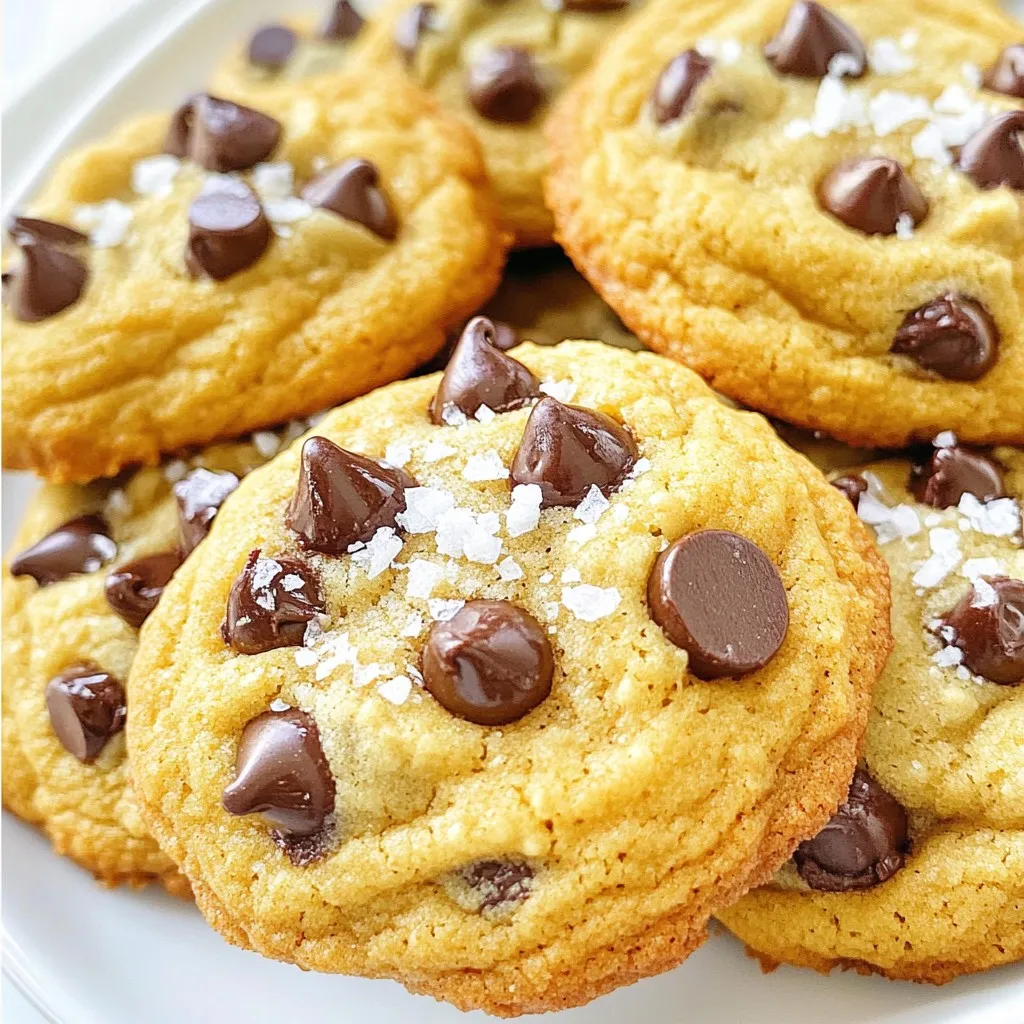
If you crave the warm, gooey goodness of bakery-style chocolate chip cookies, you’re in the right place! I’ll show you...
READ MORE →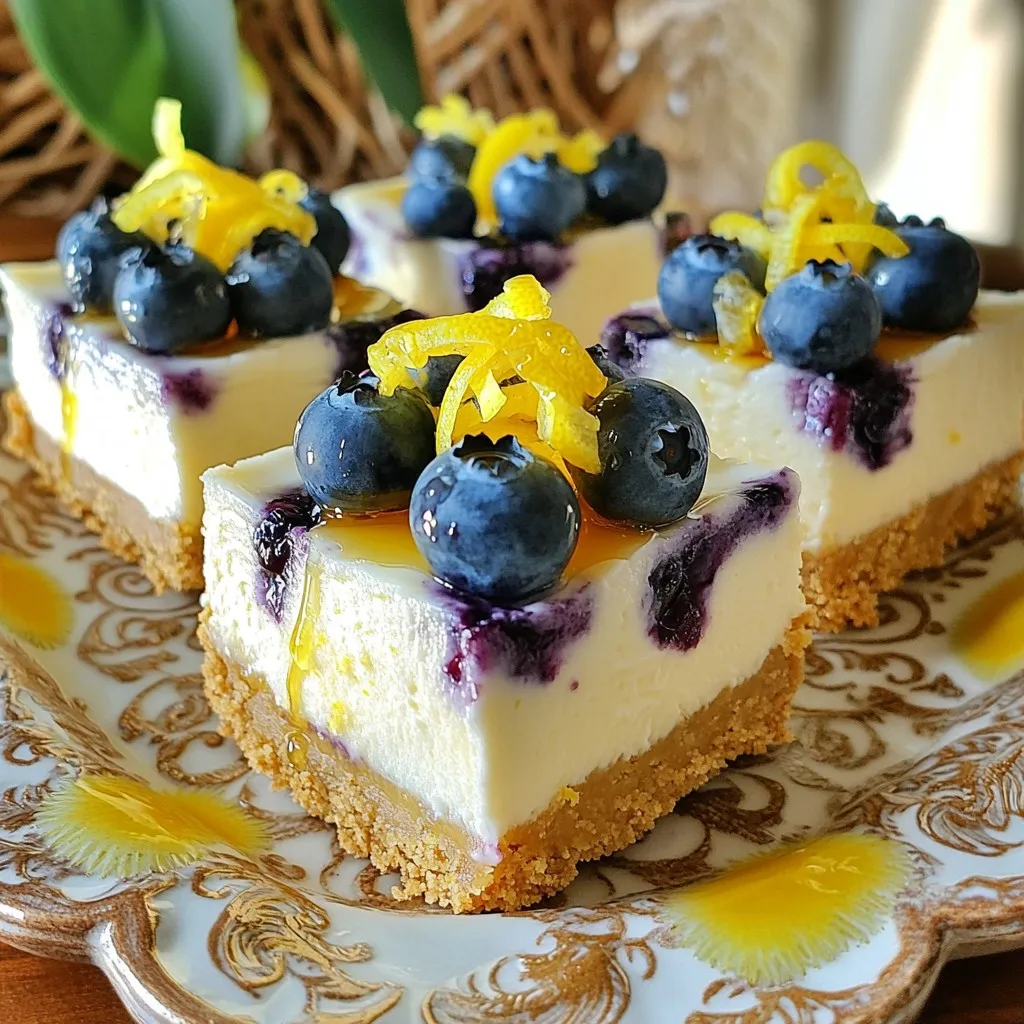
Craving a sweet treat that’s light and refreshing? Let’s make No-Bake Lemon Blueberry Cheesecake Bars! These bars combine cream cheese,...
READ MORE →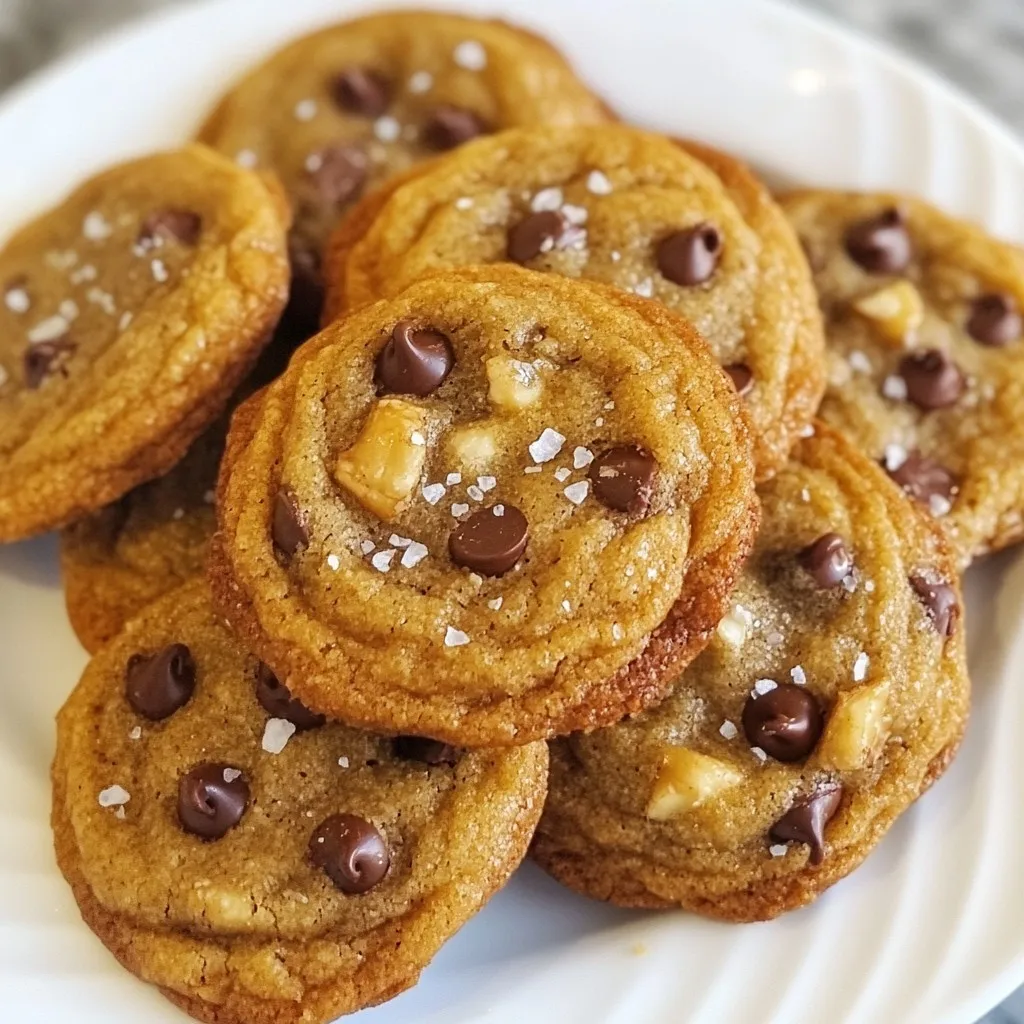
Are you craving a sweet treat but want to stay healthy? I’ve got just the recipe for you! These Healthy...
READ MORE →
If you crave a light, airy breakfast, you’re in for a treat! Fluffy Japanese Souffle Pancakes are a delightful twist...
READ MORE →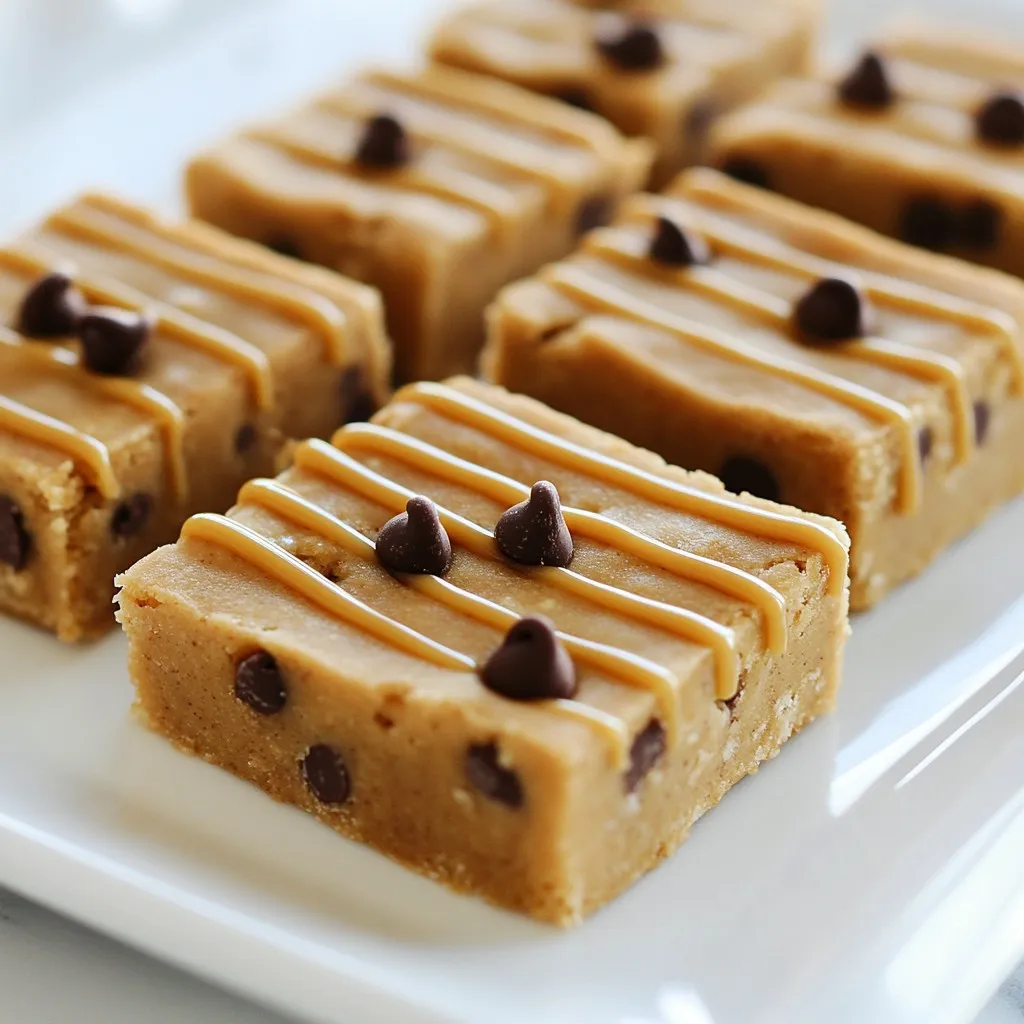
Craving a sweet treat that’s also healthy? These No-Bake Cookie Dough Protein Bars are perfect for you! They’re simple to...
READ MORE →
Craving a sweet treat that’s both easy and delicious? No-Bake Biscoff Truffle Balls are your answer! I’ll show you how...
READ MORE →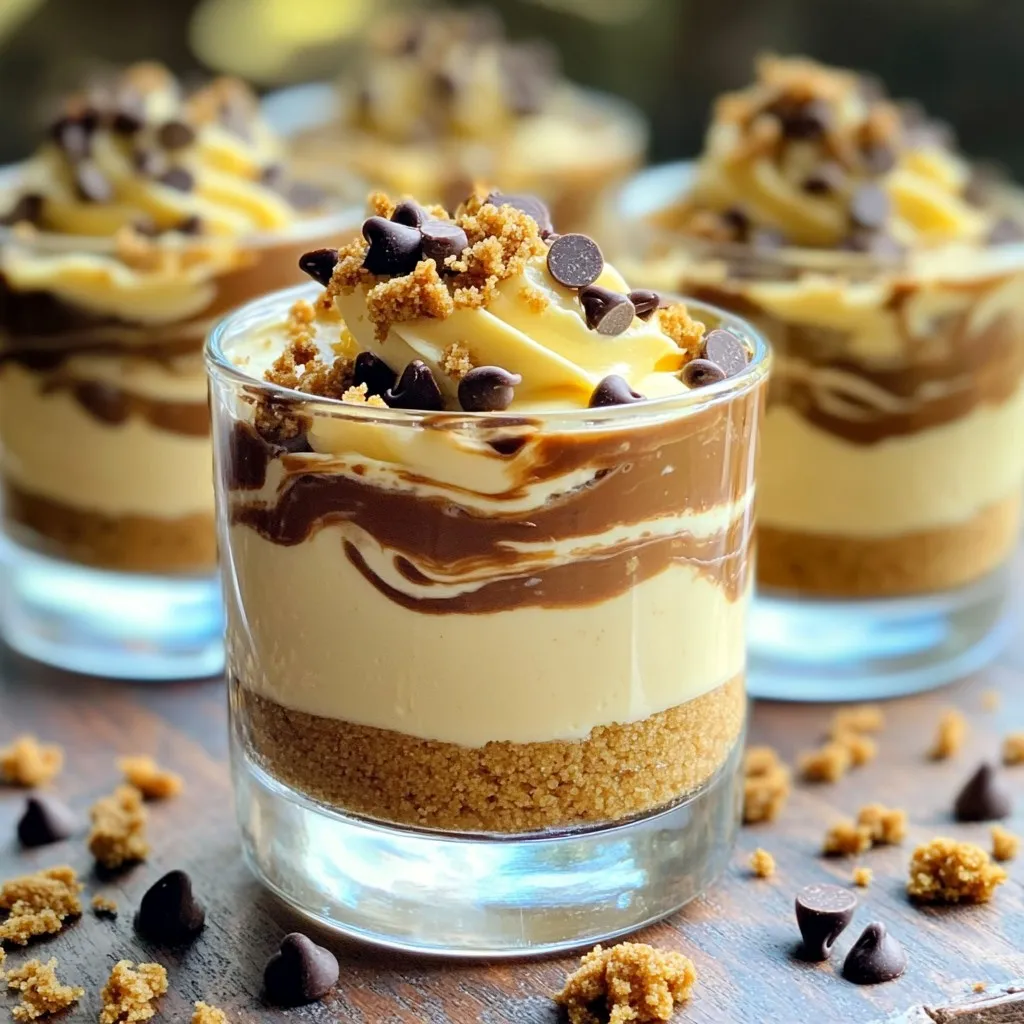
Looking for a sweet treat that’s easy and fun to make? You’re in the right place! These No-Bake Cookie Butter...
READ MORE →
Looking for a guilt-free treat that’s easy to make? You’ve found it! These Sugar Free Apple Brownies are not only...
READ MORE →