
DESSERTS
No-Bake Strawberry Cheesecake Protein Cups Delight
Are you ready for a sweet treat that’s easy to make and full of flavor? With my No-Bake Strawberry Cheesecake...
READ MORE →Explore our collection of desserts recipes
Are you ready for a sweet treat that’s easy to make and full of flavor? With my No-Bake Strawberry Cheesecake...
READ MORE →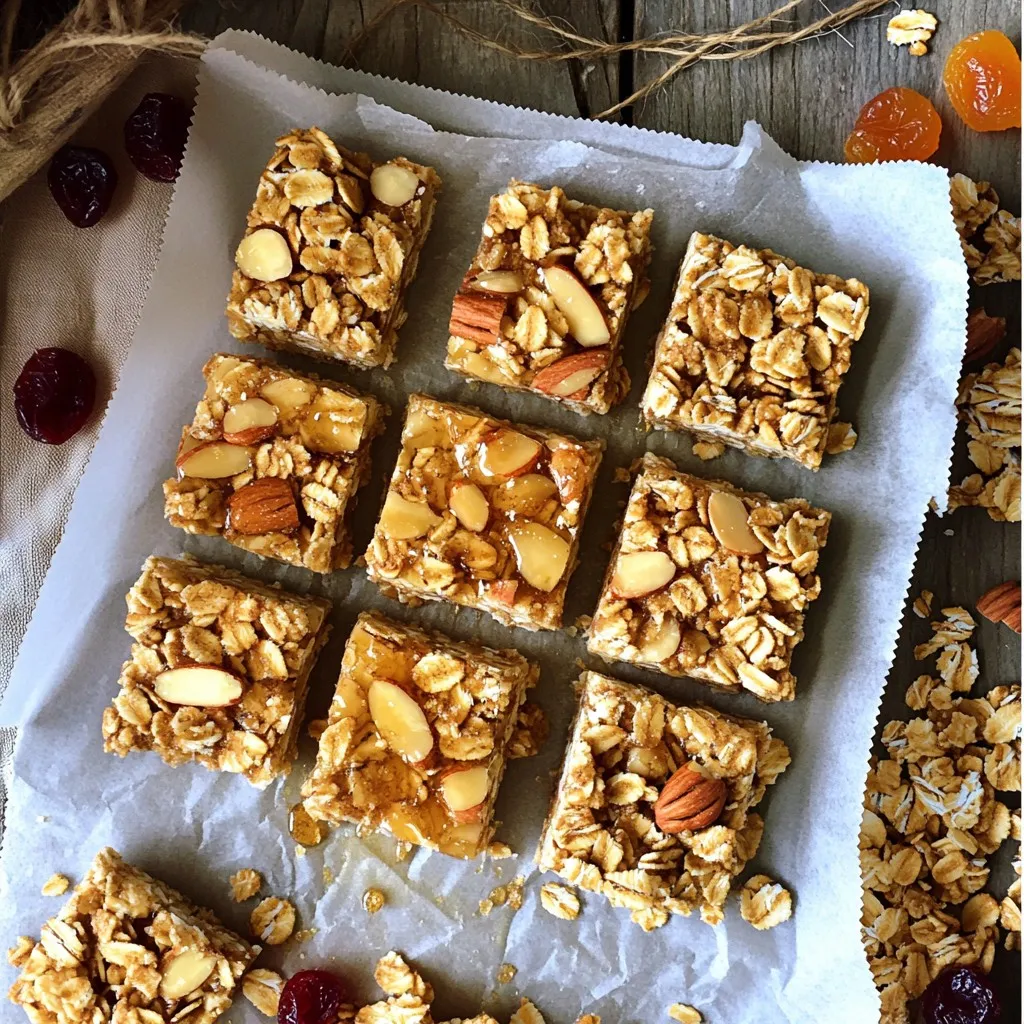
If you’re looking for a tasty and nutritious snack, you’ve landed in the right place! Today, I’m sharing my recipe...
READ MORE →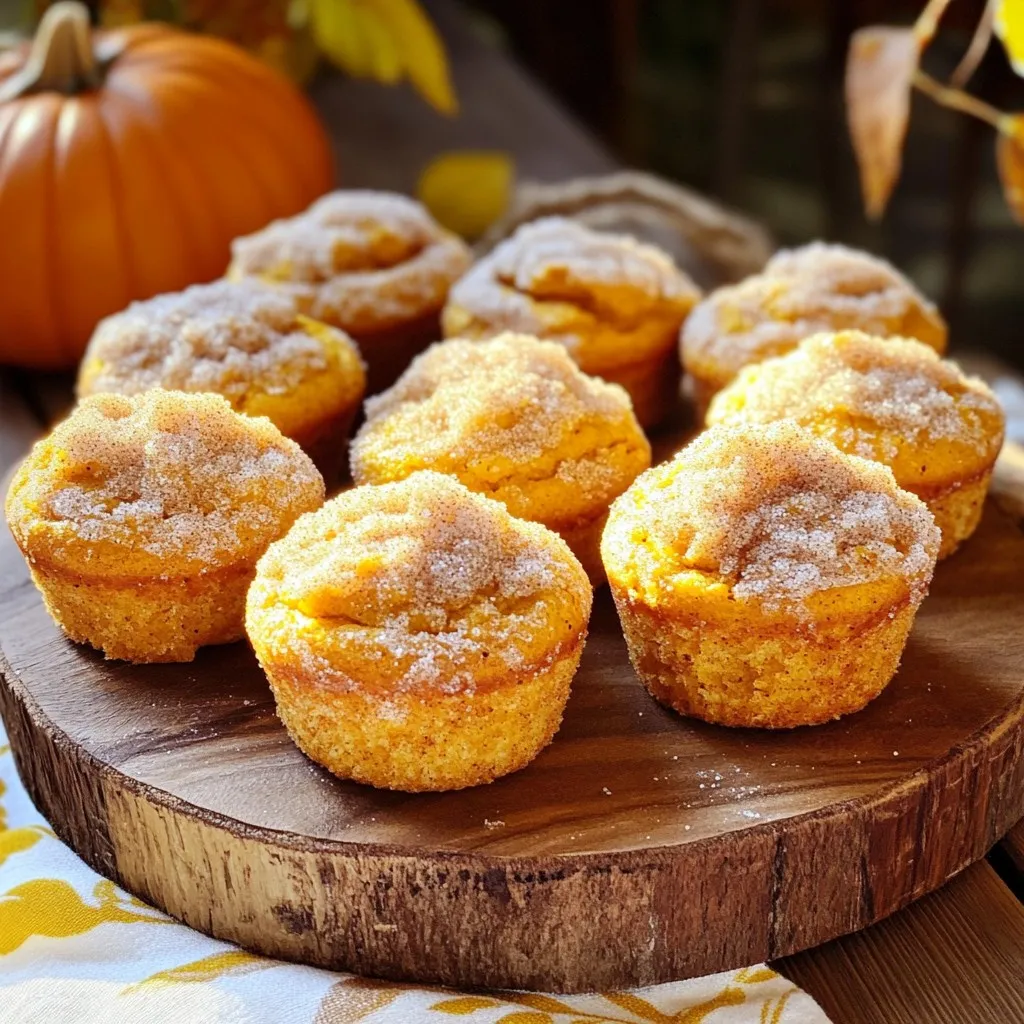
If you’re craving a cozy treat, look no further than my Cinnamon Sugar Pumpkin Donut Muffins! These mouthwatering muffins blend...
READ MORE →
If you love cookies and bananas, you’re in for a treat! This easy Crumbl Banana Bread Cookies recipe will make...
READ MORE →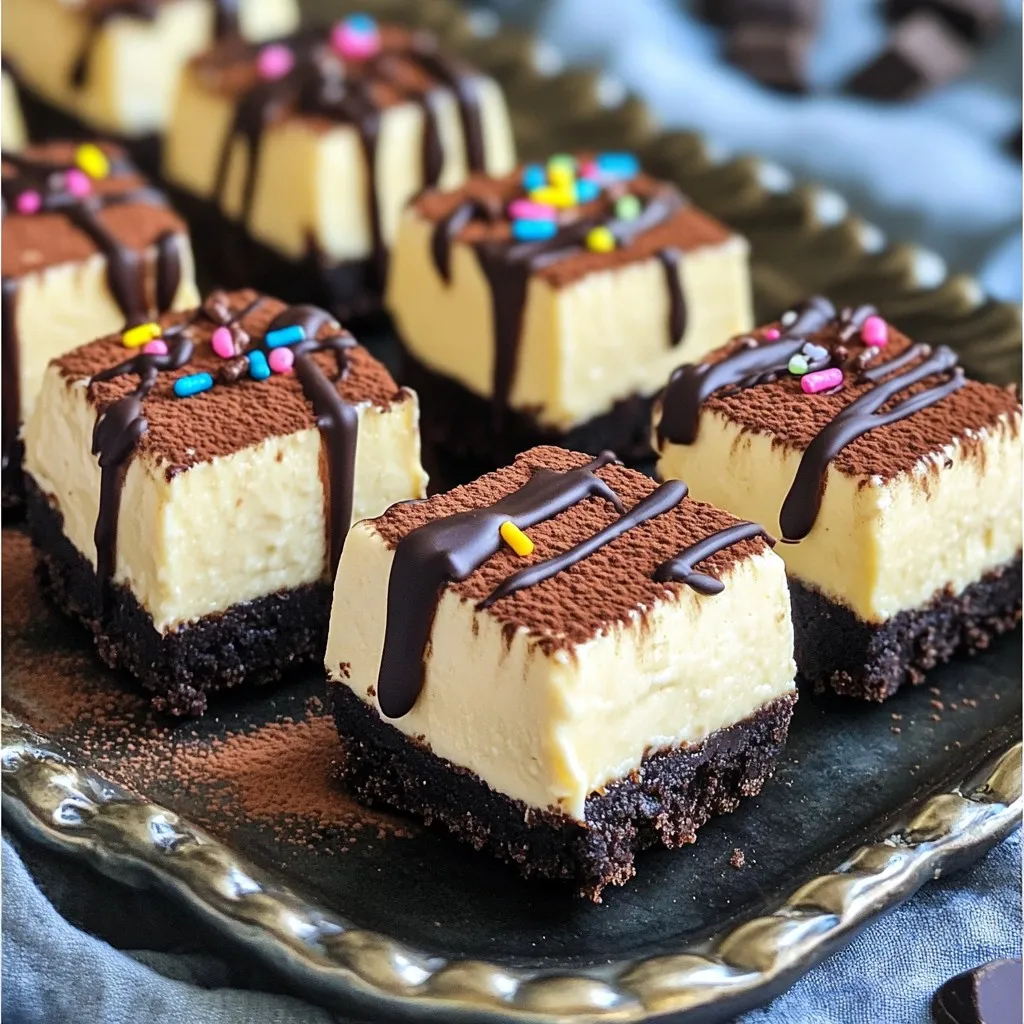
If you crave a quick, tasty treat, you’re in the right place! I’m excited to share my No-Bake Mocha Espresso...
READ MORE →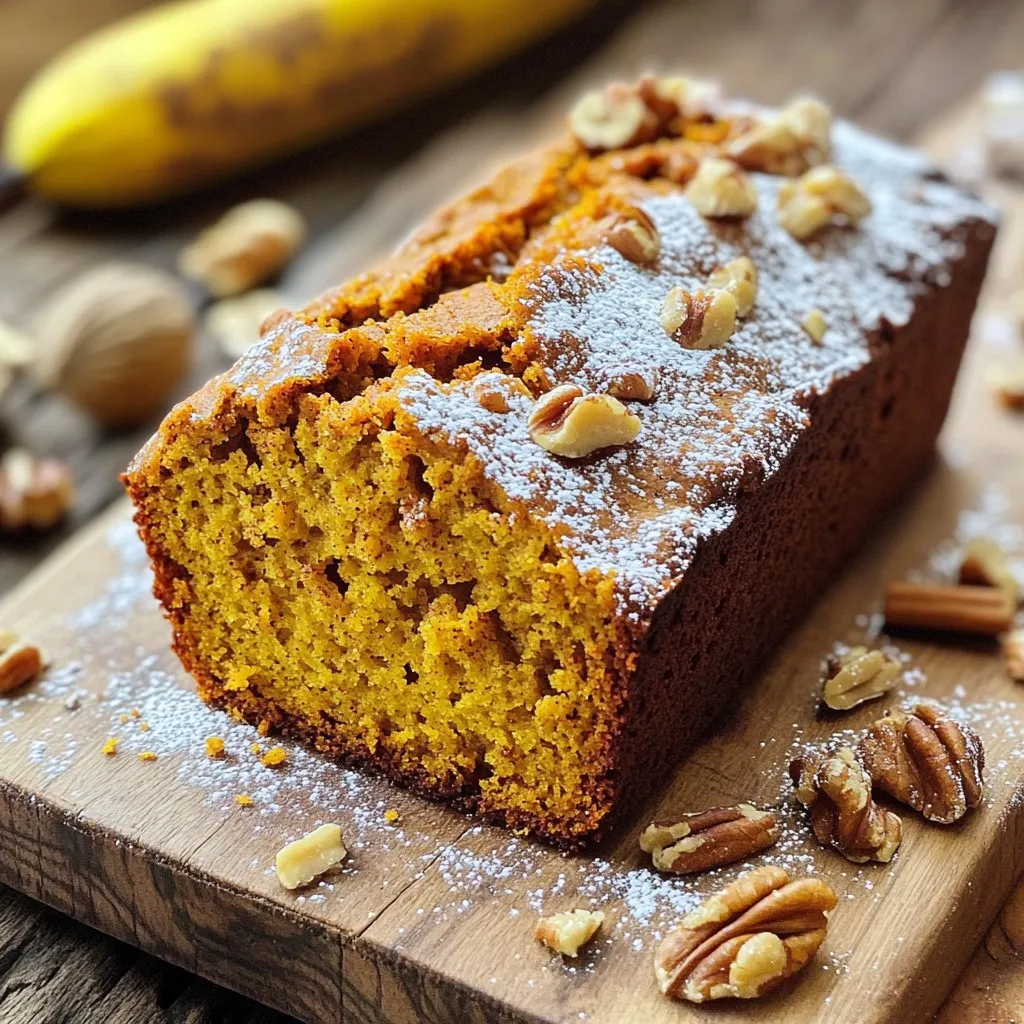
Are you ready for a delightful treat that combines the flavors of fall? My Spiced Pumpkin Banana Bread is both...
READ MORE →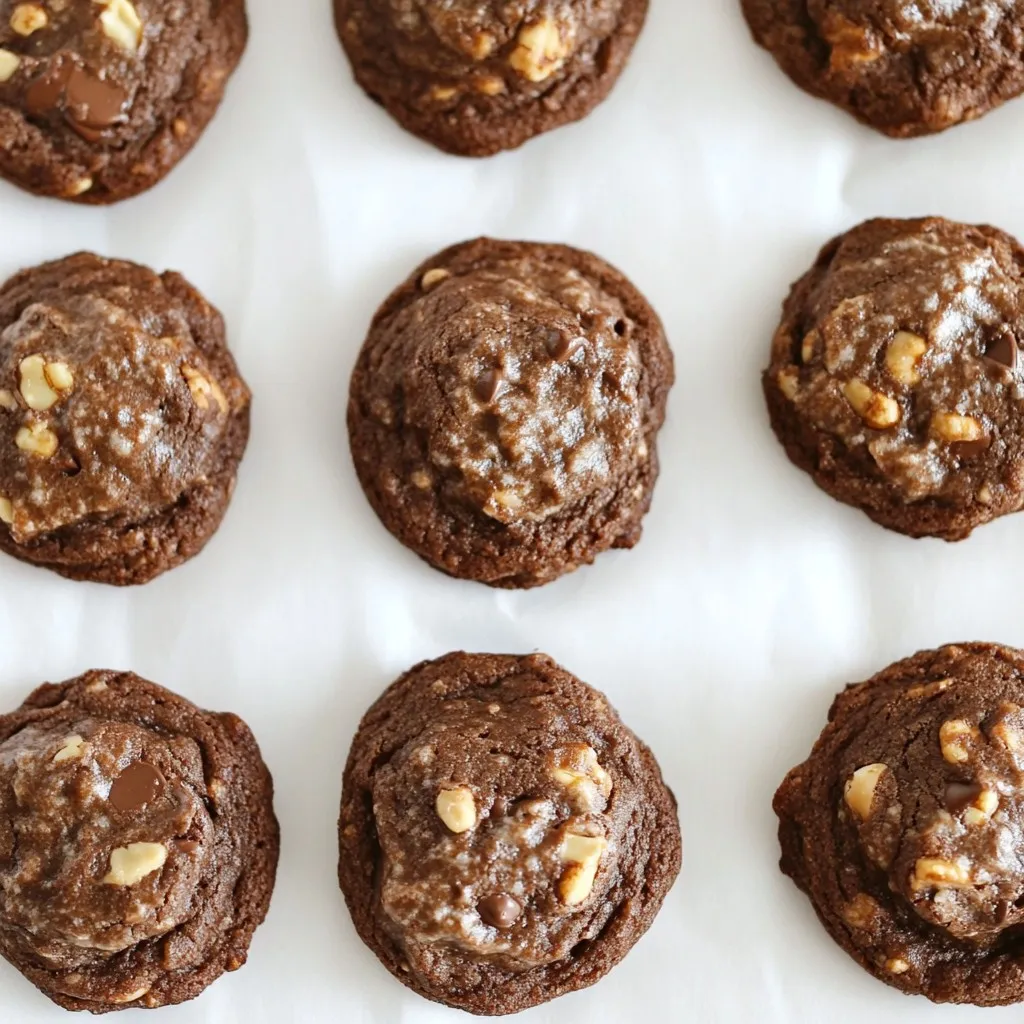
If you crave a treat that combines the rich taste of brownies with the fun of cookies, you’ve found it!...
READ MORE →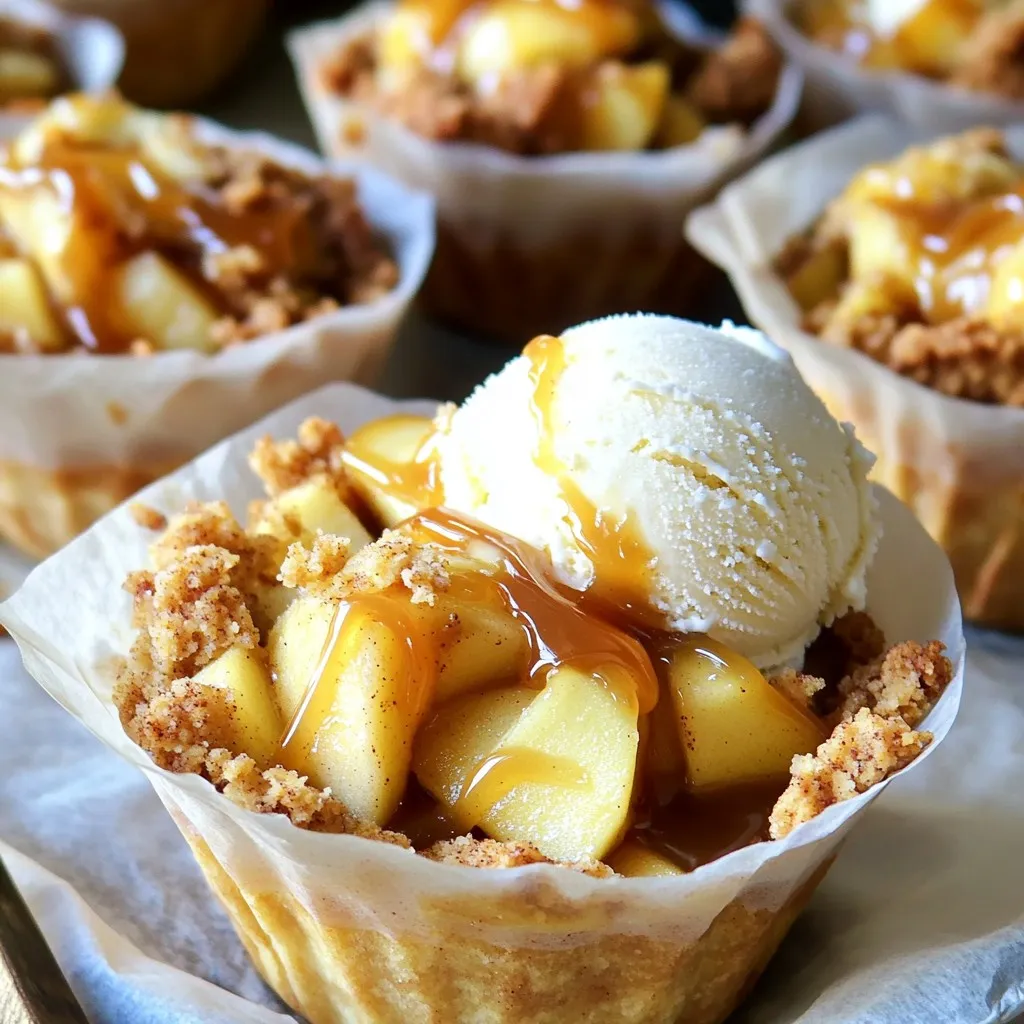
Get ready to indulge in a sweet treat that combines the cozy flavors of apple crumble with a delightful twist!...
READ MORE →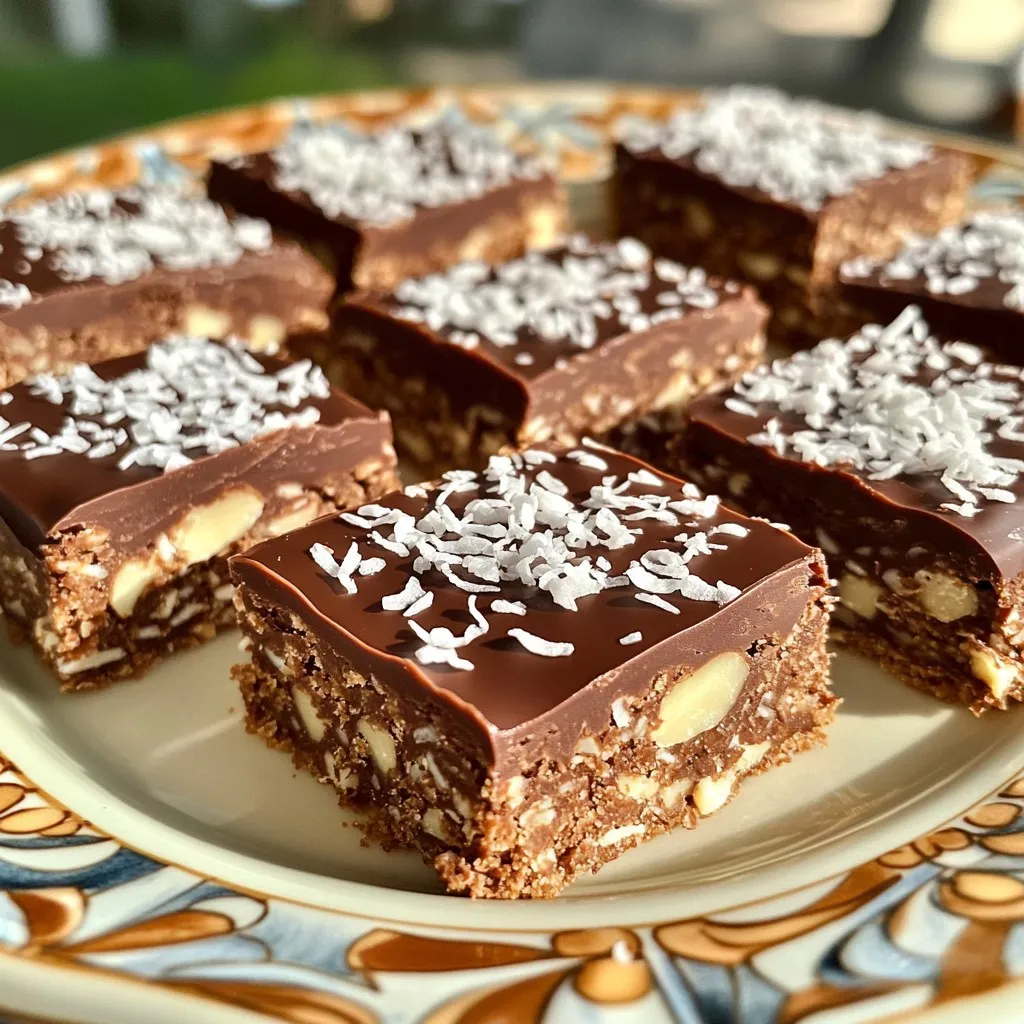
Looking for an easy, tasty treat? I have the perfect recipe for you! These No-Bake Chocolate Coconut Almond Bars combine...
READ MORE →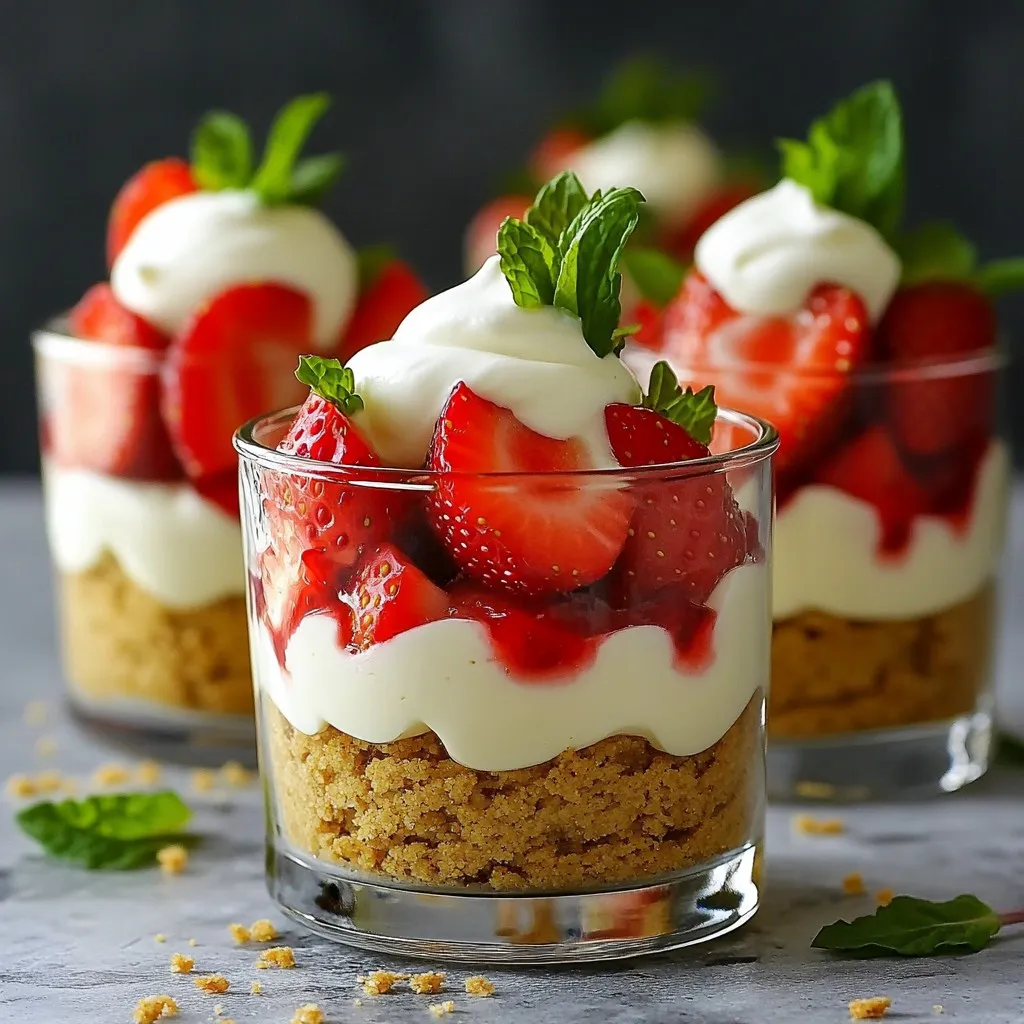
Looking for a sweet treat that’s simple and delicious? My No-Bake Strawberry Cheesecake Parfaits are just the answer! With layers...
READ MORE →