DESSERTS
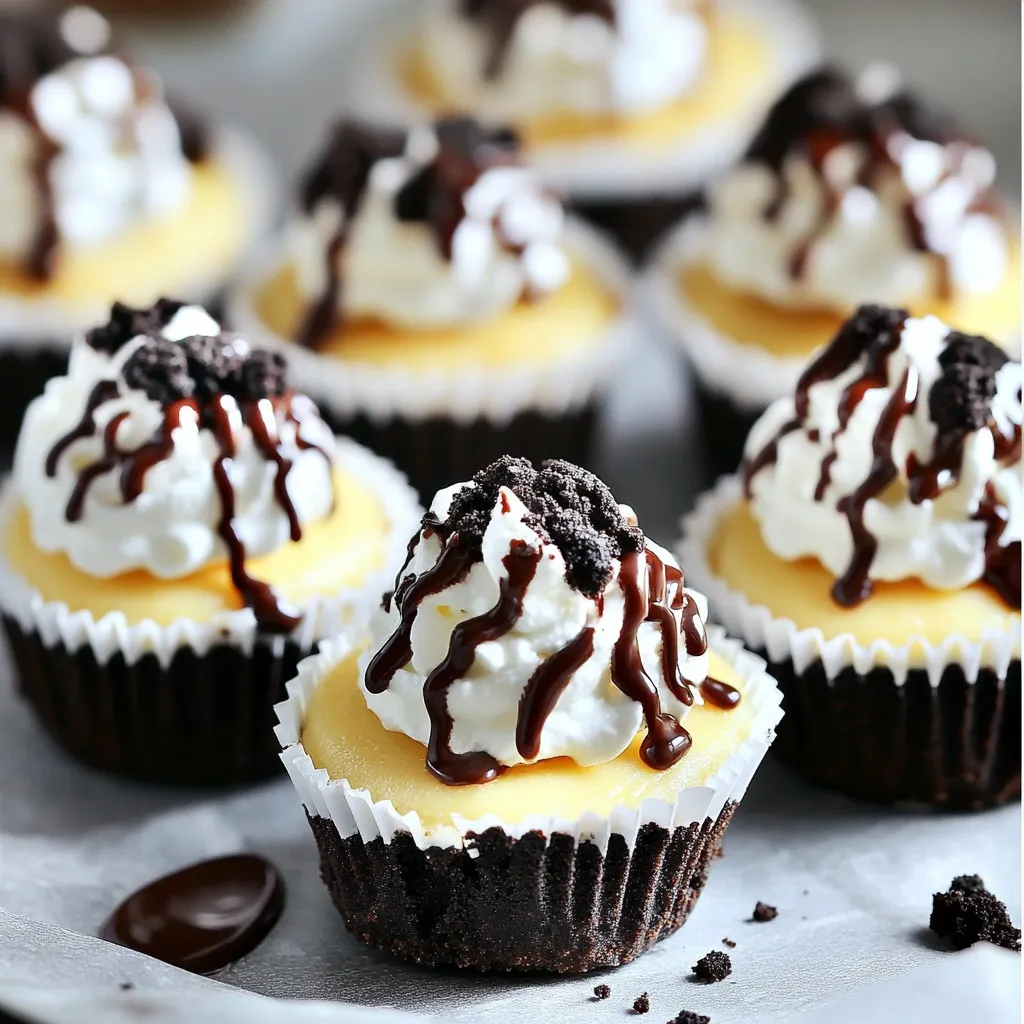
Mini Oreo Cheesecake Bites Simple and Tasty Treat
Craving a sweet treat that’s easy to make? You’ll love these Mini Oreo Cheesecake Bites! With just a few simple...
READ MORE →Explore our collection of desserts recipes
Craving a sweet treat that’s easy to make? You’ll love these Mini Oreo Cheesecake Bites! With just a few simple...
READ MORE →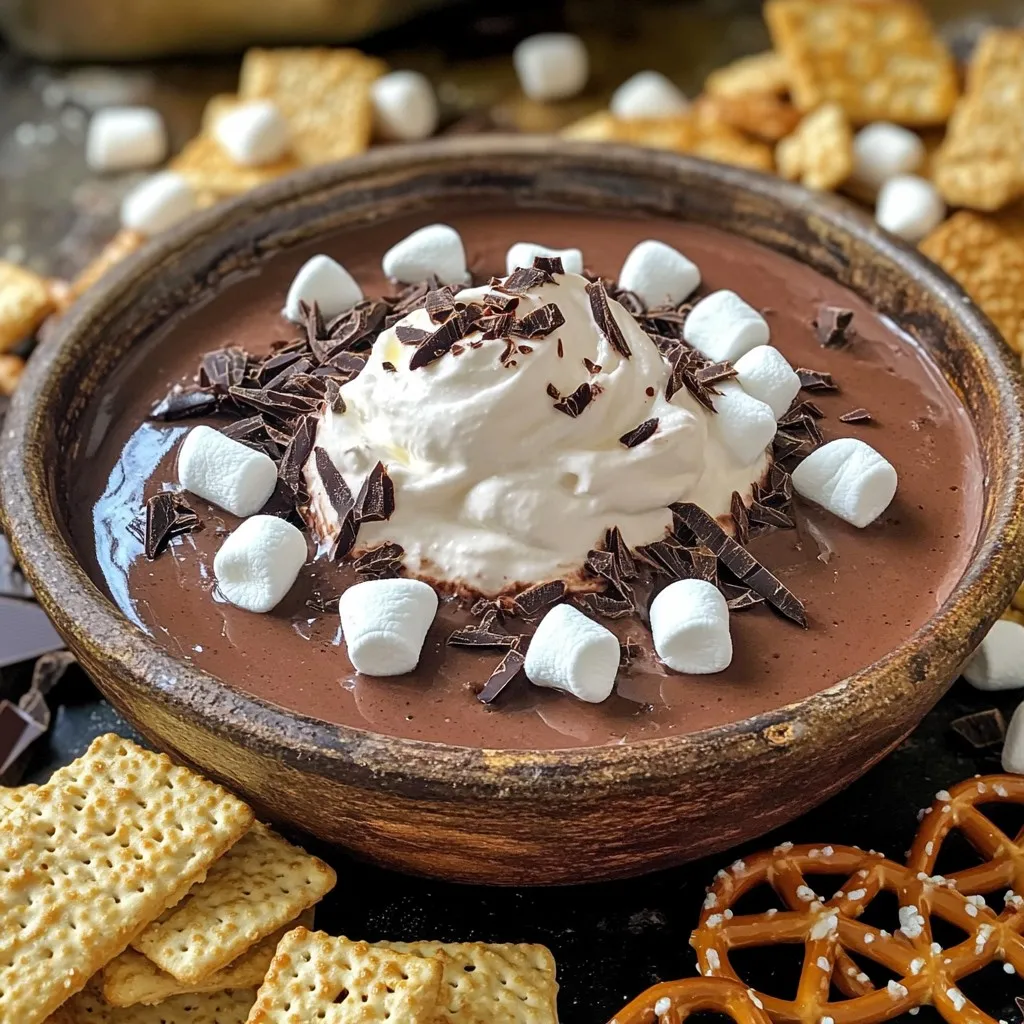
Are you ready to indulge in a sweet treat that combines two favorites: hot chocolate and cheesecake? This Hot Chocolate...
READ MORE →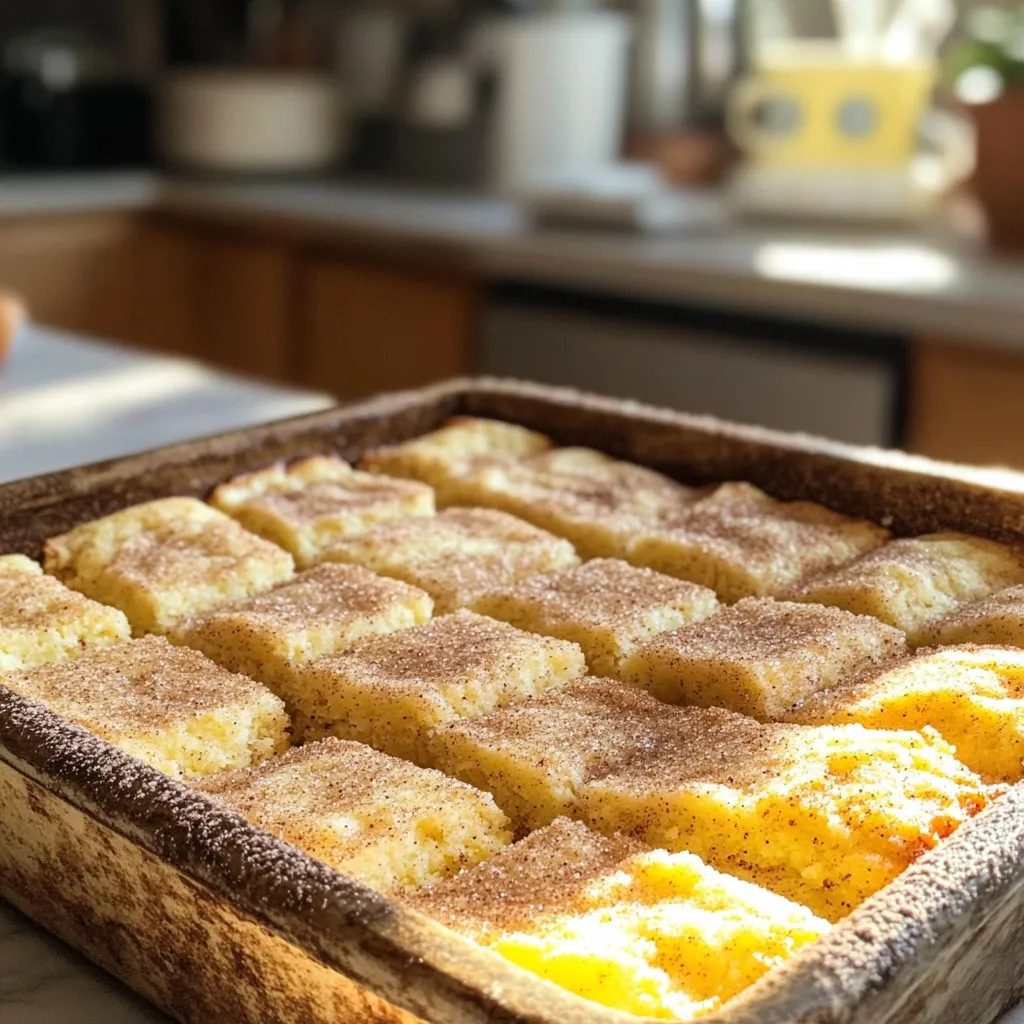
Do you love cookies that are soft, sweet, and full of flavor? Snickerdoodle cookie bars are the perfect treat for...
READ MORE →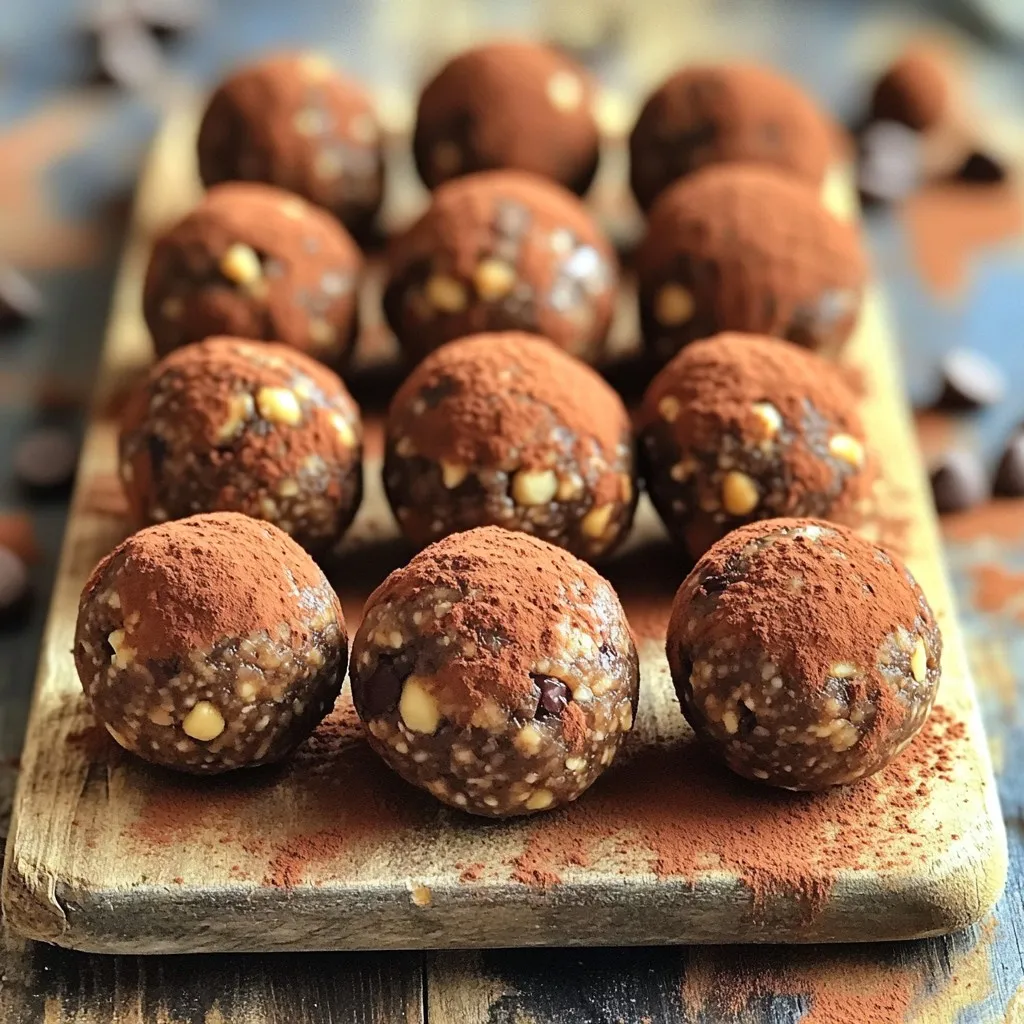
Looking for a quick and tasty snack? Look no further than my No-Bake Mocha Espresso Energy Balls! They pack a...
READ MORE →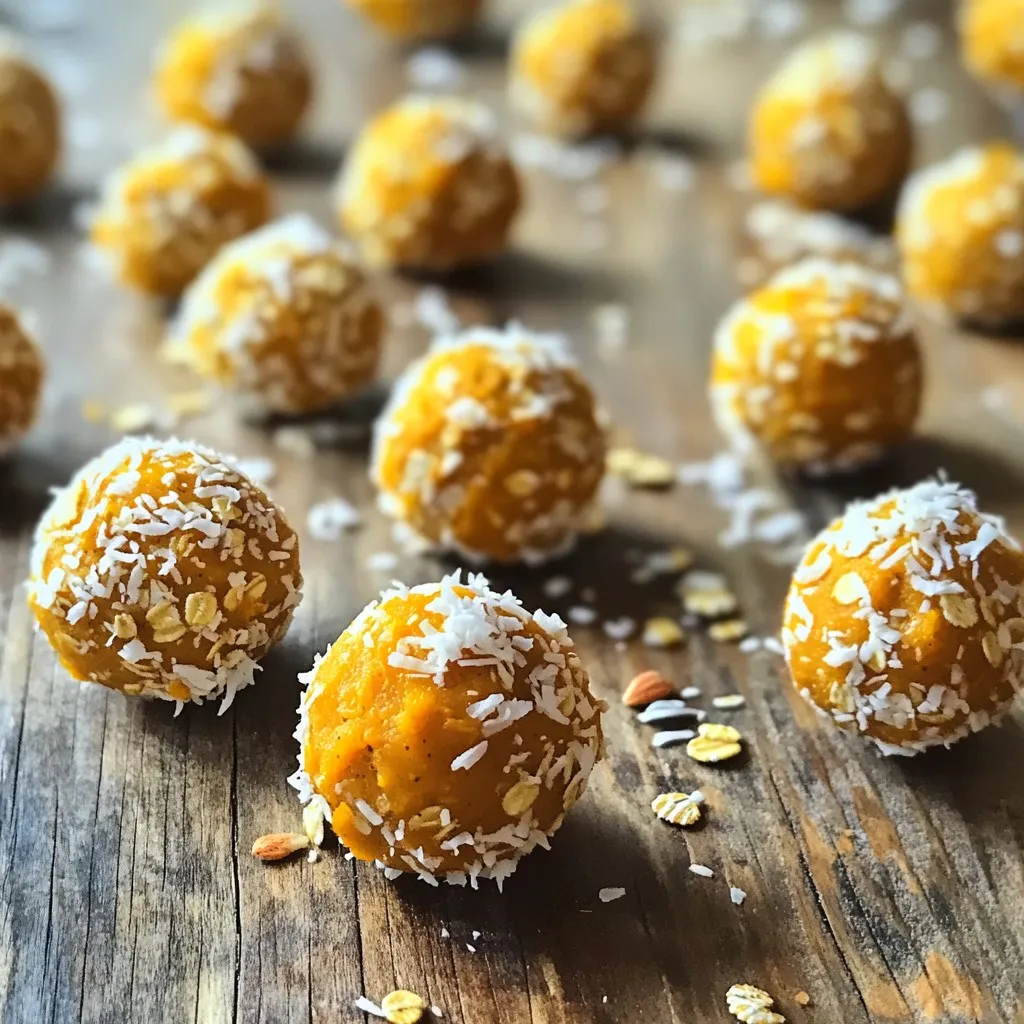
Looking for a tasty snack that packs a punch of energy? Try my No Bake Pumpkin Spice Energy Truffles! These...
READ MORE →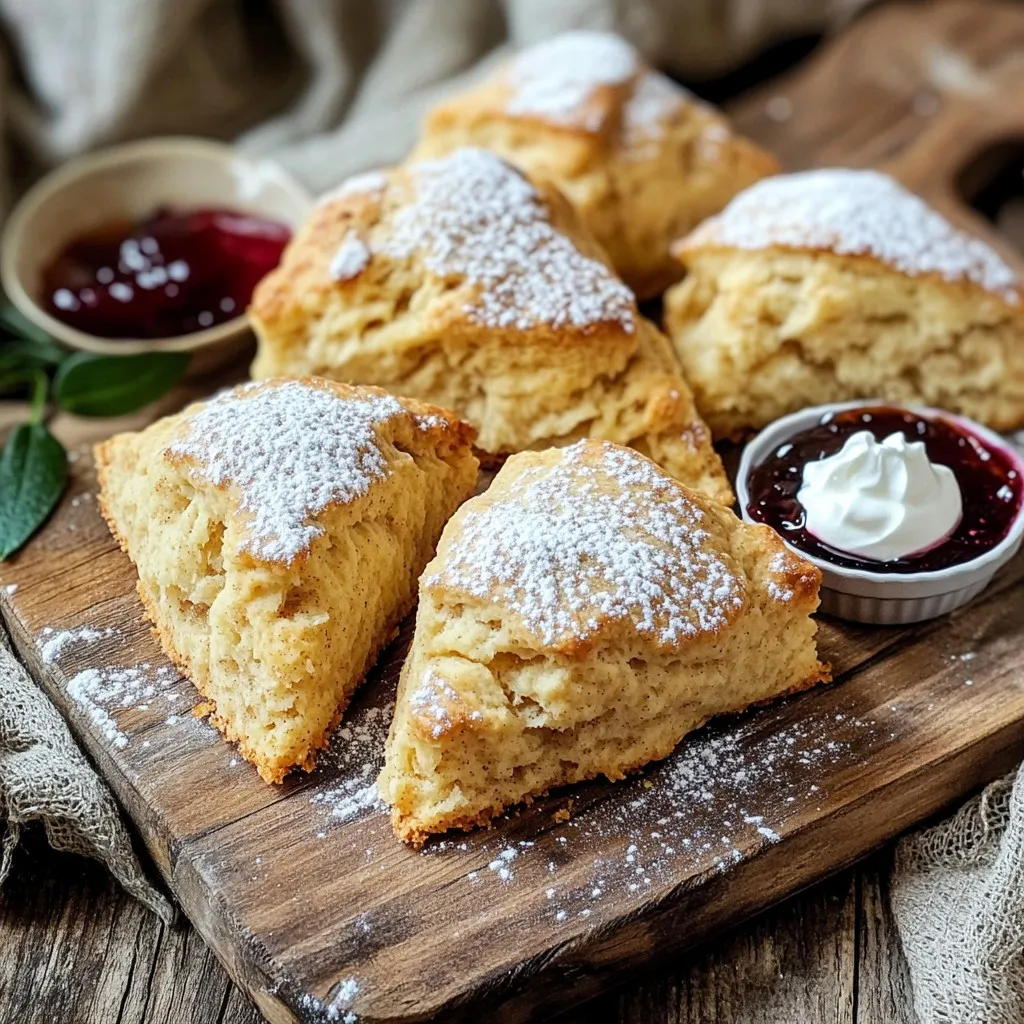
Are you ready to impress your friends and family with warm, flaky scones? Get ready for Bakery Style Brown Sugar...
READ MORE →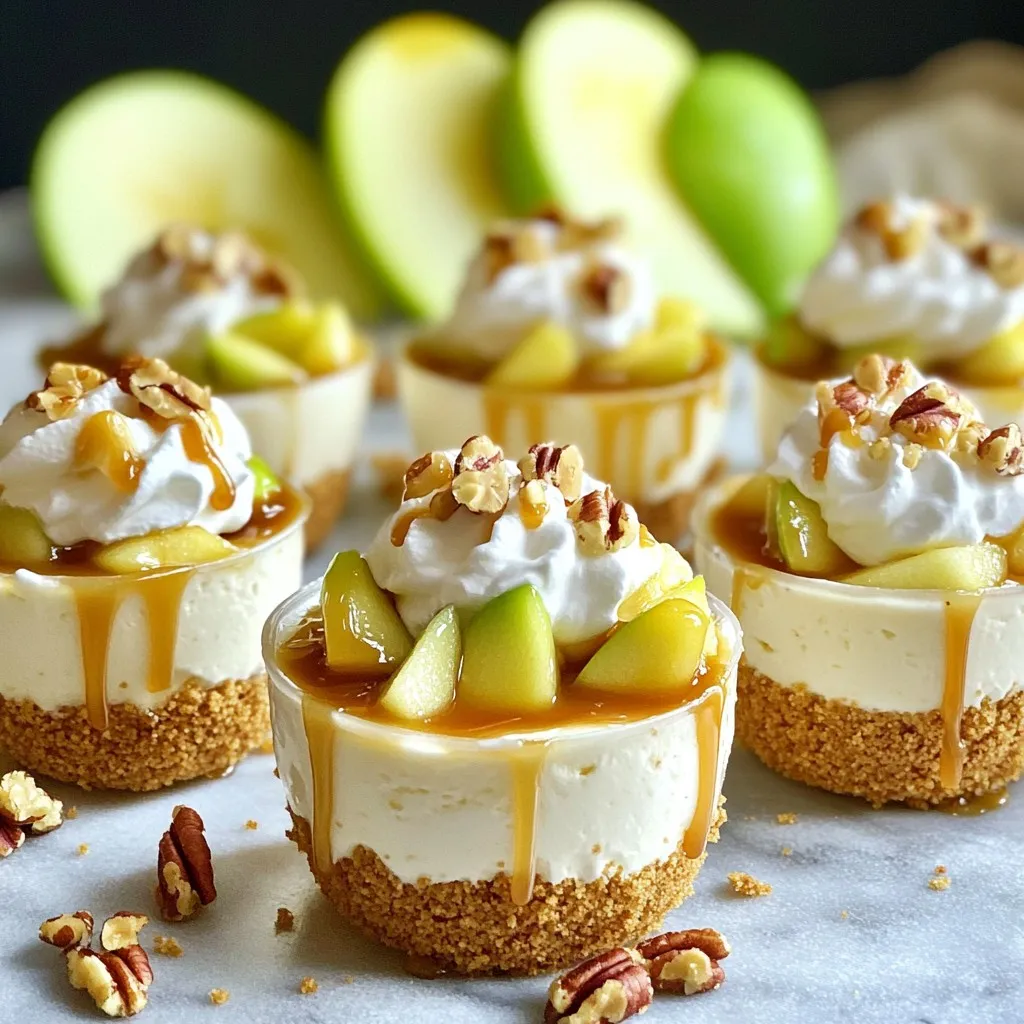
Who doesn’t love a sweet treat that’s easy to make? These Caramel Apple Cheesecake Truffle Cups are a perfect mix...
READ MORE →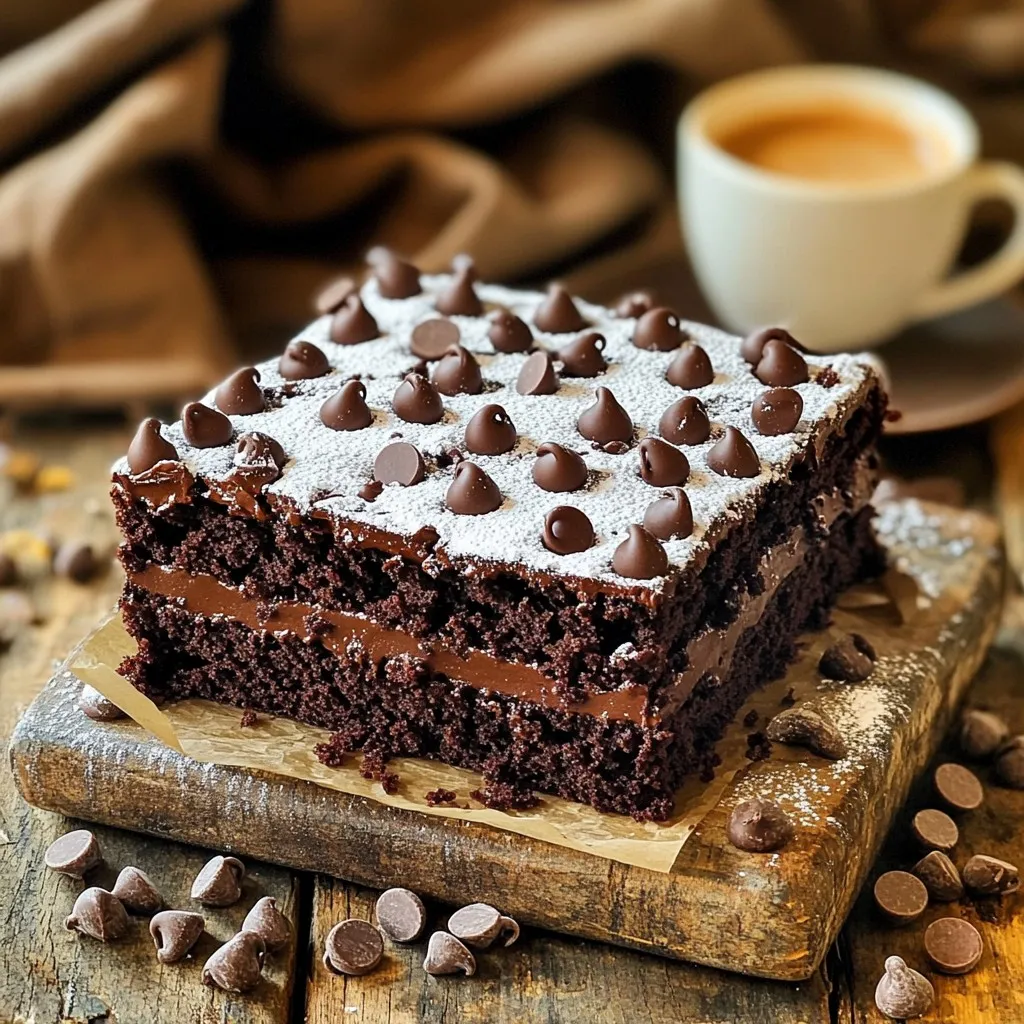
Get ready to indulge in a treat that combines the rich flavors of chocolate and espresso! This Chocolate Espresso Coffee...
READ MORE →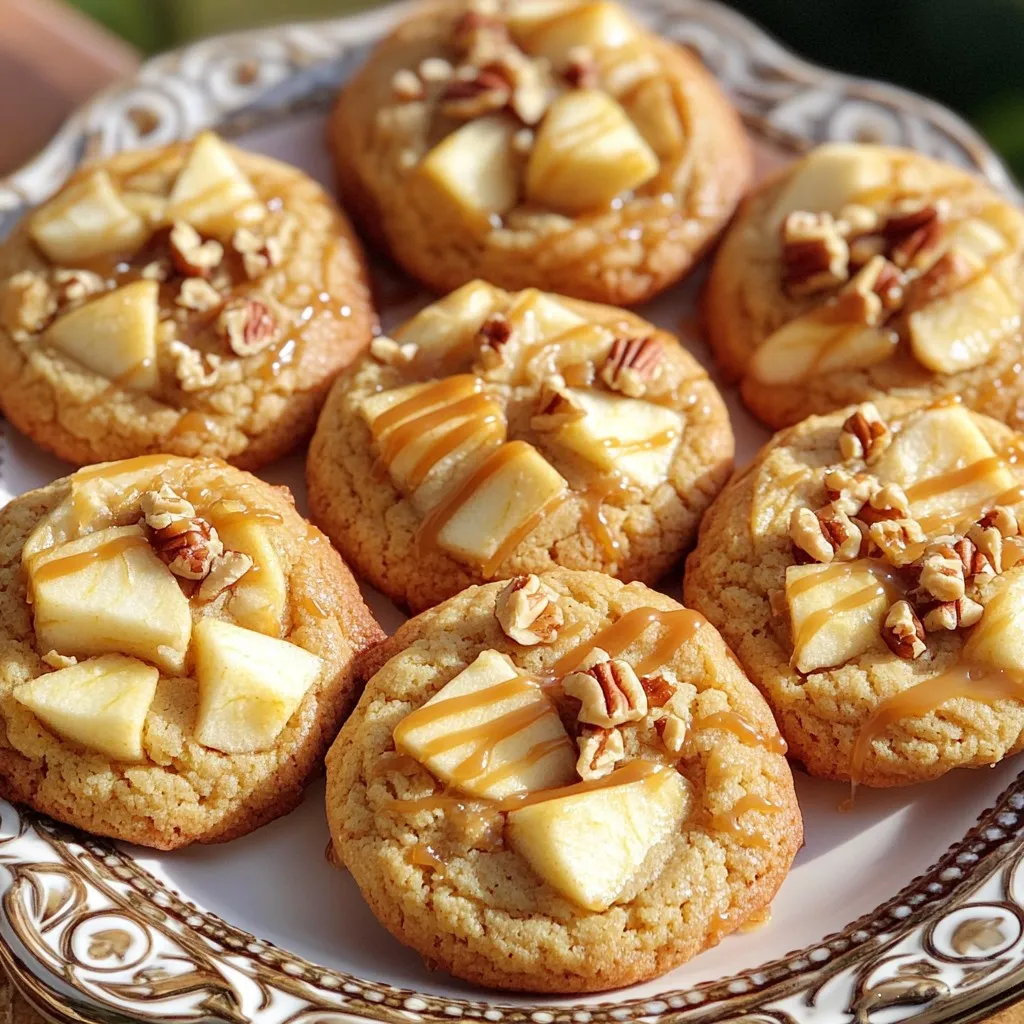
Fall is here, and that means it’s time for cozy treats! Imagine biting into a soft, chewy cookie packed with...
READ MORE →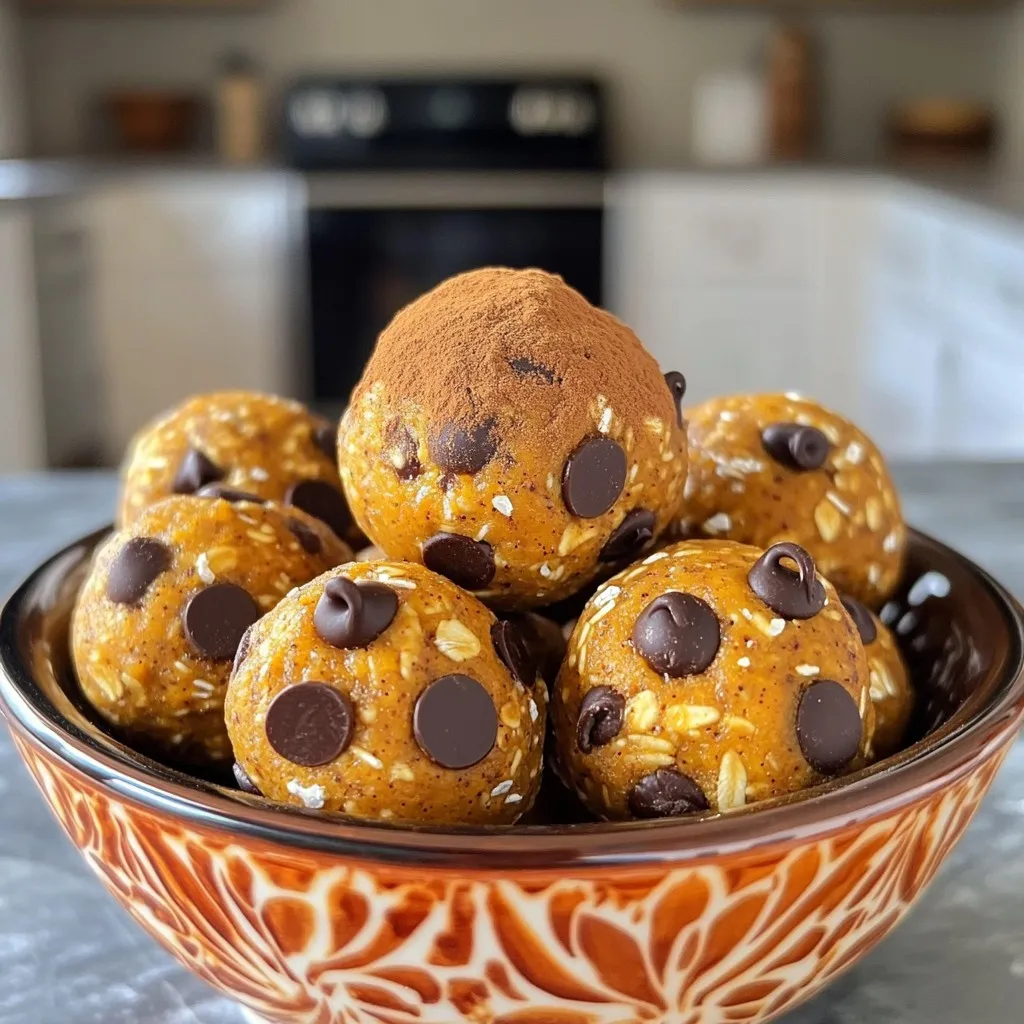
Craving a tasty snack that’s easy to make? Look no further! My No-Bake Pumpkin Chocolate Chip Energy Balls combine wholesome...
READ MORE →