DESSERTS
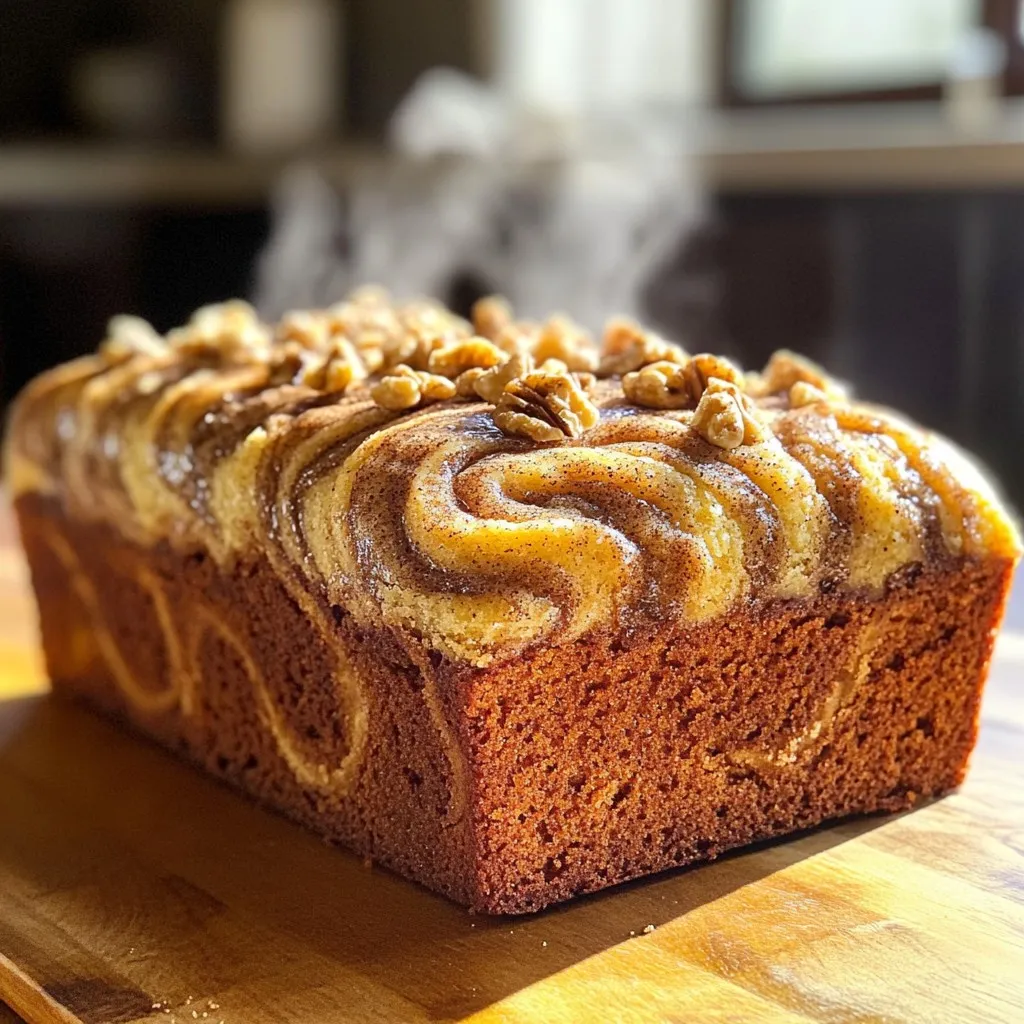
Cinnamon Swirl Loaf Cake Flavorful and Easy Recipe
Are you craving a warm, sweet treat that’s easy to make at home? My Cinnamon Swirl Loaf Cake is the...
READ MORE →Explore our collection of desserts recipes
Are you craving a warm, sweet treat that’s easy to make at home? My Cinnamon Swirl Loaf Cake is the...
READ MORE →
Craving a sweet treat that’s both easy to make and bursting with flavor? Look no further than these delicious Apple...
READ MORE →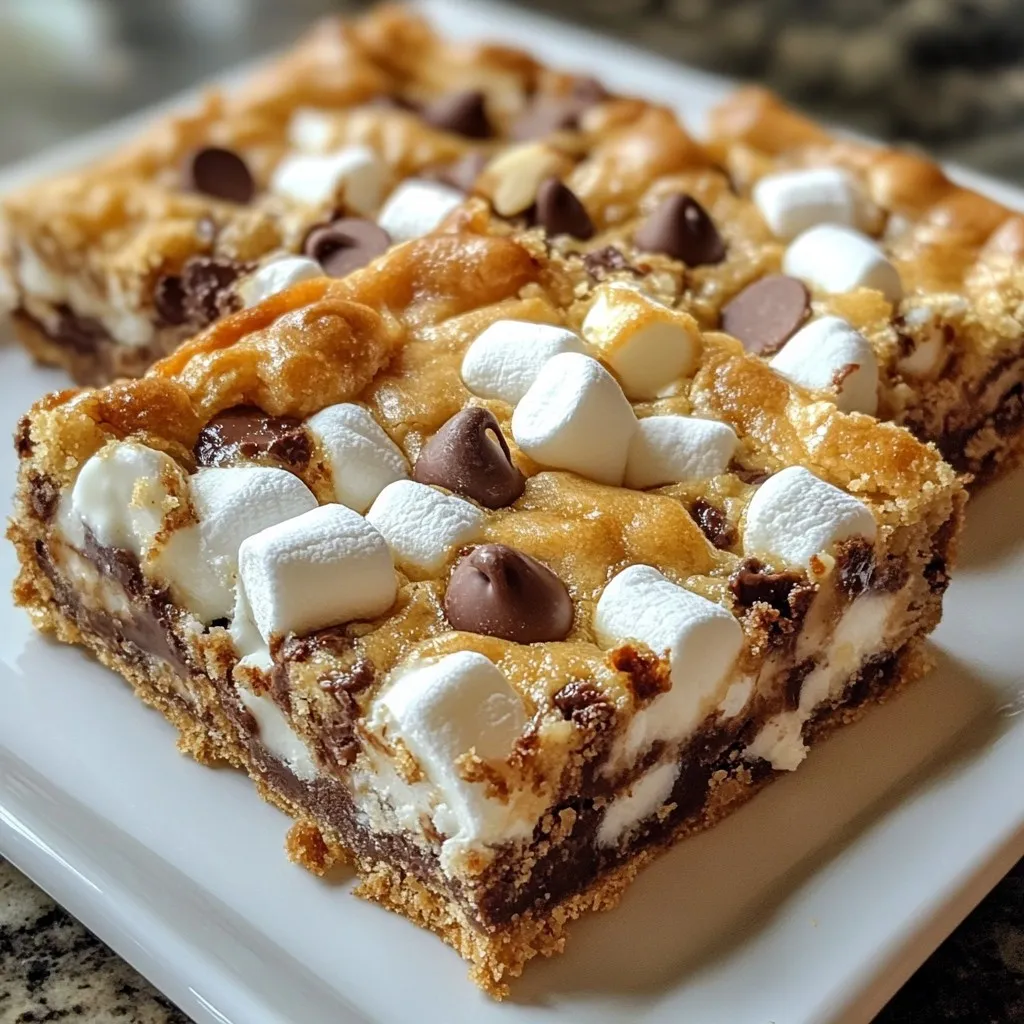
Are you hungry for something sweet and simple? Let me introduce you to Easy Ooey Gooey Bars, your new go-to...
READ MORE →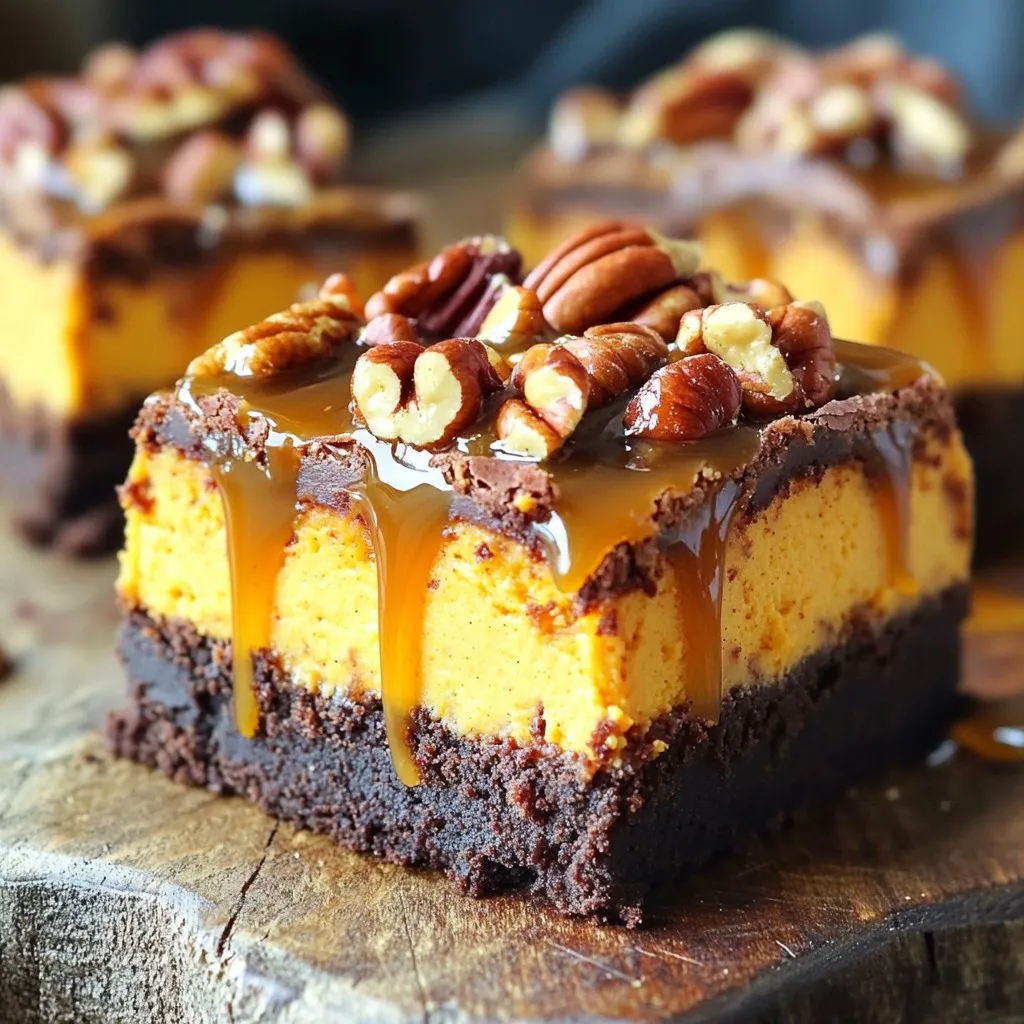
Indulge in a sweet twist this season with Pumpkin Pecan Cheesecake Brownies! These delightful treats blend rich chocolate brownies with...
READ MORE →
Craving a sweet treat that’s easy and fun? You’re in for a treat with my No-Bake Gingerbread Cookie Dough Bites!...
READ MORE →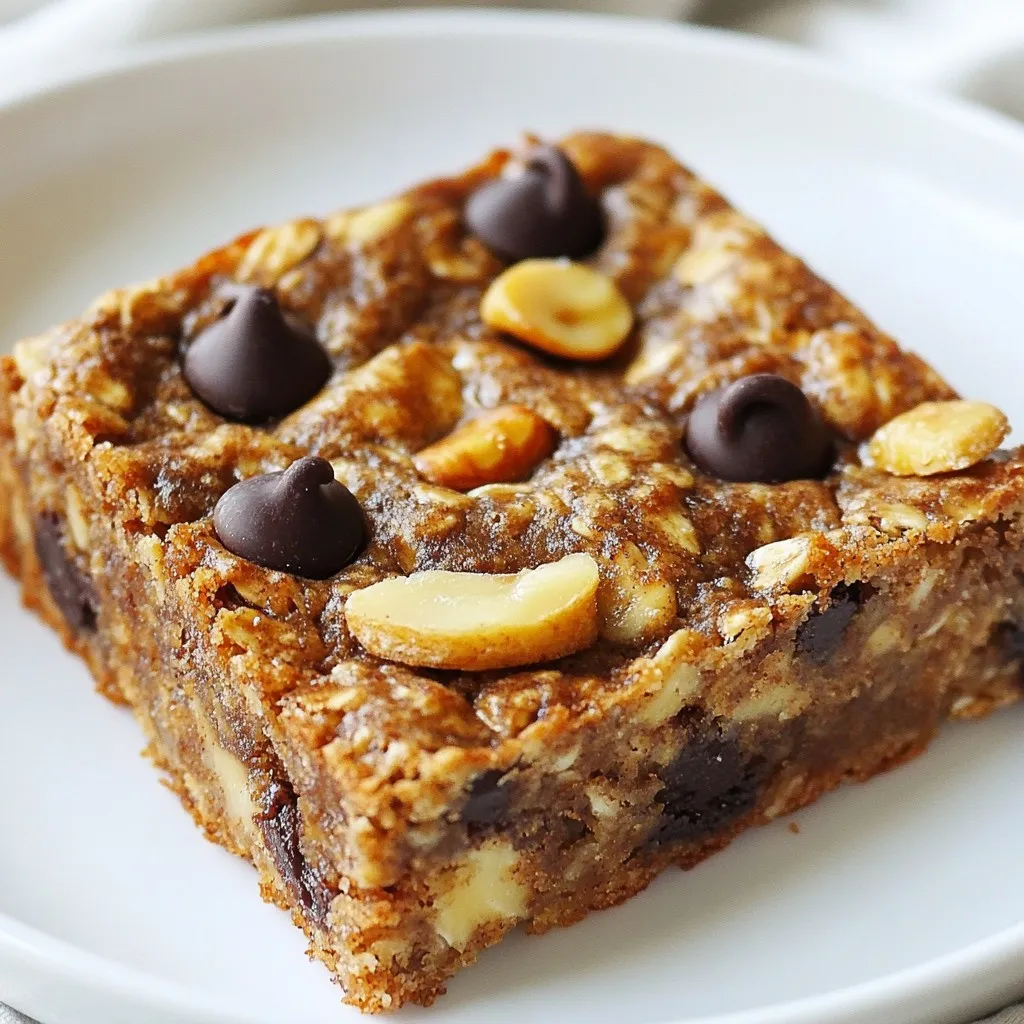
Looking for a tasty snack that’s both healthy and easy to make? You’ve found it! These Healthy Banana Oatmeal Bars...
READ MORE →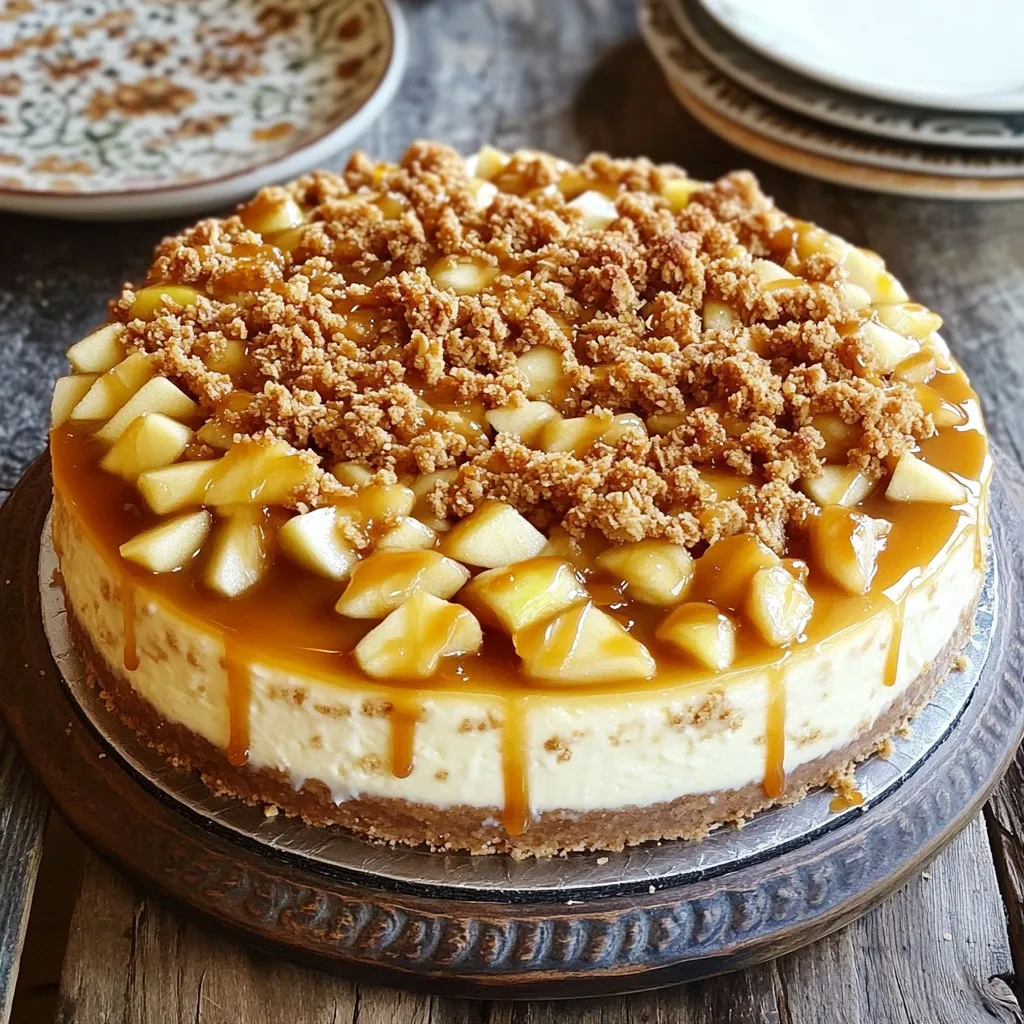
Are you ready for a dessert that’s pure bliss? Let’s dive into the world of Caramel Apple Crumble Cheesecake, an...
READ MORE →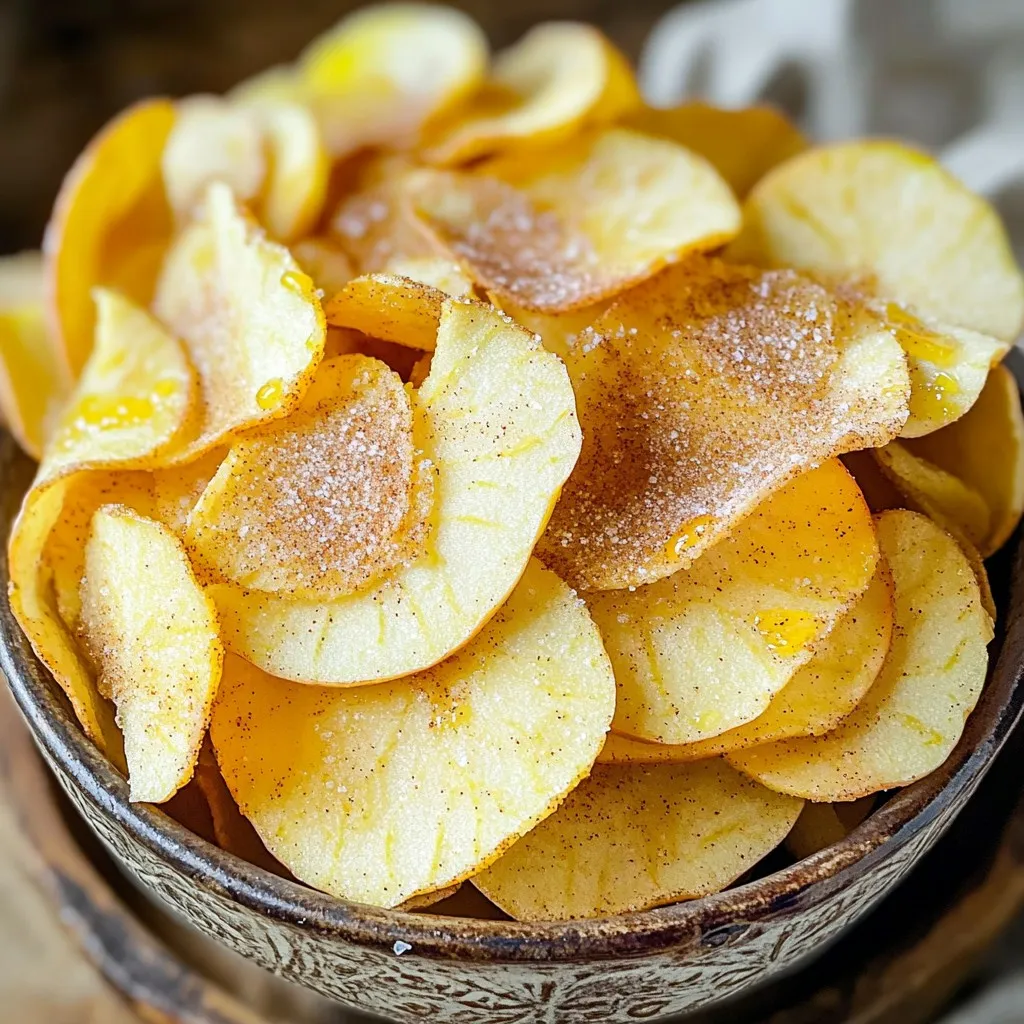
If you crave a sweet and crunchy treat, these Air Fryer Cinnamon Sugar Apple Chips are perfect for you! In...
READ MORE →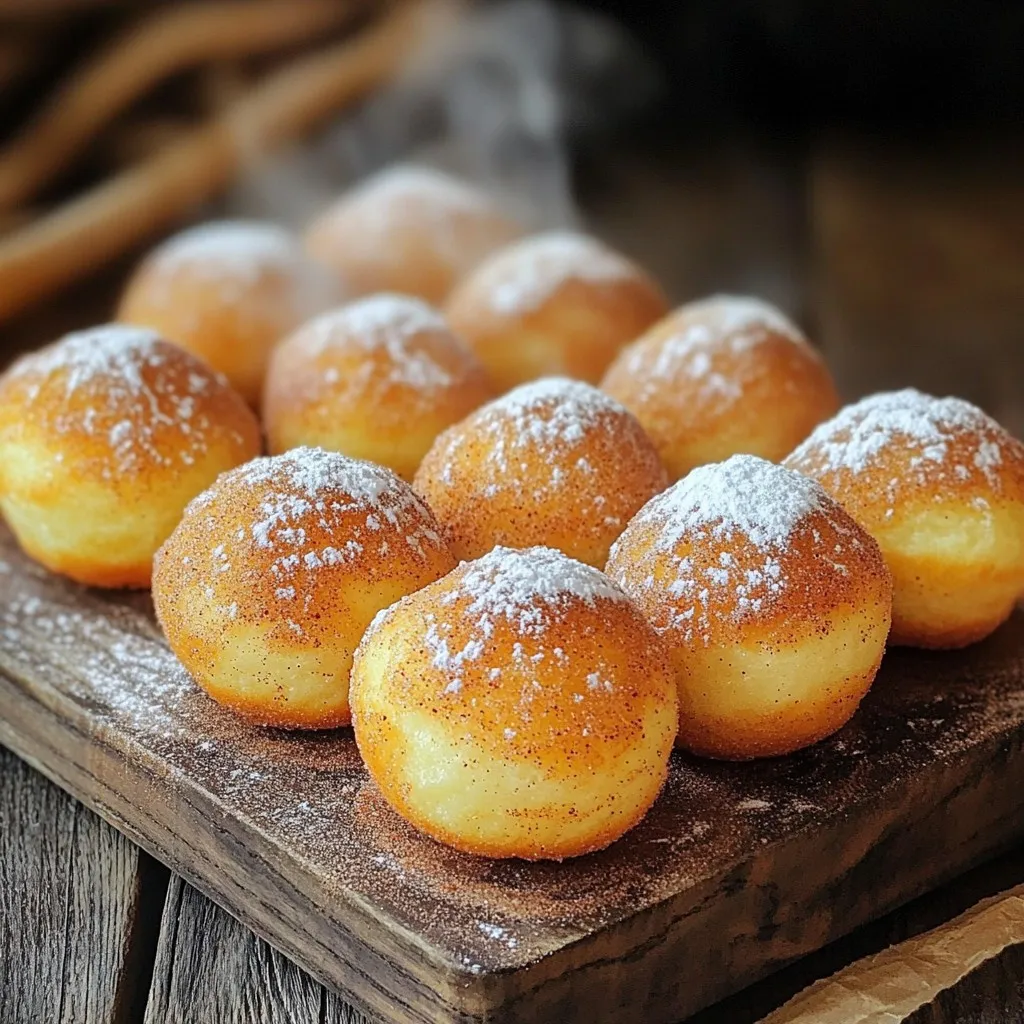
Craving a sweet treat that’s both tasty and easy to make? Look no further! My Air Fryer Cinnamon Sugar Donut...
READ MORE →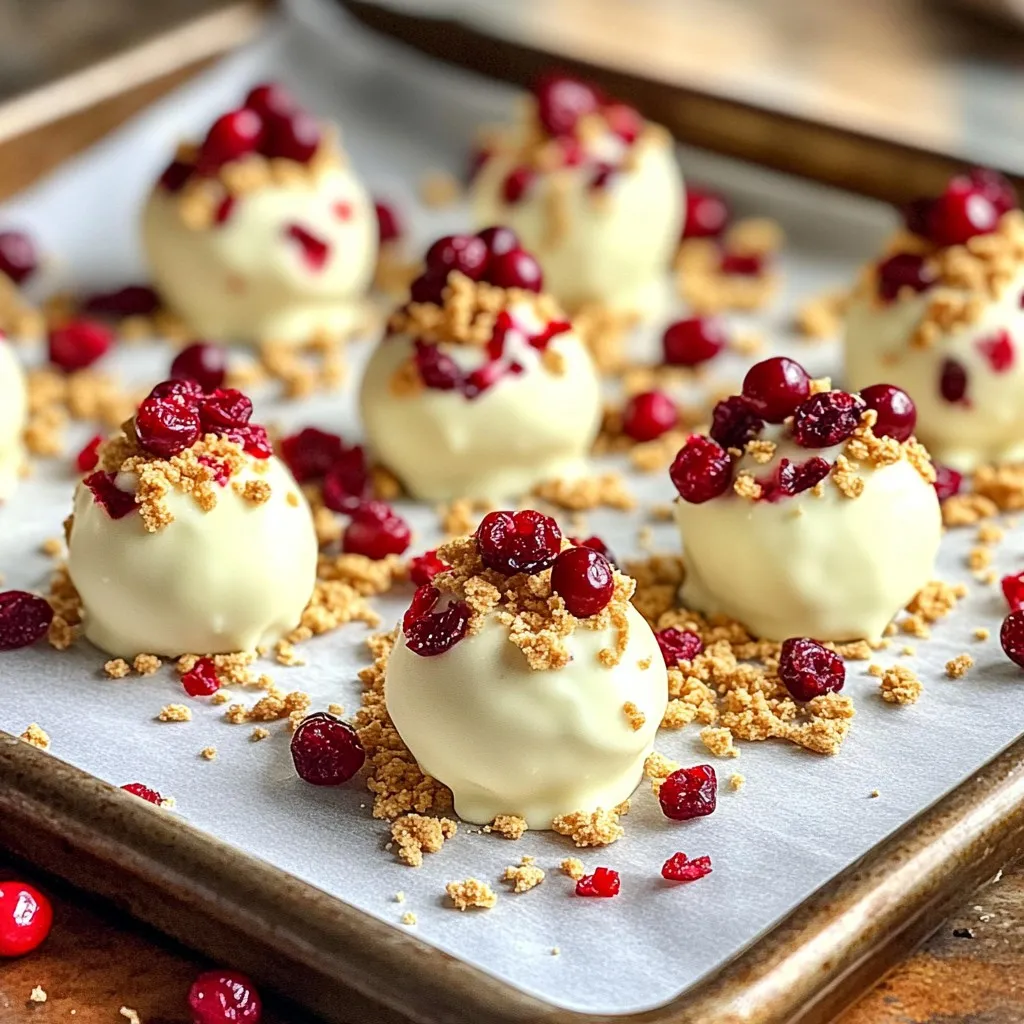
Indulging in a sweet treat doesn’t have to be time-consuming. With my No-Bake Cranberry White Chocolate Truffles Delight, you can...
READ MORE →