DESSERTS
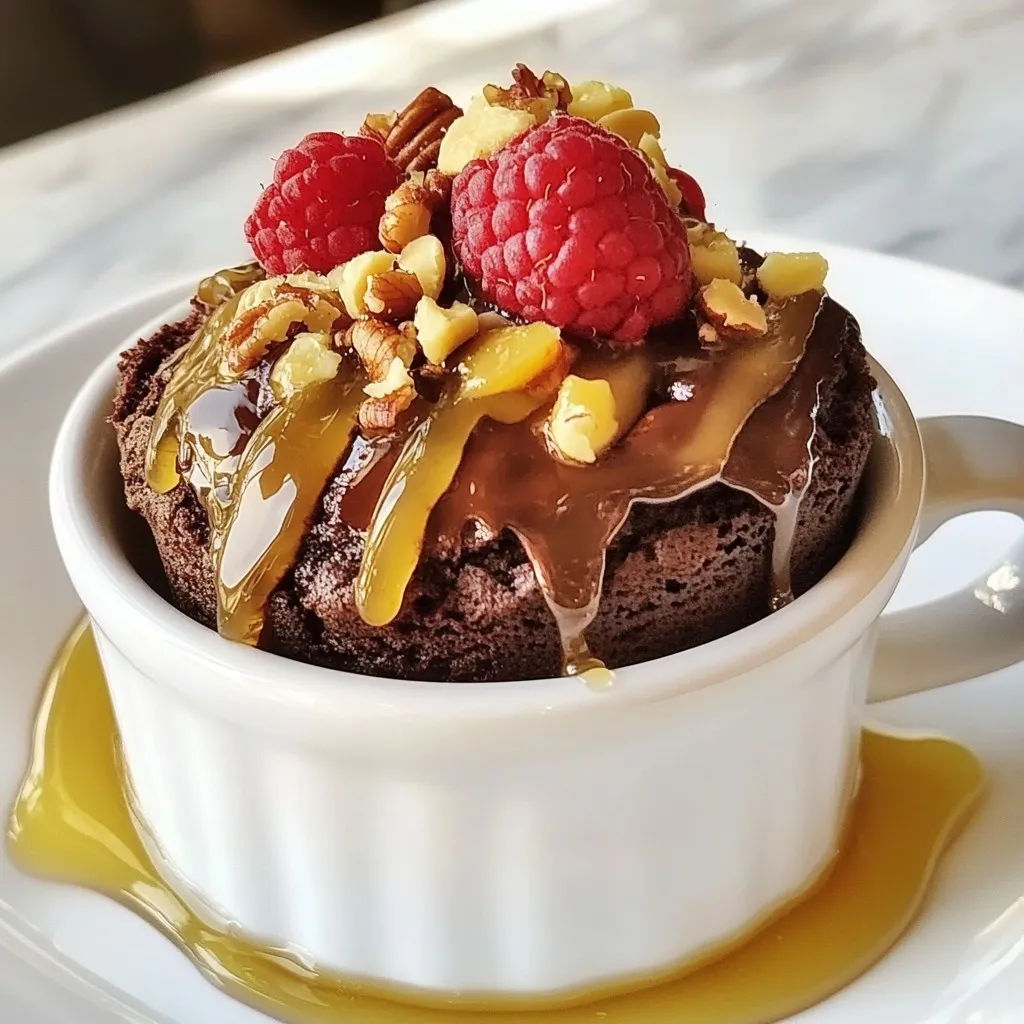
Moist Protein Mug Cake Easy and Delicious Recipe
Looking for a quick and tasty treat? My Moist Protein Mug Cake recipe is here to satisfy your cravings! This...
READ MORE →Explore our collection of desserts recipes
Looking for a quick and tasty treat? My Moist Protein Mug Cake recipe is here to satisfy your cravings! This...
READ MORE →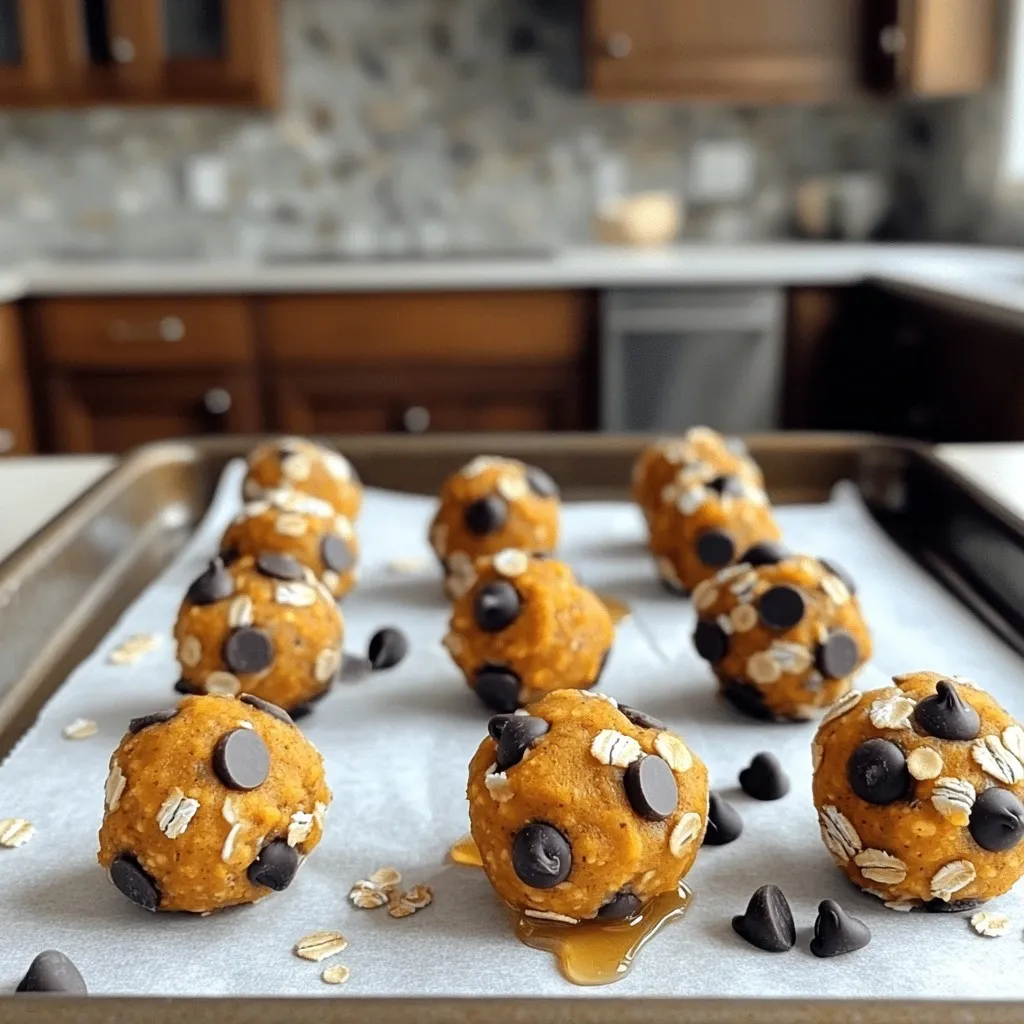
Looking for a quick and tasty energy boost? These Pumpkin Chocolate Chip Protein Balls are your answer! Packed with nutritious...
READ MORE →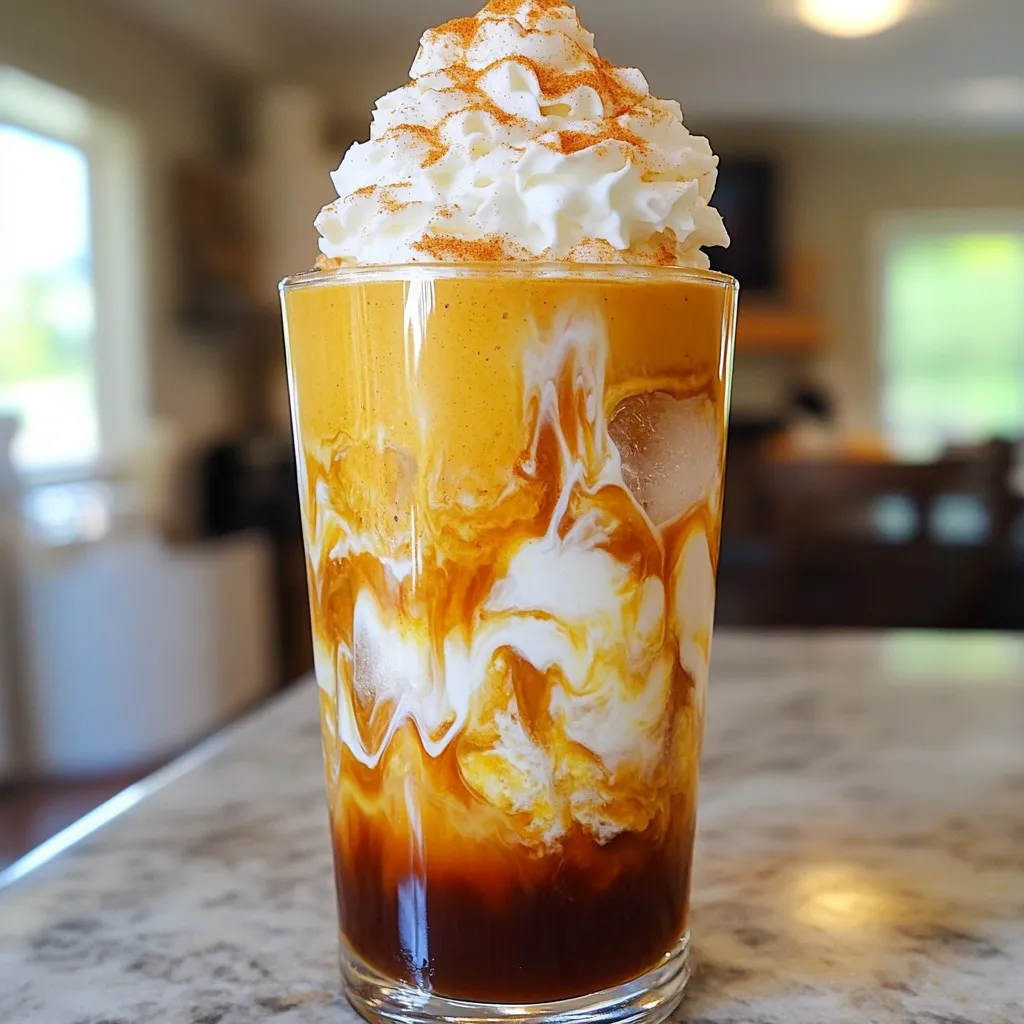
Do you crave that creamy, spiced goodness of a Pumpkin Cream Cold Brew? You’re in luck! This simple recipe lets...
READ MORE →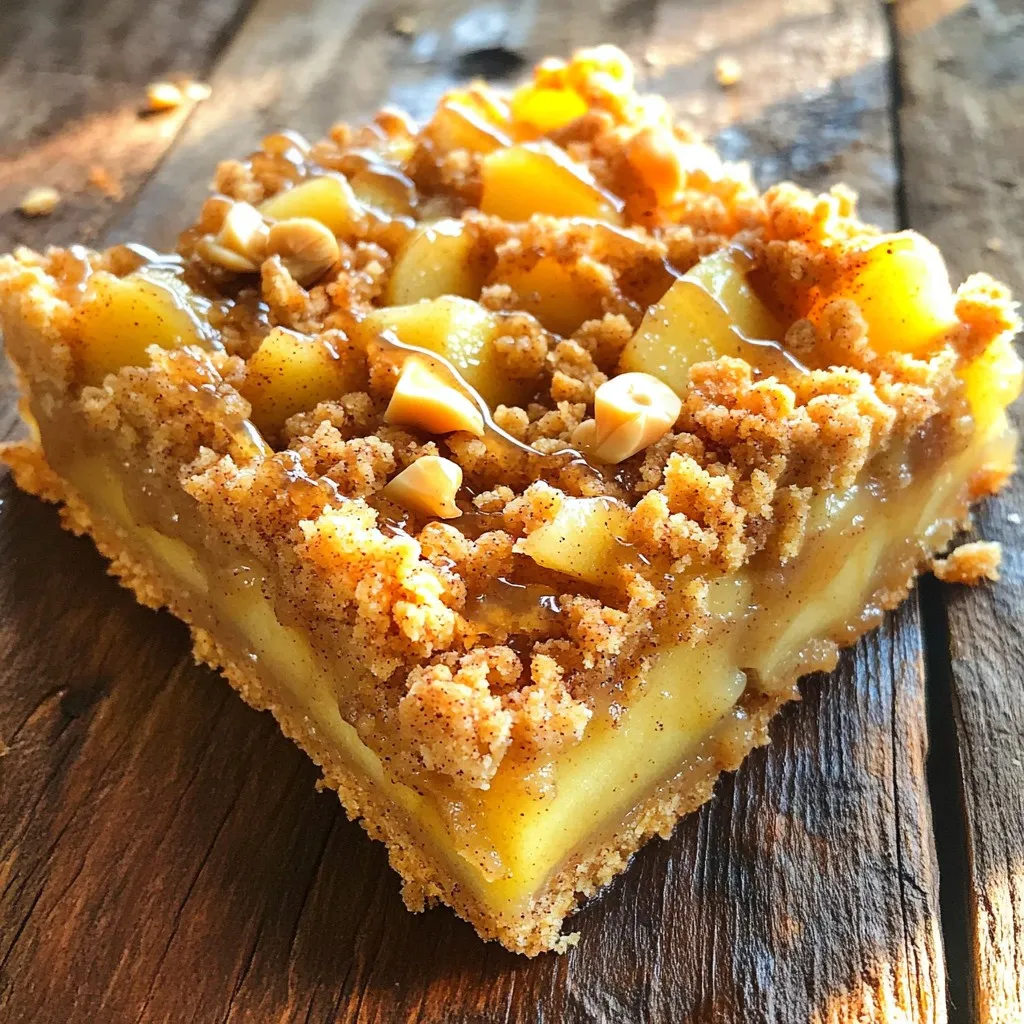
Craving a delicious treat that fits any gathering? You’ll love my Spiced Pear Crumble Bars! They offer a perfect balance...
READ MORE →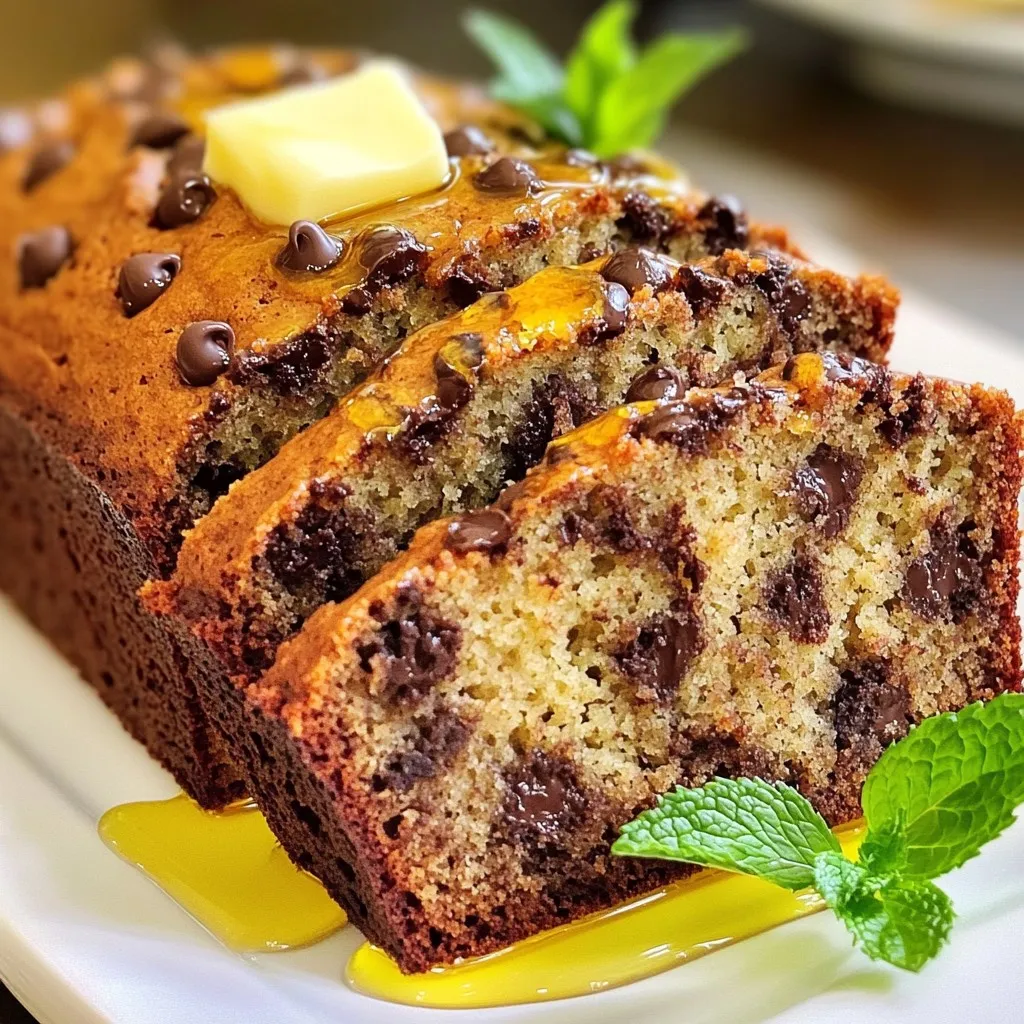
Do you crave the warm aroma of bakery-style chocolate chip banana bread? If so, you’re in for a treat! This...
READ MORE →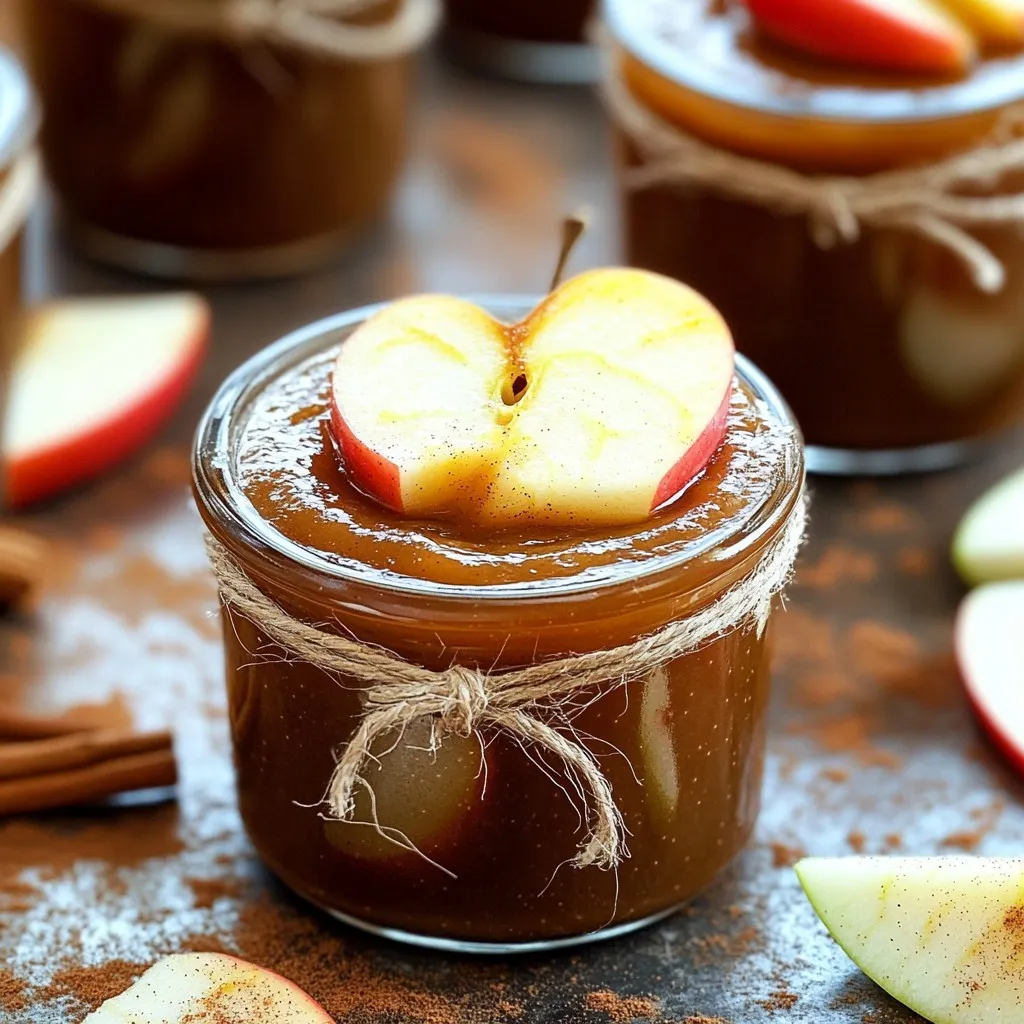
Imagine waking up to the warm, sweet scent of Cinnamon Apple Butter lingering in your home. With just a few...
READ MORE →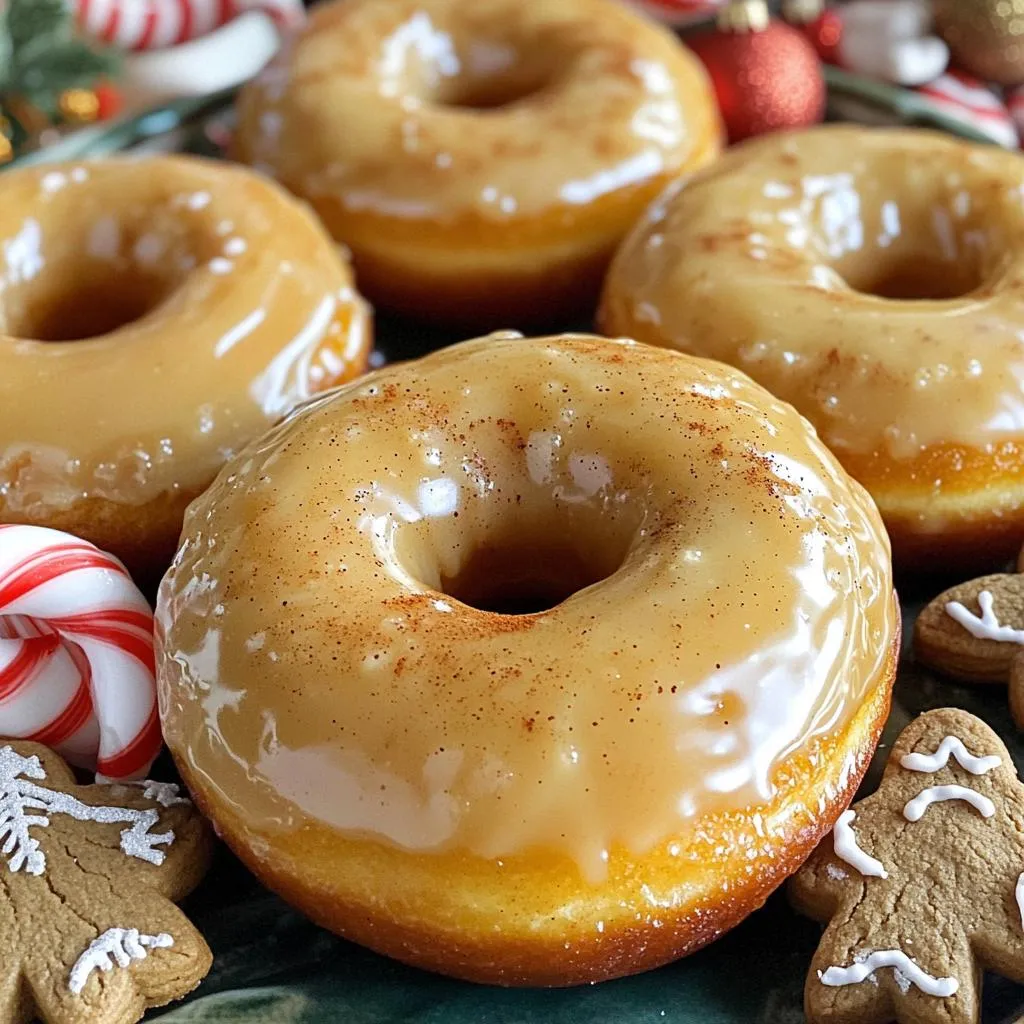
Craving a festive treat that’s easy to whip up? Look no further! I’ll show you how to make delicious Air...
READ MORE →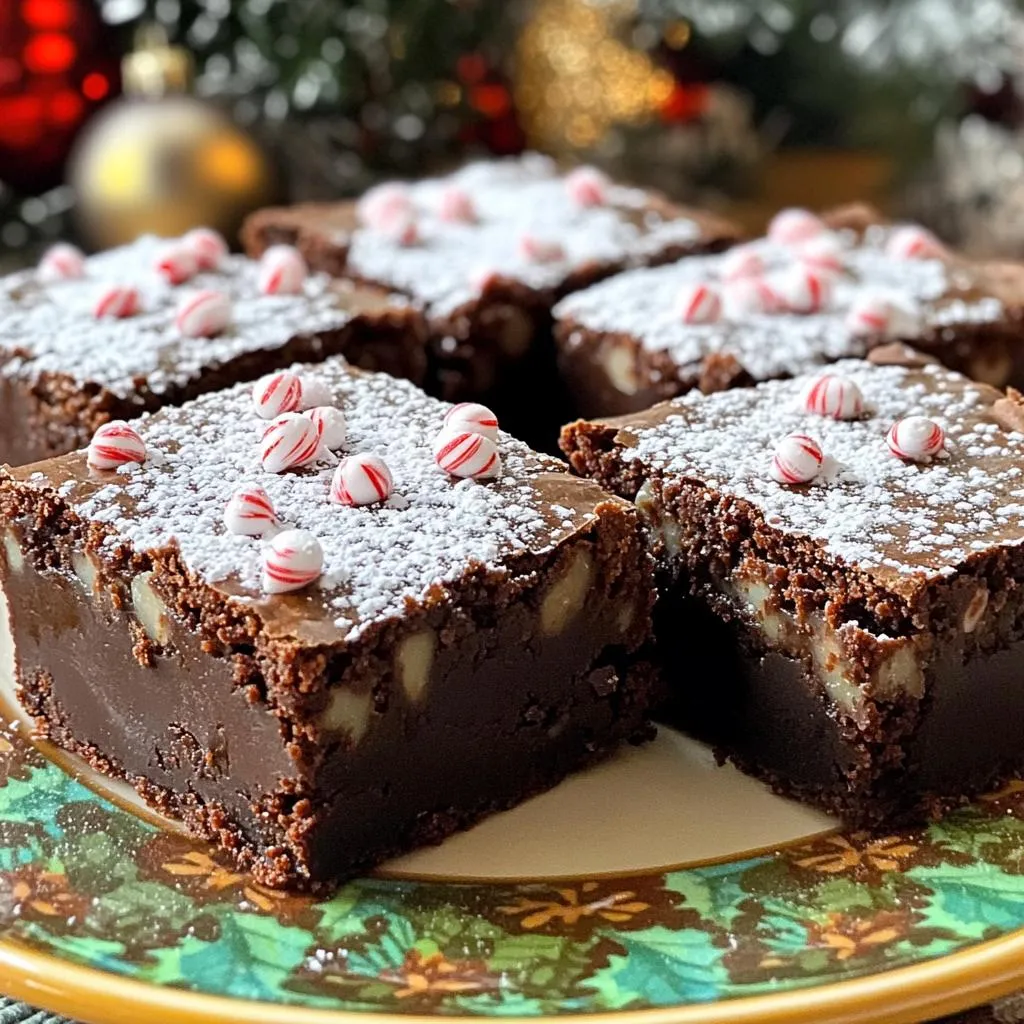
Get ready for a treat! My Bakery-Style Peppermint Mocha Brownies will make your mouth water. These fudgy, rich brownies blend...
READ MORE →
Lemon desserts are a must for hot days, and these No-Bake Lemon Icebox Bars are perfect! They are sweet, tangy,...
READ MORE →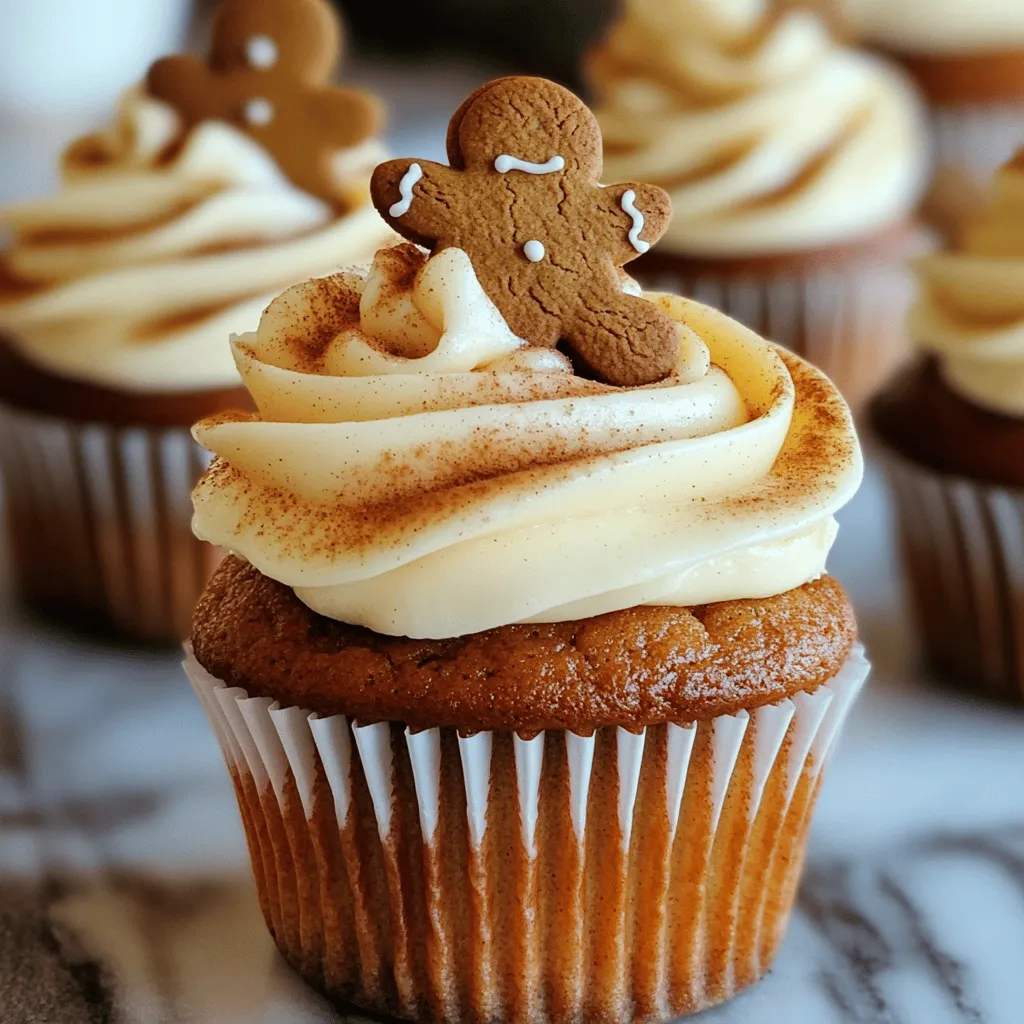
Get ready to delight your taste buds with my Gingerbread Cupcakes with Cream Cheese Frosting! These cupcakes are soft, spiced,...
READ MORE →